Radiator Replacement Gasoline Engines
Removal Procedure
- Disconnect the negative battery cable.
- Drain the engine cooling system. Refer to Cooling System Draining and Filling .
- Remove the main and the auxiliary cooling fans. Refer to Engine Cooling Fan Replacement .
- Remove the upper radiator retaining bolt.
- Remove the upper radiator retaining bracket.
- Remove the upper radiator hose clamp.
- Disconnect the upper radiator hose from the radiator.
- Remove the hose clamp from the surge tank hose at the radiator.
- Disconnect the surge tank hose from the radiator.
- Remove the lower radiator hose clamp.
- Disconnect the lower radiator hose from the radiator.
- Disconnect the transaxle cooler pipes from the lower radiator tank, if equipped.
- Remove the bolt and the transaxle pipe support clamp from the radiator.
- Remove the radiator from the vehicle.
Caution: Refer to Battery Disconnect Caution in the Preface section.
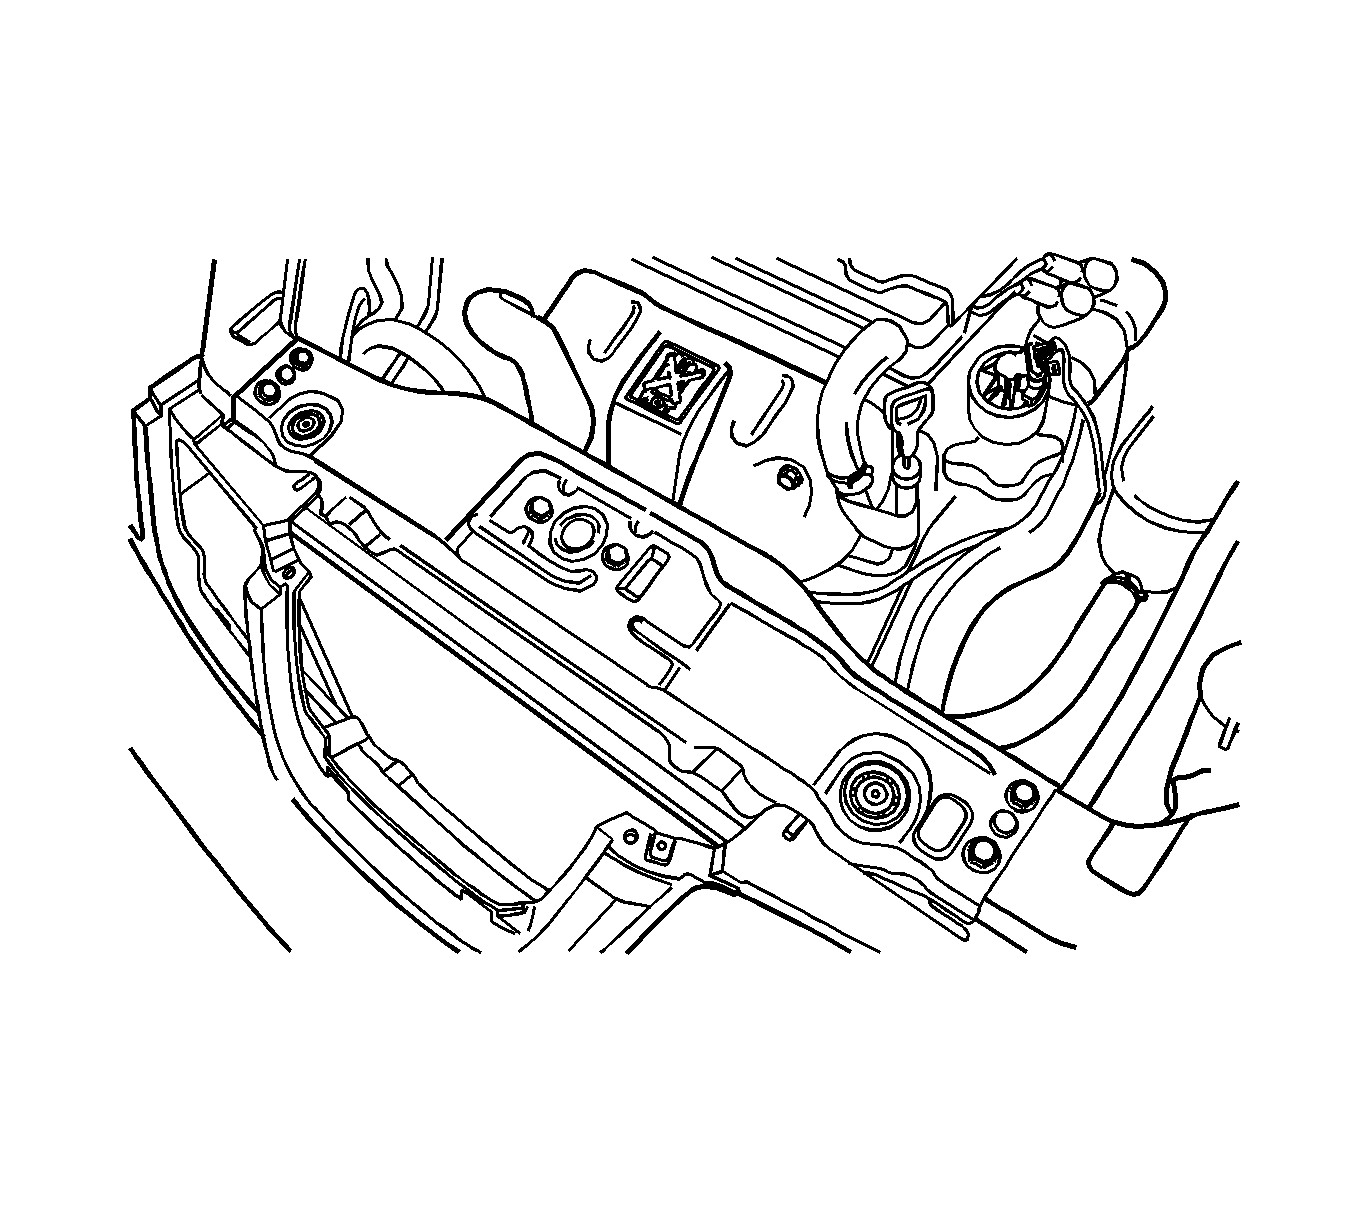
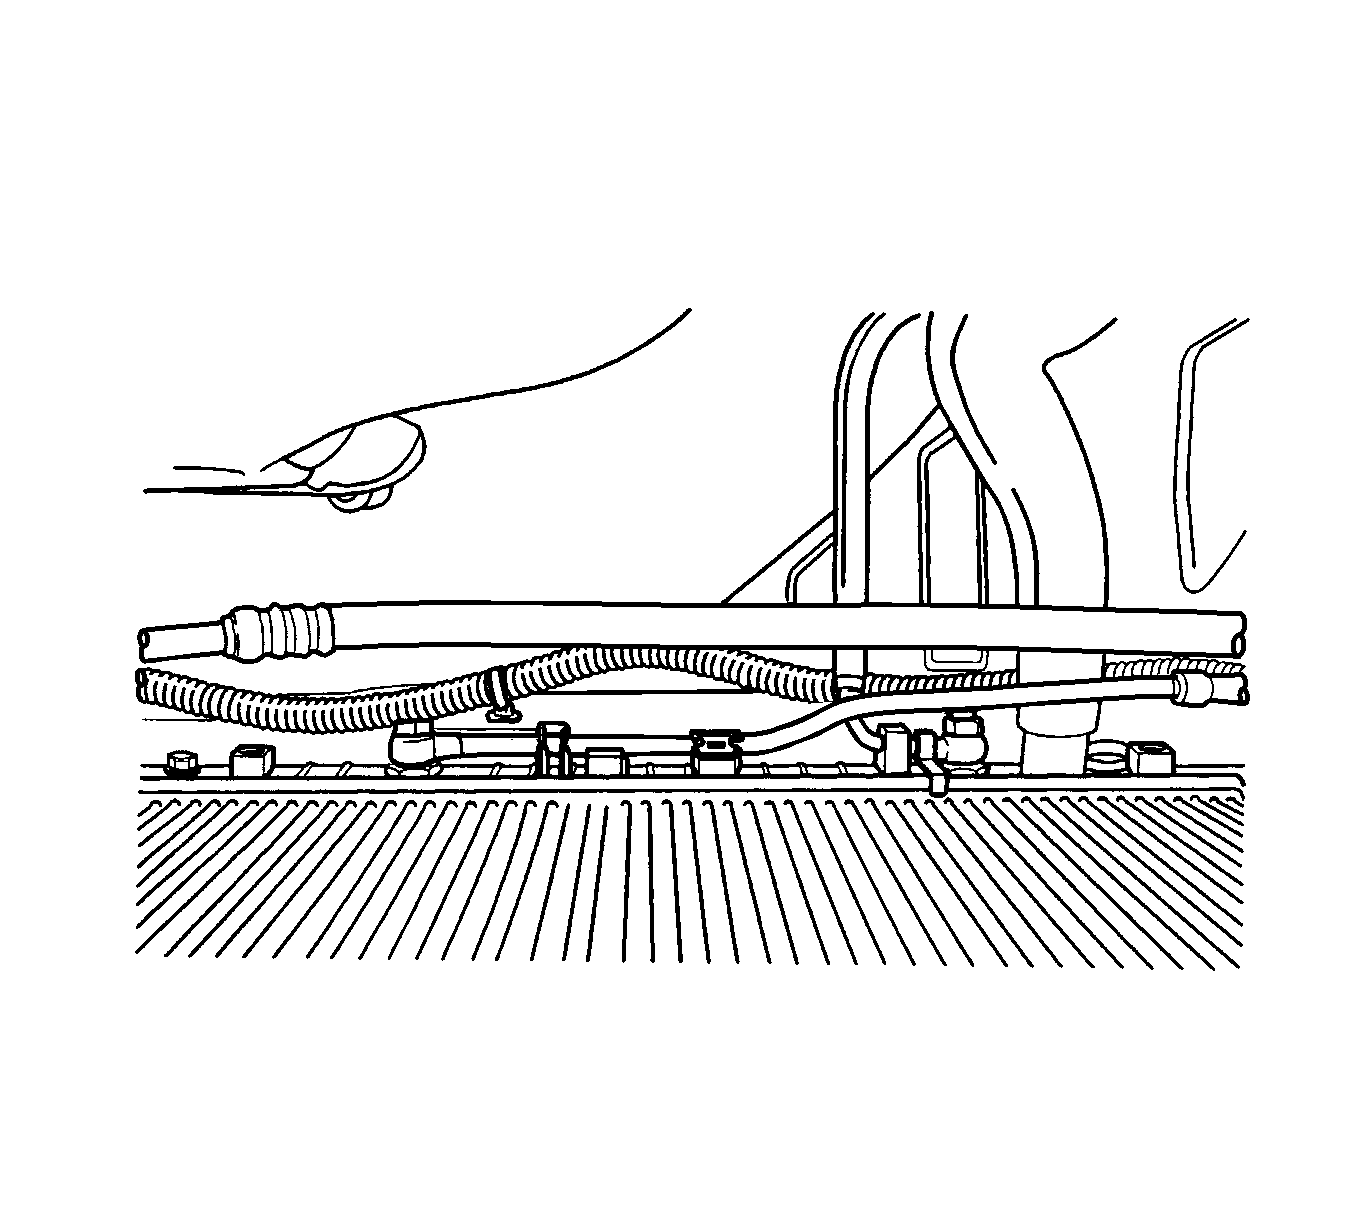
Important: The radiator still contains a substantial amount of coolant. Drain the remainder of the coolant from the radiator into a drain pan.
Installation Procedure
- Set the radiator into place in the vehicle with the radiator bottom posts in the rubber shock bumpers.
- Connect the transaxle cooler pipes to the lower radiator tank, if equipped.
- Install the transaxle pipe and support clamp to the radiator with a bolt.
- Connect the surge tank hose to the radiator.
- Secure the surge tank hose with a hose clamp.
- Connect the upper radiator hose and the lower radiator hose to the radiator.
- Secure each hose with a hose clamp.
- Position the radiator retainers in place.
- Install the upper radiator retainer bracket.
- Install the upper radiator retaining bolt.
- Install the main and the auxiliary cooling fans. Refer to Engine Cooling Fan Replacement .
- Refill the engine cooling system. Refer to Cooling System Draining and Filling .
- Connect the negative battery cable.


Notice: Refer to Fastener Notice in the Preface section.
Tighten
Tighten the radiator retaining bolt to 8 N·m (71 lb in).
Radiator Replacement Diesel Engine
- Remove the beauty cover. Refer to Engine Cover Replacement .
- Remove the battery and tray. Refer to Battery Tray Replacement .
- Drain the engine coolant. Refer to Cooling System Draining and Filling .
- Recover the refrigerant from the air conditioning system. Refer to Refrigerant Recovery and Recharging.
- Remove the radiator grille. Refer to Fascia Grille Replacement .
- Remove the radiator upper bracket.
- Remove the engine cooling fan. Refer to Engine Cooling Fan Replacement.
- Remove the A/C condenser. Refer to Condenser Replacement.
- Remove the charge air cooler. Refer to Charge Air Cooler Replacement.
- Remove the transaxle oil cooler hoses from the radiator, if equipped.
- Remove the radiator assembly upward.
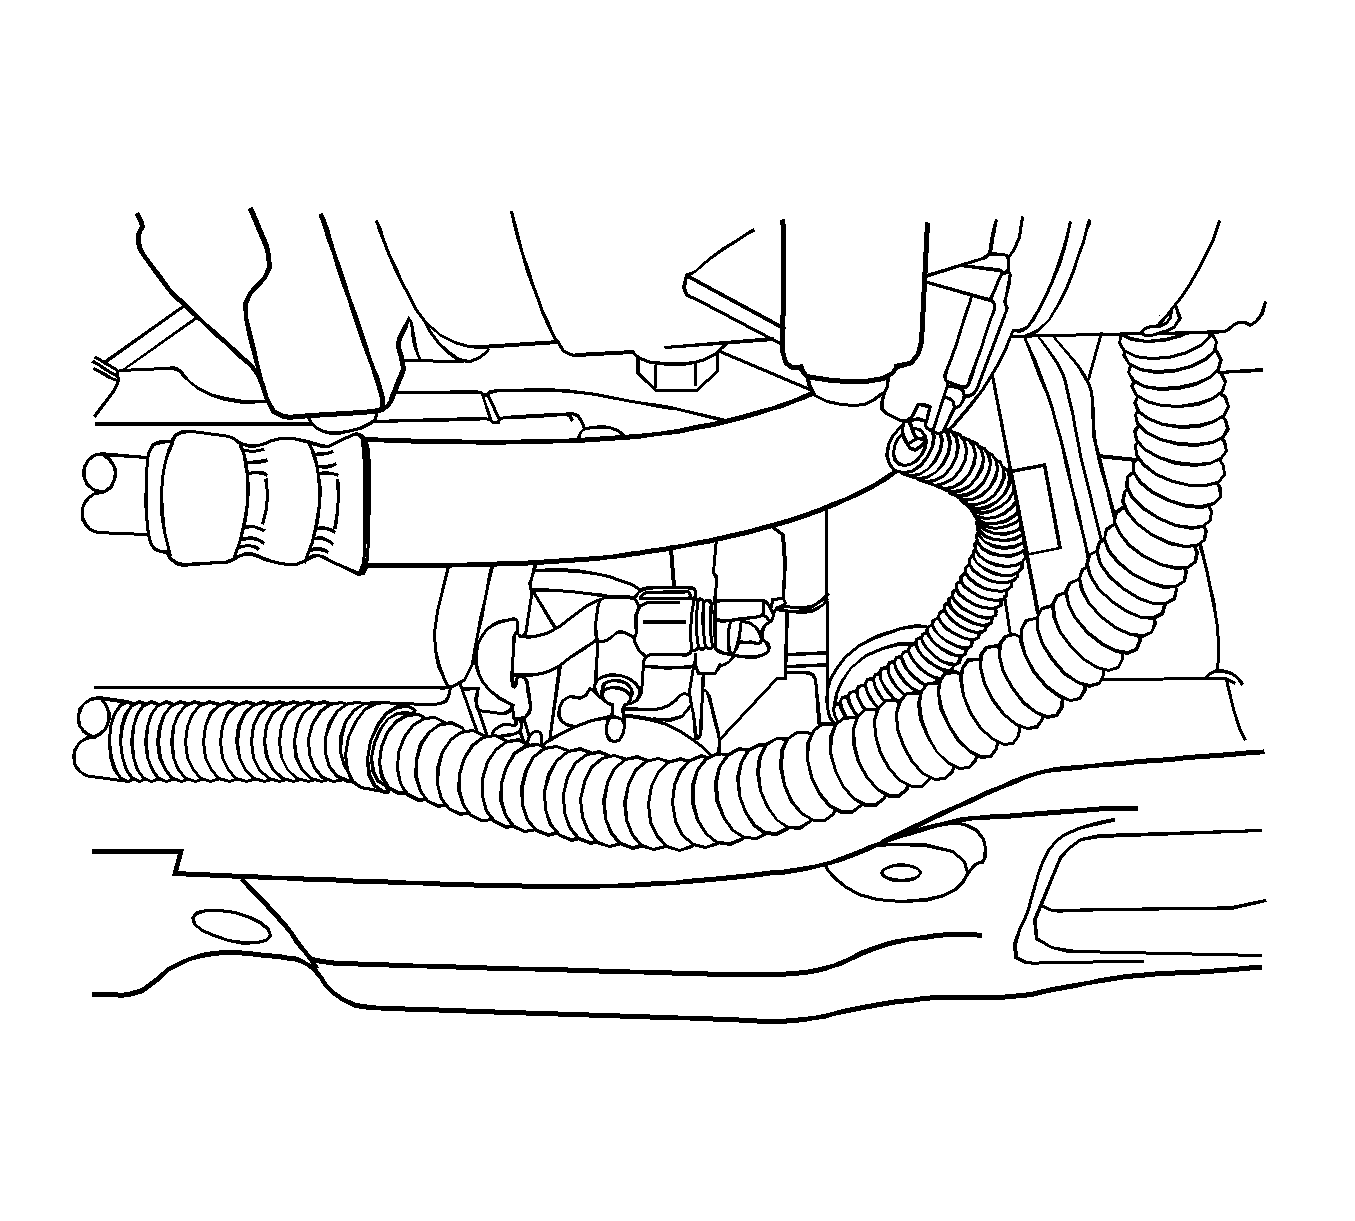
Caution: To avoid being burned, do not remove the radiator cap or surge tank cap while the engine is hot. The cooling system will release scalding fluid and steam under pressure if radiator cap or surge tank cap is removed while the engine and radiator are still hot.
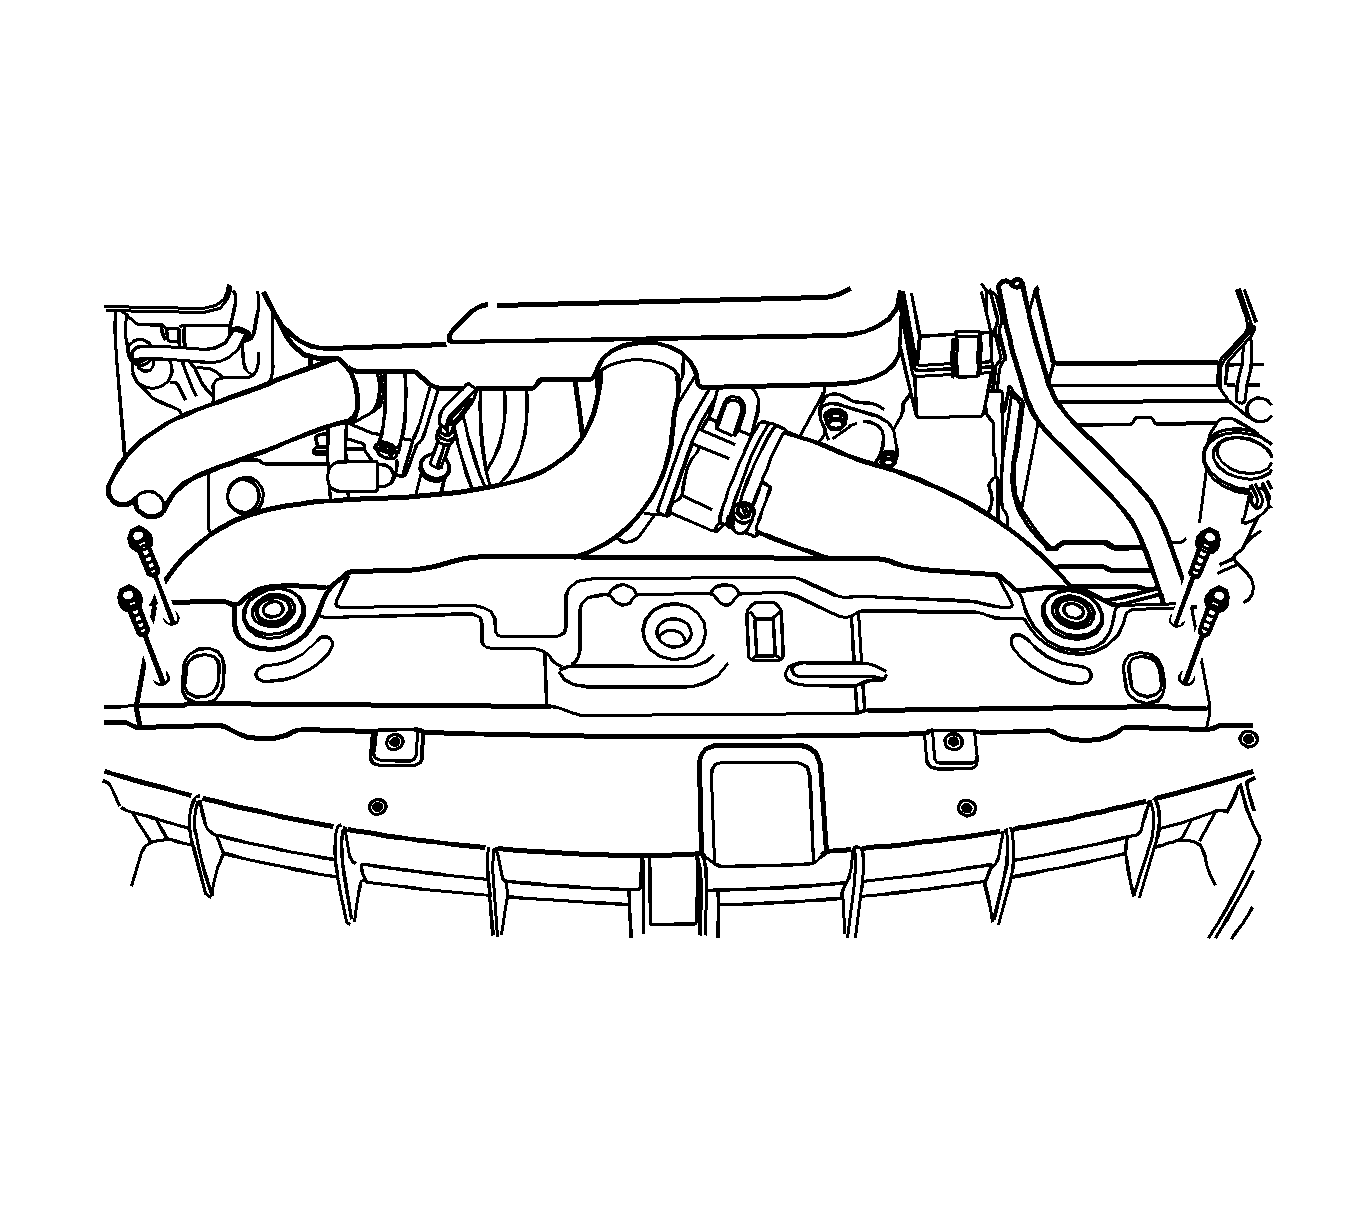


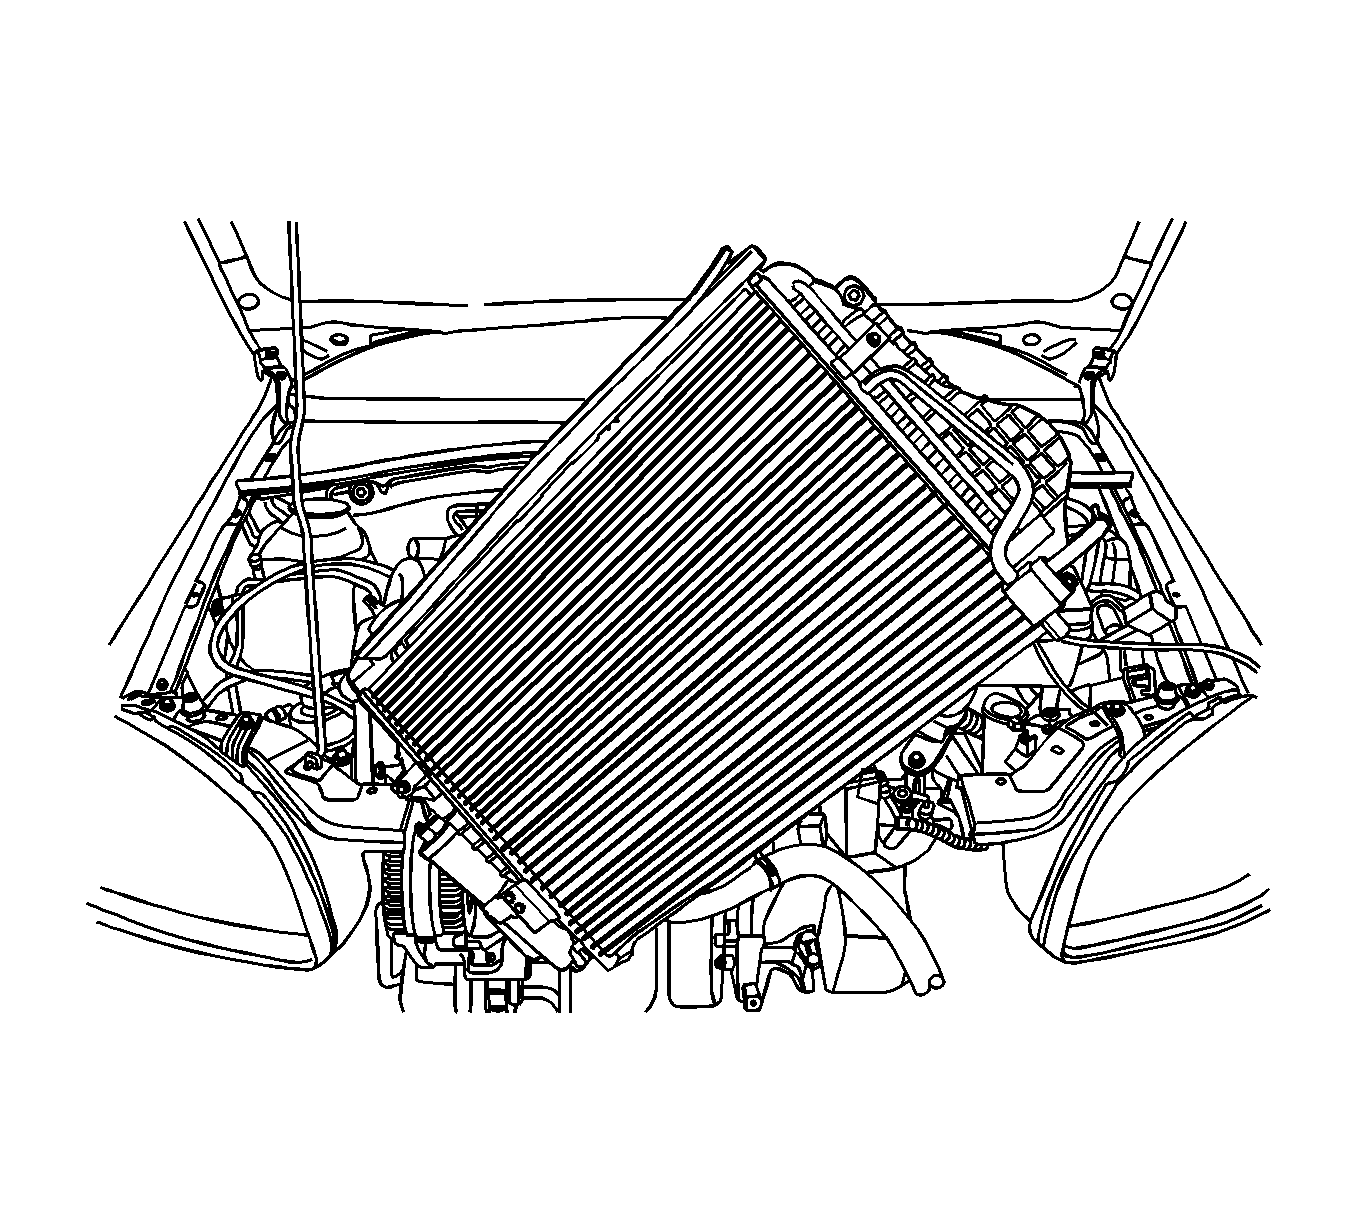
Cleaning Procedure
| • |
Important: The radiator fins are necessary for good heat transfer. Do not brush the fins. This may cause damage to the fins, reducing heat transfer. Remove bugs, leaves, dirt and other debris by blowing compressed air through the engine side of the radiator. Some conditions may require the use of warm water and a mild detergent. |
| • |
Installation Procedure
- Install the charge air cooler to the radiator. Refer to Charge Air Cooler Replacement.
- Install the A/C condenser. Refer to Condenser Replacement.
- Install the radiator assembly.
- Install the transaxle oil cooler hoses to the radiator.
- Install the engine cooling fan. Refer to Engine Cooling Fan Replacement.
- Install the radiator upper bracket.
- Install the battery and tray. Refer to Battery Tray Replacement.
- Recharge the air conditioning system. Refer to Refrigerant Recovery and Recharging.
- Fill the cooling system.
- Install the beauty cover. Refer to Engine Cover Replacement .

Important: Use care when handling the radiator to prevent fin damage and ensure proper cooling.


Notice: Refer to Fastener Notice in the Preface section.
Tighten
Tighten the radiator upper bracket bolts to 14 N·m (10.3 lb ft).
