Special Tools
Removal Procedure
- Remove the oil pan. Refer to
Oil Pan Replacement
.
- Remove the cylinder head. Refer to
Cylinder Head Replacement
.
- If a ring ridge is present, remove the ring ridge as follows:
| 3.1. | Turn the crankshaft until the piston is at the bottom of the stroke. |
| 3.2. | Place a cloth on top of the piston. |
| 3.3. | Use a ridge reamer to remove the ring ridge. |
| 3.4. | Turn the crankshaft so the piston is at top of the stroke. |
| 3.5. | Remove the cloth and cutting debris. |
Important: Place the numbers on connecting rods and the connecting rod caps. The connecting rod caps must be assembled to their original connecting rods.
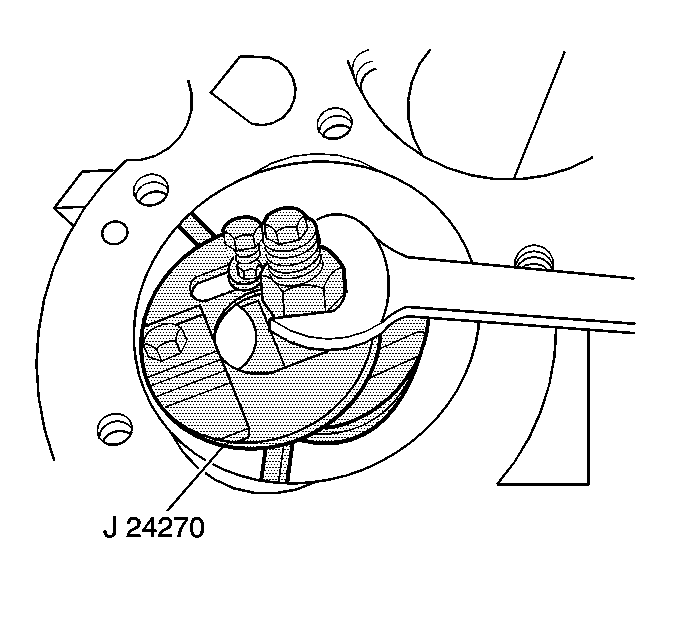
- Remove the connecting rod nuts and the connecting rod cap.
Discard the bolts and nuts.
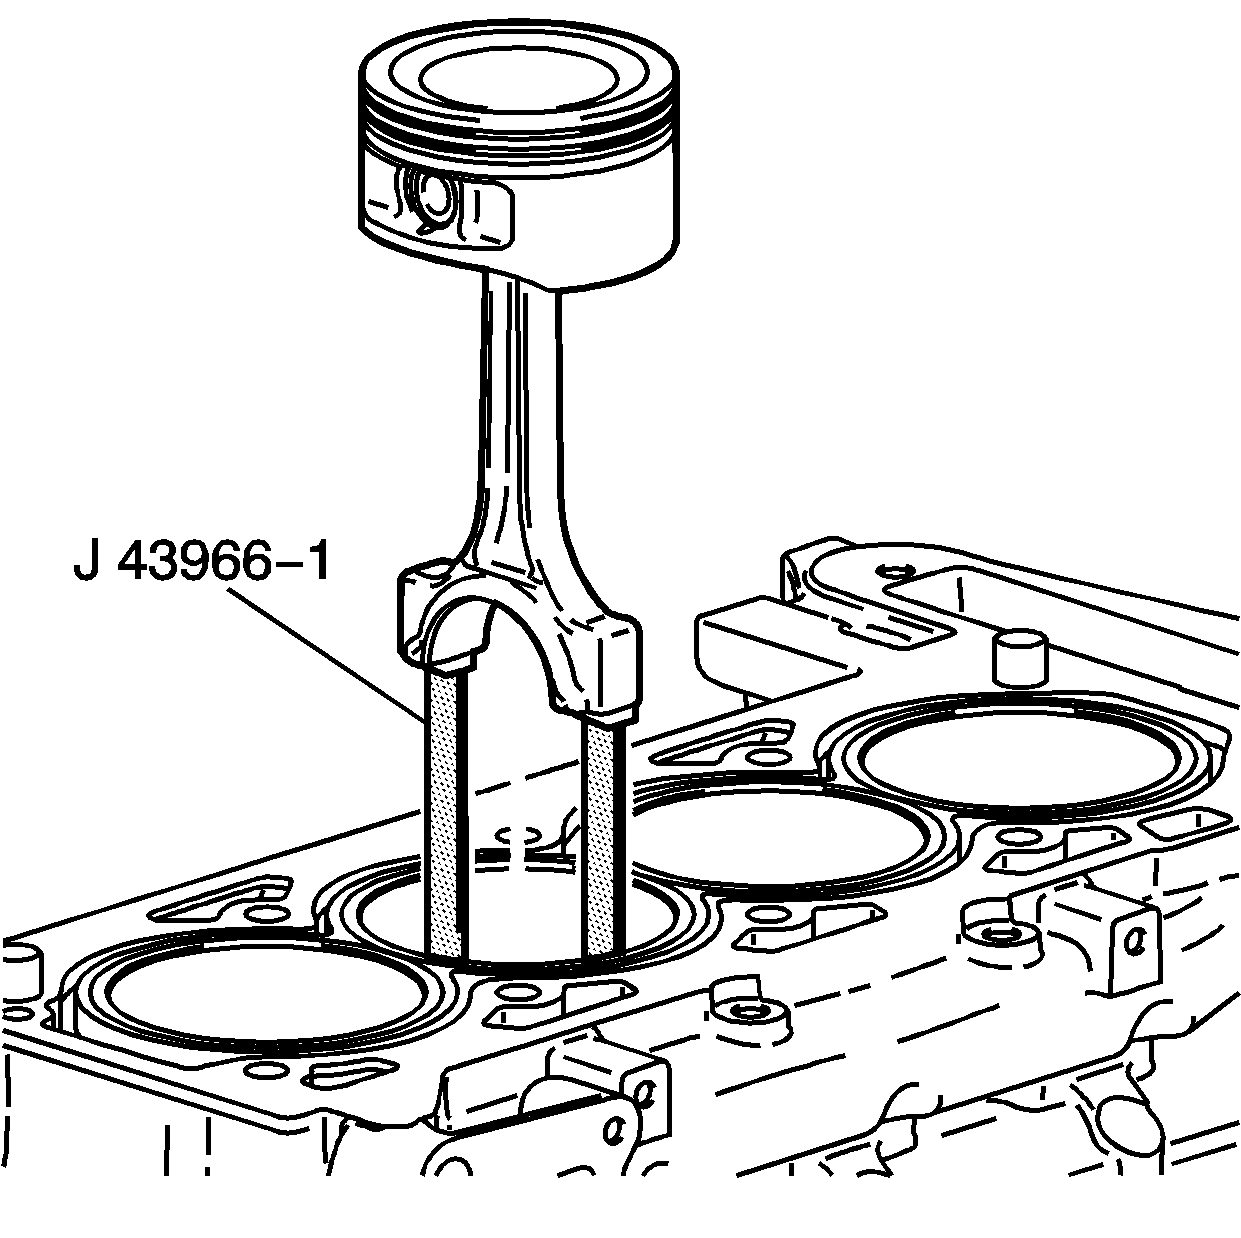
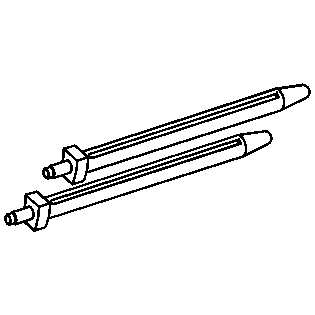
- Remove the connecting rod and the piston out of the top of the engine block using the
J 41742
and
J-43966-1
.
- Clean the cylinder bores with hot water and detergent or with a light honing.
- Swab the bores with the engine oil and a clean, dry cloth.
Installation Procedure
- Coat the following parts with engine oil:
- Install the piston into its original bore using the
J-43966-1
,
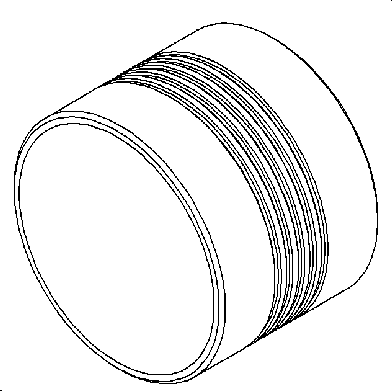
J 43953
and
J 41742
.
- Lightly tap the top of the piston with a wooden hammer handle.
- When installing the piston and the connecting rod, the stamped mark on the piston must point to the front of the engine.
- Hold the
J 43953
firmly against the engine block until all the piston rings have entered the cylinder bore.
- Install the connecting rod caps onto their original connecting rods.
- Align the numbers placed on the connecting rod and the connecting rod cap during removal.
Notice: Refer to Fastener Notice in the Preface section.
- Install the new connecting rod bolts and nuts.
Tighten
| • | On the first pass, tighten the nuts evenly to 25 N·m (18 lb ft). |
| • | On the final pass, use the
J 45059
in order to tighten the nuts an additional 100 degrees. |
- Measure the connecting rod side clearance with a feeler gage.
The correct clearance is 0.070-0.370 mm
(0.0027-0.0145 in).
- Install the cylinder head. Refer to
Cylinder Head Replacement
.
- Install the oil pan. Refer to
Oil Pan Replacement
.
