For 1990-2009 cars only
Removal Procedure
- Pull the I/P accessory trim plate rearward slightly for access to the steering column filler. Refer to Instrument Panel Accessory Trim Plate Replacement .
- Remove the I/P steering column opening filler. Refer to Steering Column Opening Filler Replacement .
- Remove the I/P cluster trim plate. Refer to Instrument Cluster Trim Panel Replacement .
- Remove the instrument cluster. Refer to Instrument Cluster Replacement .
- Remove the windshield pillar garnish moldings. Refer to Windshield Pillar Garnish Molding Replacement .
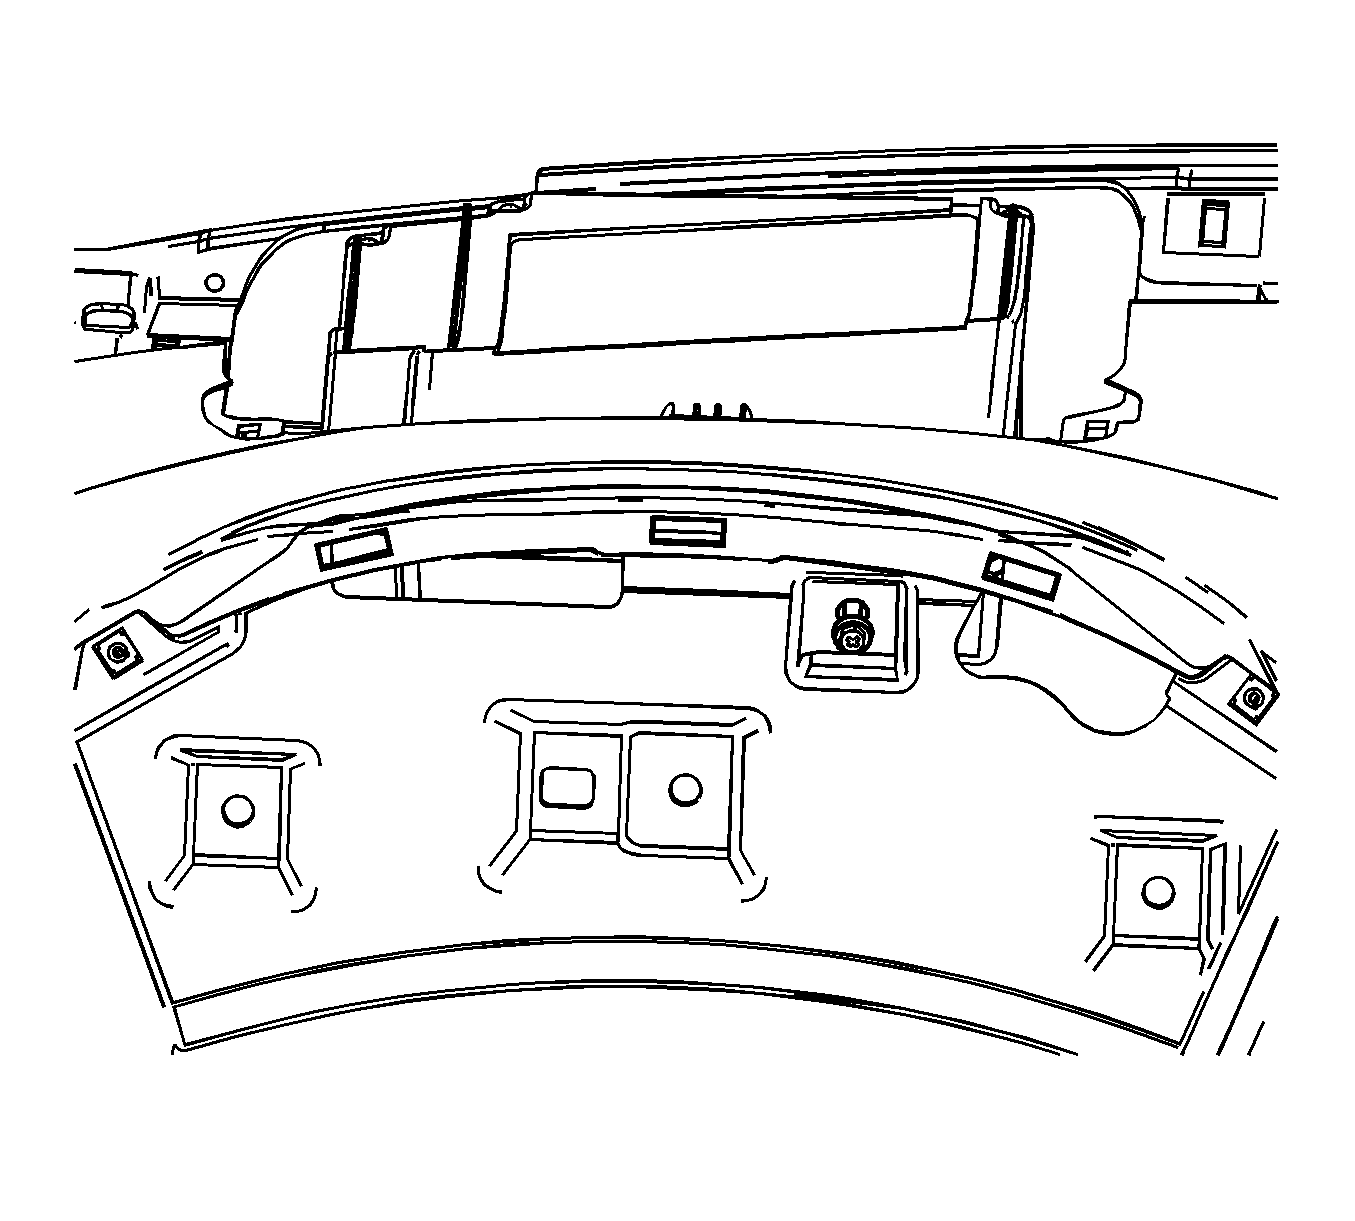
- Disengage the I/P upper trim panel retainers on the sides of the HUD.
- Disengage the retainer rearward of the HUD.
- Remove the I/P upper trim panel. Refer to Instrument Panel Upper Trim Panel Replacement .
- Remove the HUD screw.
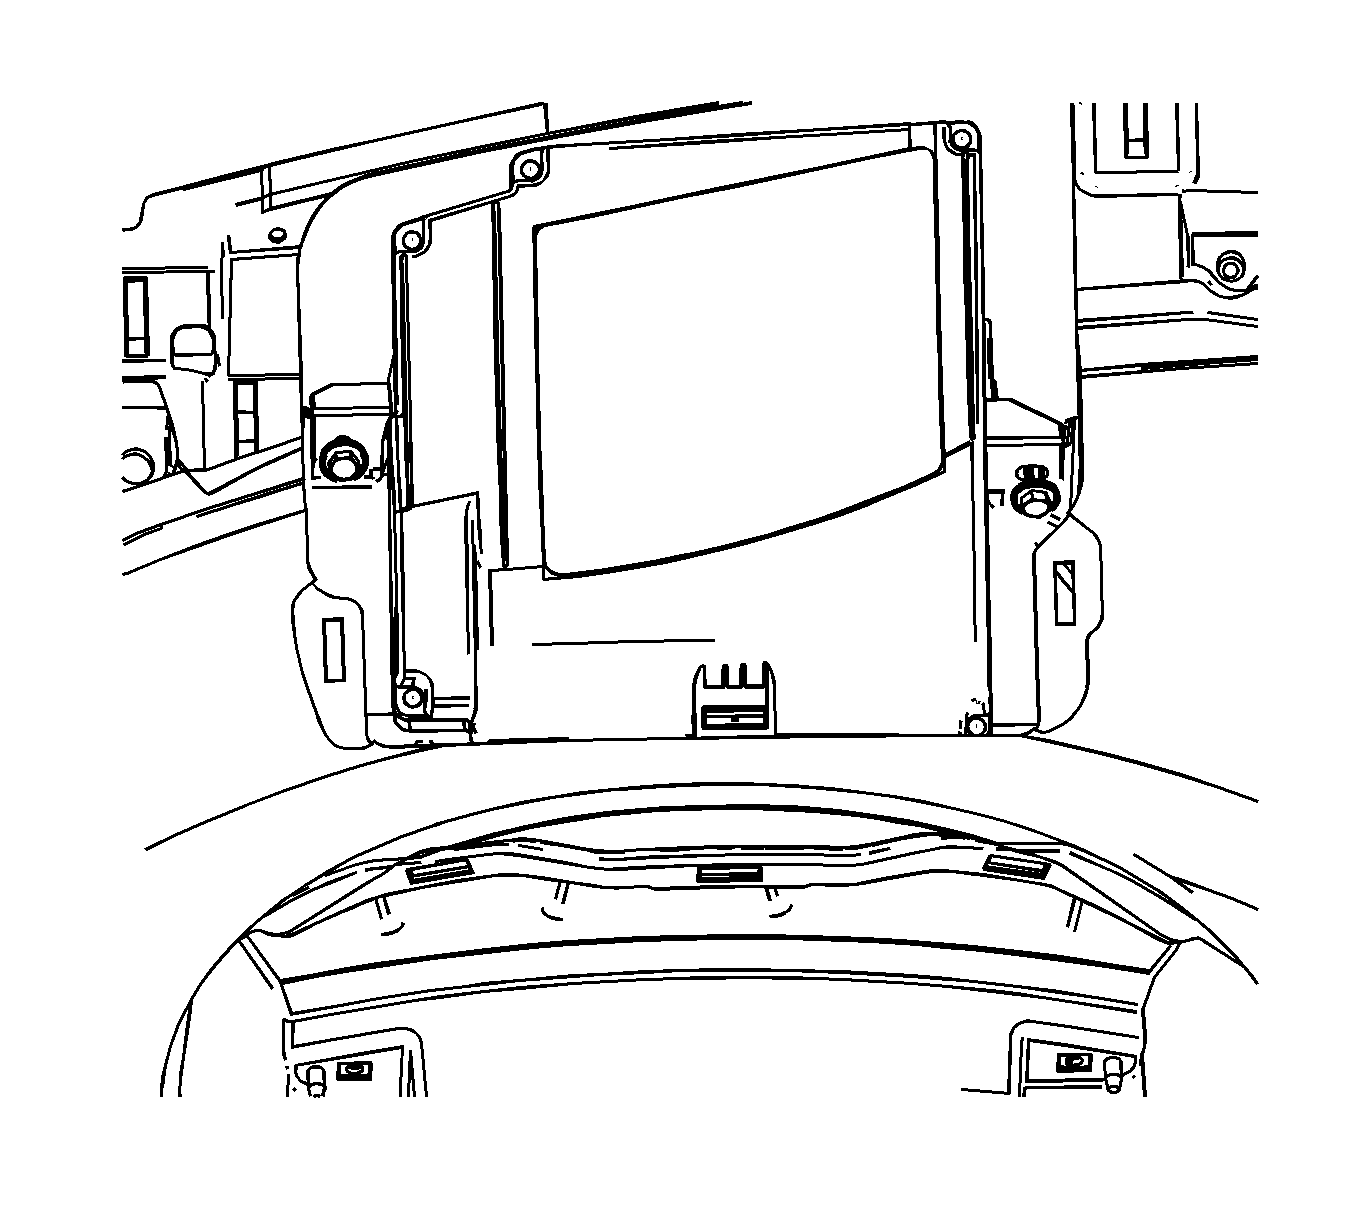
- Remove the HUD bolts.
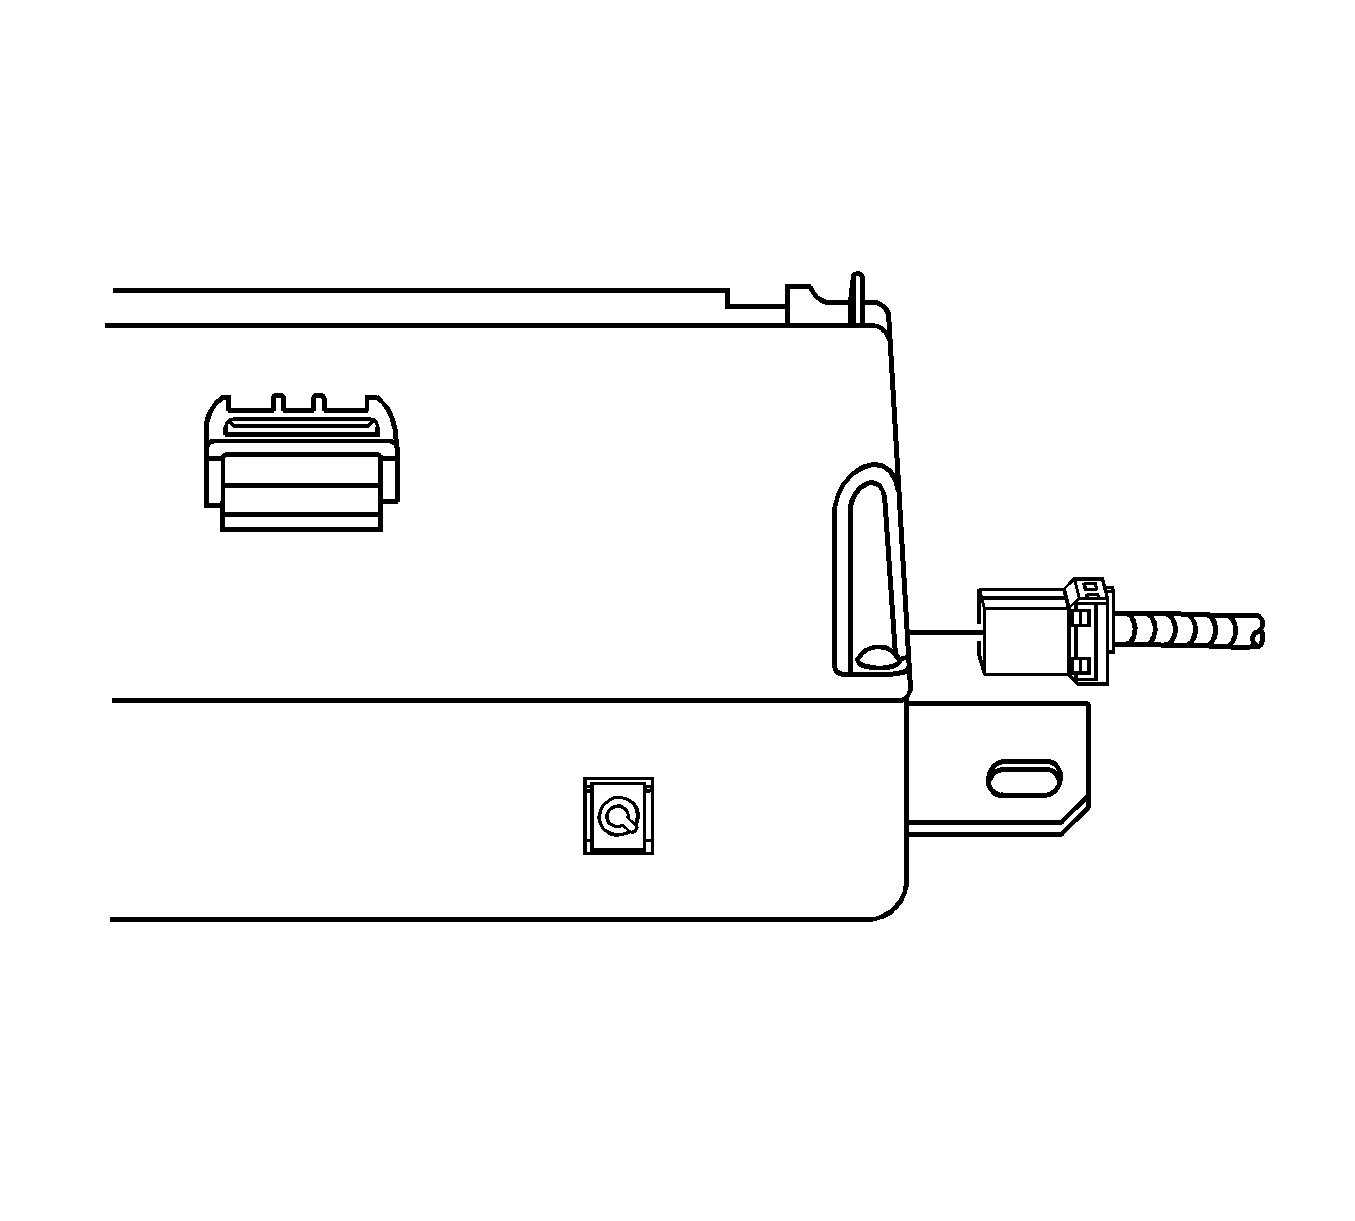
- Adjust the HUD for access. Disconnect the HUD electrical connector.
- Remove the HUD

Notice: Use the following method to disengage the Head Up Display (HUD) retainers. Do
NOT pry the retainers with a flat-bladed tool or other similar device.
Failure to follow this method could break the tab on the HUD.


Installation Procedure
- Connect the HUD electrical connector. Lower the HUD into the I/P opening.
- Start the HUD bolts by hand to avoid cross threading. Install the HUD bolts.
- Install the HUD screw.
- If a new HUD was installed remove the protective plastic sheet from the glass.
- Install the I/P upper trim panel. Refer to Instrument Panel Upper Trim Panel Replacement .
- Install the windshield pillar garnish moldings. Refer to Windshield Pillar Garnish Molding Replacement .
- Install the instrument cluster. Refer to Instrument Cluster Replacement .
- Install the I/P cluster trim plate. Refer to Instrument Cluster Trim Panel Replacement .
- Install the I/P steering column opening filler. Refer to Steering Column Opening Filler Replacement .
- Install the I/P accessory trim plate. Refer to Instrument Panel Accessory Trim Plate Replacement .

Notice: Refer to Fastener Notice in the Preface section.

Tighten
Tighten the bolts to 10 N·m (89 lb in).

Tighten
Tighten the screw to 2 N·m (18 lb in).
