For 1990-2009 cars only
Removal Procedure
- Remove the garnish moldings from the left and the right windshield pillars. Refer to Windshield Pillar Garnish Molding Replacement .
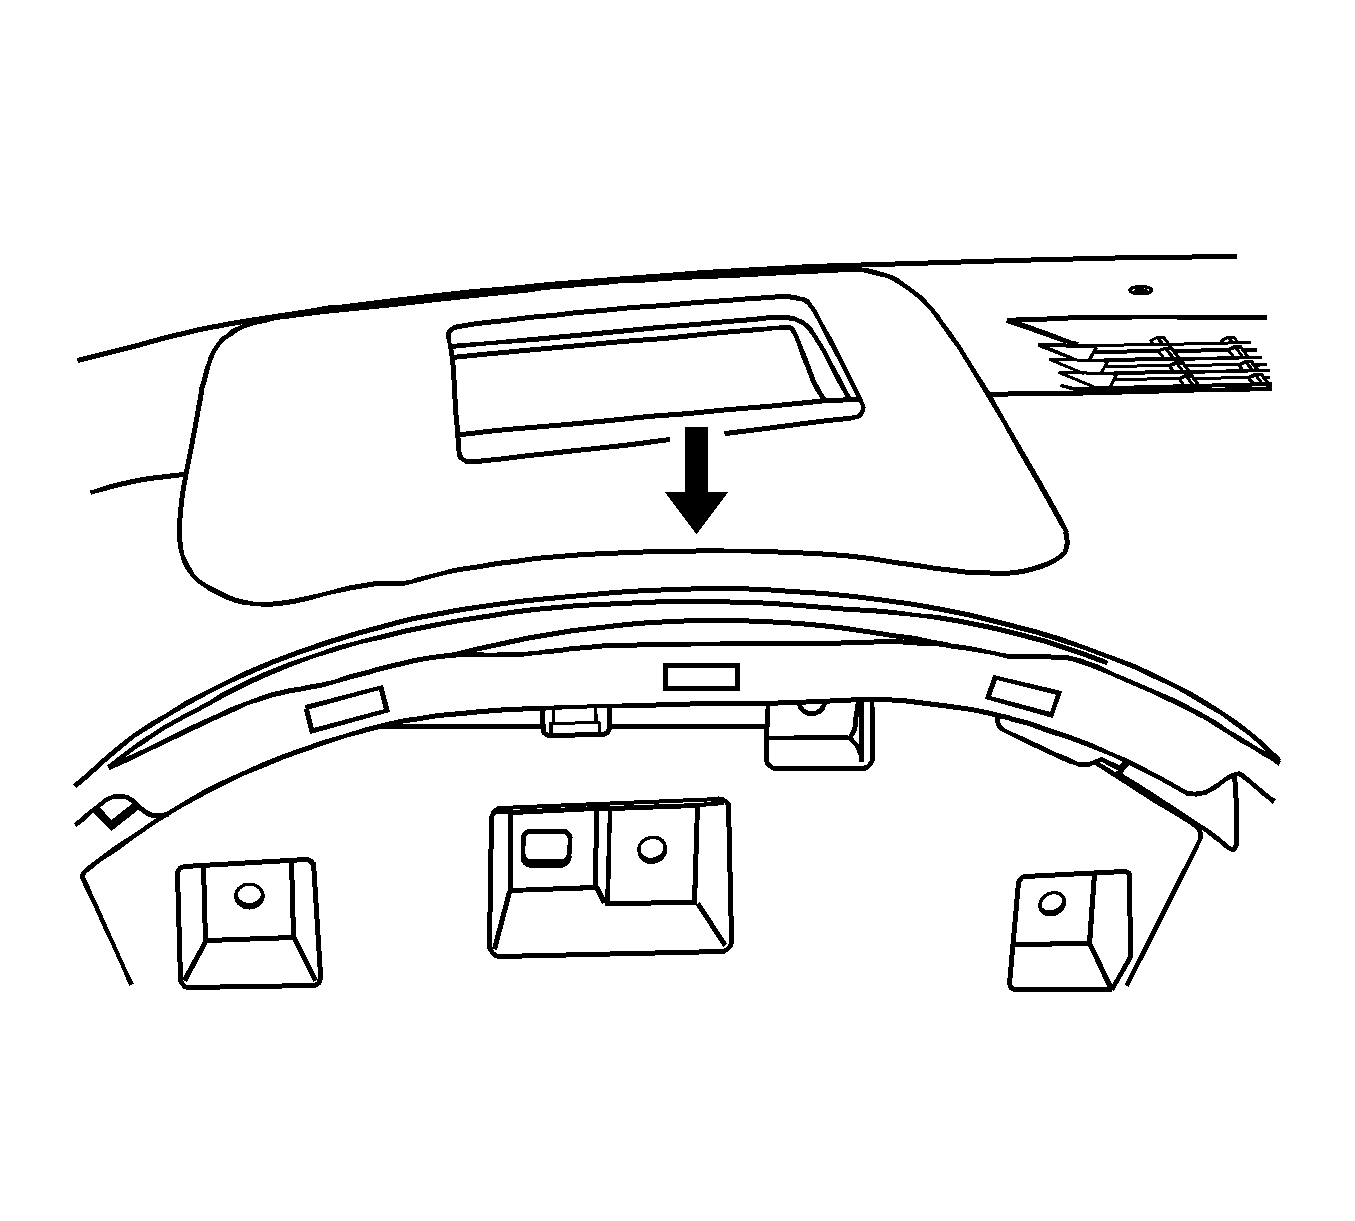
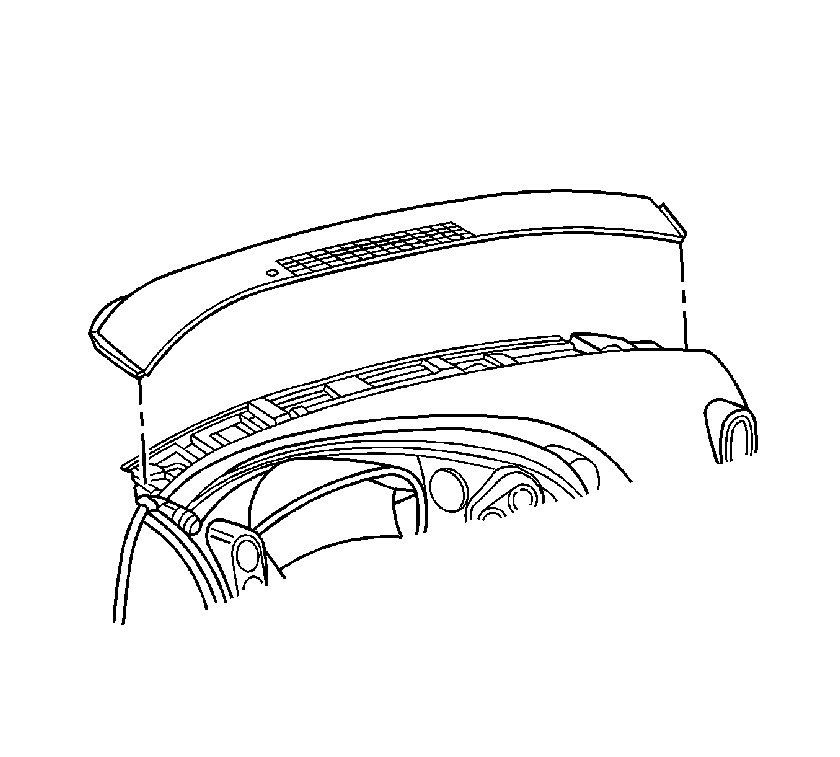
- Disengage the I/P upper trim panel retainers on the sides of the HUD.
- Disengage the retainer rearward of the HUD.
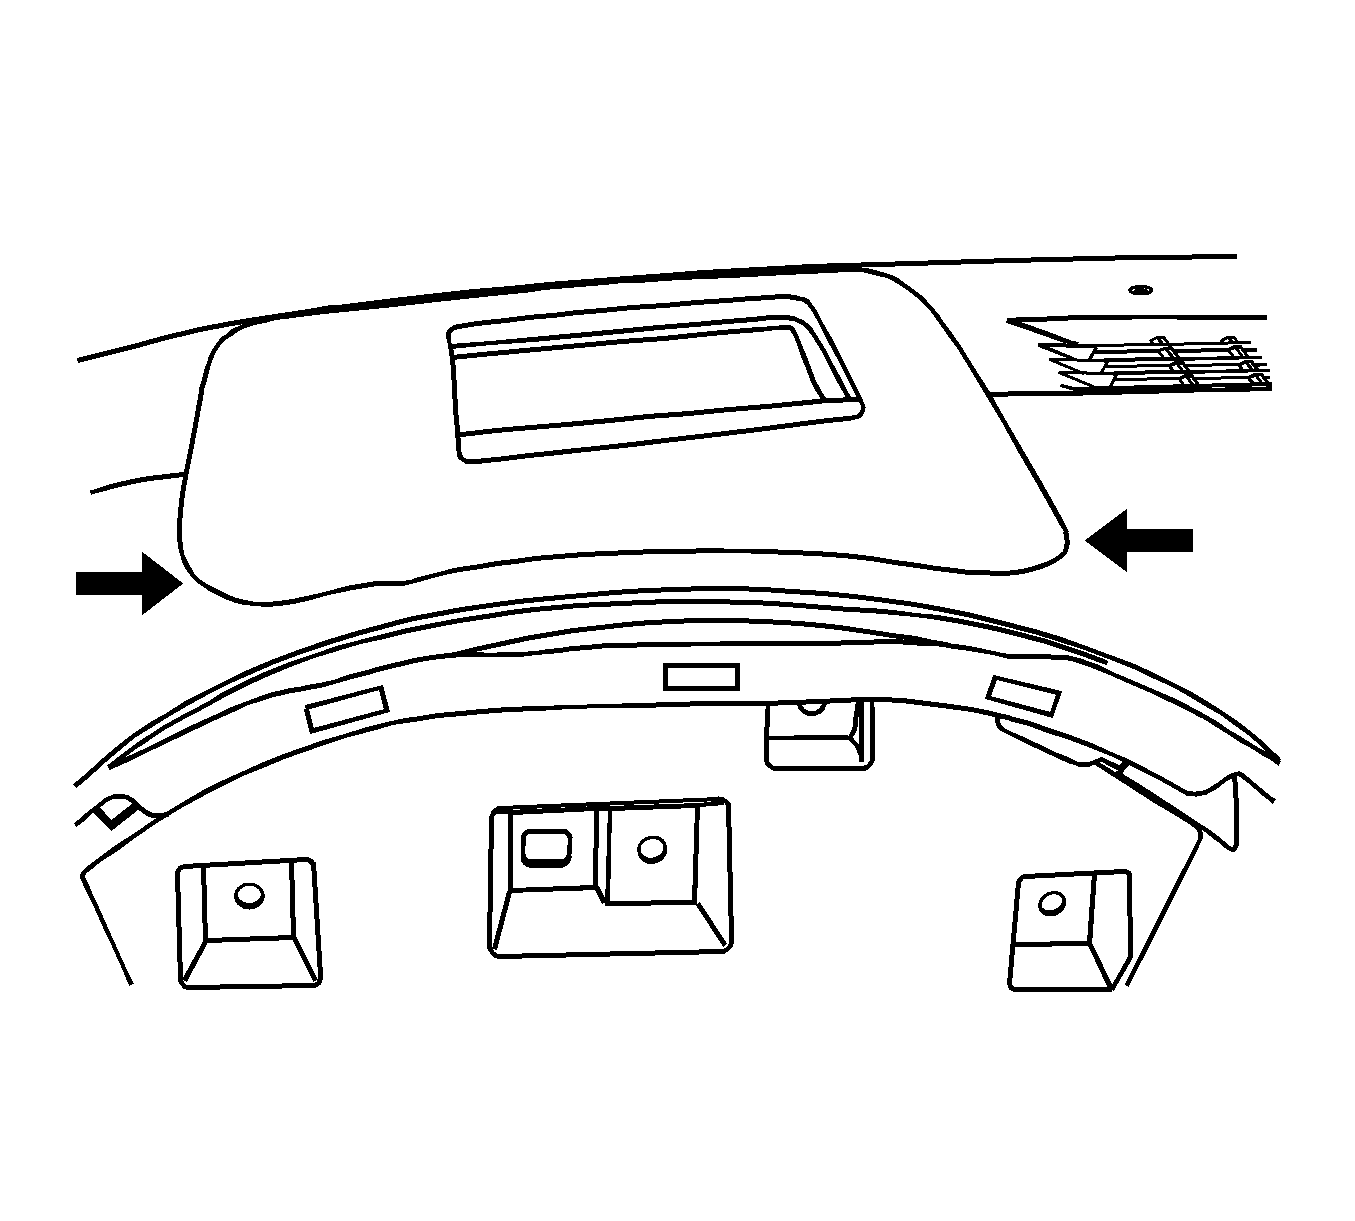
- Use your fingers to lift under the edge of the I/P upper trim panel adjacent to the trim clips. If equipped, disengage the trim panel retainers on the sides of the Head Up Display (HUD) first.
- Disengage the retainer rearward of the HUD.
- Disengage the remaining trim panel retainers. Lift the trim panel for access.
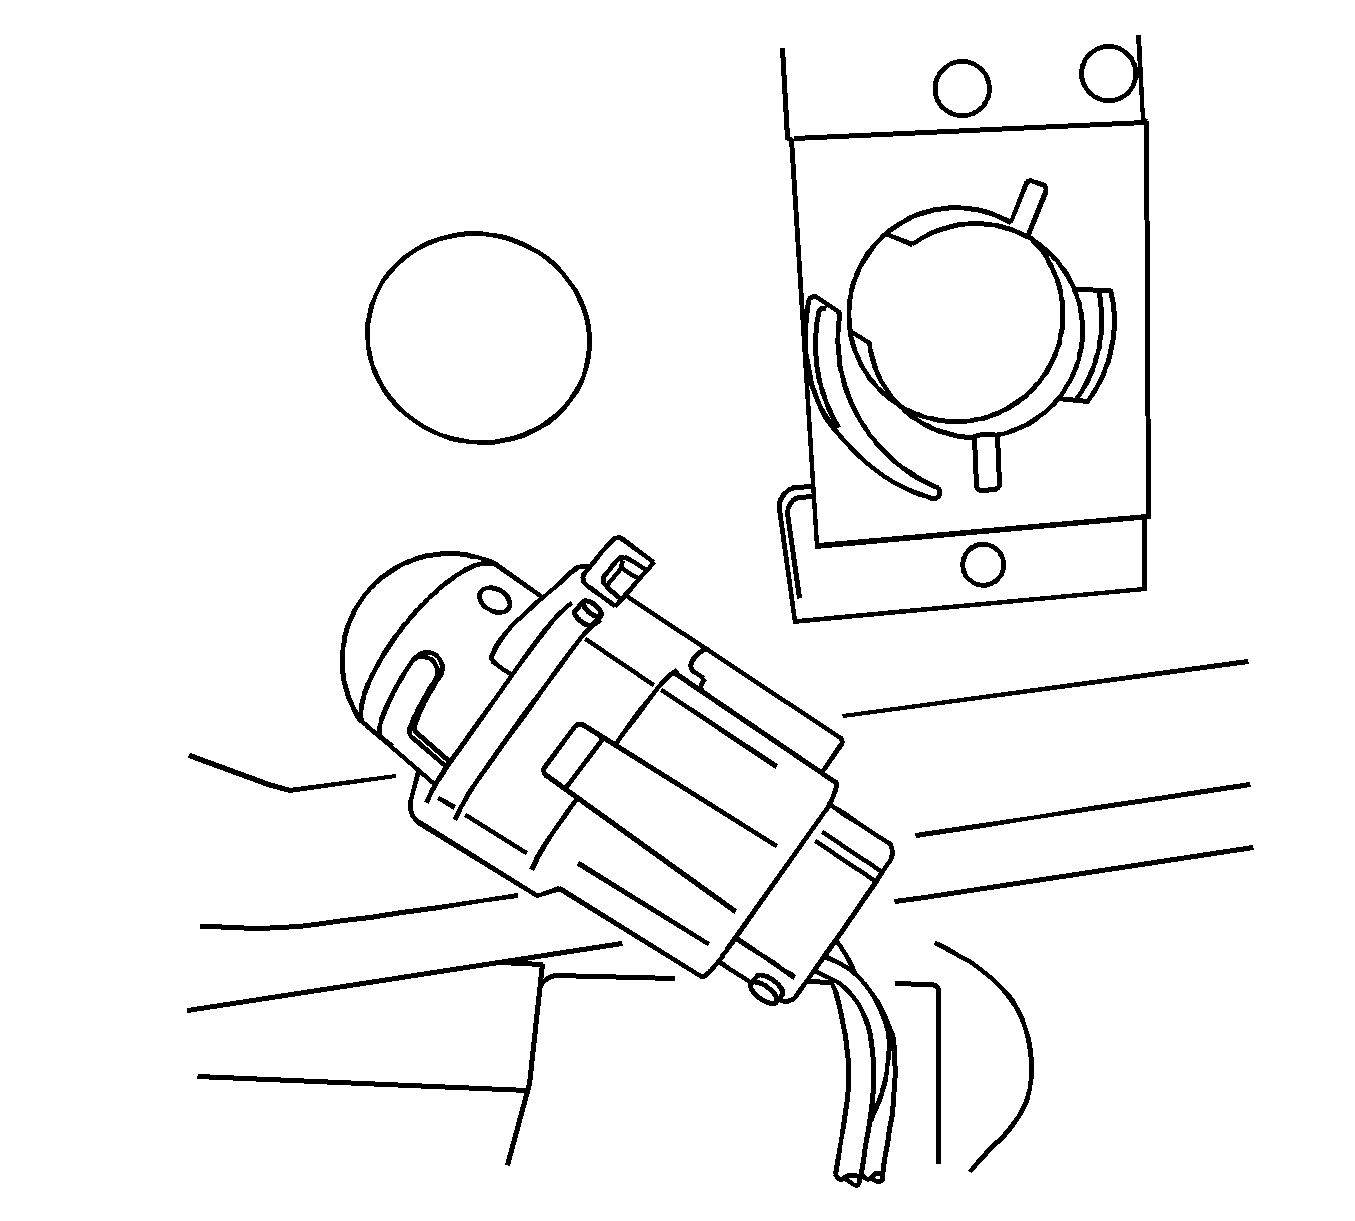
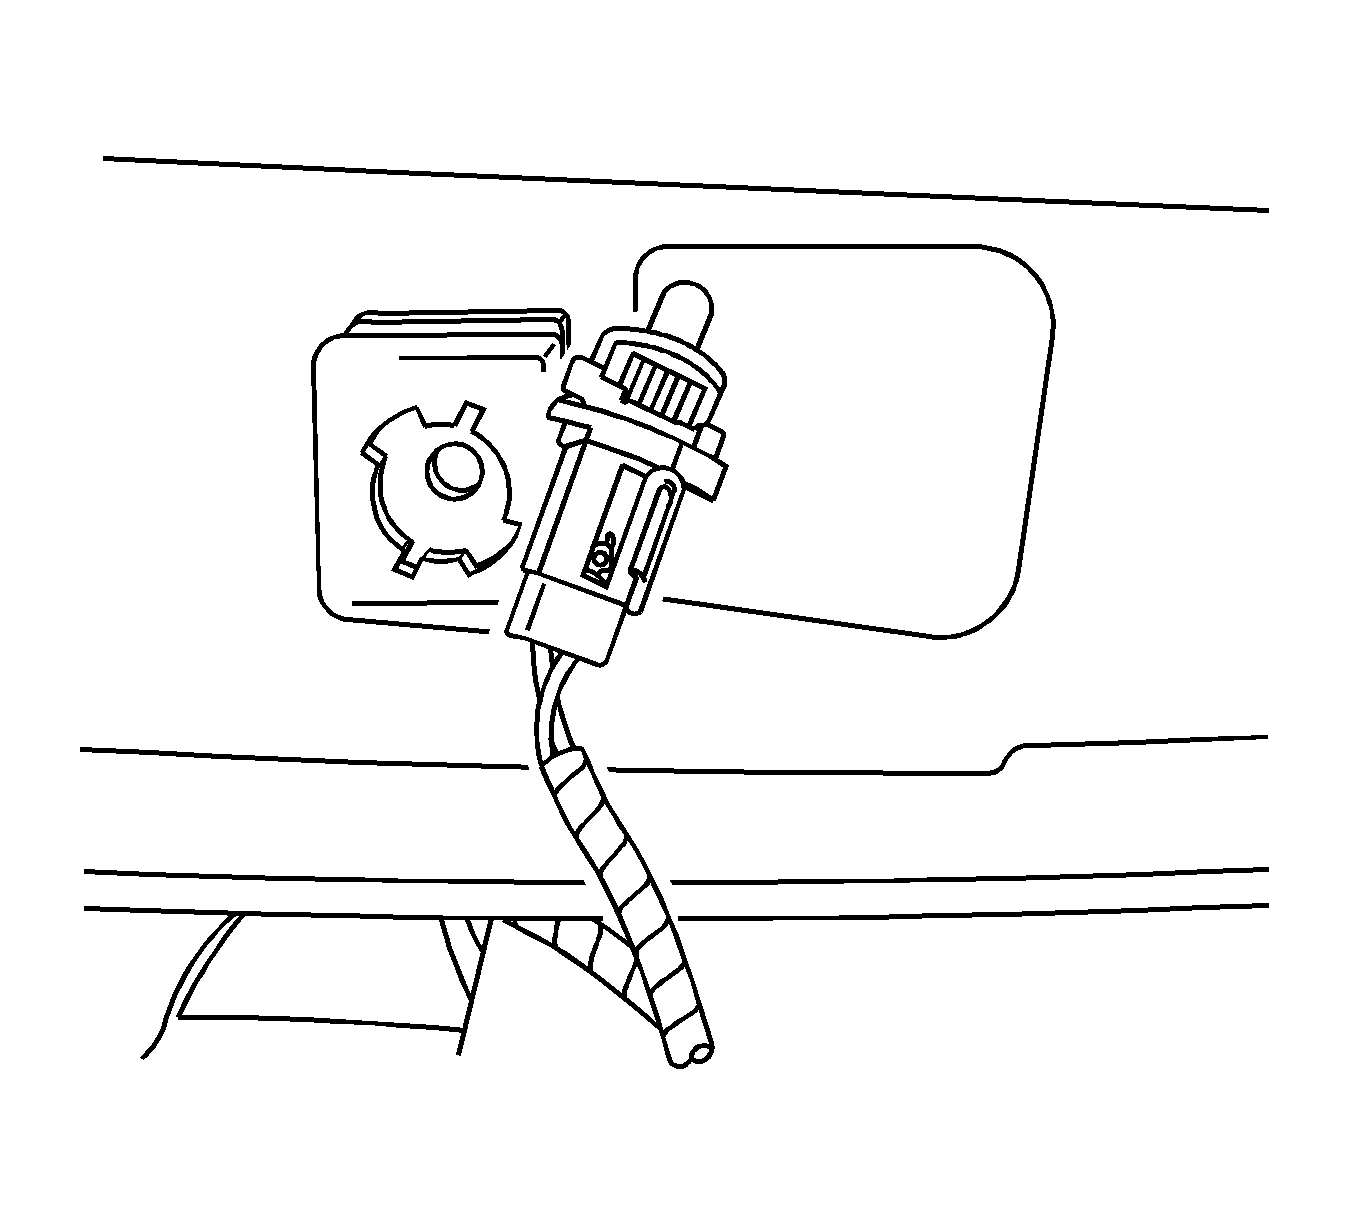
- Use clean shop towels to protect the I/P trim pad from the trim panel retainers. Rotate the Daytime Running Lamp (DRL) ambient light sensor.
- Remove the sensor from the trim panel.
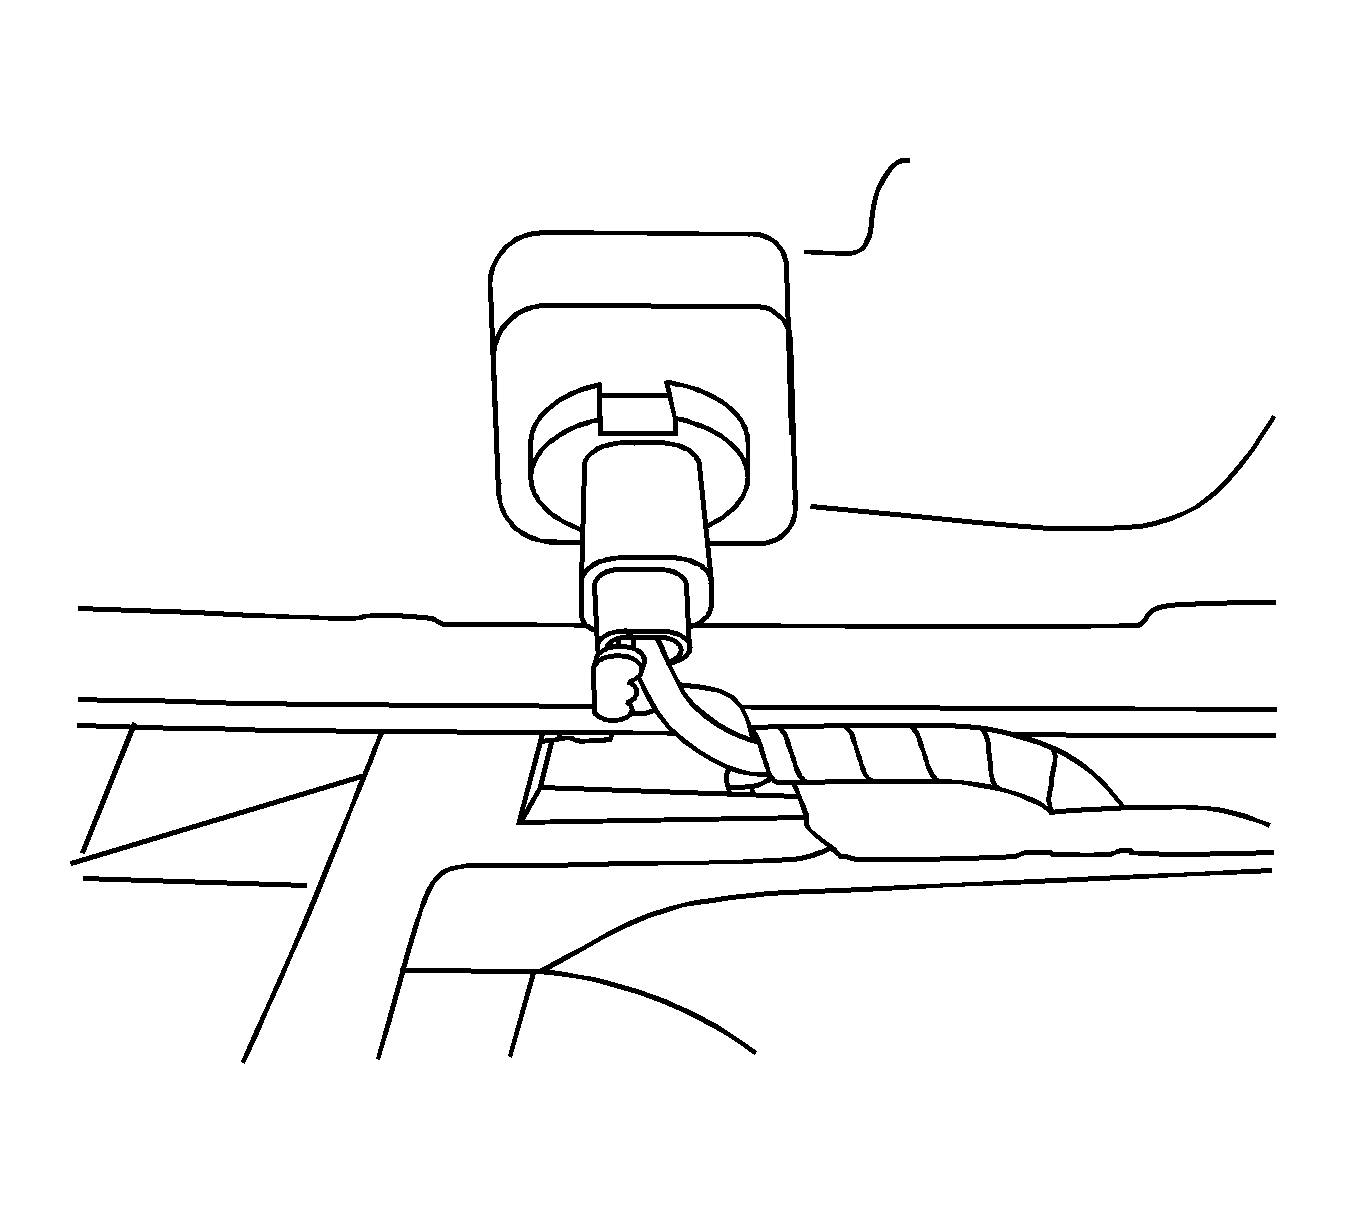
- Rotate the Theft LED.
- Remove the LED from the trim panel.
- Remove the I/P upper trim panel.
Notice: Use the following method to disengage the Head Up Display (HUD) retainers. Do
NOT pry the retainers with a flat-bladed tool or other similar device.
Failure to follow this method could break the tab on the HUD.
Installation Procedure
- Position the trim panel to the upper I/P.
- Position the Theft LED to the opening in the trim panel.
- Rotate the LED.
- Position the DRL sensor into the opening in the trim panel.
- Rotate the sensor. Make sure that the wiring harnesses will not be pinched when the trim panel is installed.
- Align the I/P upper trim panel to the I/P trim pad. Press the retainers into the openings.
- Install the garnish moldings to the right and the left windshield pillars. Refer to Windshield Pillar Garnish Molding Replacement .
