For 1990-2009 cars only
Removal Procedure
- Disconnect the battery ground cable. Refer to Battery Negative Cable Disconnection and Connection in Engine Electrical.
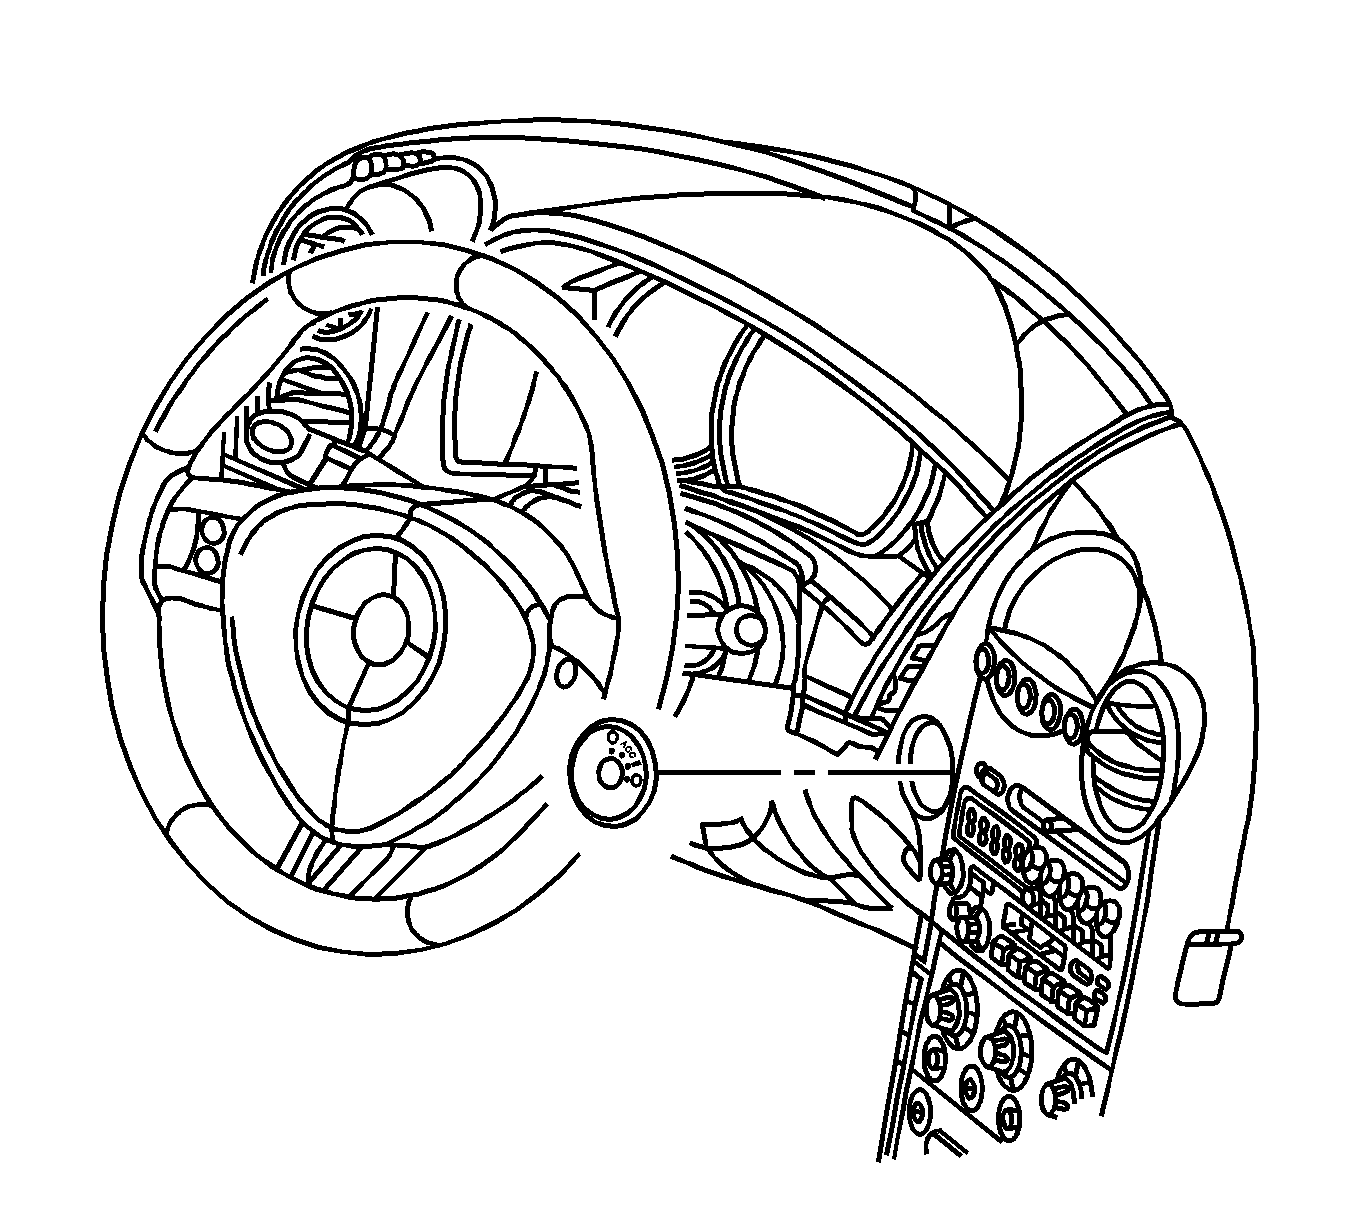
- Use a plastic trim tool to remove the ignition switch bezel.
- Remove the instrument panel (I/P) accessory trim plate. Refer to Instrument Panel Accessory Trim Plate Replacement .
- Remove the left I/P insulator. Refer to Instrument Panel Insulator Panel Replacement - Left Side .
- Remove the opening filler panel from the I/P steering column. Refer to Steering Column Opening Filler Replacement .
- Remove the I/P driver knee bolster. Refer to Driver Knee Bolster Replacement .
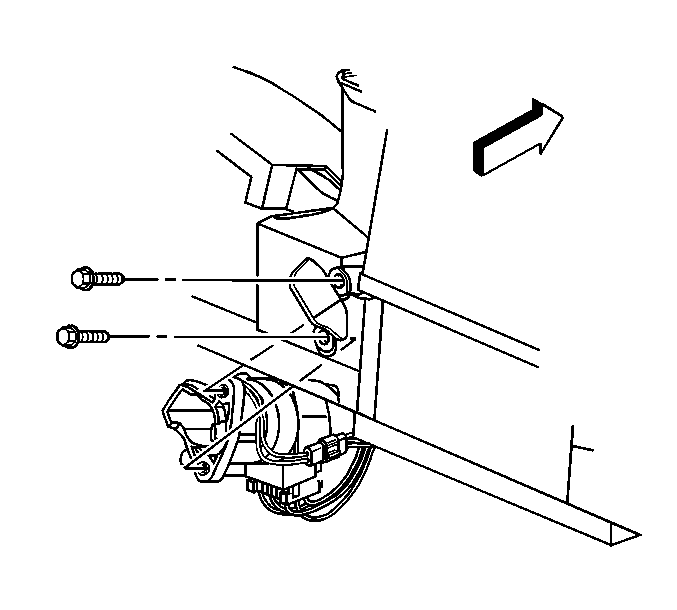
- Remove the ignition switch bolts.
- Lower the ignition switch away from the I/P trim pad.
- Insert the key into the ignition lock cylinder. Turn the key to the ON/RUN position.
- Depress and hold the detent on the bottom of the ignition switch in order to release the ignition lock cylinder. Remove the ignition lock cylinder with the key.
- Remove the key from the lock cylinder.
- Disengage the theft deterrent reader/exciter module retainers (1,2).
- Remove the lock cylinder.
- If the cylinder does not rotate, follow the procedure in the ignition switch replacement. Refer to Ignition and Start Switch Replacement .
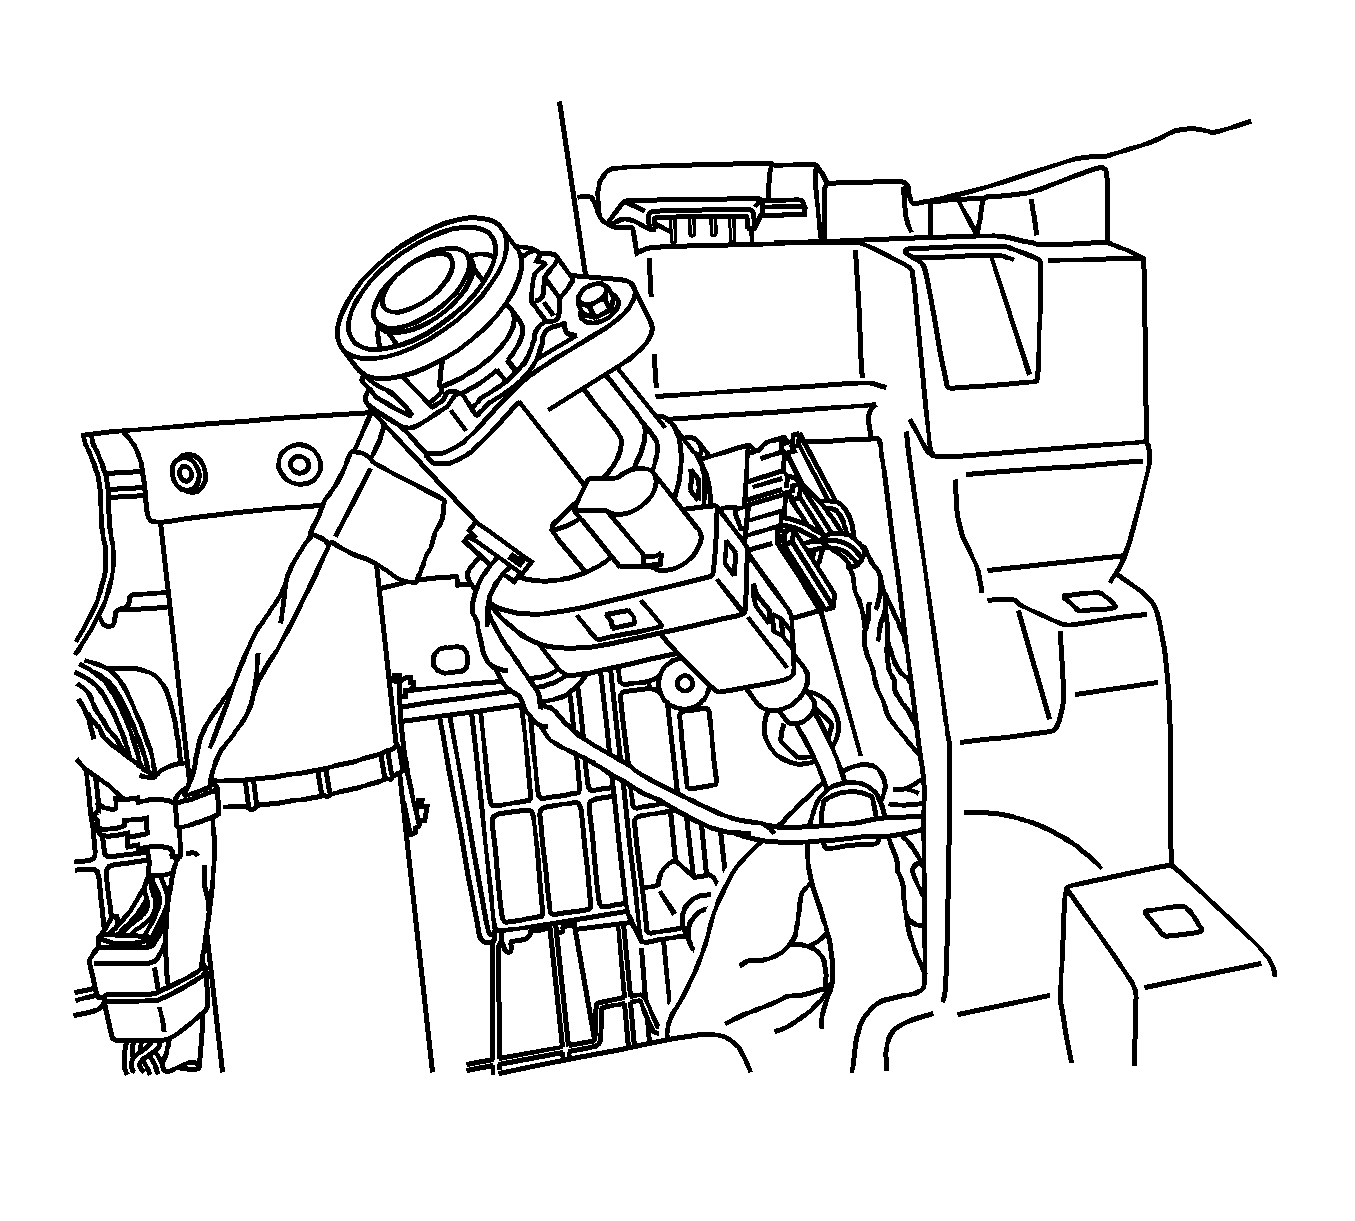

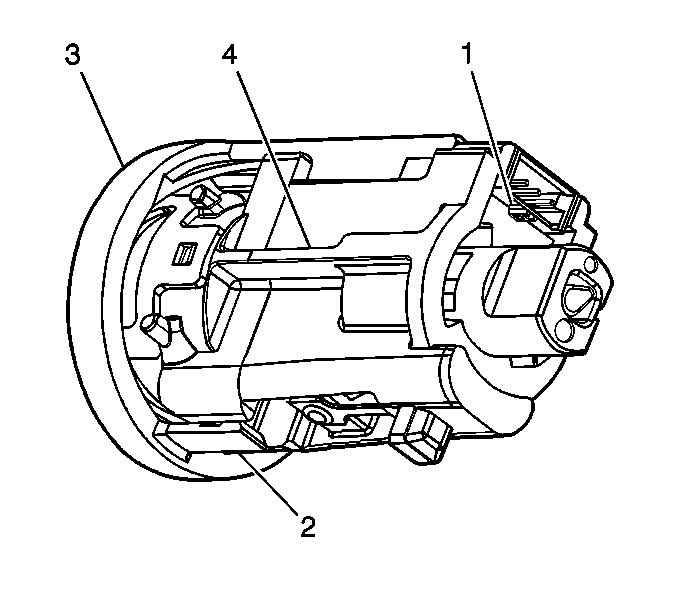
Remove the theft deterrent reader/exciter module (3) from the lock cylinder housing.
Installation Procedure
- Code the ignition lock cylinder , if necessary. Refer to Key and Lock Cylinder Coding in General Information.
- Slide the theft deterrent reader/exciter module (3) onto the ignition lock cylinder housing. Verify that the retainers (1,2) are engaged.
- Insert the key to the lock cylinder.
- Turn the key to the ON/RUN position. Install the ignition lock cylinder into the ignition switch.
- Remove the key.
- Position the ignition switch to the I/P trim pad.
- Install the ignition switch bolts.
- Install the I/P driver knee bolster. Refer to Driver Knee Bolster Replacement .
- Install the I/P steering column opening filler panel. Refer to Steering Column Opening Filler Replacement .
- Install the left I/P insulator. Refer to Instrument Panel Insulator Panel Replacement - Left Side .
- Install the I/P accessory trim plate. Refer to Instrument Panel Accessory Trim Plate Replacement .
- Install the ignition switch bezel.
- Connect the battery ground cable. Refer to Battery Negative Cable Disconnection and Connection in Engine Electrical.
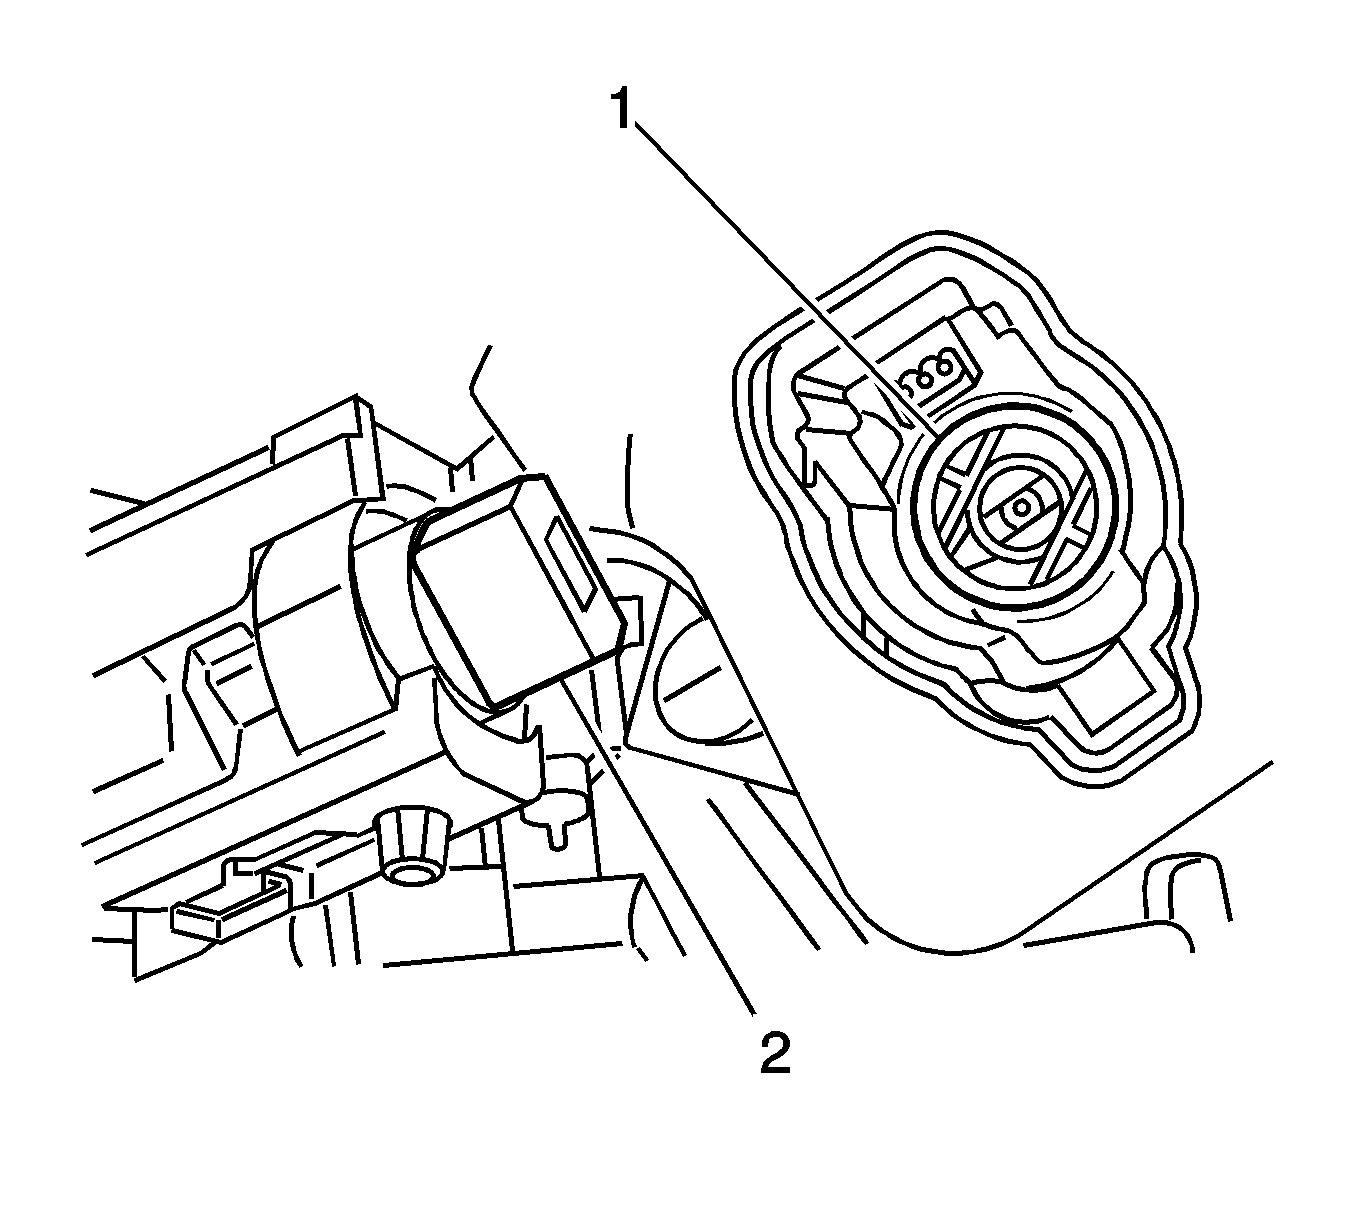
If you turned the key slightly while removing the lock cylinder, you may have to align the white ignition switch rotor (1) with the lock cylinder (2). You can rotate the switch rotor with your finger.
Notice: Refer to Fastener Notice in the Preface section.
Tighten
Tighten the bolts to 10 N·m (89 lb in).
