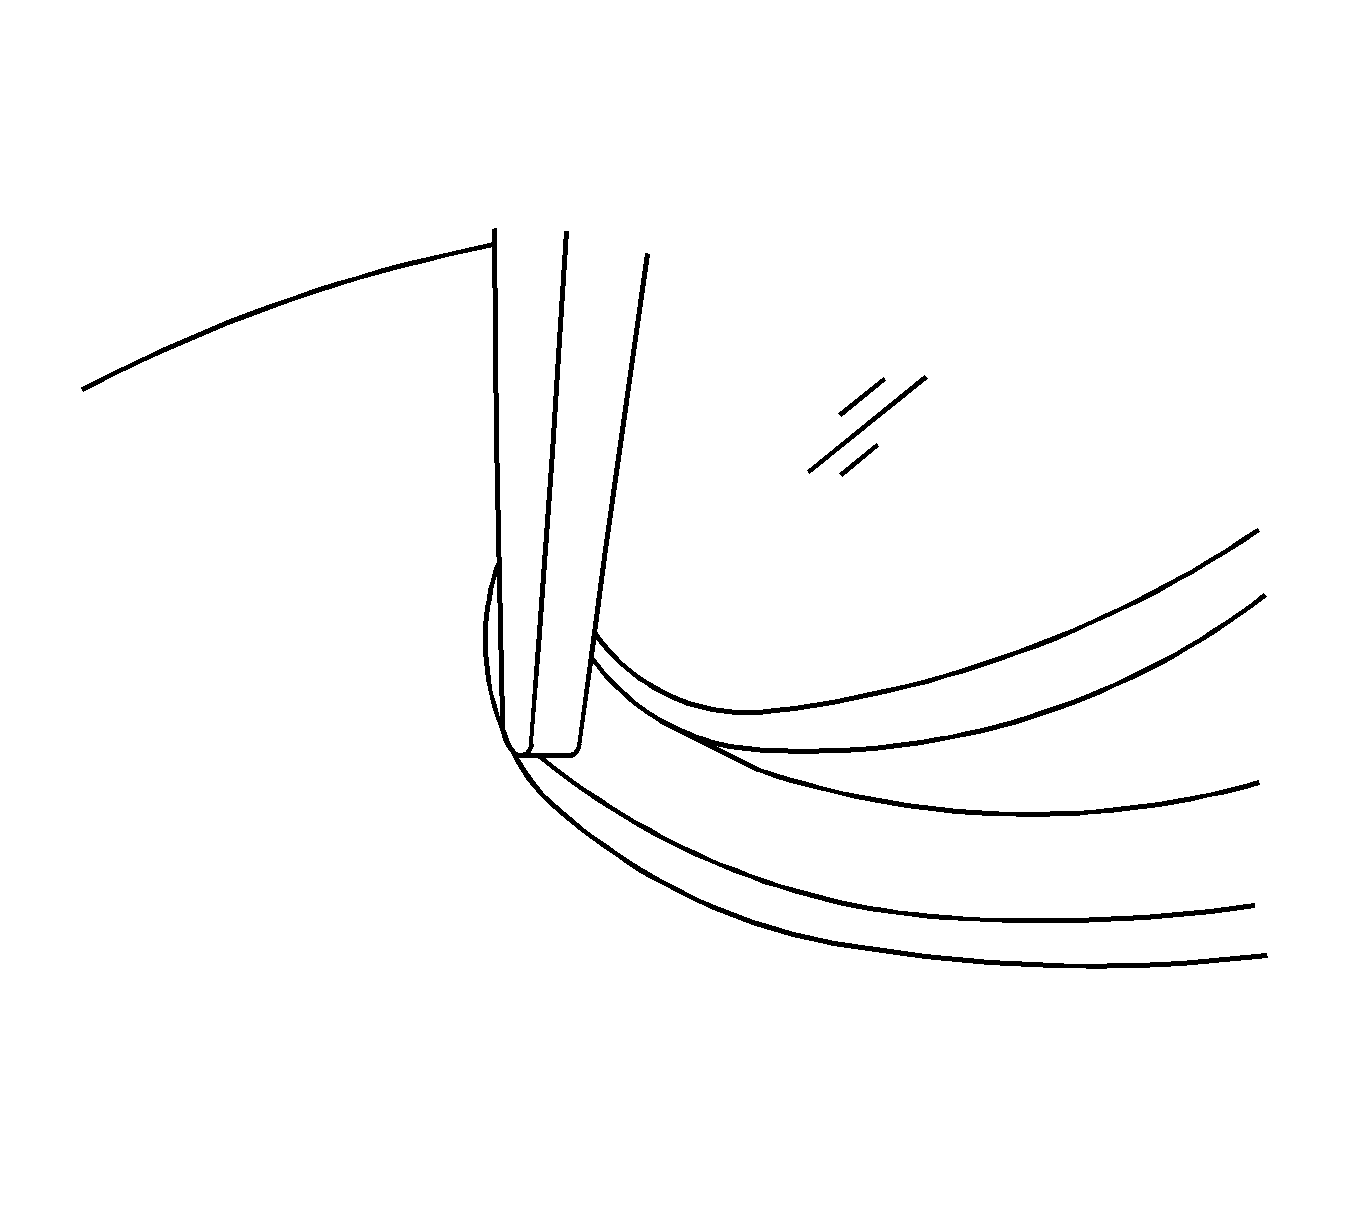
Adjustment Procedure
- Close the sunroof window panels.
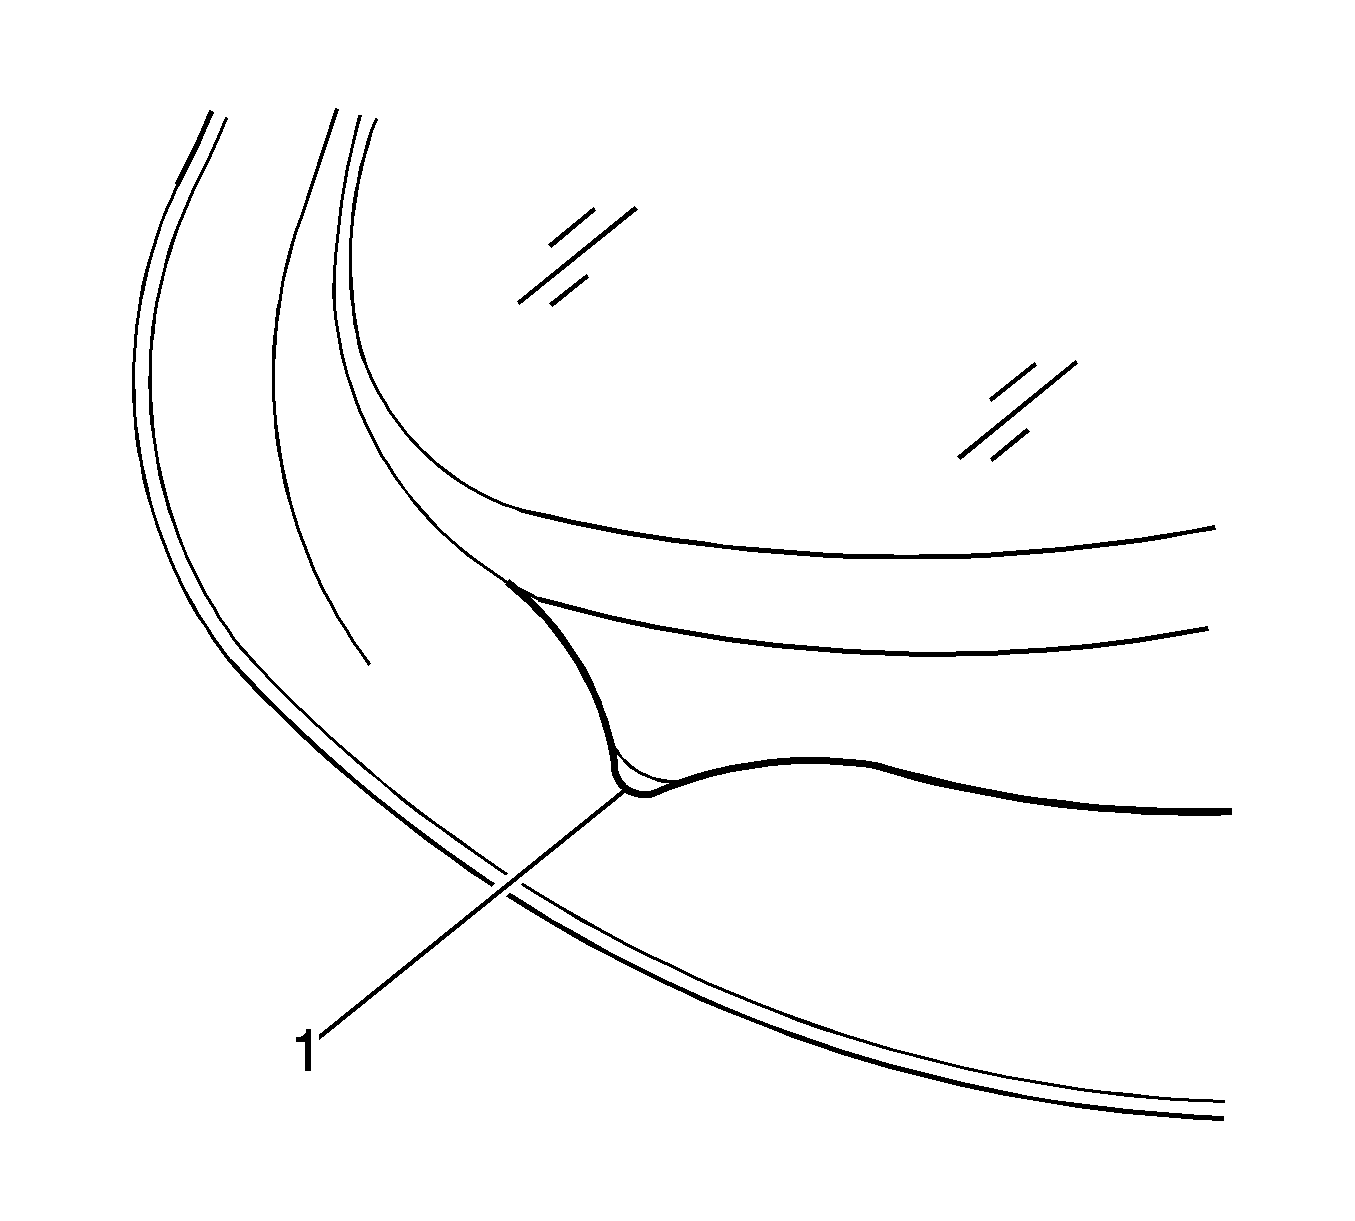
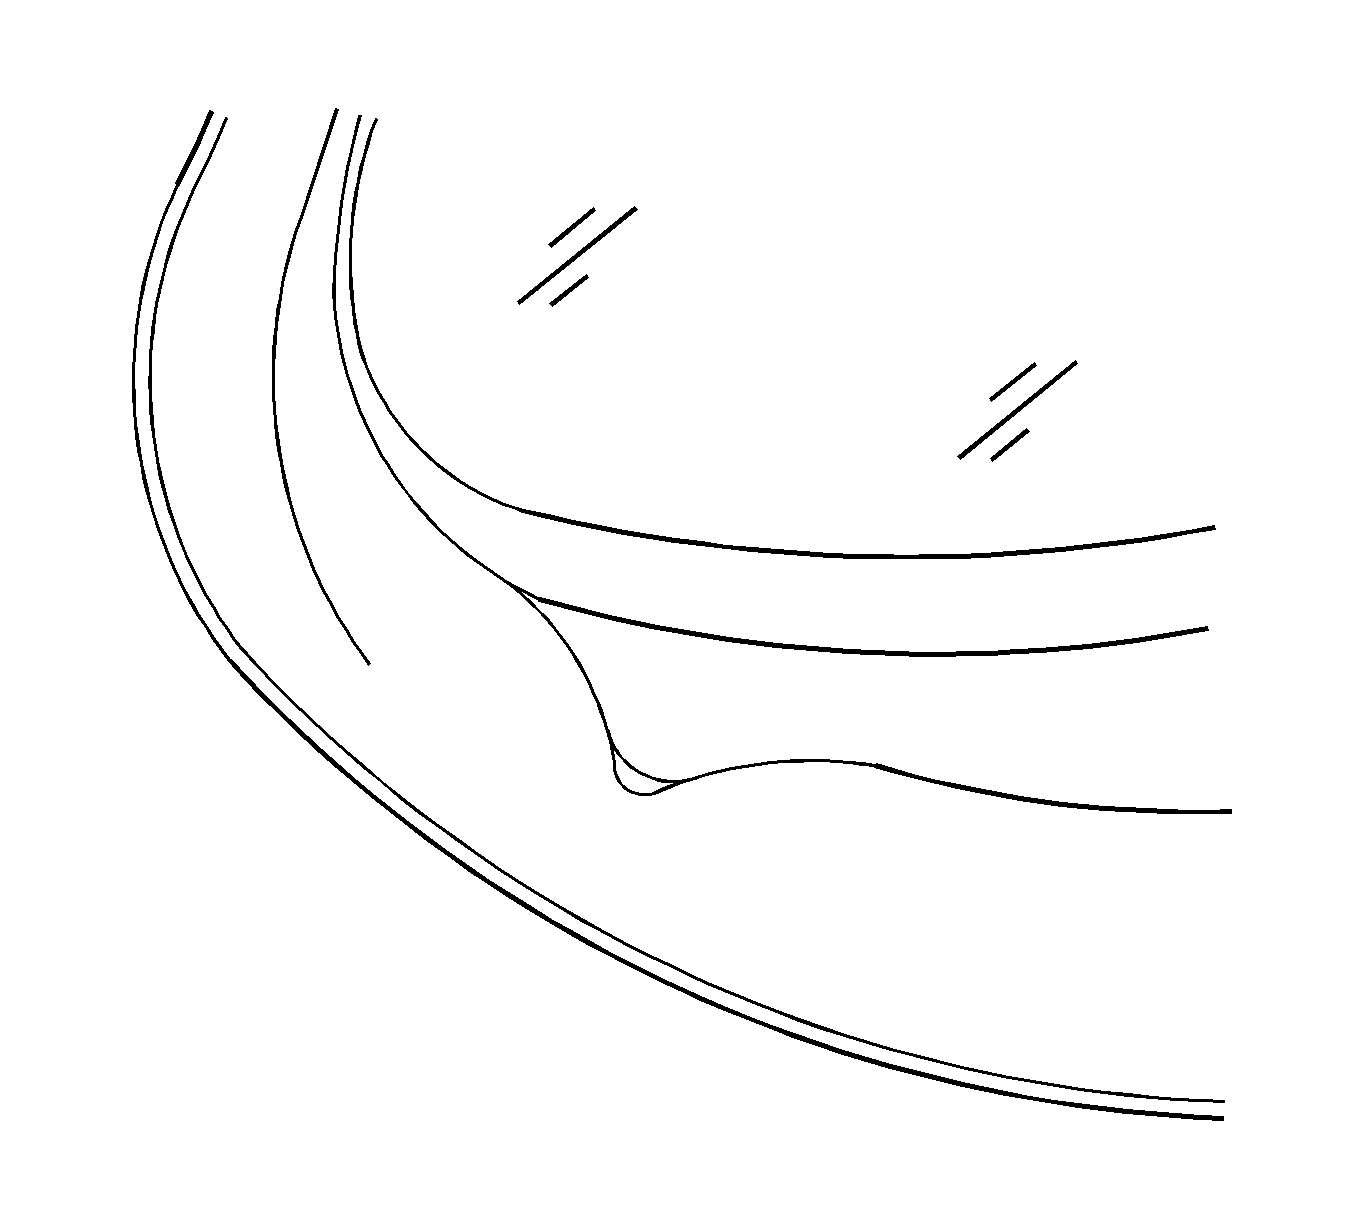
- The sunroof window seal may have puckers at the front corners causing poor sealing against the first sunroof window panel.
- This can be identified by opening the panoramic sunroof and inspecting the sunroof window seal.
- Run a business card or a similar item around the sunroof window seal, look for even tension around the seal.
- Inspect the sunroof window seal for the incorrect conditions below:
- Corner puckered.
- Inner puckered.
- Rolled puckered.
- Adjust the first window panel forward a small amount. The intent is to move the location of where the window interfaces the seal forward of where the pucker begins. Refer to Sunroof Window Height and Opening Fit Adjustment
- Close the sunroof window panels.
- Retest for leaks, If the sunroof window still leaks, continue with follow steps.
- Lift the trim covers corners to expose the attachment screws.
- Loosen the four attachment screws (two on each side).
- From outside the vehicle, slide the window panel forward a small amount.
- Have an assistant push down on the front corner of the sunroof window panel using the palm of their hand while tightening the attachment screws, one side at a time.
- Adjust the other sunroof window panels as necessary to ensure 4 mm gap between them. Refer to Sunroof Window Height and Opening Fit Adjustment and Sunroof Window Alignment .
- It is always desirable to have the front edge lower than the rear edge of the window panel in font of it to create a slight shingle effect - it should be almost undetectable.
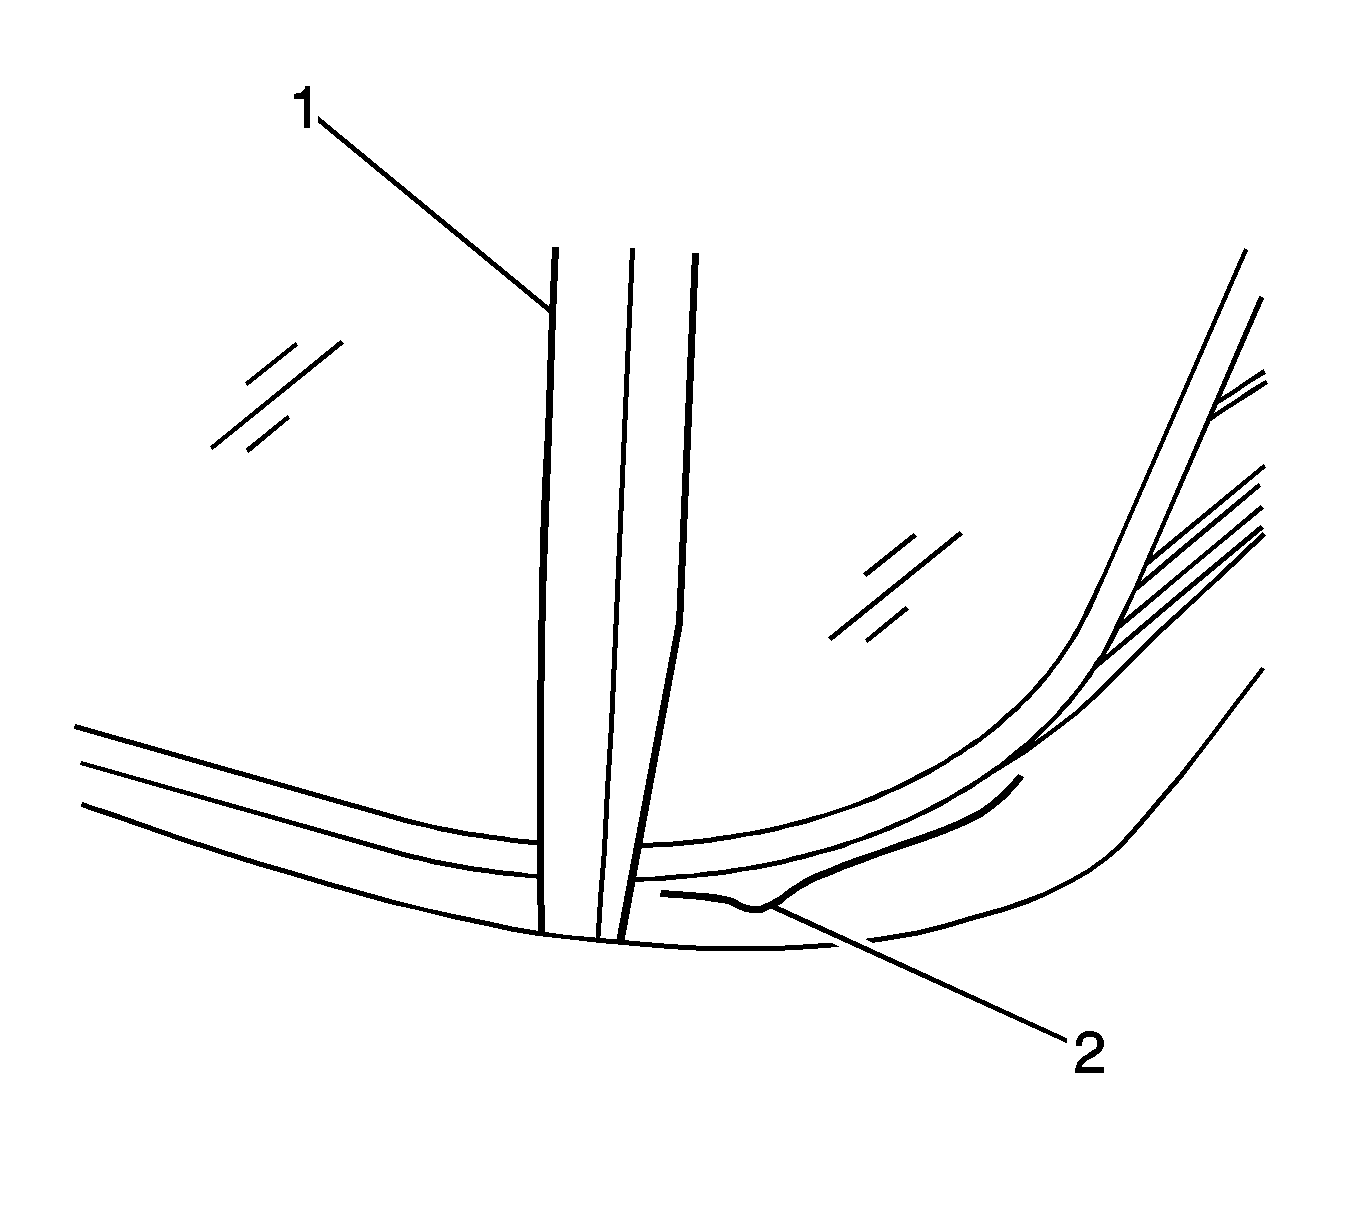
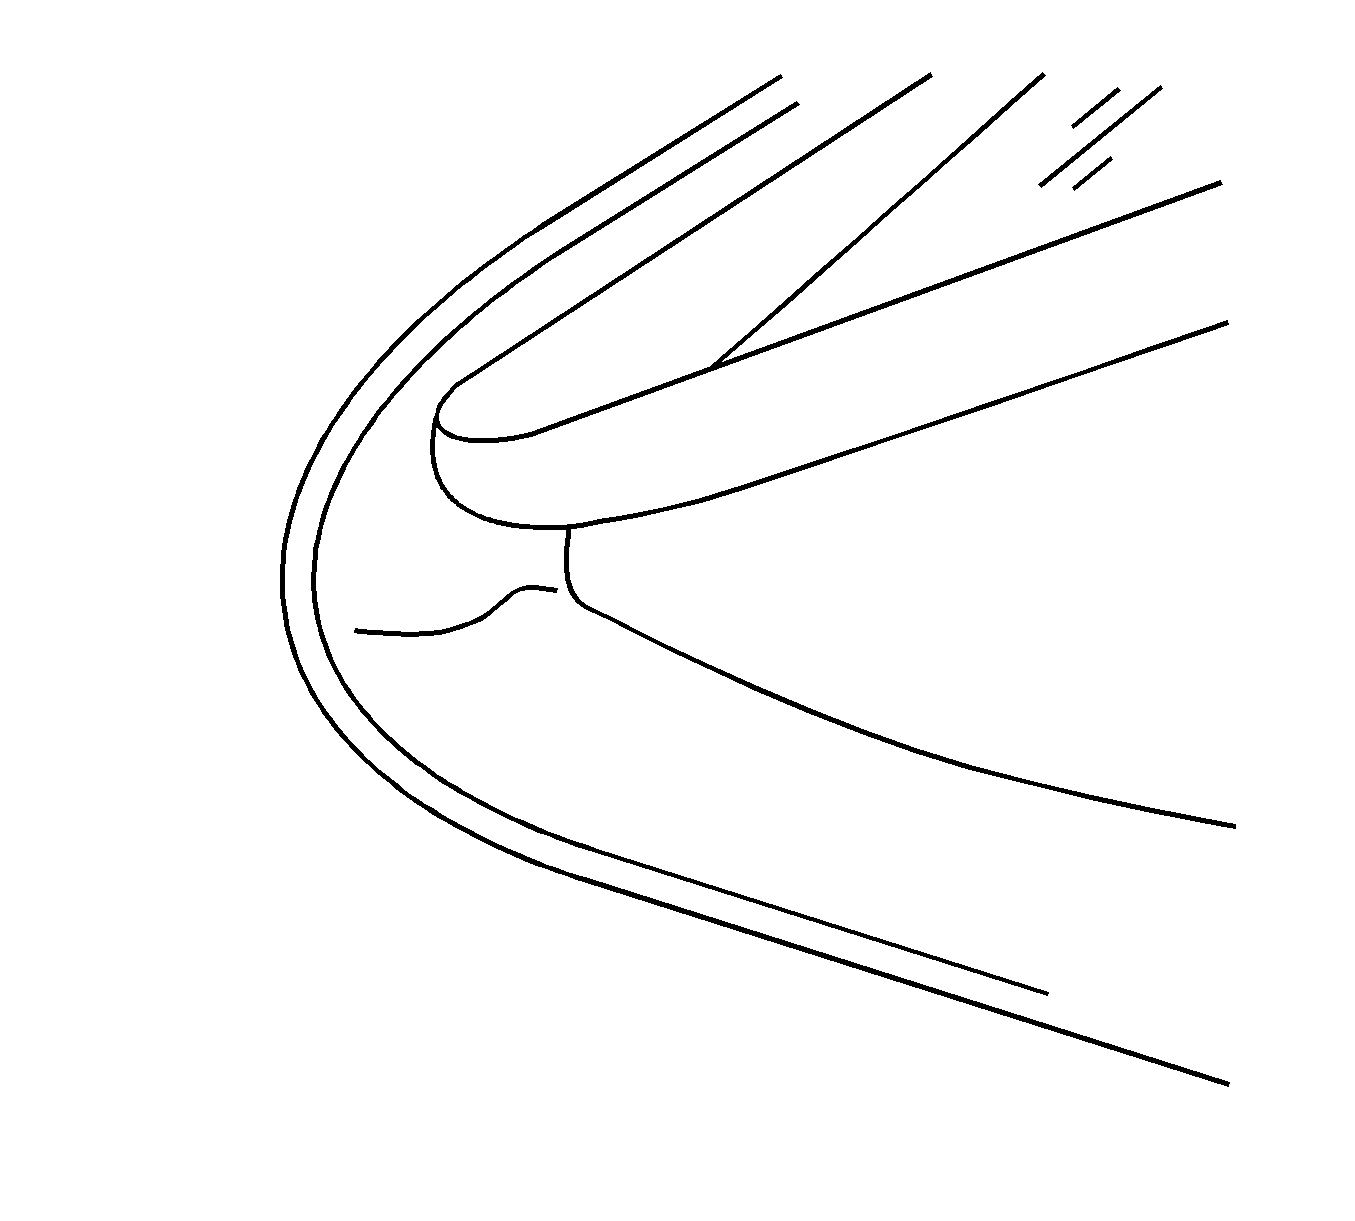
- On extreme cases, where adjustment of the first sunroof window panel will not compensate for the puckers (1) in the seal, It will be necessary to correct the puckers.
- Open the sunroof window panels.
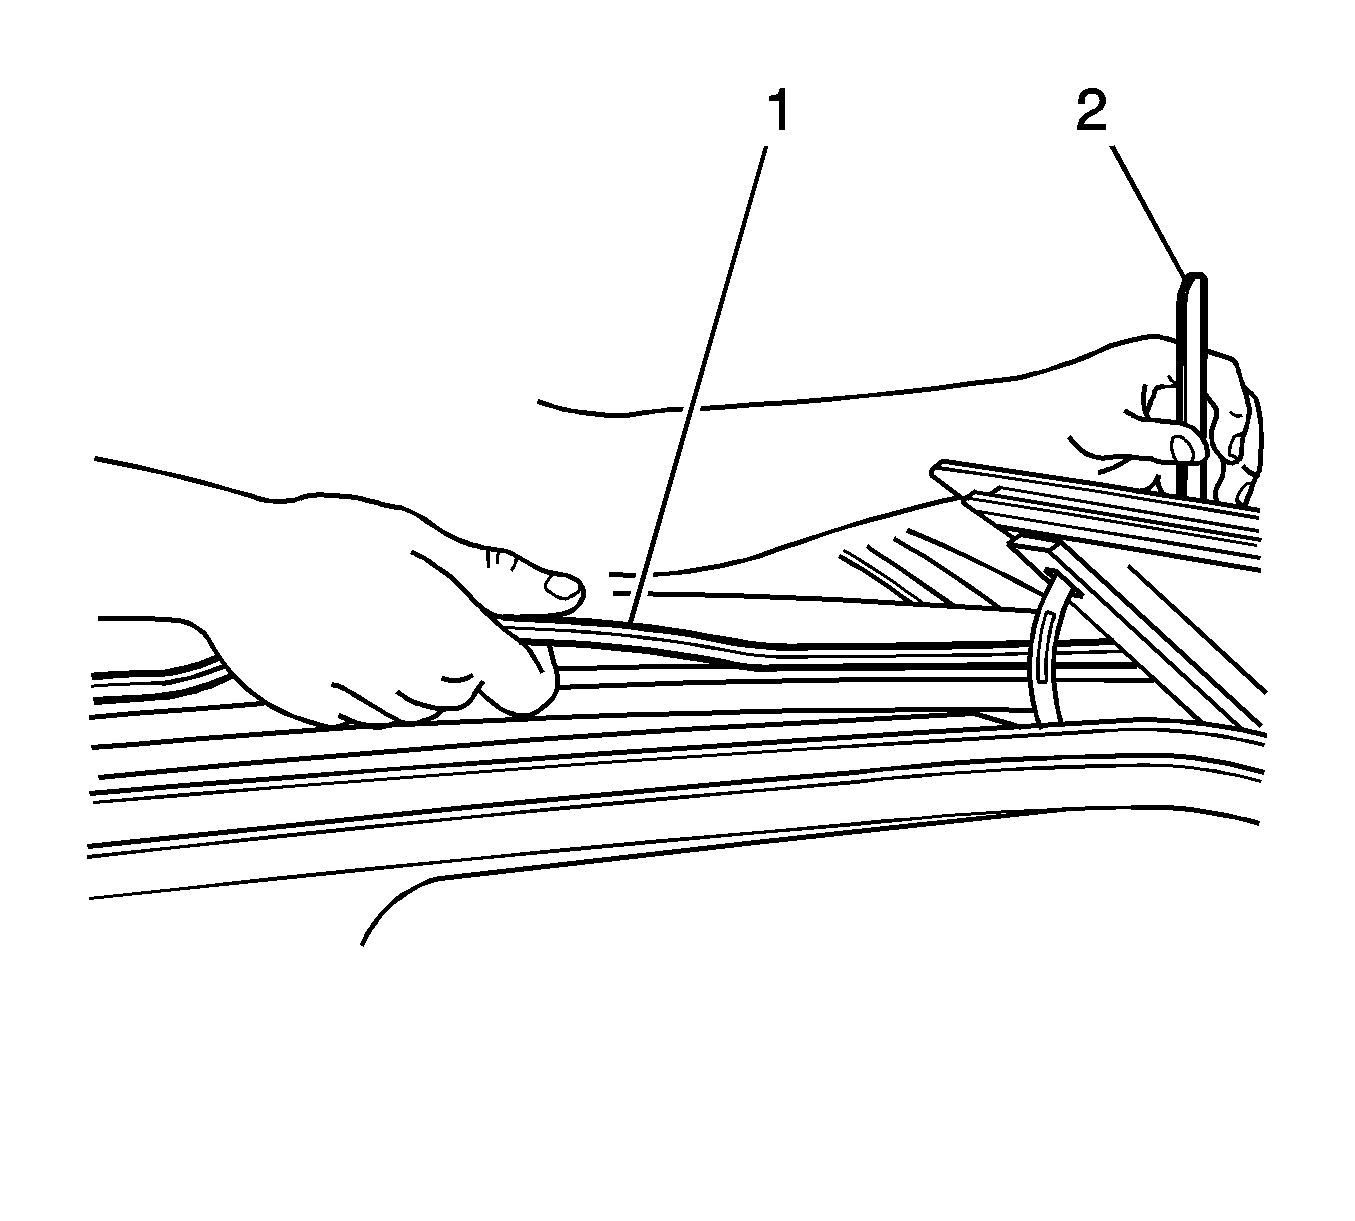
- Using a suitable tool (1), work the seal (2) by pulling it tight to fit the front corners. This will lessen the pucker.
- It will be necessary to work the seal back in to the gutter.
- Grasp the seal (1) several inches to the rear of the pucker and gently work it back with your fingers.
- Using a suitable tool (2) work the seal around the corner.
- It may be a combination of working the seal back and adjustment of the front window panel that corrects the leak. Some pucker may remain.
- If the seal is not repairable it will be necessary to replace it . Refer to Sunroof Window Seal Replacement .
- Inspect the sunroof window panels for proper operation.
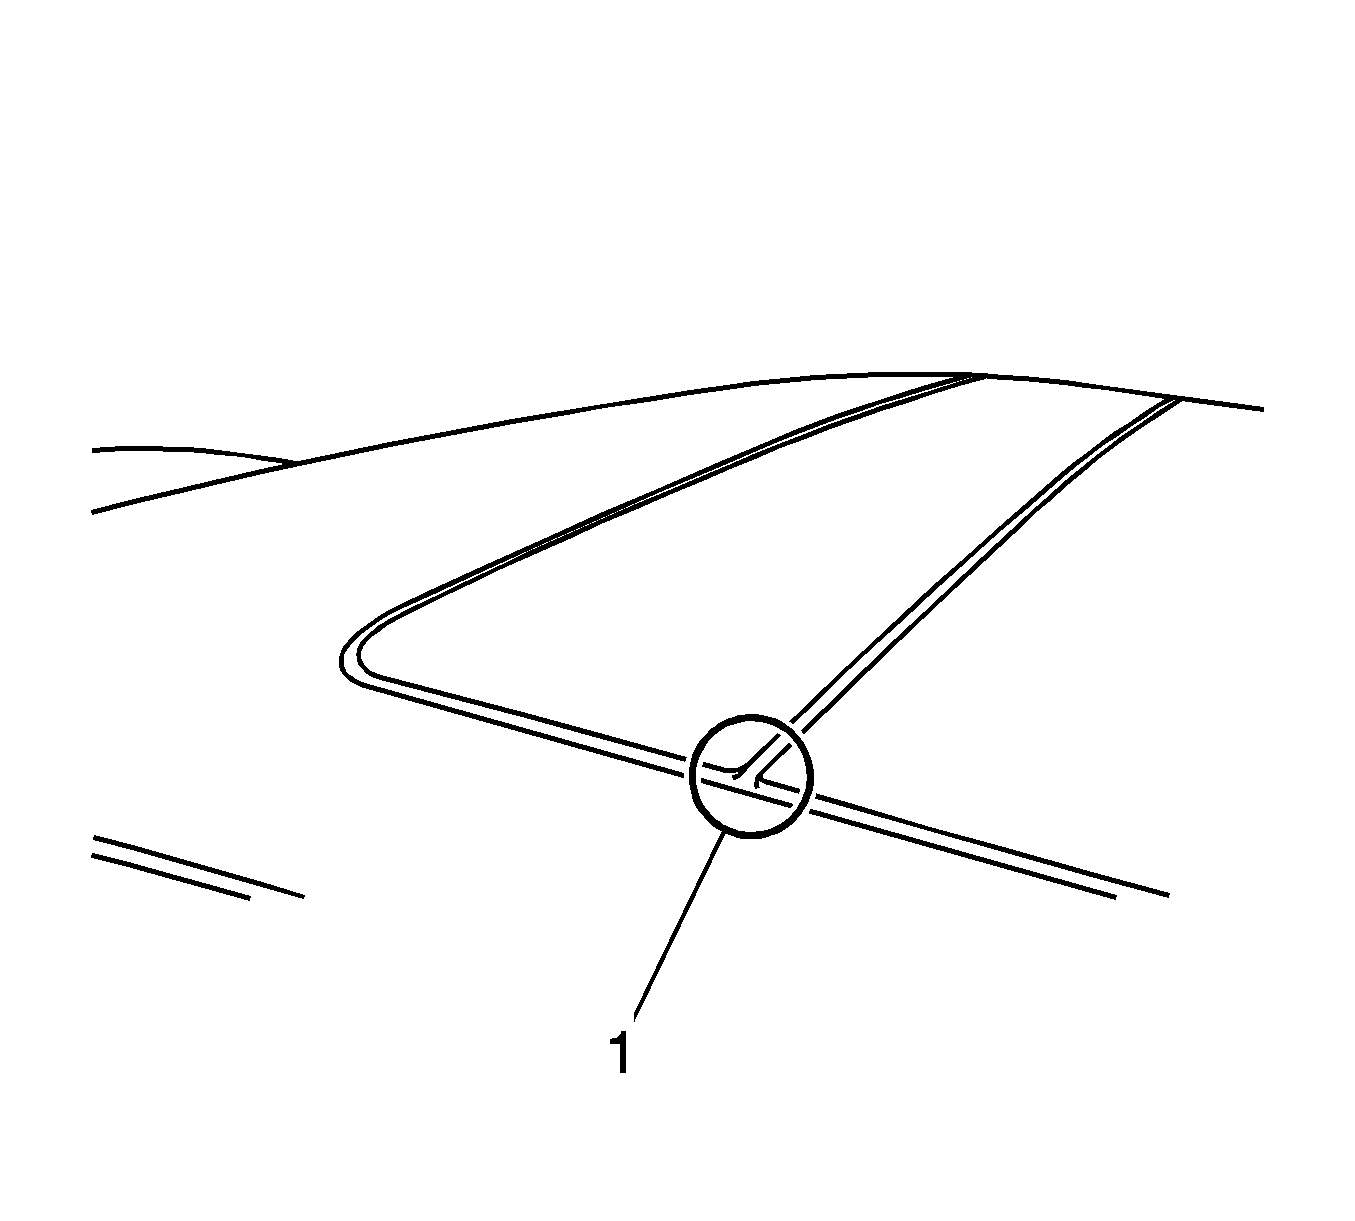
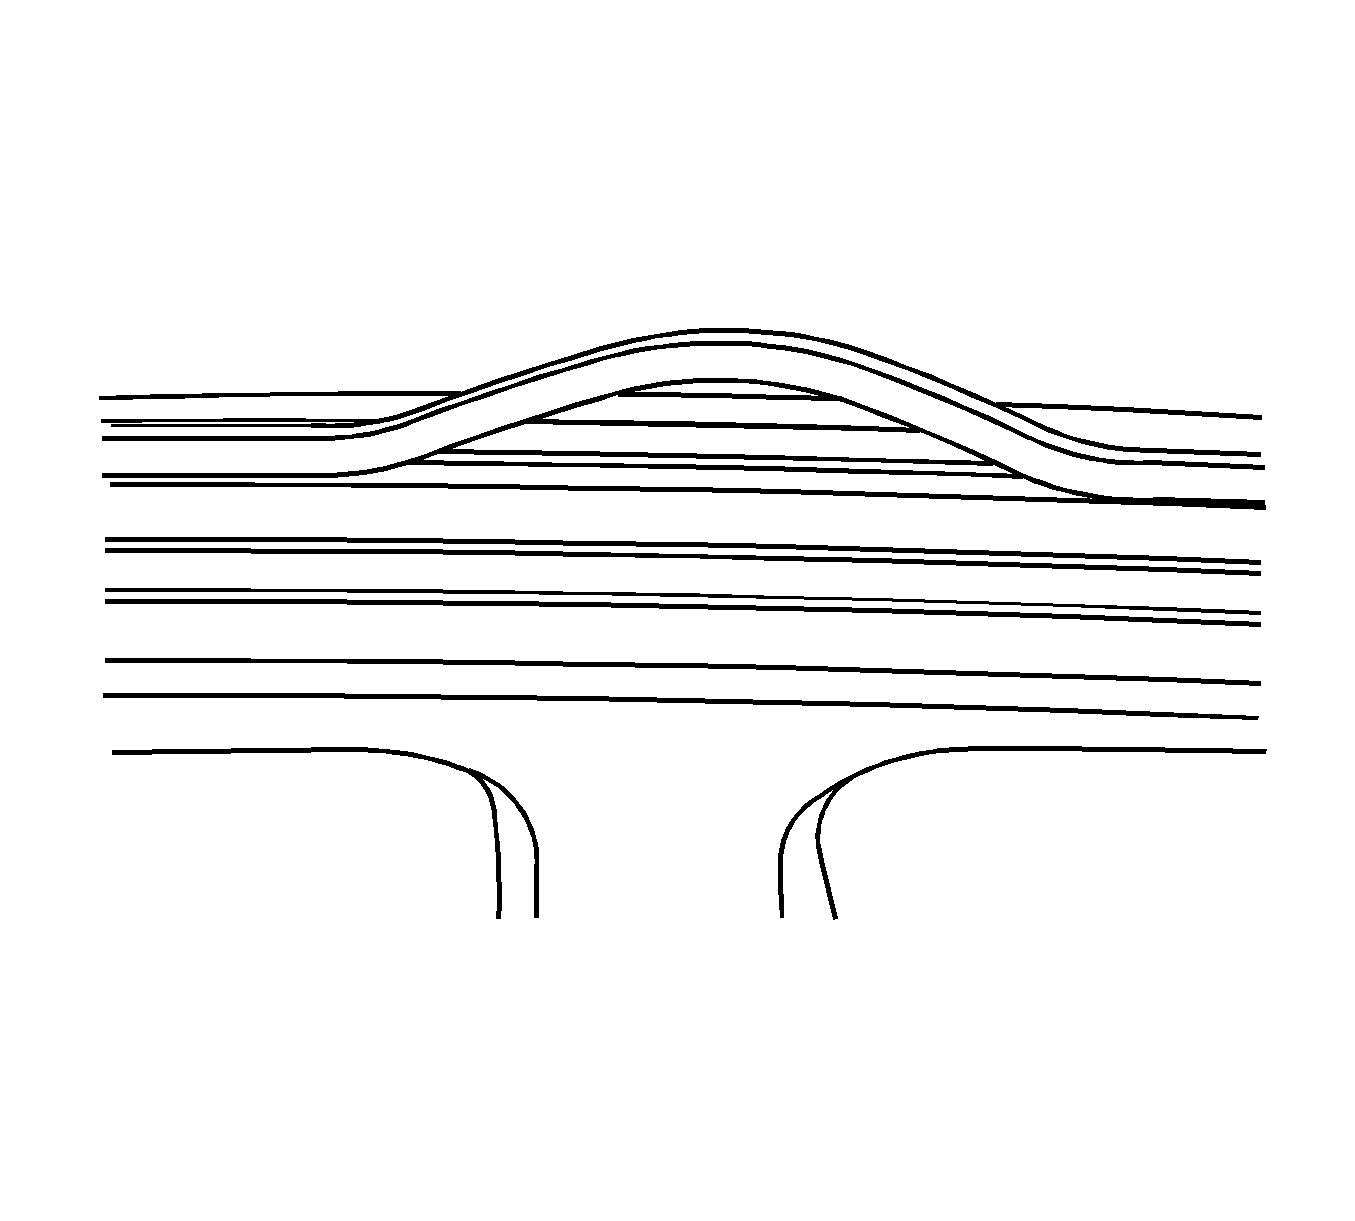
Important: Wind/whistle noise, air leaks and possible water leaks on the C3Y panoramic sunroof when closed. The easiest way to identify the location of the air leak is to use a rubber hose against your ear in order to listen for the air leak. Using a rubber hose, 1/2 inch diameter 3 feet long, listen around all the sealing locations while all the door, windows and the sunroof window panels are closed, with the HVAC blower on high. It should be noted that some leakage will be heard at the "T" joints (1) on vehicles without a customer complaint.
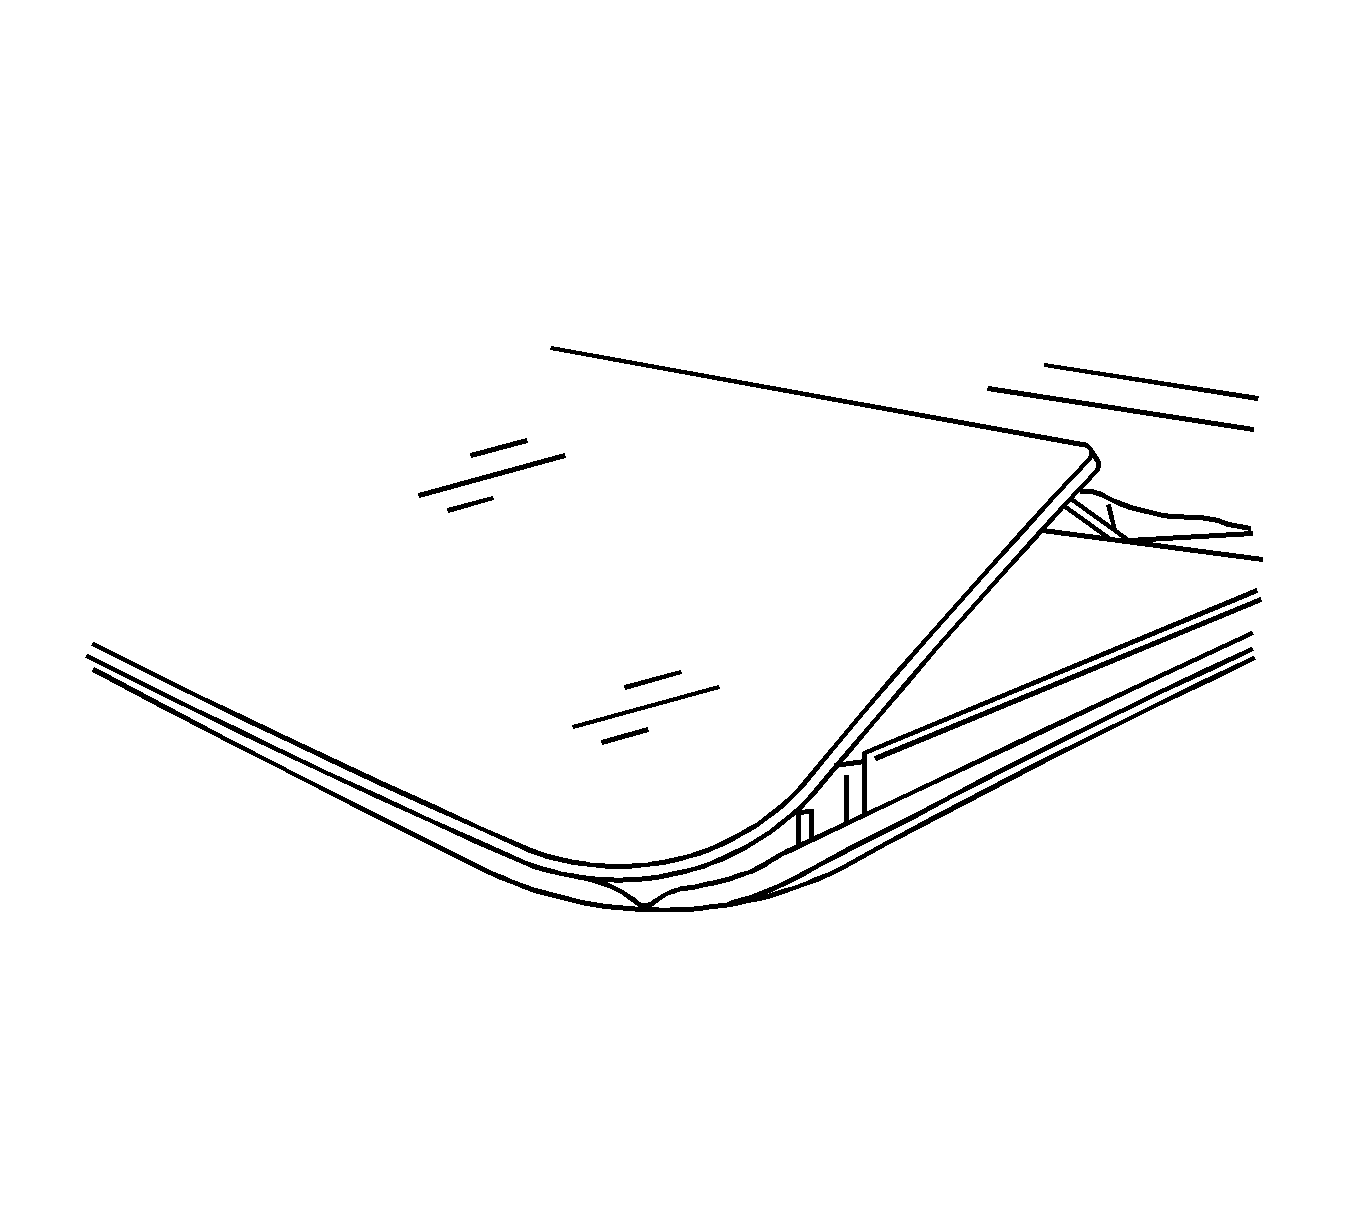
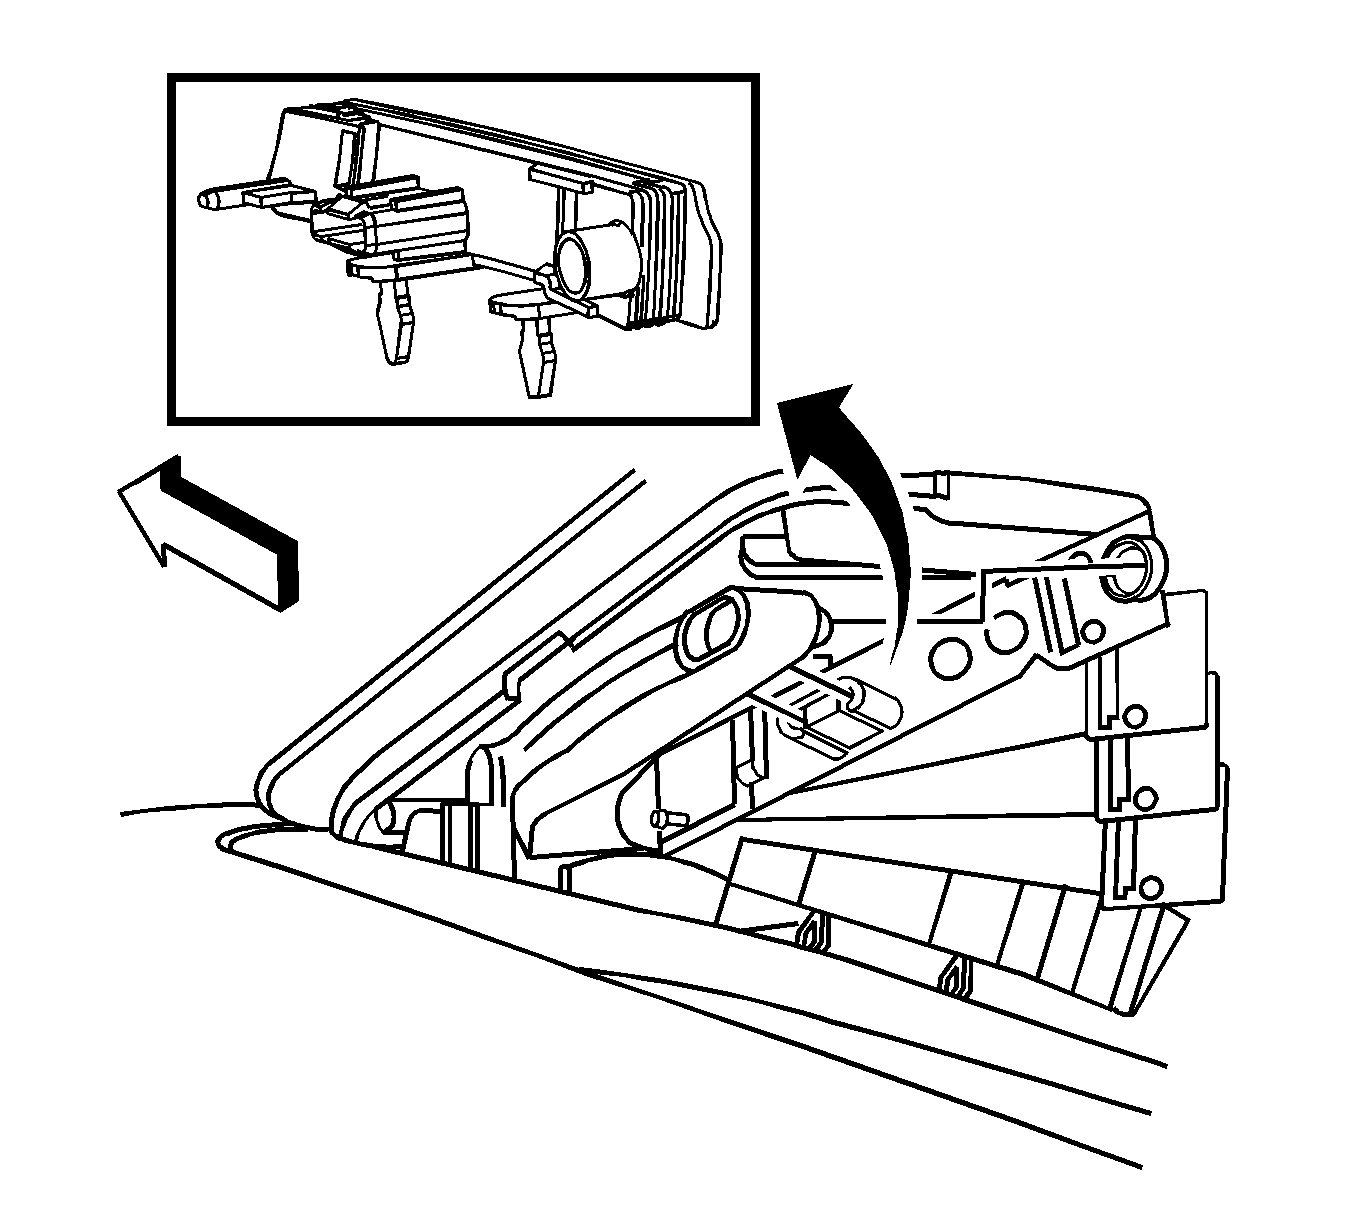
Important: The sunroof window actuator cover conceals the window actuator screws. Use care when lifting up on the corners of the sunroof window actuator side cover to expose the screws. Use care not to break off the end tabs.
