For 1990-2009 cars only
Removal Procedure
- Open the sunshade to the full rearward position.
- Cycle the sunroof window to the fully vent position.
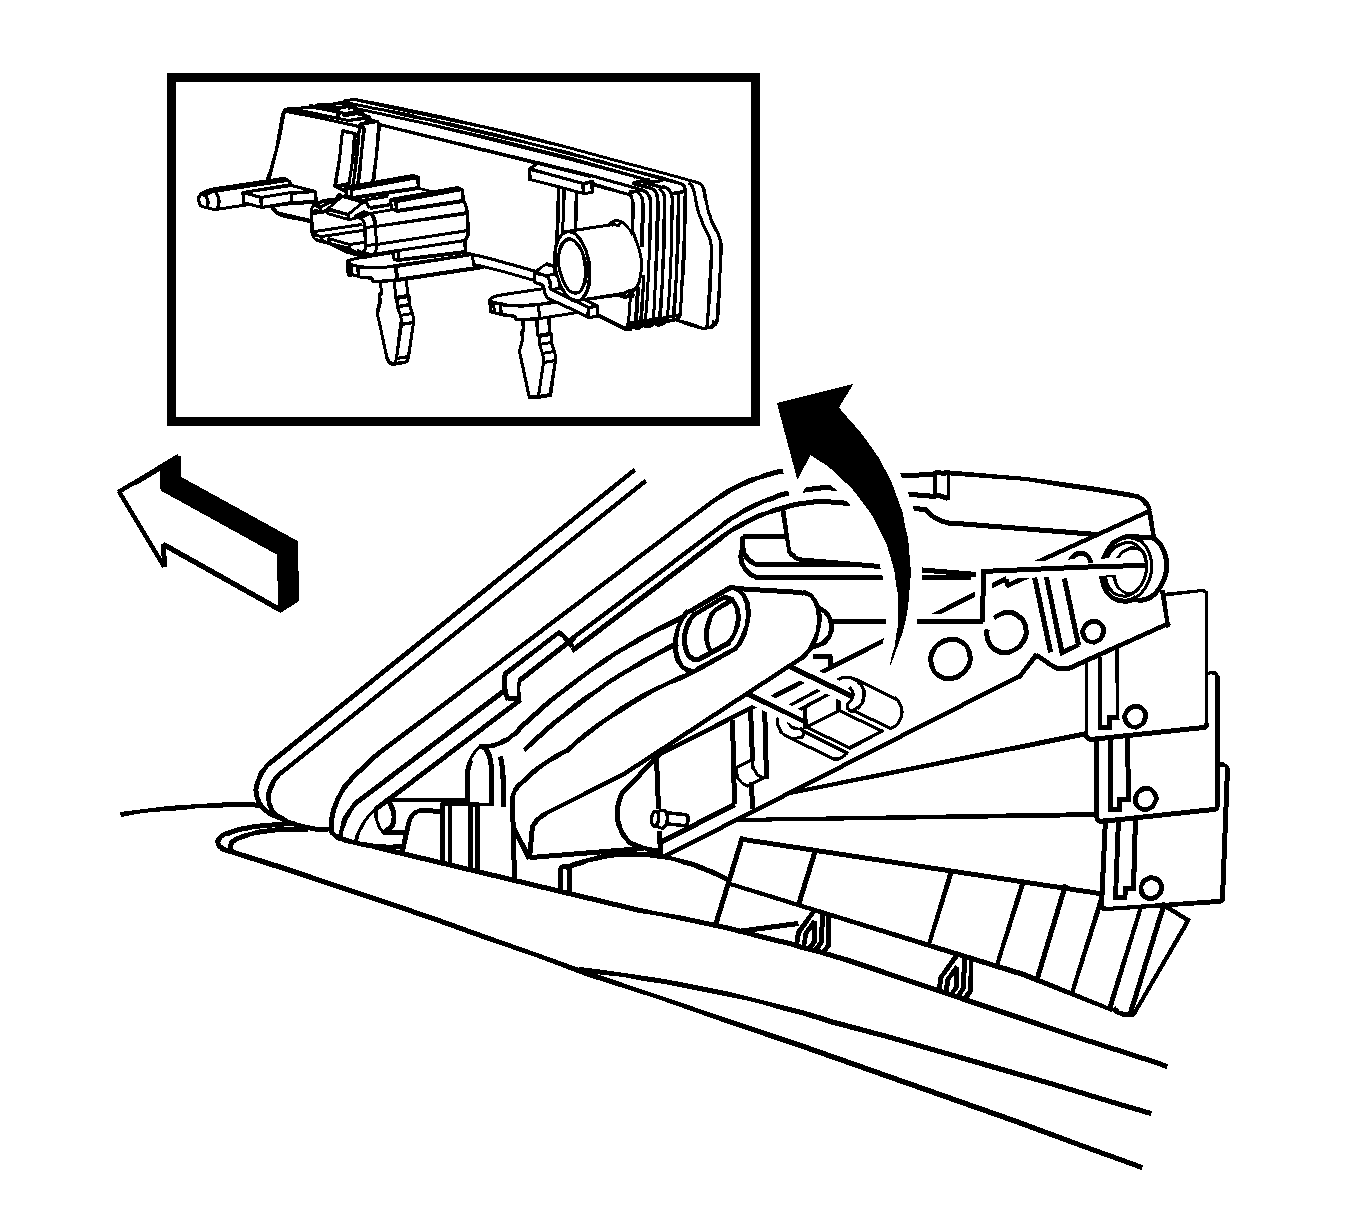
- Remove the front sunroof window side actuator covers from left and right sides. Refer to Sunroof Actuator Cover Replacement - Front .
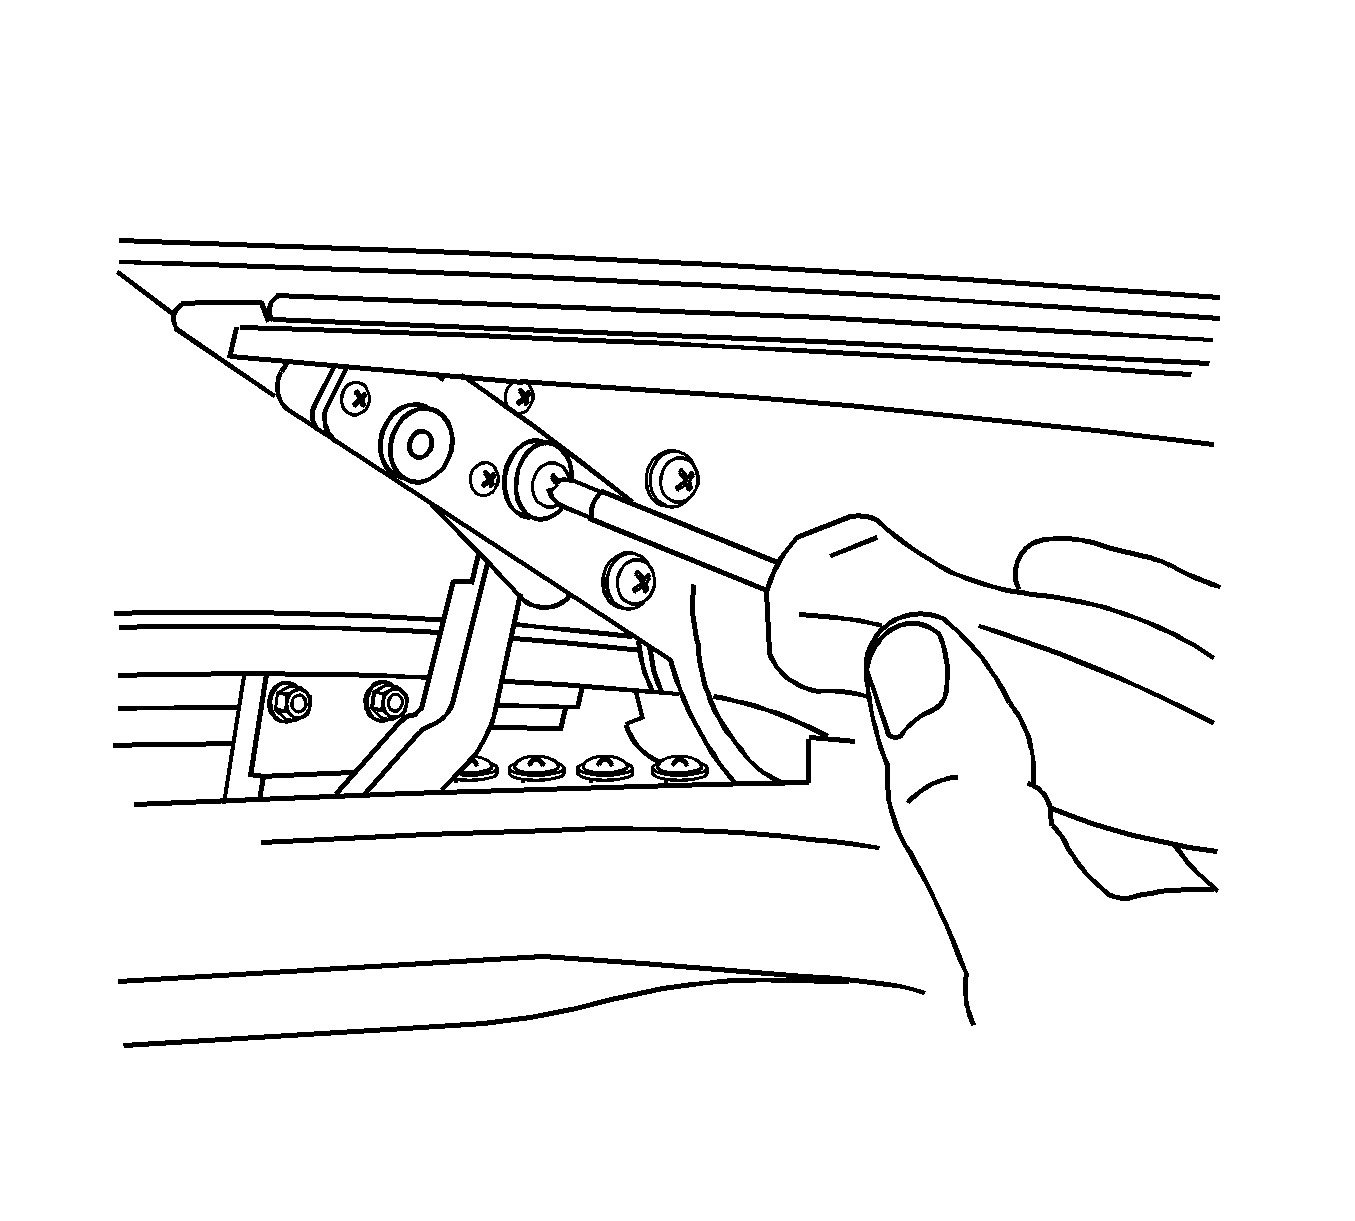
- Remove the sunroof window actuator screws from the left and right sides.
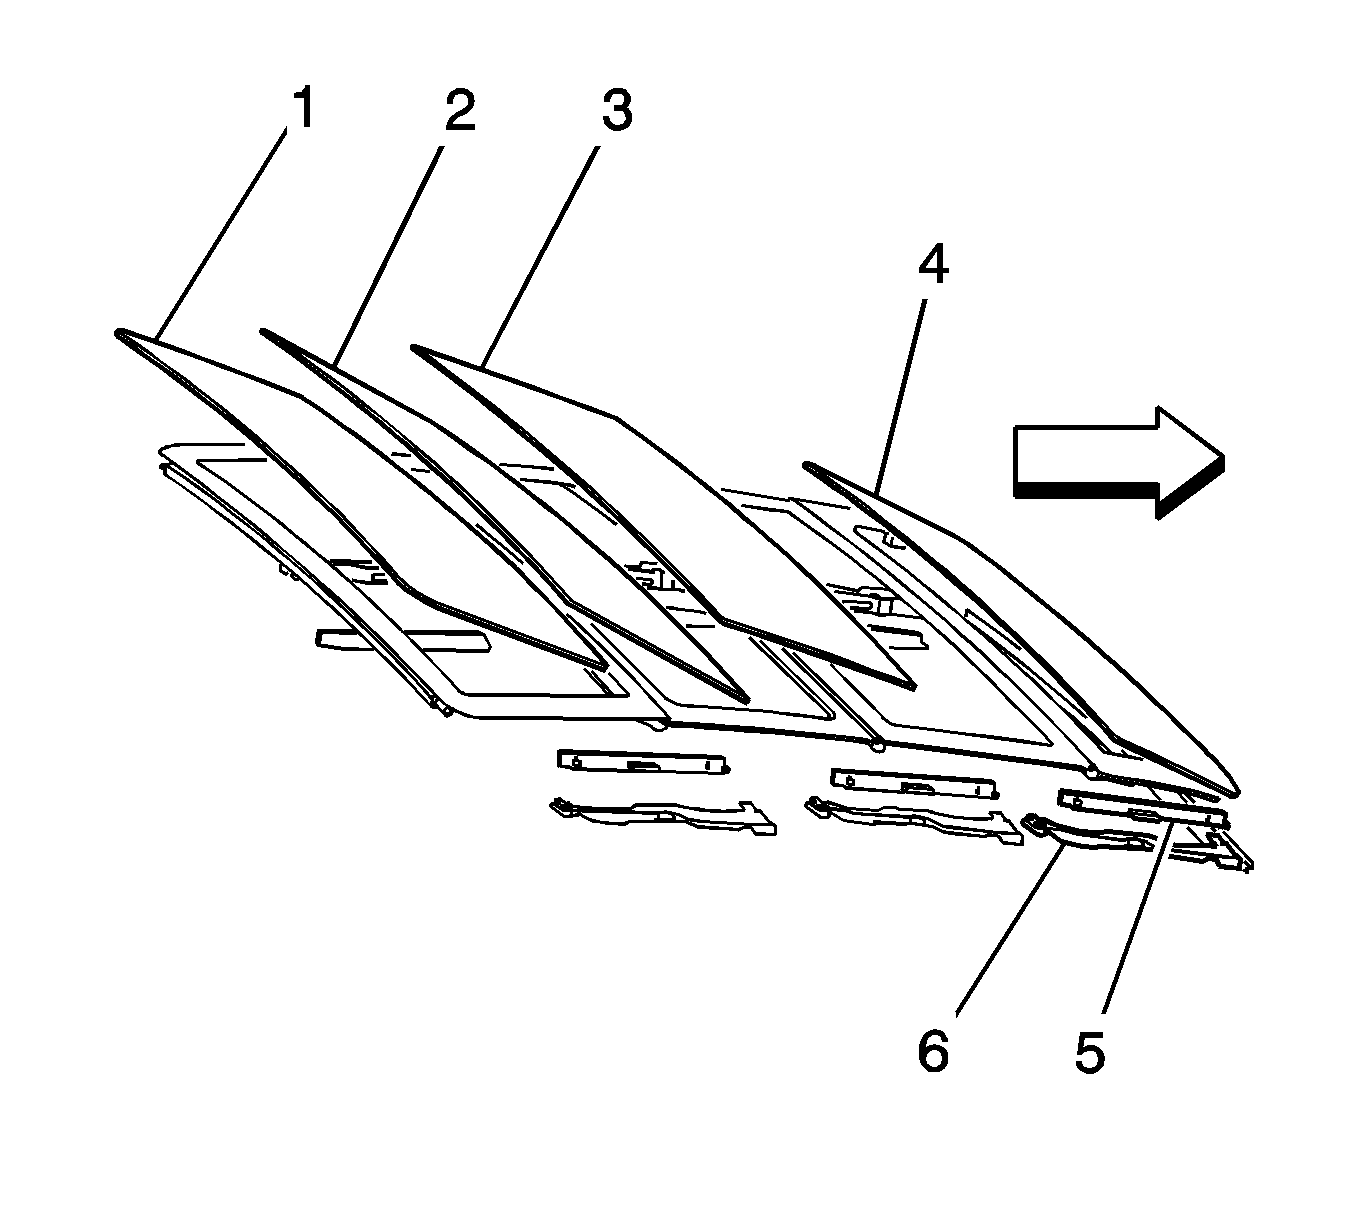
- Lift the front sunroof window (4) from the sunroof opening.

Important: The sunroof window actuator cover conceals the window actuator screws.


Important: Do NOT scratch the roof surface or the sunroof window.
Installation Procedure
- Position the sunroof window (4) into the opening.
- Install the sunroof window front actuator screws. Do NOT tighten the screws.
- Carefully close the sunroof window from the vent position to the full closed position.
- Adjust the front sunroof window and sunroof windows alignment. Refer to Sunroof Window Height and Opening Fit Adjustment or Sunroof Window Alignment .
- Tighten the front sunroof window actuator screws to the left and right sides.
- Install the sunroof window side actuator front covers to the left and right sides. Refer to Sunroof Actuator Cover Replacement - Front .
- Close the sunshade.
- Cycle the sunroof window to ensure proper operation and fit.


Important: Do NOT tighten the sunroof window actuator screws all way down before inspecting the alignment of the sunroof window. Maintain a 4.00 mm (0.16 inch) gap clearance around the sunroof window edges.
Notice: Refer to Fastener Notice in the Preface section.
Tighten
Tighten the screws to 4 N·m (35 lb in).

