Step
| Action
| Value(s)
| Yes
| No
|
1
| Were you sent here from the Cooling
Insufficient, A/C System diagnostic table?
| --
|
Go to Step 2
| Go to
Cooling Insufficient - Air Conditioning (A/C) System
|
2
|
Visually inspect for restricted air flow at the condenser.
Is the air flow through the condenser restricted
| --
|
Go to Step 3
|
Go to Step 4
|
3
|
- Repair the condition (air flow restriction) or replace the condenser,
if damaged.
- If replacement of the condenser is necessary, recover the refrigerant,
then refer to
Condenser Replacement
.
- Evacuate and charge the refrigerant system.
- Leak test the refrigerant system.
Refer to
Leak Testing
.
Is the repair complete?
| --
|
Go to Step
4
| --
|
4
|
- Start the engine and allow the engine to idle.
- Turn ON the A/C, using the A/C button.
- Inspect for proper cooling fan operation. Refer to
Electric Cooling Fan Diagnosis
in Engine
Controls - 3.8 L or
Electric Cooling Fan Diagnosis
in Engine Controls - 5.7 L.
Are the cooling fans ON and operating properly?
| --
|
Go to Step 6
|
Go to Step 5
|
5
| Repair the cooling fan operation fault. Refer to
Electric Cooling Fan Diagnosis
in Engine
Controls -3.8 L or
Electric Cooling Fan Diagnosis
in Engine Controls - 5.7 L.
Is the repair complete?
| --
|
Go to Step
10
| --
|
6
|
- The engine still idling in PARK.
- The A/C still turned ON.
- Feel the liquid line on both sides of the expansion (orifice)
tube.
Is the temperature the same before and after the orifice?
| --
|
Go to Step 7
|
Go to Step 8
|
7
|
- Recover the refrigerant.
- Replace the damaged/faulty expansion (orifice) tube (orifice opening
too large and/or the O-ring is damaged or missing).
Refer to
Expansion (Orifice) Tube Filter Replacement
.
Is the repair complete?
| --
|
Go to Step
9
| --
|
8
|
- Air is in the refrigerant system, or the system is overcharged.
- Recover the refrigerant.
- Evacuate the refrigerant system.
- Charge the refrigerant system to specifications.
Is the repair complete?
| --
|
Go to Step
10
| --
|
9
|
- Evacuate and charge the refrigerant system.
- Leak test the refrigerant system.
Refer to
Leak Testing
.
Are the operations completed?
| --
|
Go to Step
10
| --
|
10
|
- Start the engine and allow the engine to idle.
- With an accurate thermometer still installed to the IP center
air outlet.
- Set the HVAC control to the following positions:
| • | Temperature control to full cold |
| • | Mode control knob to UPPER (IP outlets) |
- Elevate and maintain the engine speed at 2000 RPM.
- Allow the low and high side pressure readings to stabilize, if
necessary.
(Stabilization usually requires 2-3 minutes.)
- Record the low and high pressure readings and the delivered air
output temperature.
- Compare the low and high side pressures and the output temperatures
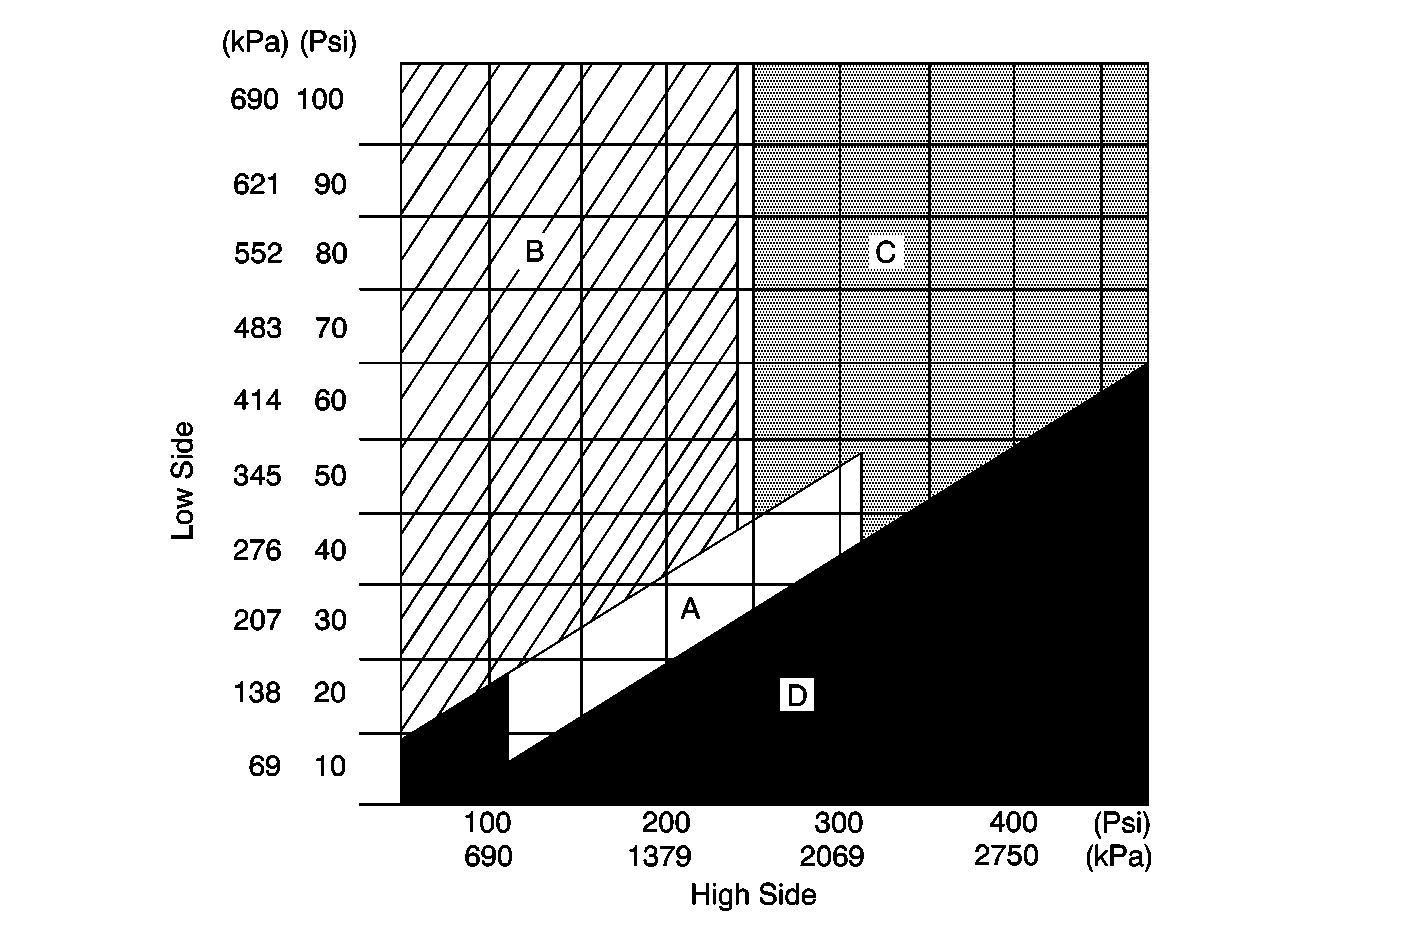
to those listed in the A/C Performance Table.
Refer to
Cooling Insufficient - Air Conditioning (A/C) System
.
Are both the low and high side pressures as well as the output temperatures
within specifications?
| --
| Go to
Diagnostic System Check
in HVAC Systems - Manual
| --
|