Removal Procedure
- Remove the windshield garnish molding. Refer to Windshield Pillar Garnish Molding Replacement .
- Release the front assist handle from the headliner. Refer to Assist Handle Replacement .
- Recline the bucket seat and release the upper portion of the center pillar trim panel. Refer to Center Pillar Garnish Molding Replacement .
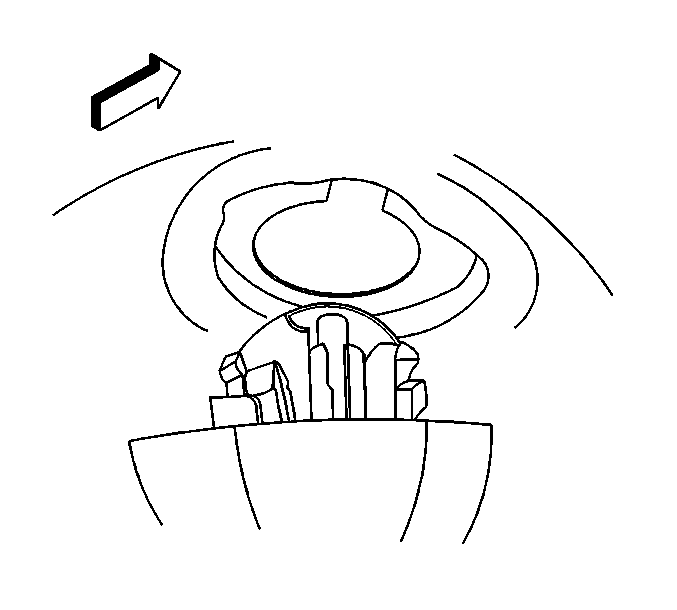
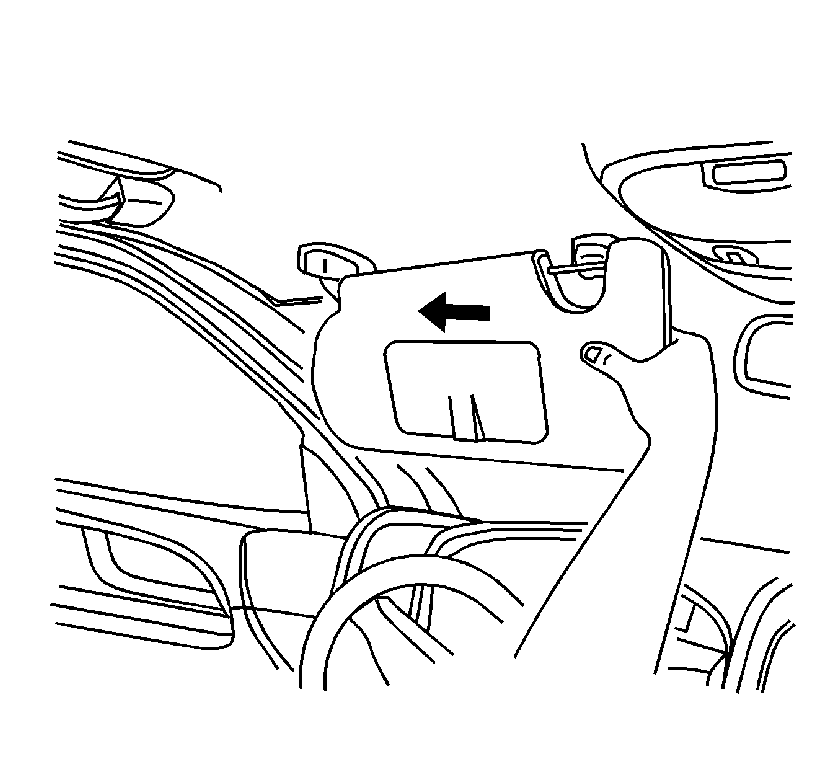
- Open and rotate the sunshade parallel to the side window.
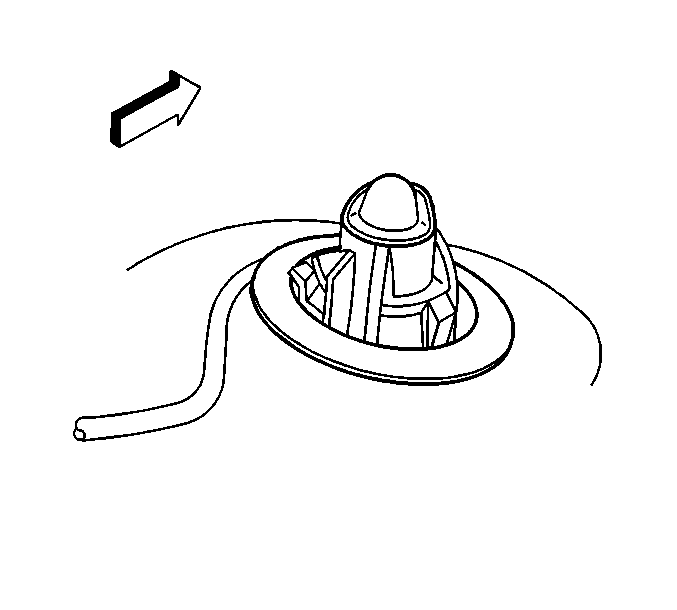
- Insert a small tool into the bezel access hole (1).
- Push upward on the tool while rotating the sunshade parallel to the windshield. The sunshade pivot arm bezel should appear to be recessed into the bezel.
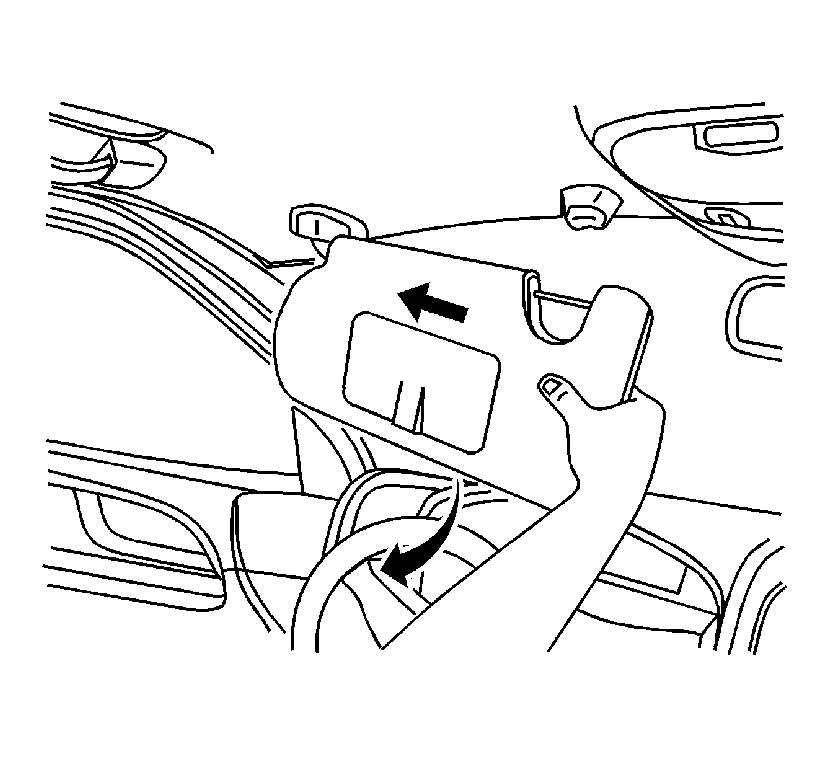
- Apply outboard pressure to the sunshade while the sunshade is parallel to the windshield.
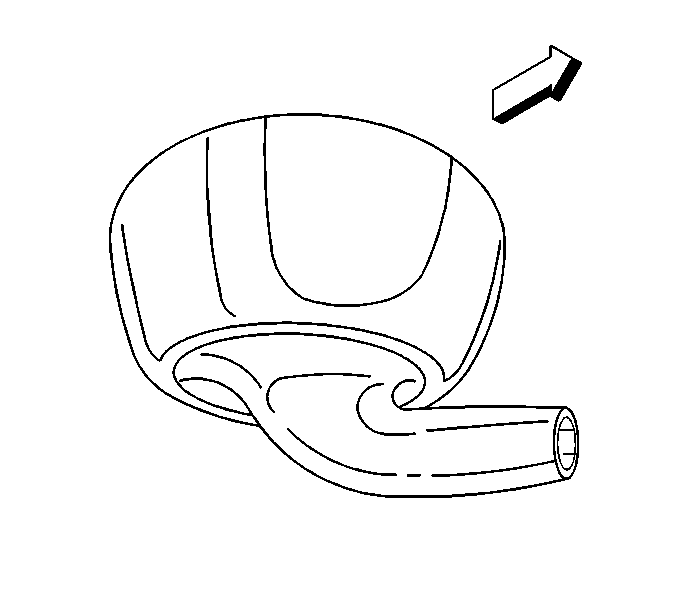
- Pull the sunshade downward while maintaining outboard pressure to the sunshade. You will notice a separation between the headliner and the sunshade bezel.
- In order to remove the sunshade from the headliner, carefully grab the headliner at the windshield pillar area and apply downward pressure while gently rocking the sunshade up and down.
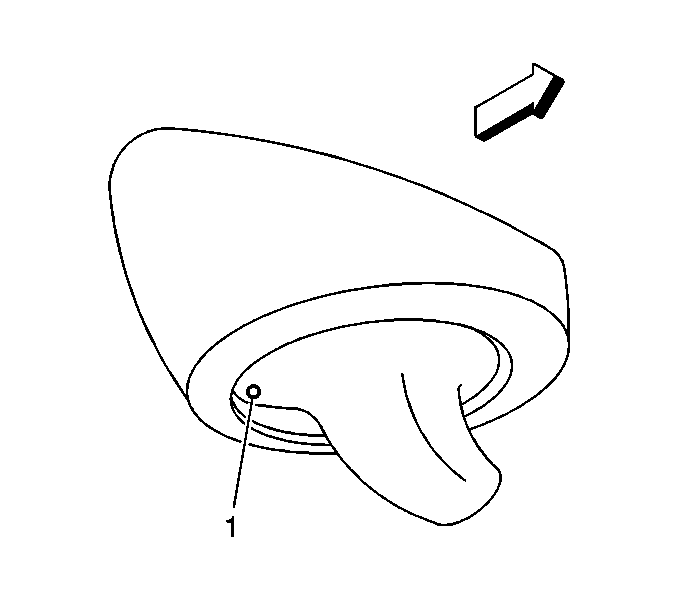
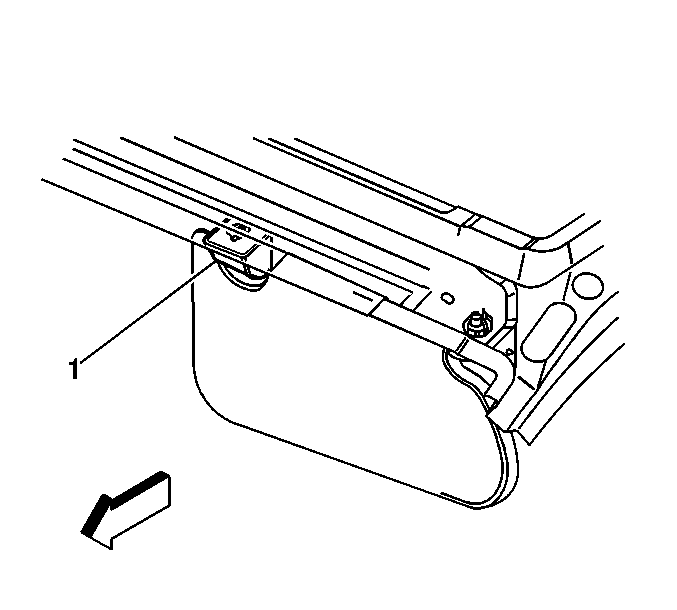
- Remove the inboard retainer screw.
- Remove the inboard retainer (1) from the headliner.
- If the vehicle is equipped with lighted sunshades, perform the following steps:
- Remove the sunshade from the vehicle.
Important: Midway through the rotation cycle, the tool will move further into the access hole.
Important: Ensure the pivot arm is recessed into the bezel before removing the sunshade from the headliner.
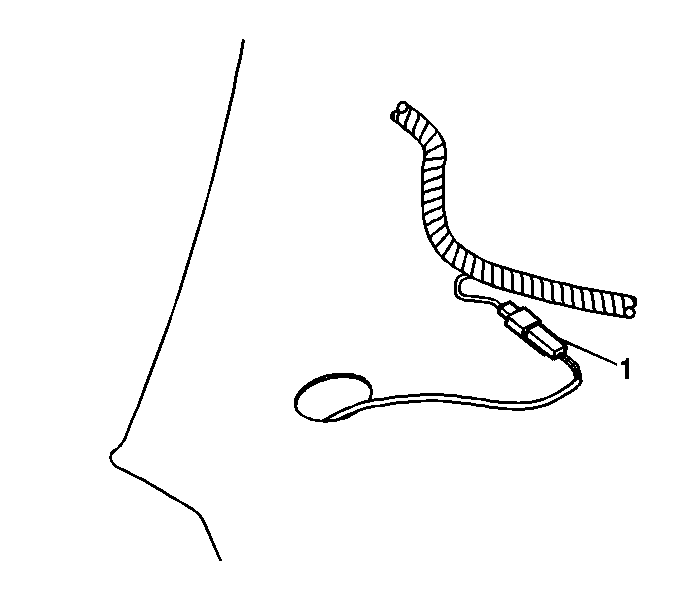
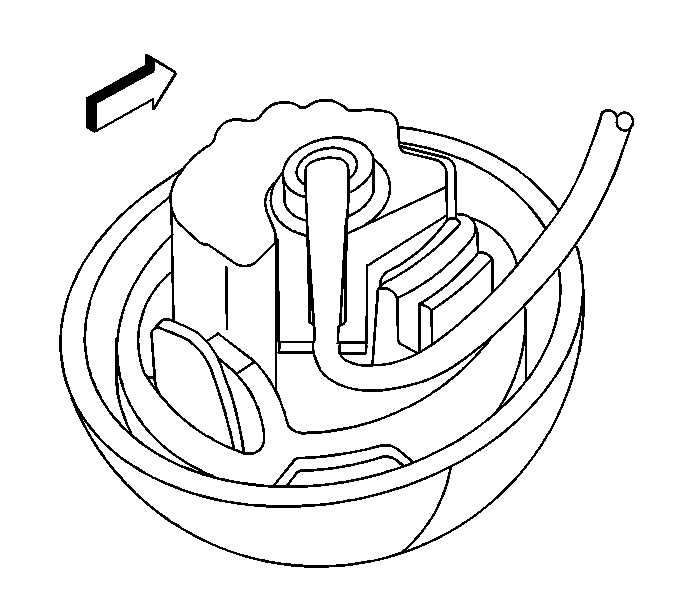
| 12.1. | Reach above the headliner to access the electrical connector (1). |
| 12.2. | Remove the electrical connectors from the headliner substrate. |
| 12.3. | Disconnect the sunshade electrical connector from the headliner harness. |
Installation Procedure
- If the vehicle is equipped with lighted sunshades, perform steps 2 through 8:
- Lower the headliner in order to gain access to the wire harness.
- Position the sunshade to the headliner.
- Connect the sunshade electrical connector to the headliner harness.
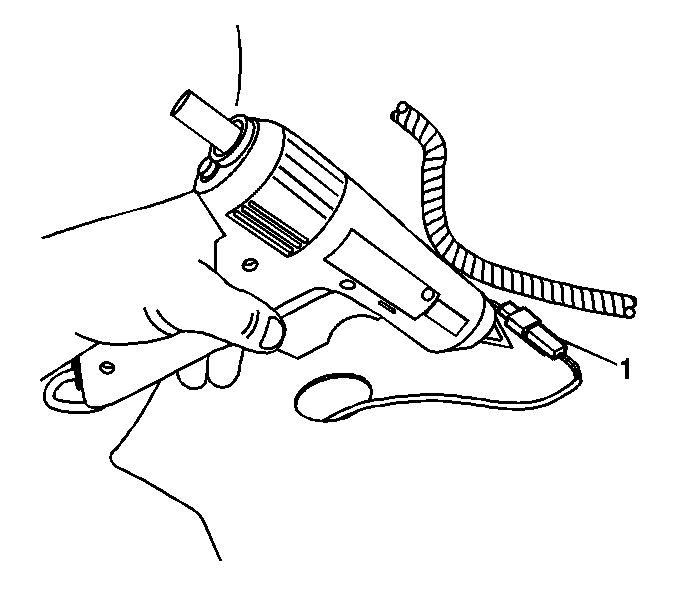
- Using a glue gun, hot melt the electrical connectors (1) to the headliner substrate, ensuring the connectors are securely attached to the substrate.
- Route the wire harness until fully seated into the sunshade wire harness channel located on the pivot arm.
- Position the wire harness retaining clip between the headliner and the roof panel.
- Position the index tabs on the wire harness retaining clip to the pivot arm and install the clip until fully seated.
- Position the inboard retainer (1) to the roof panel.
- Install the inboard retaining screw.
- With the sunshade parallel to the windshield, index the pivot arm tab to the roof panel slot.
- Apply and maintain upward pressure to the pivot arm while rotating the sunshade parallel to the side window. The sunshade arm should appear flush with the bezel.
- Rotate and clip the sunshade to the inboard retainer.
- Ensure the pivot arm retaining tabs are fully seated to the roof panel.
- Install the front assist handle to the roof panel. Refer to Assist Handle Replacement .
- Install the windshield garnish molding. Refer to Windshield Pillar Garnish Molding Replacement .
- Install the center pillar trim panel. Refer to Center Pillar Garnish Molding Replacement .
- Return the bucket seat to an upright position.
Important: If the wire harness retaining clip is removed from the sunshade for any reason, a new retaining clip must be installed.
With the wire harness retaining clip installed, the sunshade should remain attached to the headliner.
Notice: Use the correct fastener in the correct location. Replacement fasteners must be the correct part number for that application. Fasteners requiring replacement or fasteners requiring the use of thread locking compound or sealant are identified in the service procedure. Do not use paints, lubricants, or corrosion inhibitors on fasteners or fastener joint surfaces unless specified. These coatings affect fastener torque and joint clamping force and may damage the fastener. Use the correct tightening sequence and specifications when installing fasteners in order to avoid damage to parts and systems.
Tighten
Tighten the screw to 1.2 N·m (10 lb in).