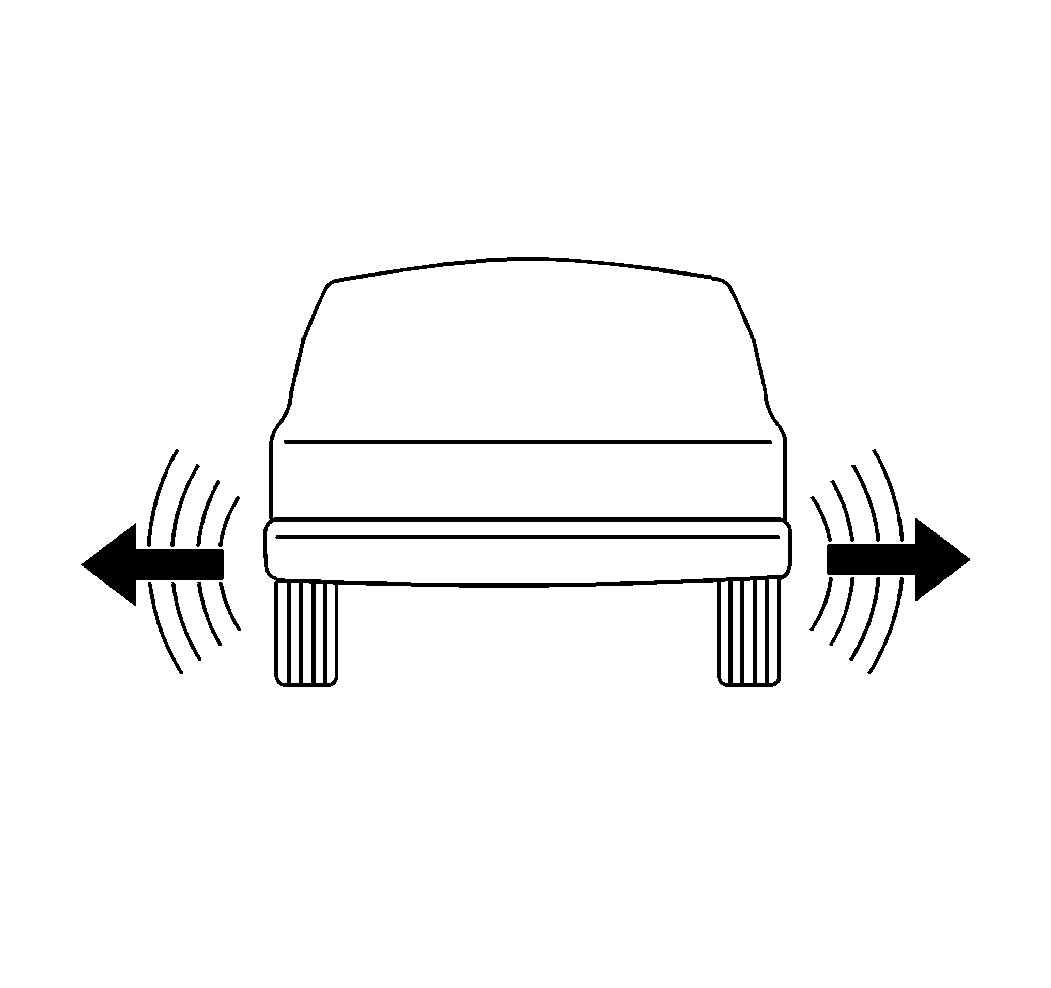
Tyre waddle is a side to side movement at the front of the vehicle and/or the rear of the vehicle. Tyre waddle can be caused by the following conditions:
| • | A steel belt not being straight within the tyre. |
| • | Excessive lateral runout of the tyre. |
| • | Excessive lateral runout of the wheel. |
Tyre waddle is most noticeable at an approximate speed of about 8-48 km/h (5-30 mph). Tyre waddle may appear as ride roughness at 80-113 km/h (50-70 mph). Tyre waddle may appear as a vibration at 80-113 km/h (50-70 mph).
Inspection Procedure
Step | Action | Yes | No | ||||
|---|---|---|---|---|---|---|---|
1 | Has a vehicle road test been completed? | Go to Step 2 | |||||
2 |
Caution: Wear gloves when inspecting the tires in order to prevent personal injury from steel belts sticking through the tire.
Do any of the tyre and wheel assemblies exhibit any of the conditions listed? | Go to Step 3 | Go to Step 4 | ||||
3 |
Did you complete the repair or replacement? | Go to Step 8 | -- | ||||
4 | Measure the on-vehicle runout of the tyre and wheel assemblies. Refer to Tire and Wheel Assembly Runout Measurement - On-Vehicle . Does the runout measurement indicate a runout concern? | Go to Step 5 | Go to Step 9 | ||||
5 | Measure the off-vehicle runout of the tyre and wheel assemblies. Refer to Tire and Wheel Assembly Runout Measurement - Off Vehicle . Does the runout measurement indicate a runout concern? | Go to Step 15 | Go to Step 6 | ||||
6 | Are any of the tyre and wheel assembly runout measurements marginal; within acceptable limits, but close to the maximum? | Go to Step 7 | Go to Step 12 | ||||
7 |
Important: Ensure that each tyre and wheel assembly is match-mounted and balanced before reinstalling to the vehicle.
Were you able to significantly reduce the amount of tyre and wheel assembly runout? | Go to Step 8 | Go to Step 15 | ||||
8 | Remeasure the on-vehicle runout of the tyre and wheel assemblies. Refer to Tire and Wheel Assembly Runout Measurement - On-Vehicle . Does the measurement indicate a runout concern? | Go to Step 12 | Go to Step 17 | ||||
9 | Inspect the balance of the tyre and wheel assemblies. Refer to Tire and Wheel Balancing . Are any or the tyre and wheel assemblies out of balance? | Go to Step 10 | Go to Step 11 | ||||
10 | Balance the tyre and wheel assemblies as necessary. Refer to Tire and Wheel Balancing . Did you complete the repair or replacement? | Go to Step 17 | -- | ||||
11 |
Are any of the brake discs damaged and/or indicate a runout concern? | Go to Step 14 | Go to Step 16 | ||||
12 | Measure the runout of the hub/axle flanges. Refer to Front Wheel Hub Assembly Inspection Does the runout measurement indicate a runout concern? | Go to Step 13 | Verify customer concern, go to Strategy Based Diagnosis . | ||||
13 | Replace components as required. Refer to the following procedures as necessary: Did you complete the replacement? | Go to Step 17 | -- | ||||
14 | Replace the brake discs as necessary. Refer to the appropriate procedure: Did you complete the replacement? | Go to Step 17 | -- | ||||
15 | Replace any tyres and/or wheels that were isolated as the cause of the disturbance, as necessary. Refer to Tire Dismounting and Mounting in Tires and Wheels. Did you complete the replacement? | Go to Step 17 | -- | ||||
16 | Finish-balance the tyre and wheel assemblies on-vehicle. Refer to Tire and Wheel Balancing in Tires and Wheels. Did you complete the on-vehicle finish balancing? | Go to Step 17 | -- | ||||
17 |
Did you correct the condition? | System OK | Go to Step 4 |
