For 1990-2009 cars only
Tools Required
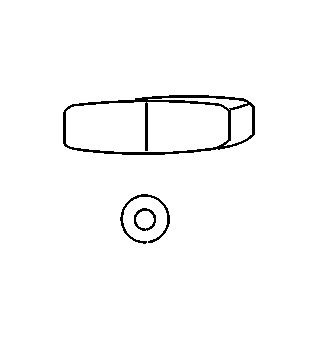
| • | J 28467-34 Lift Hook Wing Nut and Washer (2) |
| • | J 28467-6A Bracket Assembly (2) |
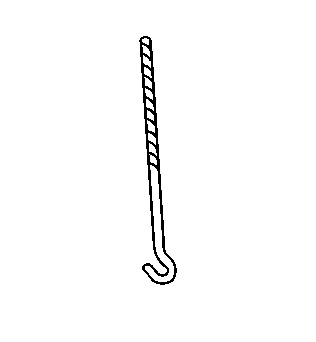
| • | J 28467-7A Bolt Hook (2) |
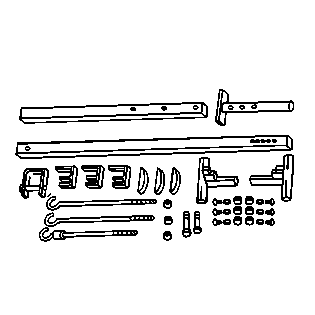
| • | J 28467-500 Engine Support Fixture |
| • | J 28467-B Universal Engine Support Fixture |
| • | J 45057 Engine Support Bar Assembly |
| • | J 45057-2 Lower Support Bar |
Installation Procedure
- Remove the right engine mount strut. Refer to Engine Mount Strut Replacement - Right Side .
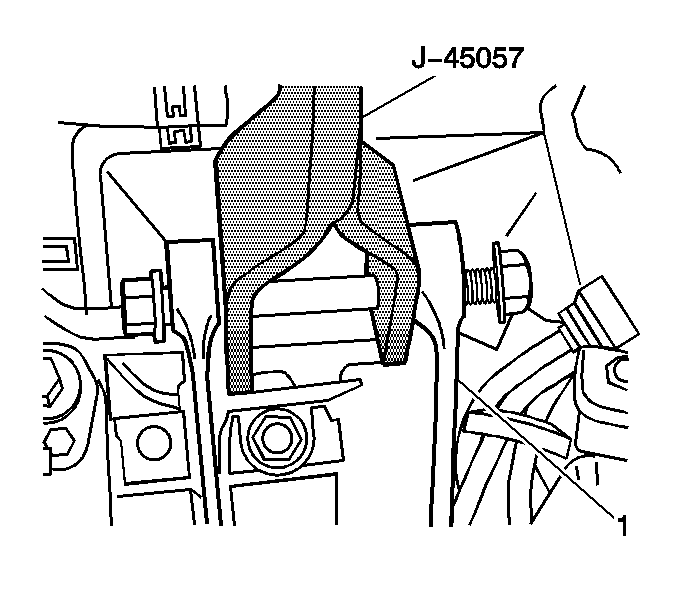
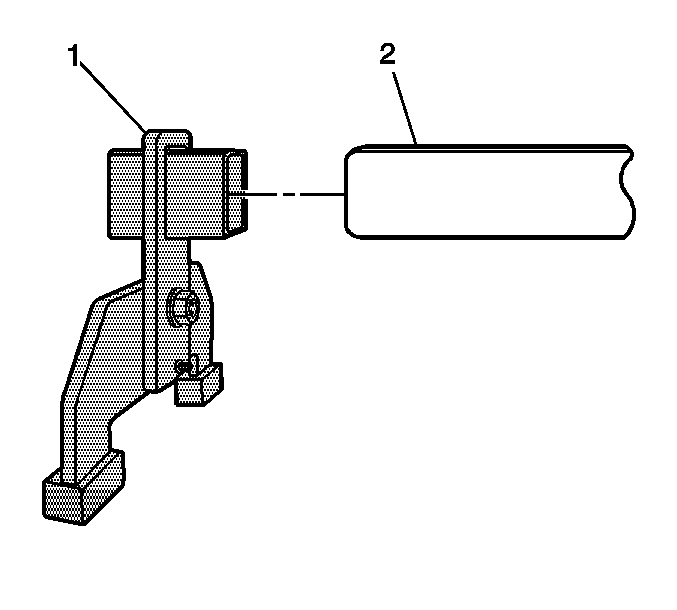
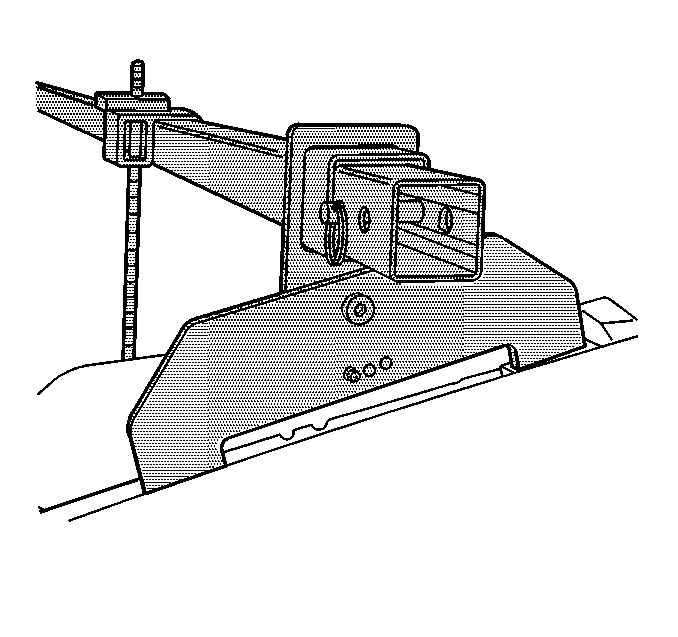
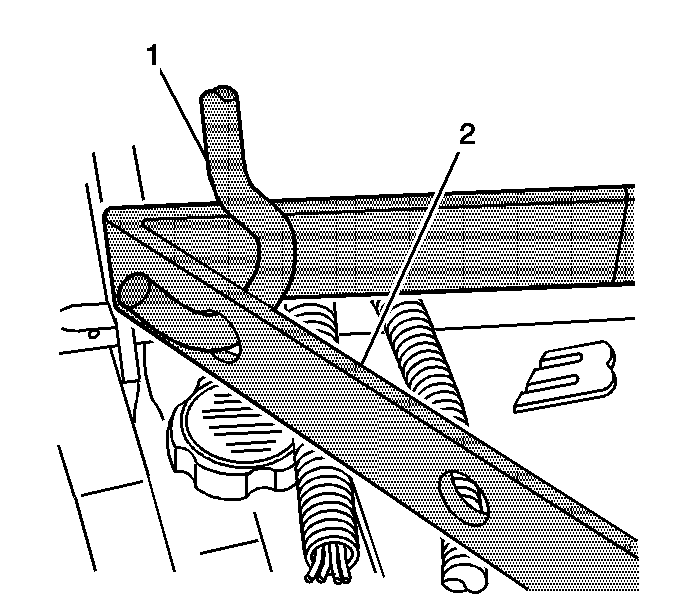
- Install the J 45057 to the right engine mount strut bracket (1).
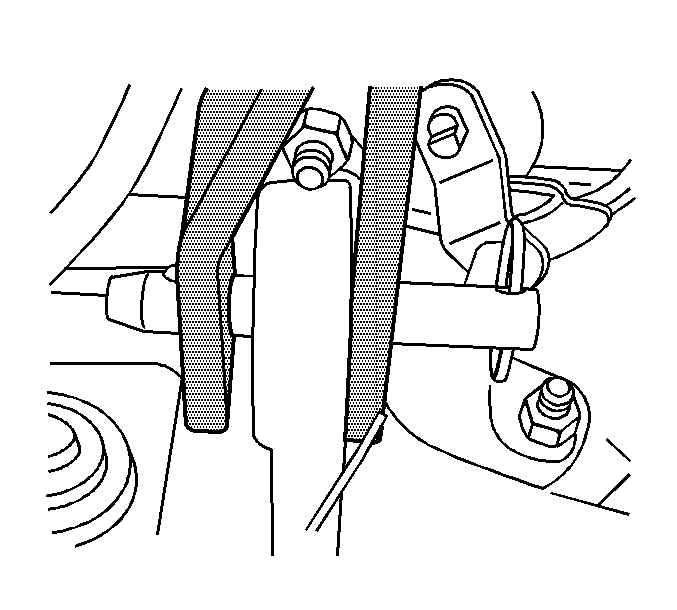
- Install the J 45057 to the left side engine lift bracket.
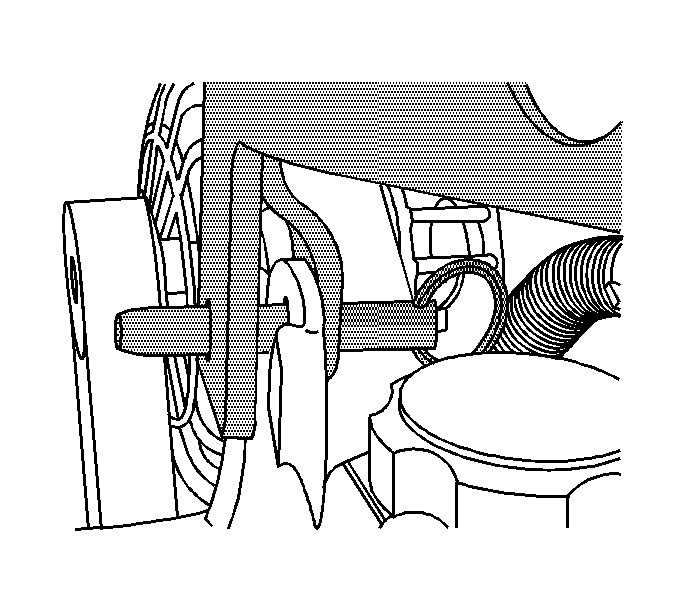
- Install the J 45057 to the right rear engine lift bracket.
- For Buick vehicles, remove the headlamps. Refer to Headlamp Assembly or Headlamp Bulb Replacement in Lighting Systems.
- Disconnect the hood strut assist rods from the fenders.
- Carefully open and secure the hood in a 90 degree position.
- Install a J 28467-B and retention pin to each end of the J 28467-500 beam (2).
- Position the J 28467-B to the left and right side inner fender rails in order to install the J 28467-500 .
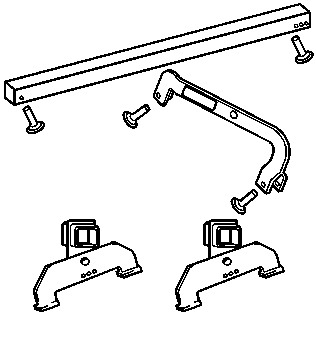
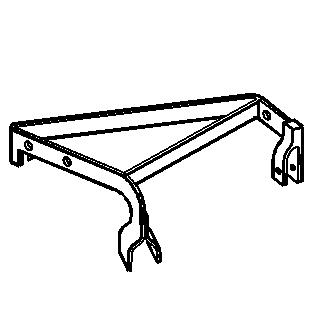
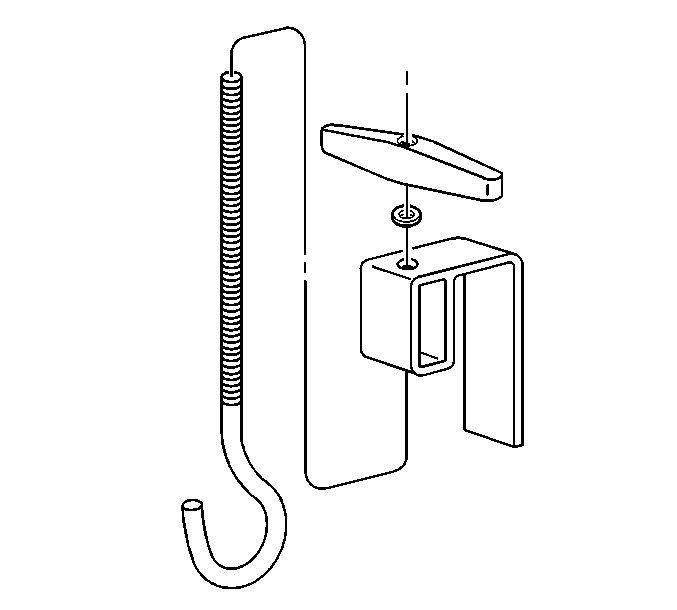
- Assemble the following to create 2 lift hook assemblies as shown:
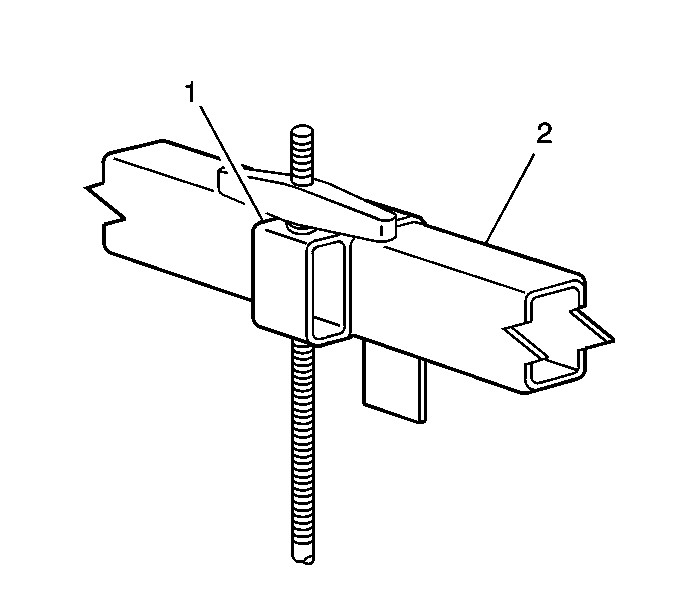
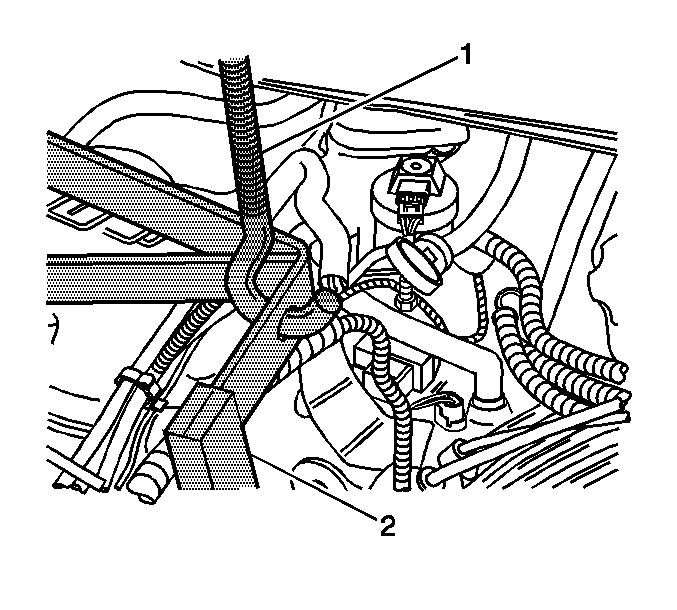
- Install the 2 lift hook assemblies (1) to the J 45057-2 (2).
- Install the right side lift hook assembly to the right side hole in the J 45057 (2).
- Install the left side lift hook assembly to the left side hole in the J 45057 (2).
- Gently tighten the J 28467-34 lift hook wing nuts.
- Raise the vehicle. Refer to Lifting and Jacking the Vehicle in General Information.
- Remove the lower air baffle. Refer to Radiator Air Baffle Assemblies and Deflectors in Engine Cooling.
- Install one end of a suitable utility strap to the transaxle.
- Install the opposite end of the utility strap to a suitable underbody structure.
- Tighten the utility strap in order to prevent movement of the powertrain.
| • | If the vehicle is equipped with All-Wheel-Drive (AWD), carefully wrap the utility strap around the transfer case. |
| • | If the vehicle is equipped with Front-Wheel-Drive (FWD), carefully wrap the utility strap around the transaxle case extension housing. |
