For 1990-2009 cars only
Engine Coolant Fan Replacement 2.4L
Removal Procedure
- Remove the radiator assembly. Refer to Radiator Replacement.
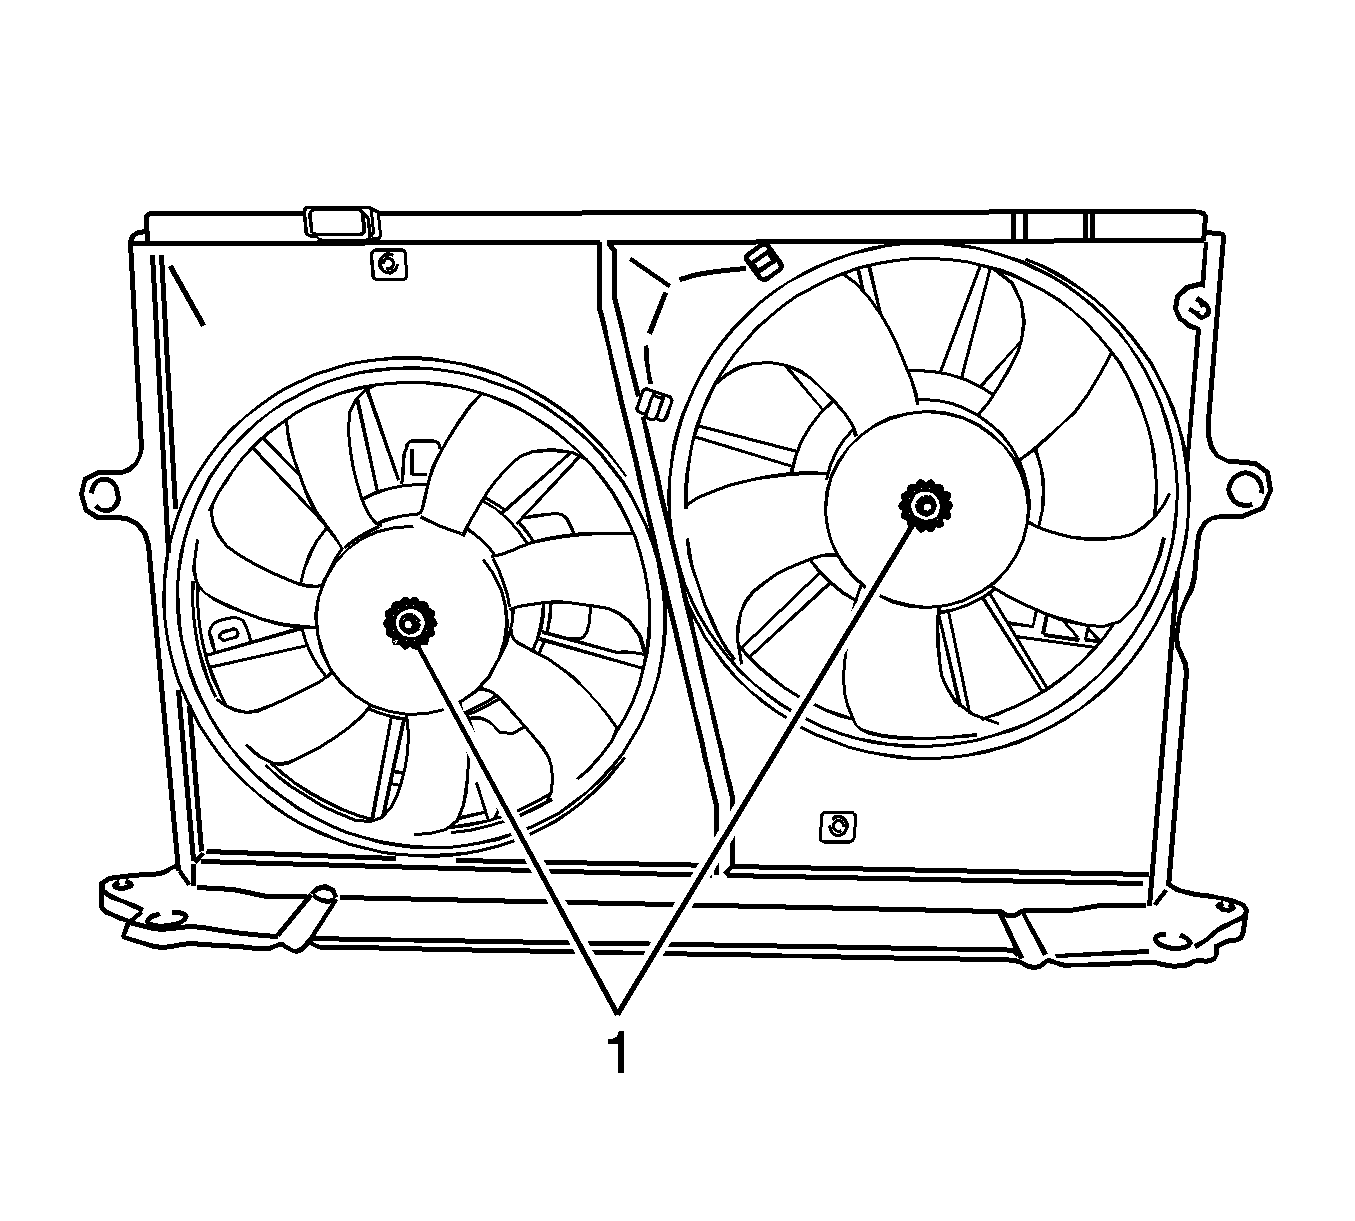
- If equipped with air conditioning system, remove the 2 nuts (1) and 2 fans.
- Remove the nut and fan.
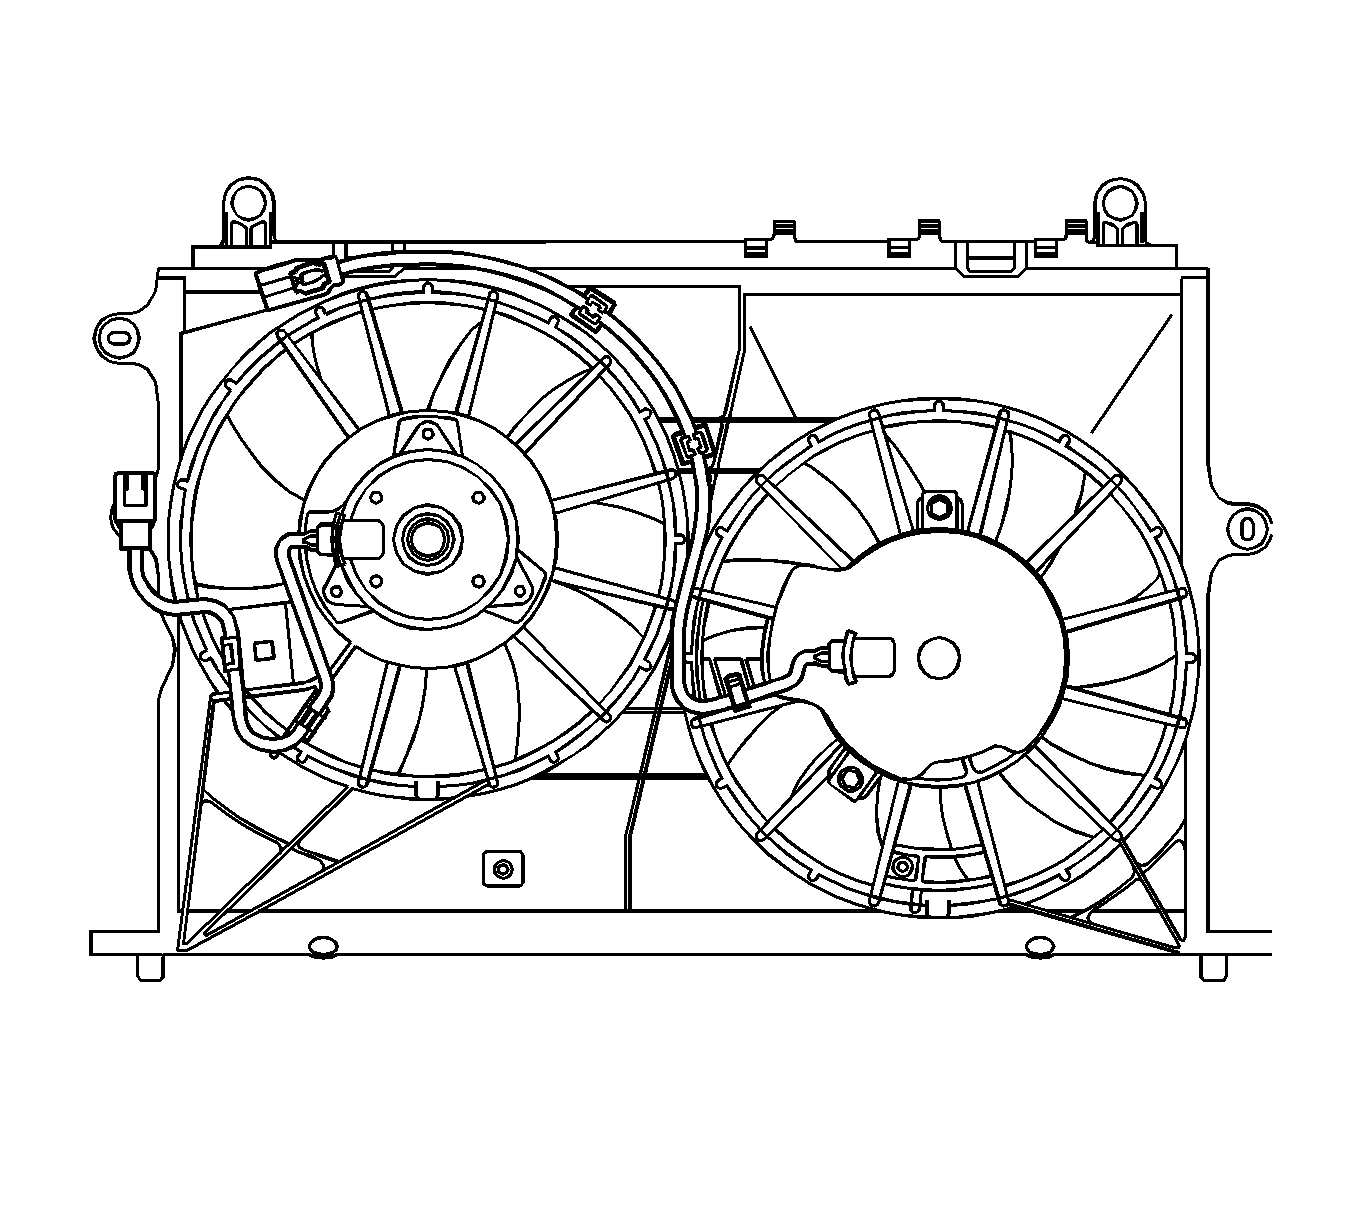
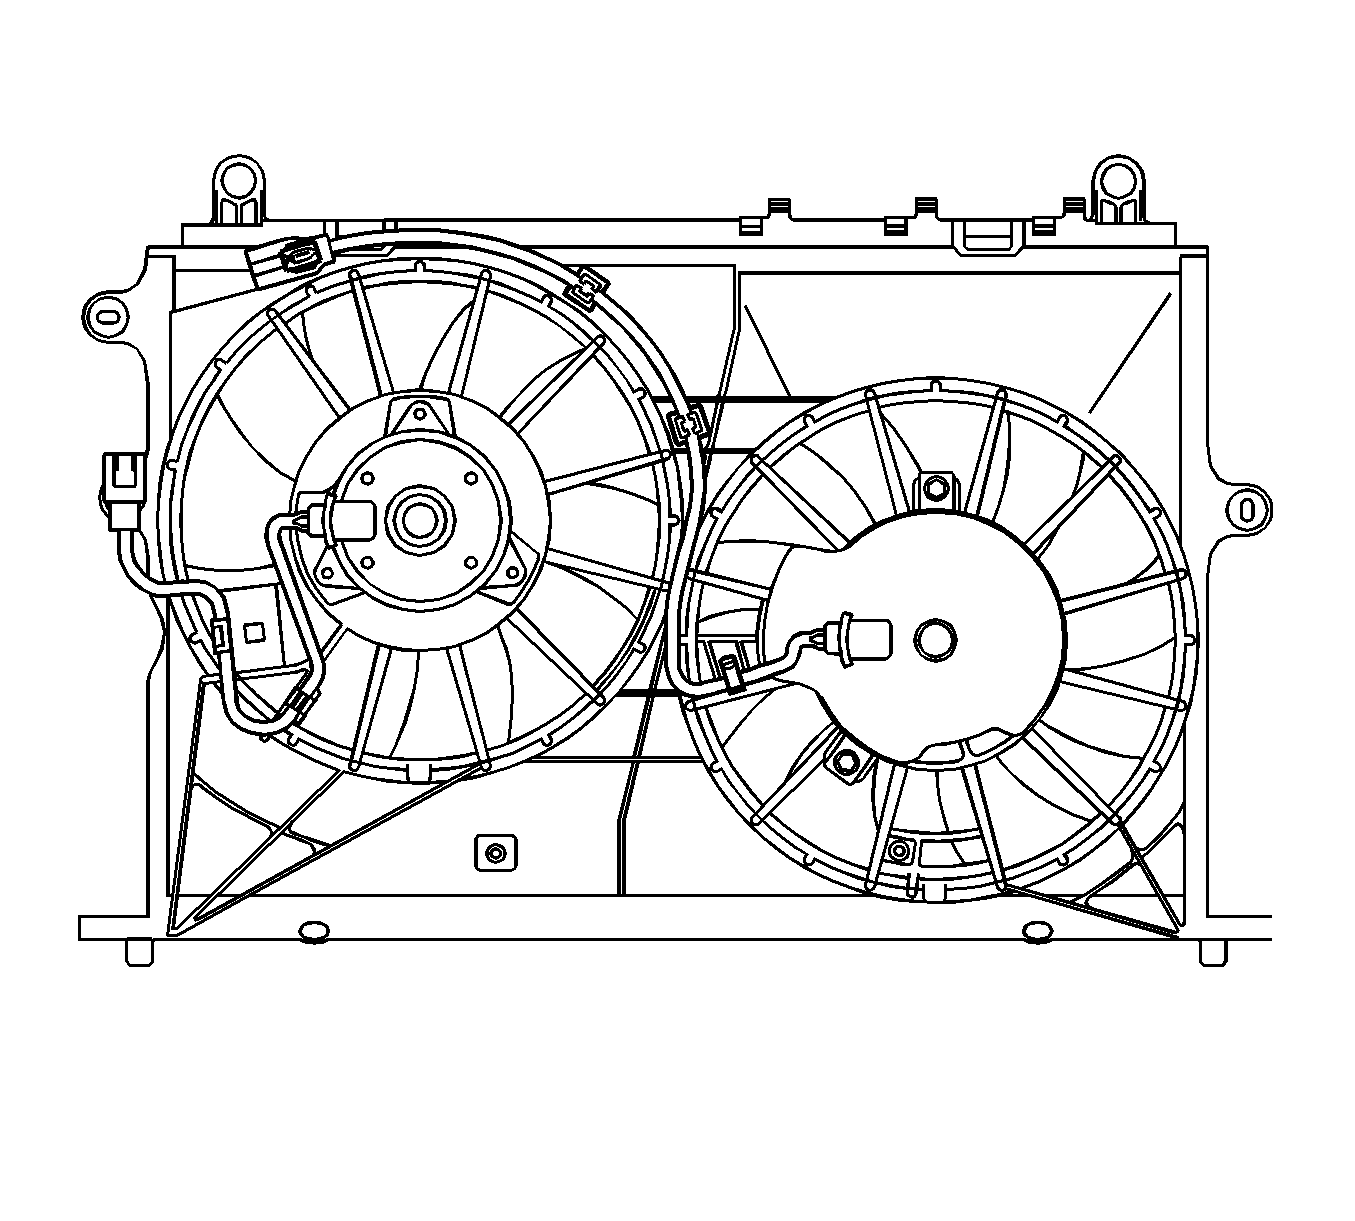
- Remove the auxiliary cooling fan motor, with air conditioning system.
- Detach the 4 harness clamps from the fan shroud.
- Remove the 2 screws (1) and cooling fan motor insulator.
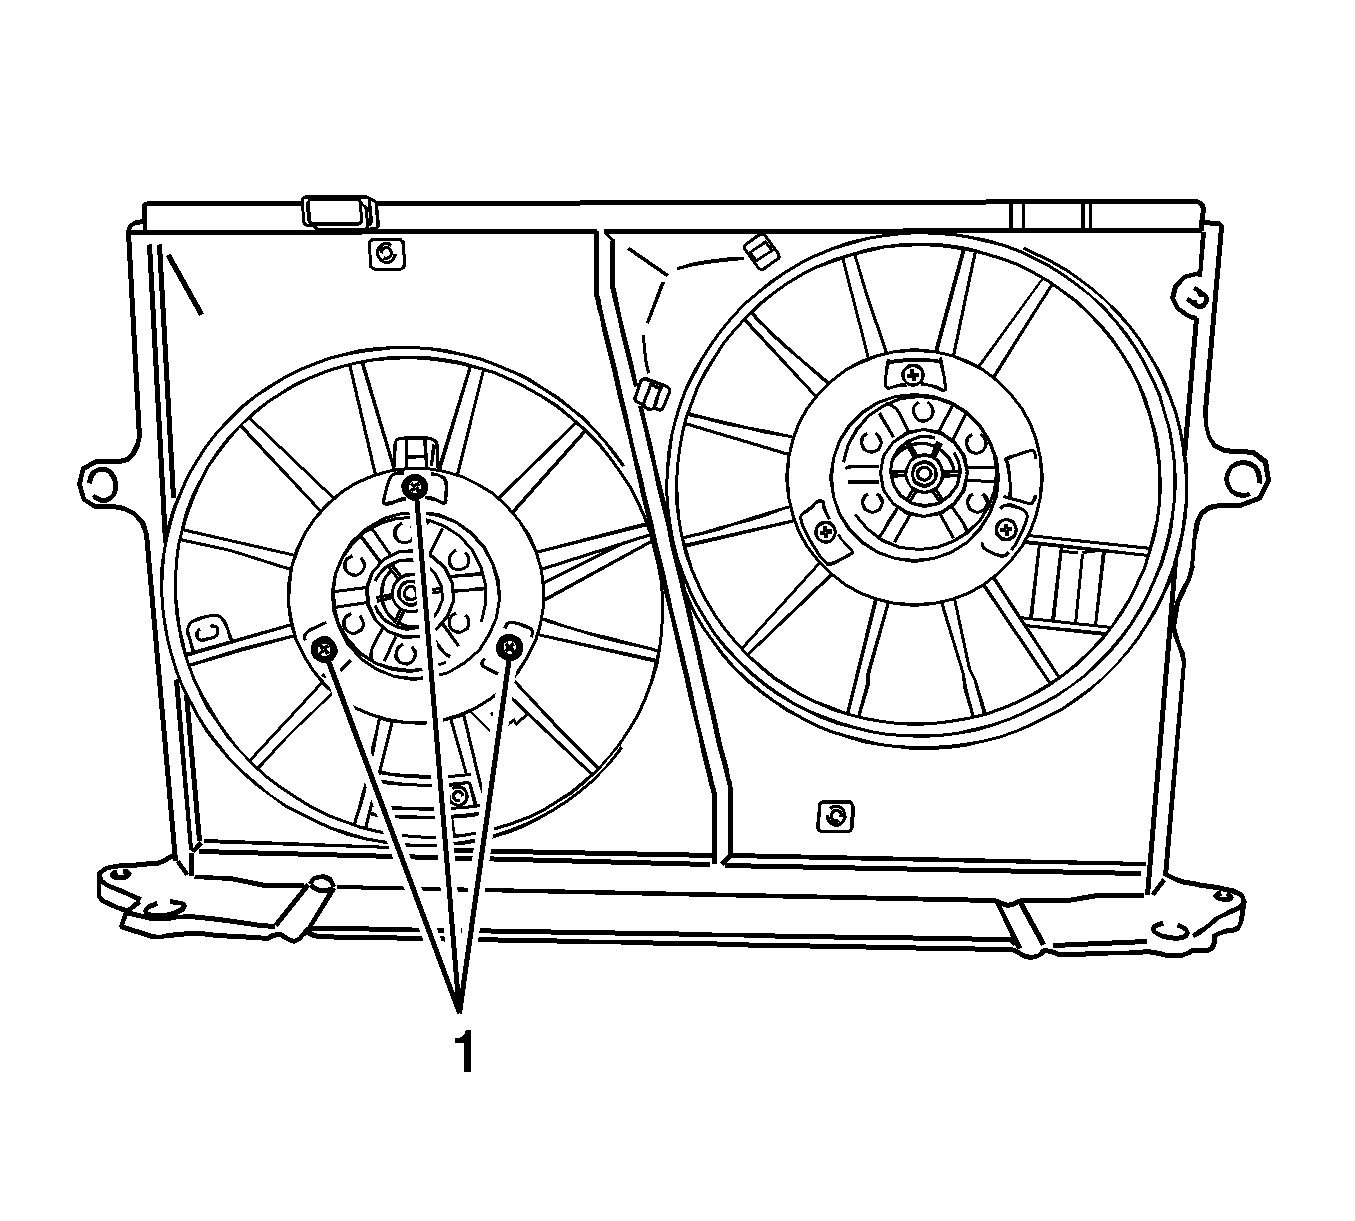
- Remove the 3 screws (1), and then remove the auxiliary cooling fan motor.
- Detach the 3 harness clamps from the fan shroud.
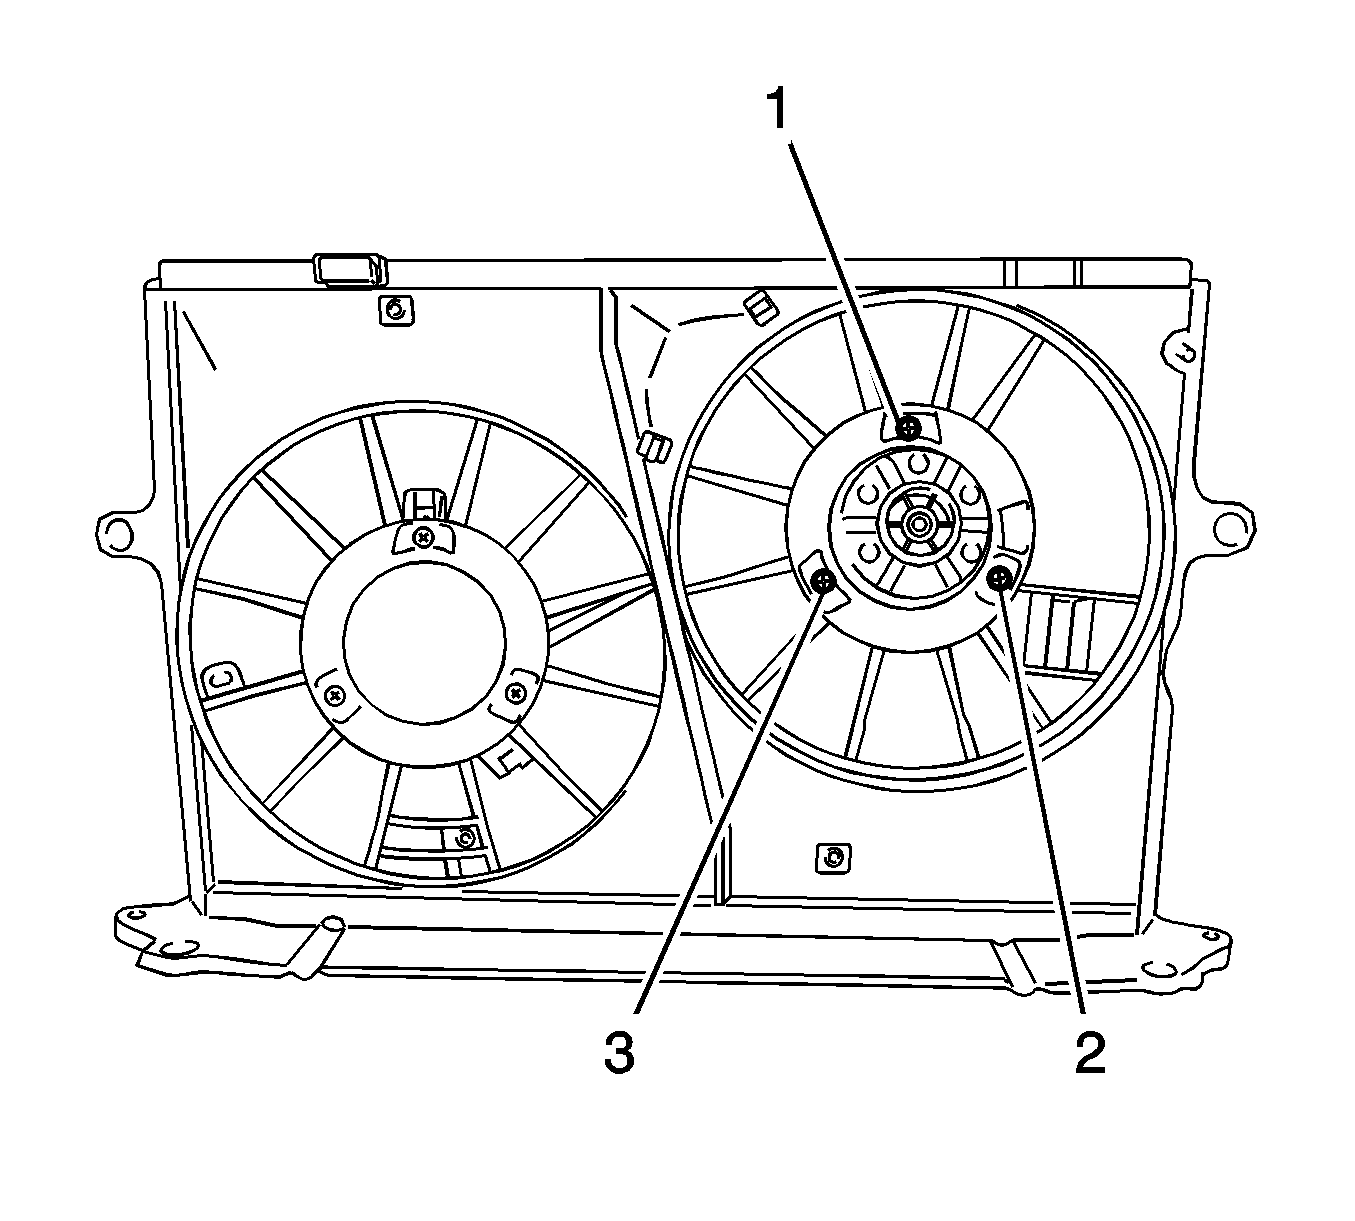
- Remove the 3 screws (1, 2, 3), and then remove the cooling fan motor.


Installation Procedure
- Install the cooling fan motor with the 3 screws (1, 2, 3) and tighten to 3.9 N·m (35 lb in).
- Attach the 3 harness clamps to the fan shroud.
- Install the auxiliary cooling fan motor with the 3 screws (1) and tighten to 3.9 N·m (35 lb in).
- Install the cooling fan motor insulator with the 2 screws (1).
- Attach the 4 harness clamps to the fan shroud.
- Install auxiliary fan with air conditioning system.
- Install the 2 fans with the 2 nuts (1) and tighten to 6.3 N·m (56 lb in).
- Install the fan with the nut and tighten to 6.3 N·m (56 lb in).
- Install the radiator assembly. Refer to Radiator Replacement.
Caution: Refer to Fastener Caution in the Preface section.
Engine Coolant Fan Replacement 1.8L
Removal Procedure
- Remove the radiator assembly. Refer to Radiator Replacement.
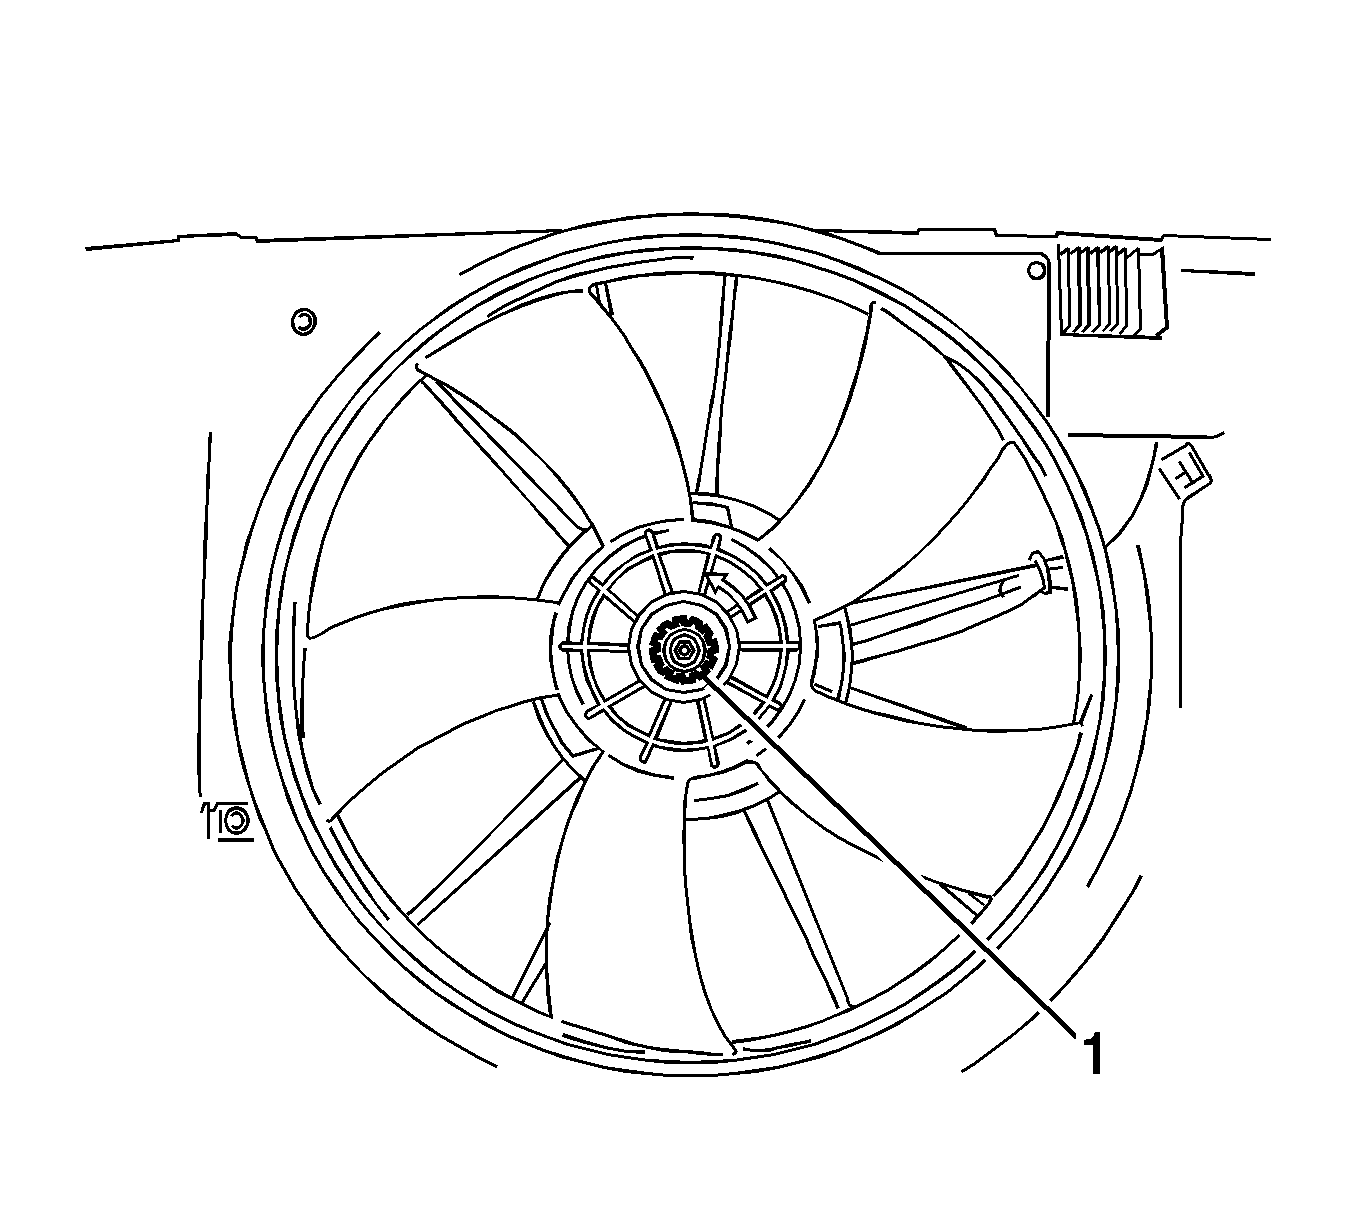
- Remove the nut (1), then remove the fan.
- Disconnect the connector and 2 clamps (2, 3) from the fan shroud.
- Remove the 3 screws (1, 2, 3), then remove the cooling fan motor.


Installation Procedure
- Install the cooling fan motor with the 3 screws (1, 2, 3).
- Connect the connector and 2 clamps.
- Install the fan with the nut (1) and tighten to 6.3 N·m (56 lb in).
- Install the radiator assembly. Refer to Radiator Replacement.
Caution: Refer to Fastener Caution in the Preface section.
