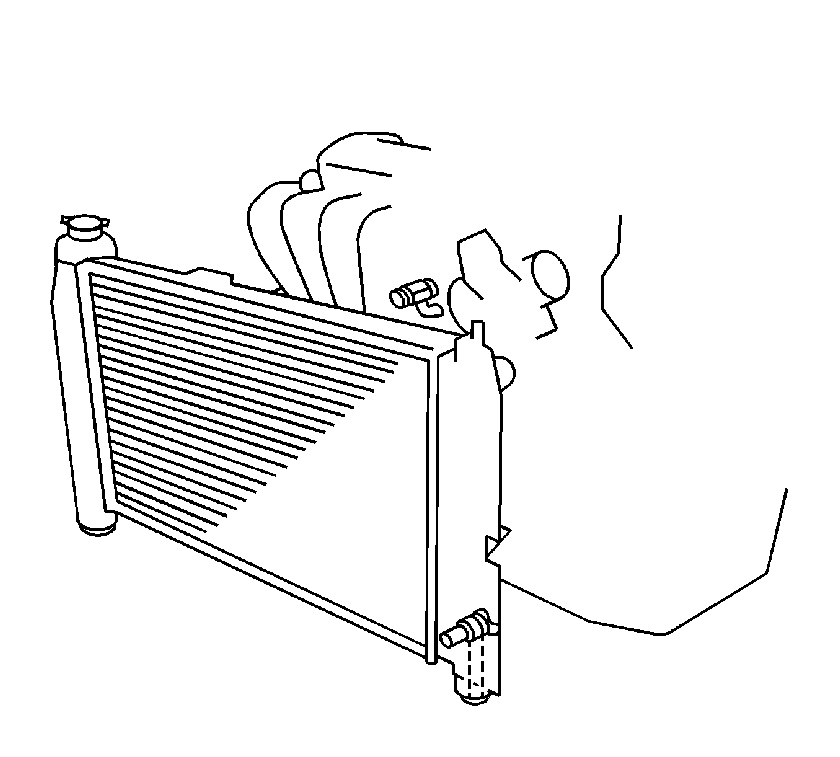
Caution: Under some conditions, the ethylene glycol engine coolant is combustible. In order to help avoid being burned, do not spill the antifreeze or the coolant on the exhaust system or the hot engine parts.
Caution: Do not remove the radiator cap when the radiator is warm. Removing the cap immediately lowers the boiling point of the coolant, and could cause a violent overflow, resulting in a large coolant loss and personal injury.
Notice: Alcohol, methanol-based coolants or plain water alone should not be used in the cooling system at any time. Damage to the cooling system could result from their use.
Important:
• Maintain the cooling system protection at -36°C (-33°F). This temperature will prevent corrosion and loss of coolant from boiling. Maintain this level of protection even if extreme temperatures are not expected. • The cooling system is filled (by the manufacturer) using a coolant that is a 50/50 mixture of water and ethylene glycol antifreeze. This coolant solution provides freezing protection to -36°C (-33°F). • Add ethylene glycol-based coolant to the coolant reservoir when the coolant level is low. Refer to the antifreeze proportioning chart and the coolant capacity chart.
- Remove the radiator cap.
- Start the engine. Run the engine for 15 minutes.
- Stop the engine.
- Open the drain plug on the radiator.
- Close the drain plug.
- Fill the cooling system with water.
- Repeat the drain and fill procedure until the drained water is clean.
- Close the radiator drain plug.
- Remove the hose from the reservoir cap.
- Remove the coolant fan and coolant reservoir assembly. Refer to Engine Cooling Fan Replacement .
- Drain the coolant from the coolant reservoir into a container.
- Use soap and water in order to clean the inside of the coolant reservoir.
- Thoroughly rinse the coolant reservoir.
- Install the coolant fan and coolant reservoir assembly. Refer to Engine Cooling Fan Replacement .
- Prepare a 50/50 mixture of ethylene glycol coolant GM P/N 12378560 (Canadian P/N 993088), or equivalent and water.
- Fill the radiator to the base of the radiator filler neck.
- Fill the coolant reservoir to the FULL mark on the reservoir.
- Install the reservoir hose to the reservoir cap.
- Start and run the engine until the coolant is at operating temperature.
- The coolant is at operating temperature when the following conditions exist:
- Add coolant to the radiator until the coolant level reaches the radiator filler neck.
- Install the radiator cap.
- Inspect the following components for leaks:
- Tighten any loose connections as necessary.
Important: Watch for a potential overheating condition while the engine is operating with the radiator cap off.
Important: Dispose of used coolant in a coolant holding tank which is picked up along with used oil.
Do not poor used coolant down the drain. Ethylene glycol antifreeze is a toxic chemical. Do not dispose of ethylene glycol antifreeze into the sewer system or ground water.
Drain the coolant into a container.
Notice: Use the correct fastener in the correct location. Replacement fasteners must be the correct part number for that application. Fasteners requiring replacement or fasteners requiring the use of thread locking compound or sealant are identified in the service procedure. Do not use paints, lubricants, or corrosion inhibitors on fasteners or fastener joint surfaces unless specified. These coatings affect fastener torque and joint clamping force and may damage the fastener. Use the correct tightening sequence and specifications when installing fasteners in order to avoid damage to parts and systems.
Tighten
Tighten the drain plug to 13 N·m (9 lb ft).
Important: Watch for a potential overheating condition while the engine is operating with the radiator cap off.
| • | The hoses feel warm. |
| • | The coolant is moving in the radiator. |
| • | The radiator |
| • | The coolant reservoir |
| • | The coolant pipe connections |
| • | The hose connections |
