For 1990-2009 cars only
Rocker Panel Molding Replacement Production Molding
Removal Procedure
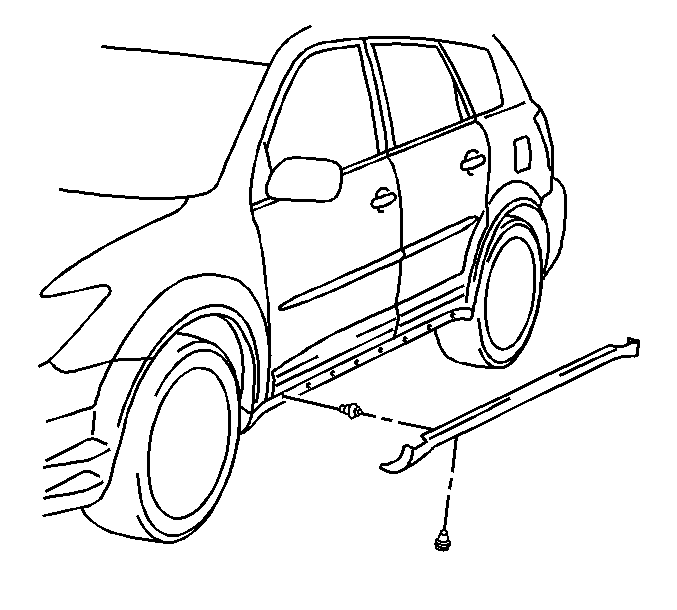
- Remove the plastic push-in retainers from the bottom of the rocker panel molding.
- Disengage the plastic clips to remove the rocker panel molding.
- Remove the rocker panel molding.
- Remove the plastic clips from the rocker panel molding.

Installation Procedure
- Clean the area where the molding will be installed.
- Dry the area thoroughly.
- With the rocker panel molding at room temperature, install the adhesive backing rubber trim seal to the rocker panel molding.
- Install new plastic clips to the rocker panel molding.
- Line up the rocker panel molding to the plastic clip holes on the rocker panel and push firmly until the rocker panel molding snaps in.
- Install the rocker panel molding push in retainers to the under side of the rocker panel molding.
Important: Apply the molding in an environment that is free from dust or other dirt that could come into contact with the sticky backing. Foreign material may cause improper adhesion.
Use a lint-free cloth and Varnish Makers and Painters (VMP) naphtha or a 50/50 mixture by volume of isopropyl alcohol and water to clean the area.
Important: Clean and prep the backside of the rocker panel molding, using 3M Automotive Adhesive Promoter P/N 06396 prior to the installation of the adhesive backing rubber trim seal.

Rocker Panel Molding Replacement Accessory Molding
Removal Procedure
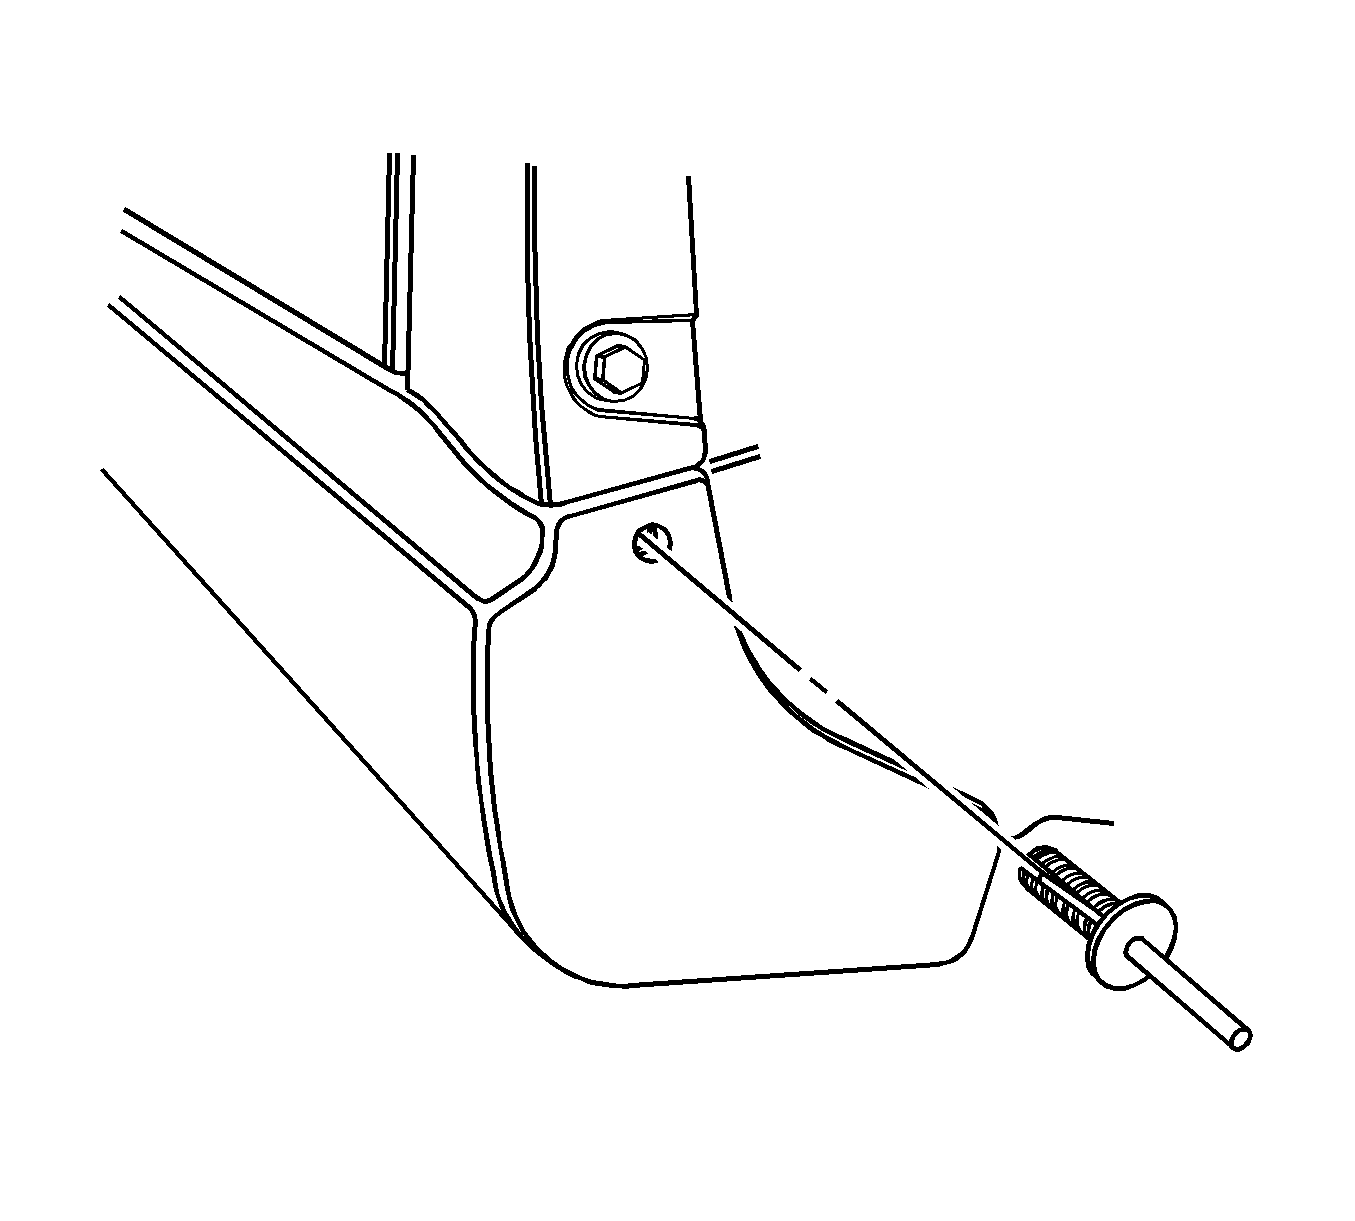
- Remove the plastic push-in retainer from the front of the rocker panel accessory molding.
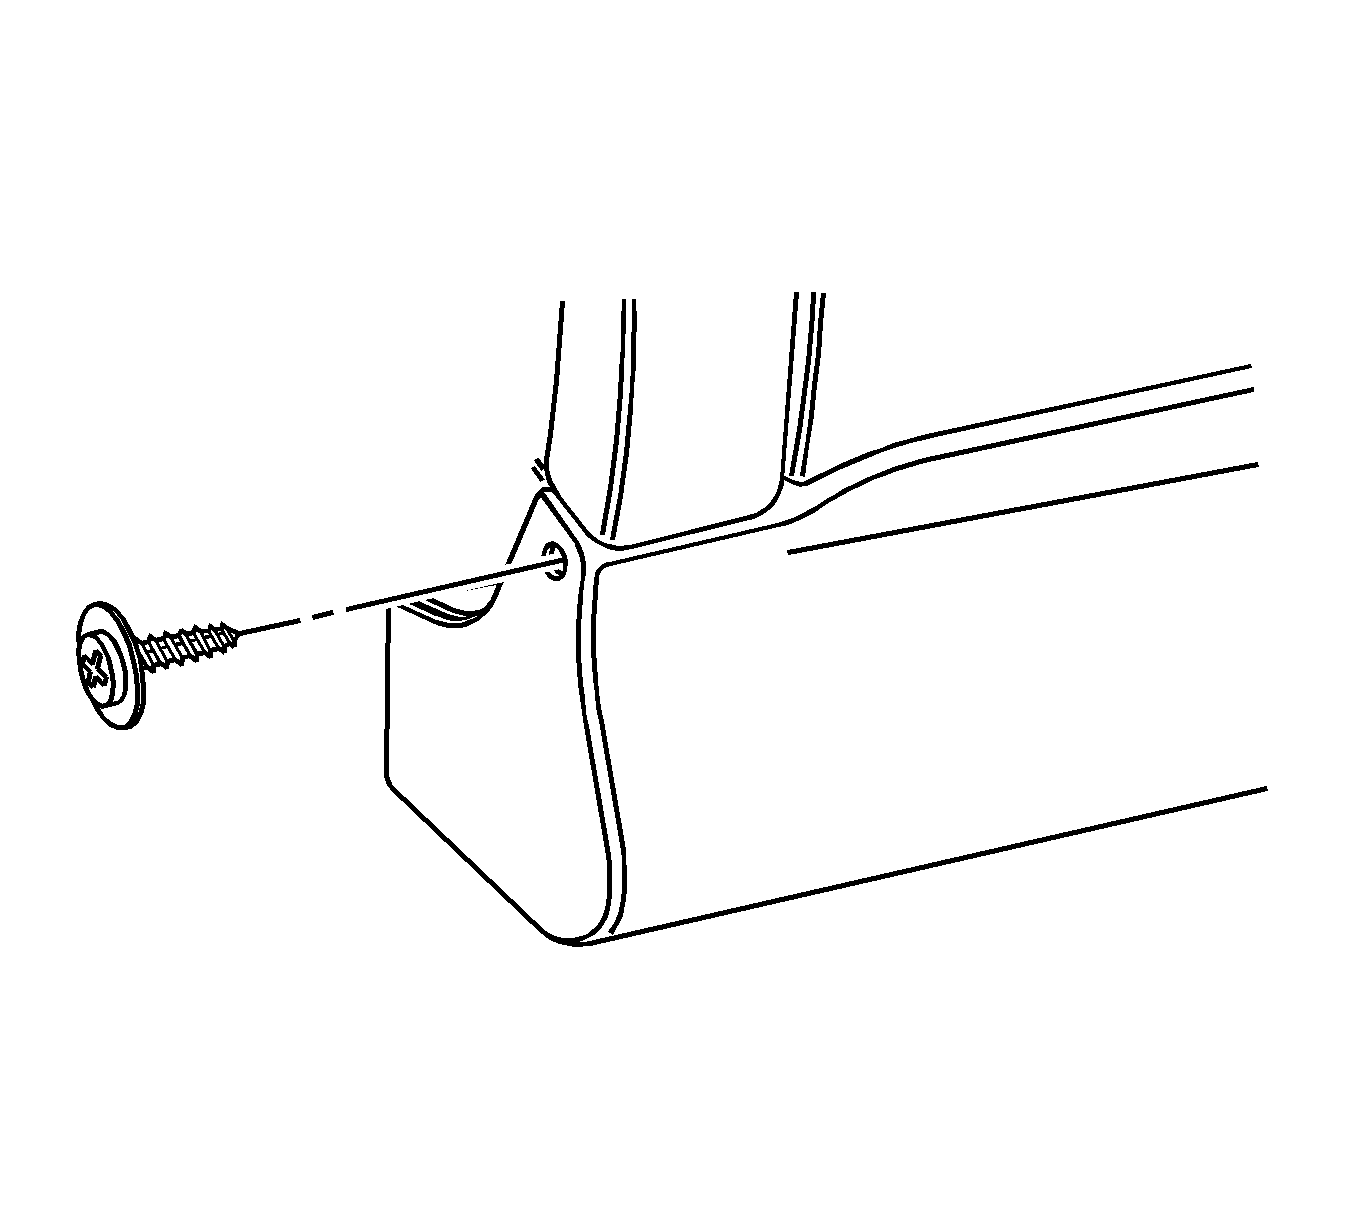
- Remove the screw from the rear of the rocker panel accessory molding.
- Remove the lower push-in retainers from the bottom of the rocker panel accessory molding.
- Remove the rocker panel accessory molding and the 2-way adhesive tape. Refer to Exterior Trim Molding/Nameplate Replacement .


Installation Procedure
- Apply two way adhesive tape to the rocker panel accessory molding. Refer to Exterior Trim Molding/Nameplate Replacement .
- Peel back 25 mm (1 in) of the 2-way tape liner from each end.
- Install rocker panel accessory molding to vehicle and fasten with the lower push-in retainers.
- Remove the 2-way tape liner, starting from the rear of the vehicle and press down working from the rear to get good adhesion.
- Install the screw to the rear of the rocker panel accessory molding.
- Install the plastic push-in retainer to the front of the rocker panel accessory molding.


