For 1990-2009 cars only
Removal Procedure
- Remove the air cleaner outlet resonator. Refer to Air Cleaner Outlet Resonator Replacement.
- Remove the left engine mount upper nut.
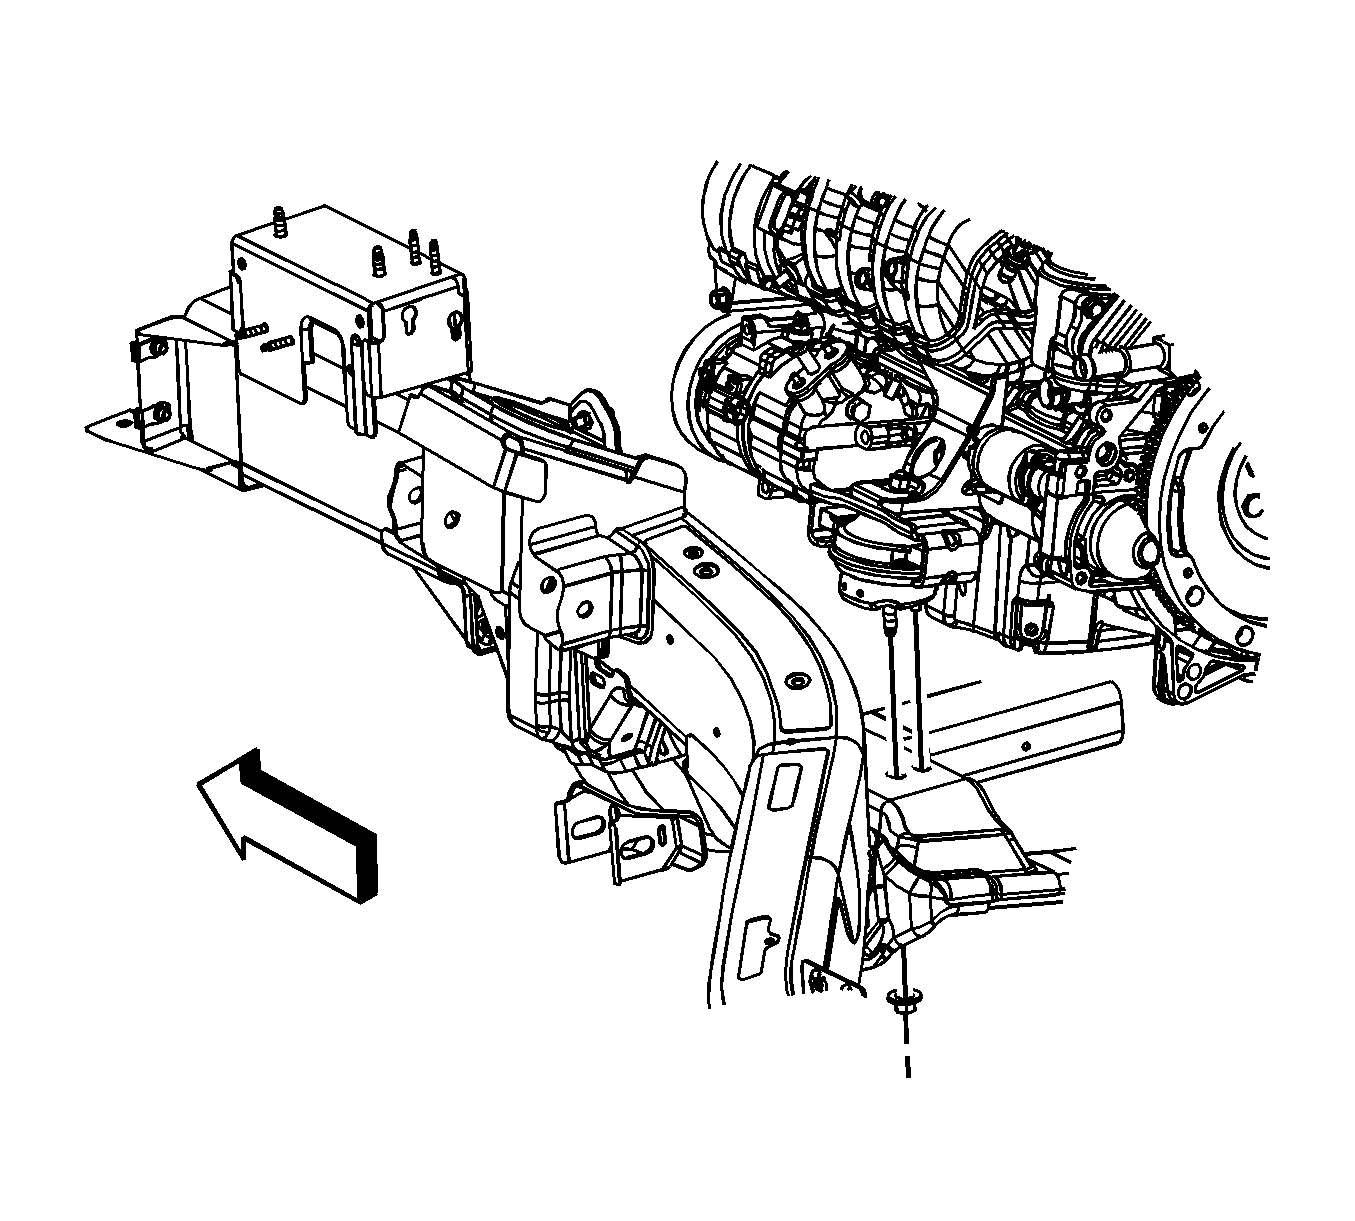
- Raise and support the vehicle. Refer to Lifting and Jacking the Vehicle.
- Remove the left engine mount lower nut.
- Loosen the transmission mount nuts.
- Remove the right engine mount lower nut.
- Position an adjustable jack below the oil pan. Place a block of wood between the oil pan and the jack.
- Raise the engine using the adjustable jack until the engine mount can be removed.
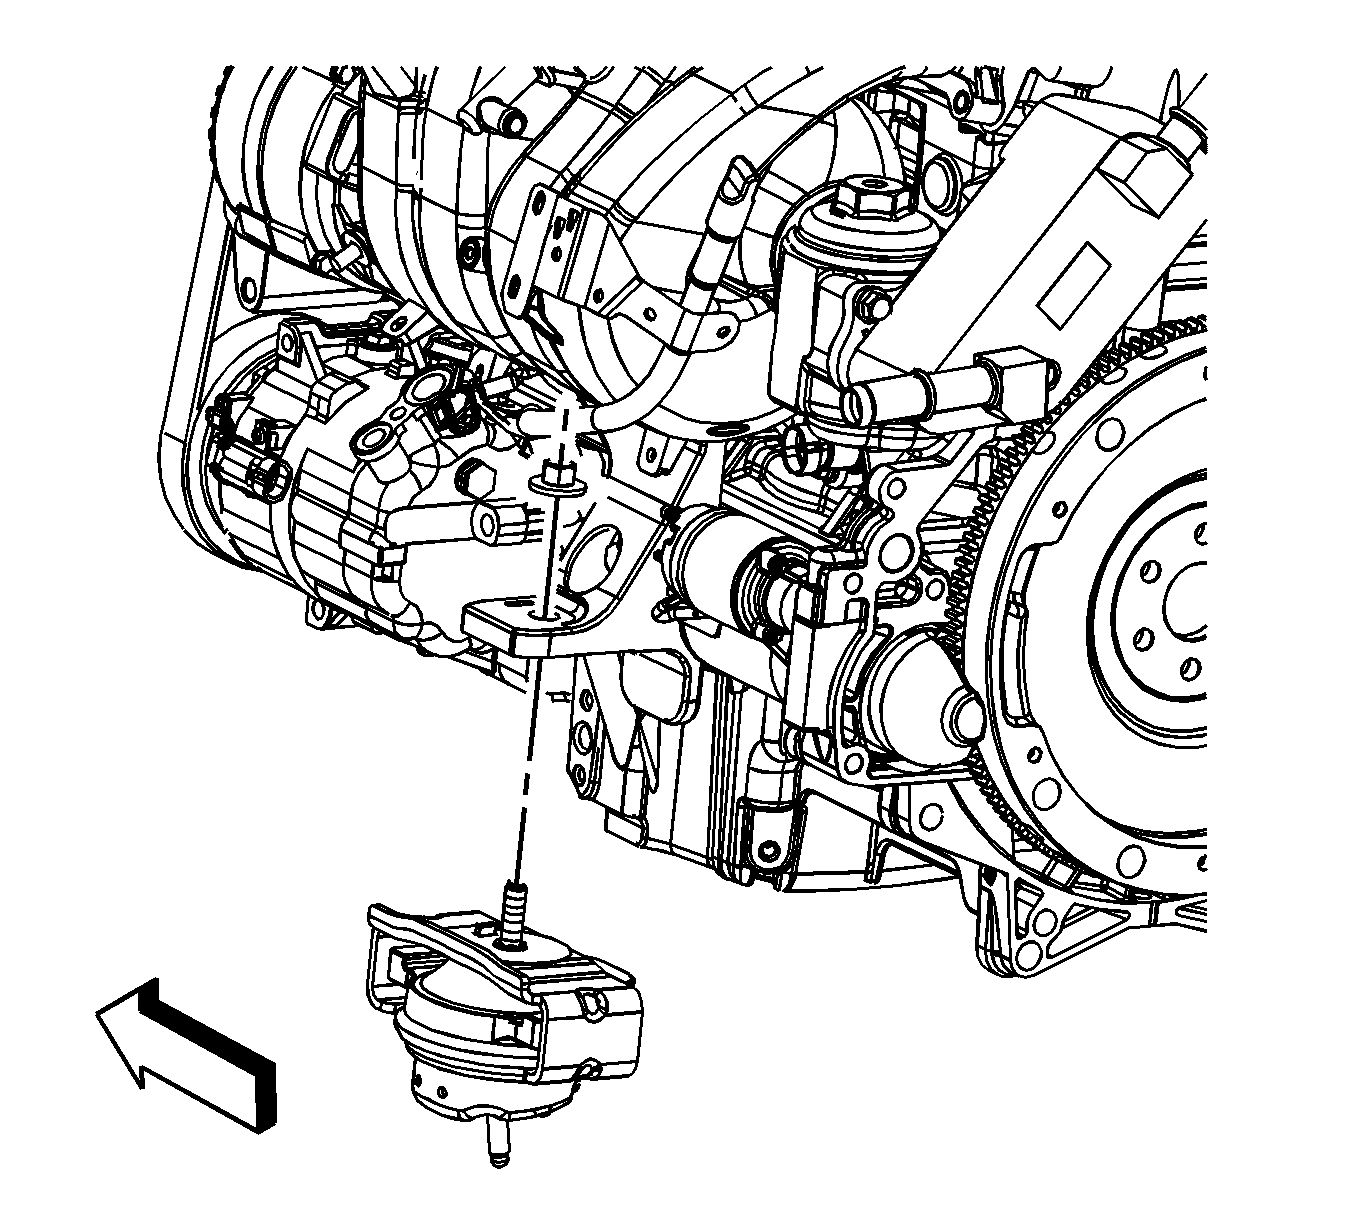
- Remove the left engine mount.
Installation Procedure
- Install the left engine mount.
- Lower the engine using the adjustable jack until the engine is resting on the mount.
- Remove the adjustable jack from below the oil pan.
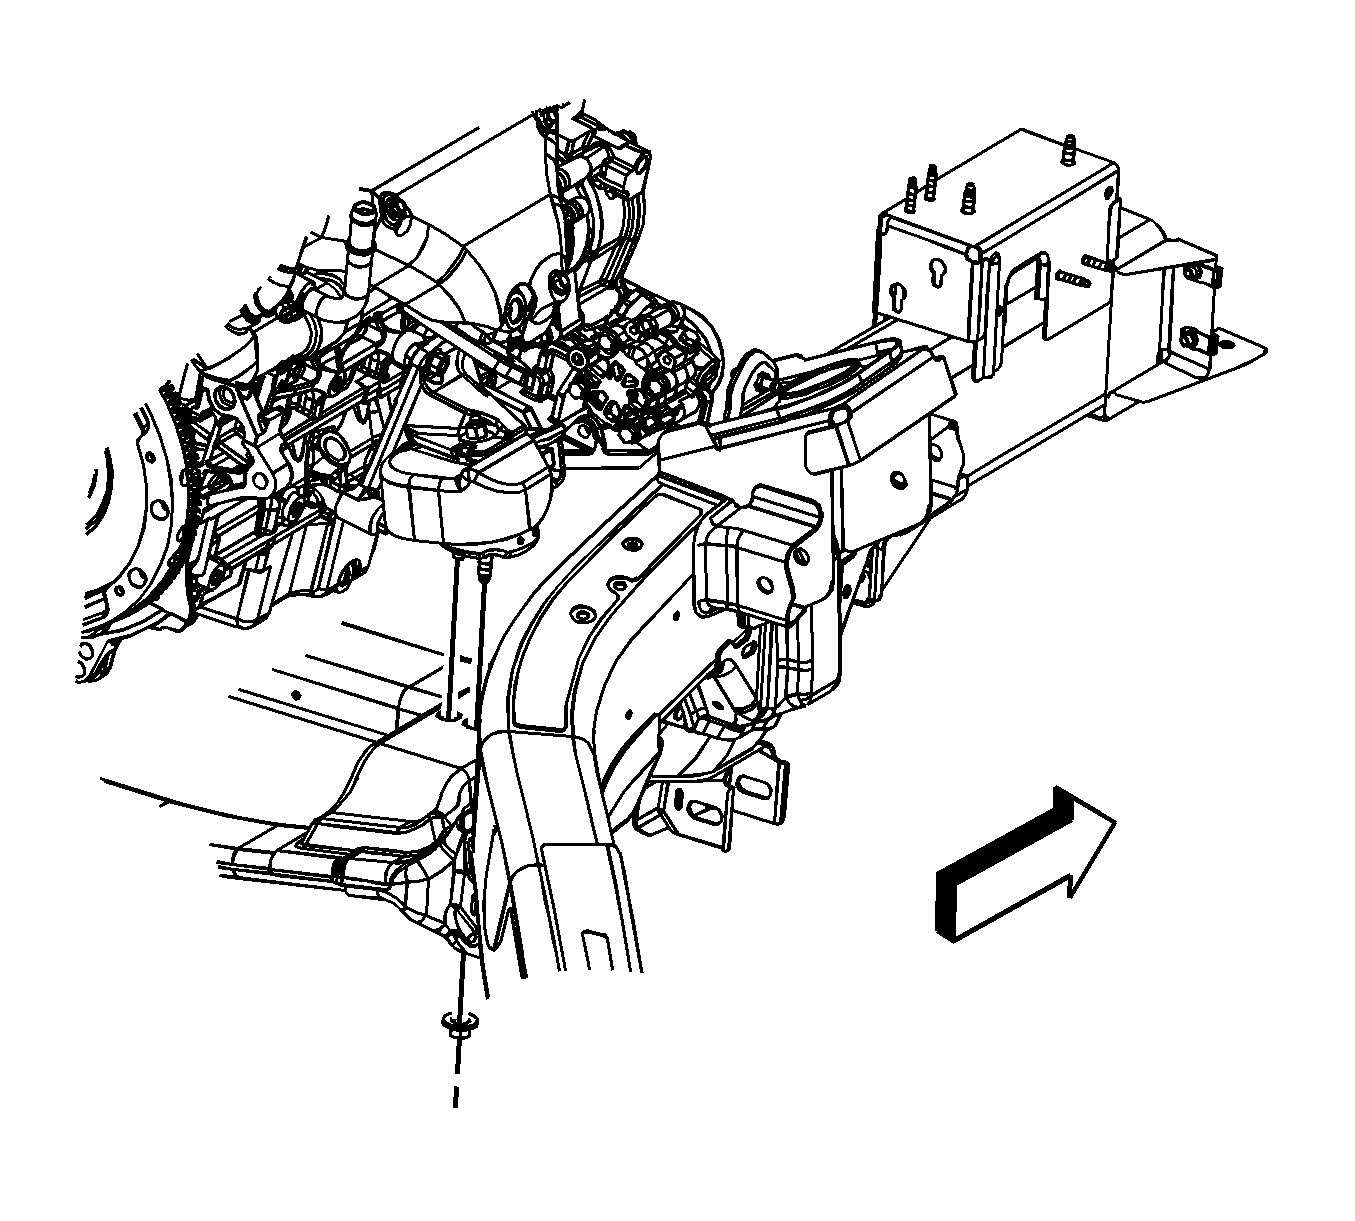
- Install the right engine mount lower nut.
- Tighten the transmission mount nuts.
- Install the left engine mount lower nut.
- Lower the vehicle.
- Install the left engine mount upper nut.
- Install the air cleaner outlet resonator. Refer to Air Cleaner Outlet Resonator Replacement.
Caution: Refer to Fastener Caution in the Preface section.
Tighten
Tighten the nut to 55 N·m (41 lb ft).
Tighten
Tighten the nuts to 55 N·m (41 lb ft).
Tighten
Tighten the nut to 55 N·m (41 lb ft).
Tighten
Tighten the nut to 55 N·m (41 lb ft).
