Tools Required
J 45059 Angle Meter
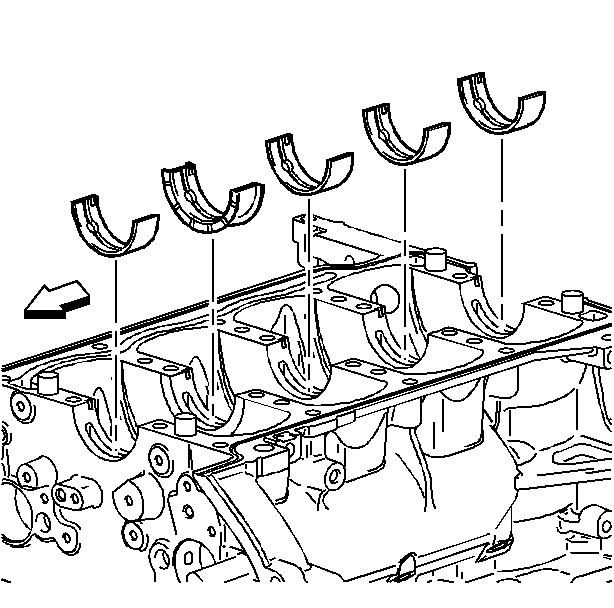
- Install the upper crankshaft bearings and lubricate bearing surfaces with engine oil.
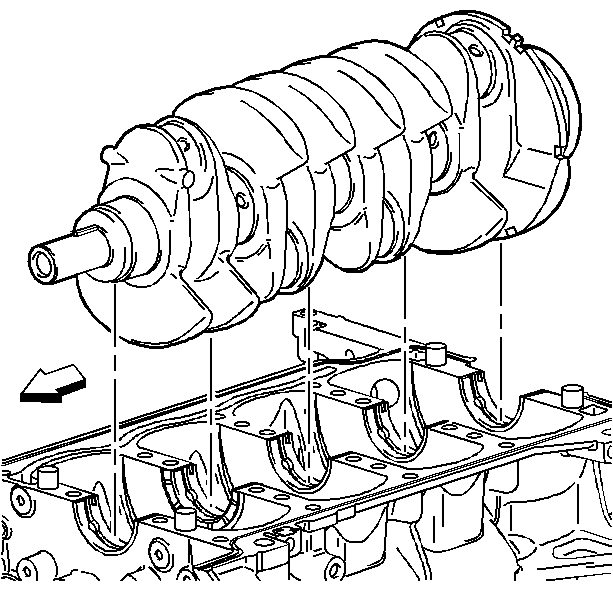
- Install the crankshaft on the journals.
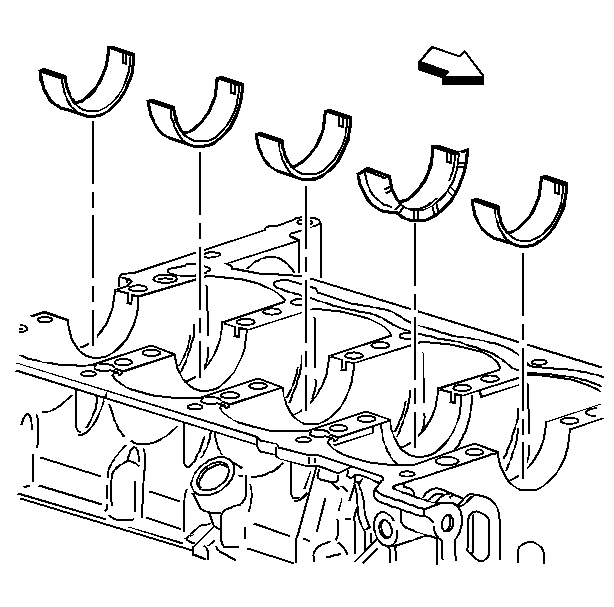
- Install the lower bearing halves, without grooves, into the lower crankcase. Apply oil to bearing surfaces.
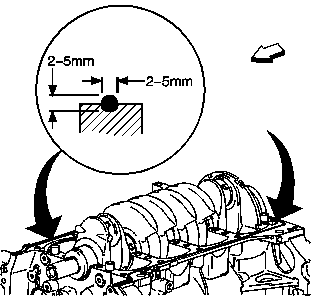
- Apply sealer GM P/N 12378521 (Canadian P/N 88901148) to the surfaces of the engine block to bedplate mating surfaces.
- Install the lower crankcase. Tap gently into place with a suitable tool if necessary. Ensure it is aligned properly on the dowels.
- Install the NEW crankshaft bearing bolts in sequence finger tight.
- Tighten the lower crankcase perimeter bolts in sequence.
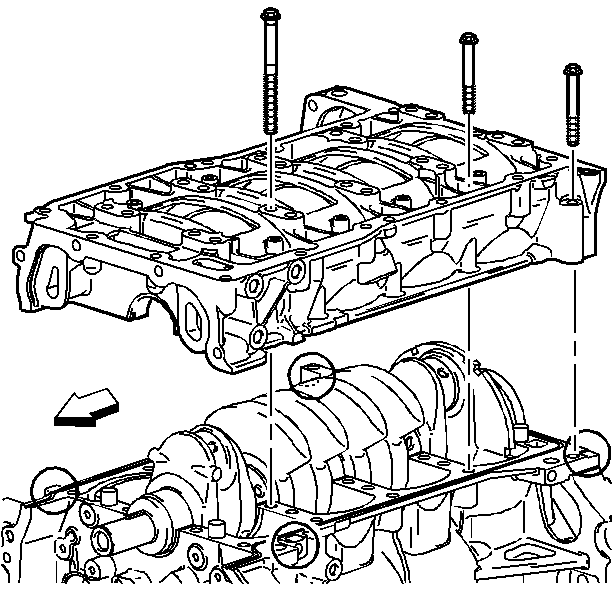
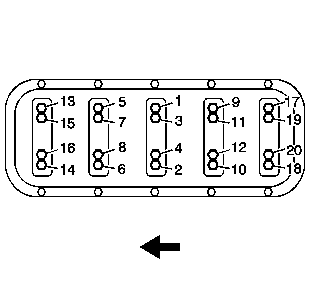
Notice: Use the correct fastener in the correct location. Replacement fasteners must be the correct part number for that application. Fasteners requiring replacement or fasteners requiring the use of thread locking compound or sealant are identified in the service procedure. Do not use paints, lubricants, or corrosion inhibitors on fasteners or fastener joint surfaces unless specified. These coatings affect fastener torque and joint clamping force and may damage the fastener. Use the correct tightening sequence and specifications when installing fasteners in order to avoid damage to parts and systems.
| 6.1. | Tighten the crankshaft bearing bolts in sequence. |
Tighten
Tighten the crankshaft bearing bolts to 20 N·m (15 lb ft).
| 6.2. | Tighten the crankshaft bearing bolts in sequence using the J 45059 . |
Tighten
Tighten the crankshaft bearing bolts 70 degrees using the torque angle meter.
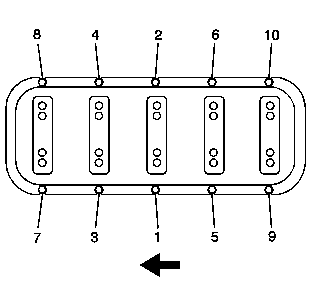
Tighten
Tighten the lower crankcase perimeter bolts to 25 N·m (18 lb ft).
