For 1990-2009 cars only
Removal Procedure
Important: Torque axis mounting systems allow more engine movement than other mounting systems. The engine movement is the design intent of the mounting system. Do not replace the torque axis mounts unless the mount or the rubber is damaged.
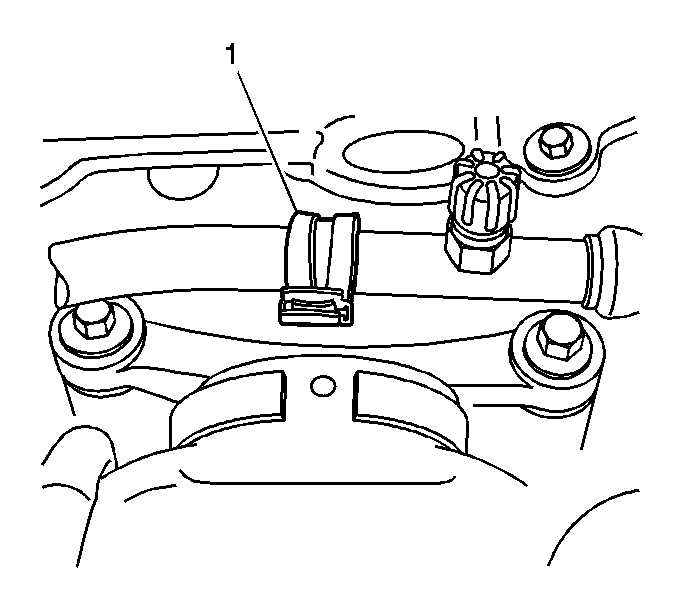
- Remove the A/C low pressure line retaining bracket (1) nut. Refer to Compressor Hose Assembly Replacement .
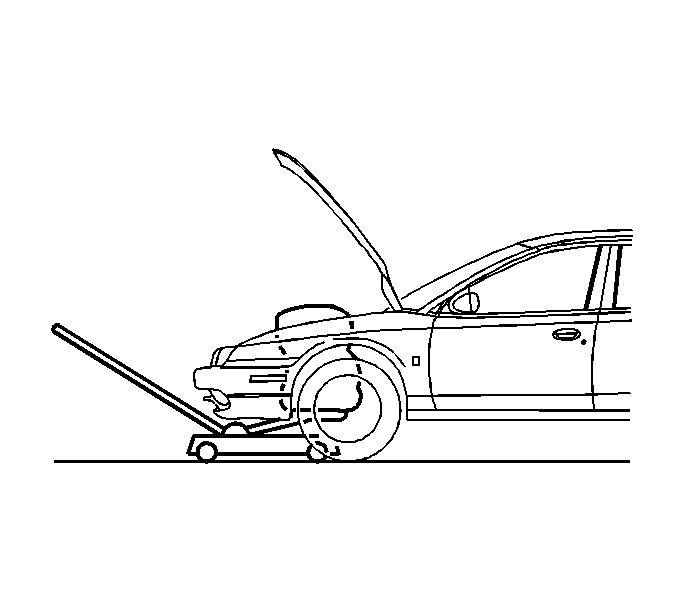
- Using a block of wood between the floor jack and the oil pan , support the engine.
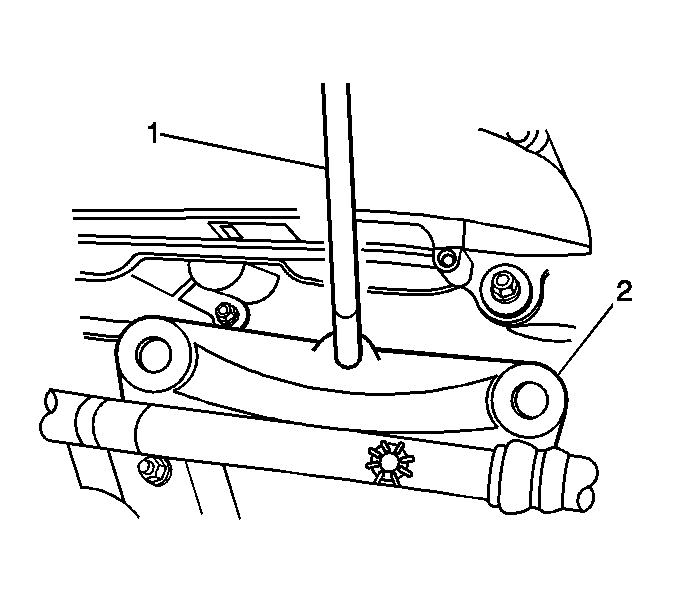
- Remove the engine mount (2) to bracket bolts (1).
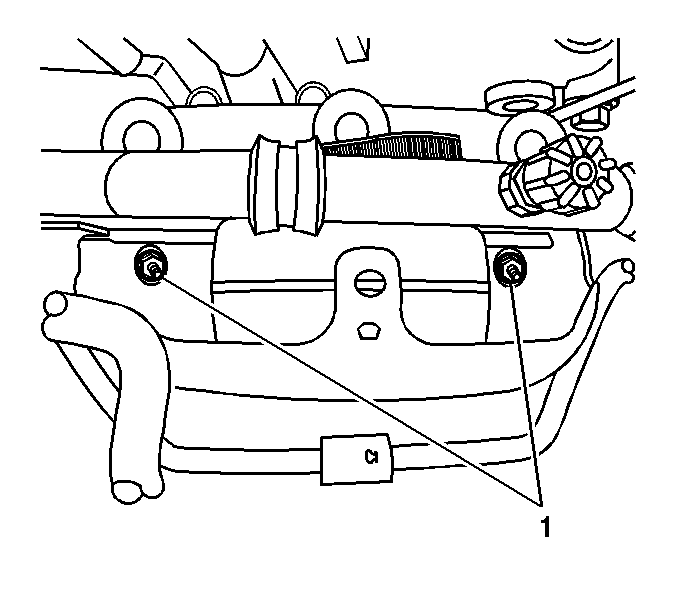
- Remove the engine mount to body nuts (1).
- Remove the engine mount.
Installation Procedure
- Install the engine mount to the vehicle.
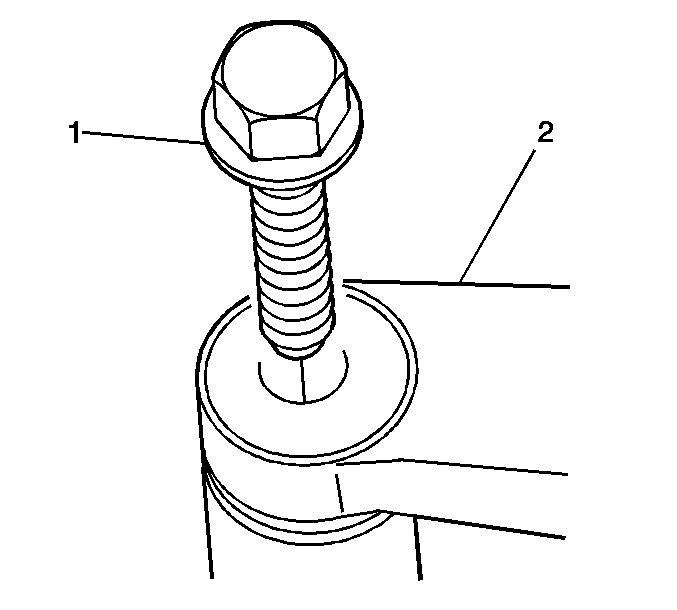
- Align the engine mount (2) to the mount bracket using a dowel (1).
- Hand tighten the engine mount to body nuts (1).
- Install the engine mount (2) to bracket bolts (1).
- Install the A/C low pressure line retaining bracket (1) nut. Refer to Compressor Hose Assembly Replacement .
- Remove the floor jack.
Notice: Refer to Fastener Notice in the Preface section.
Tighten
| • | Tighten the engine mount to body nuts to 66 N·m (49 lb ft). |
| • | Tighten the engine mount to bracket bolts to 130 N·m (96 lb ft) plus 45 degrees. |
Tighten
Tighten the nut to 10 N·m (89 lb in).
