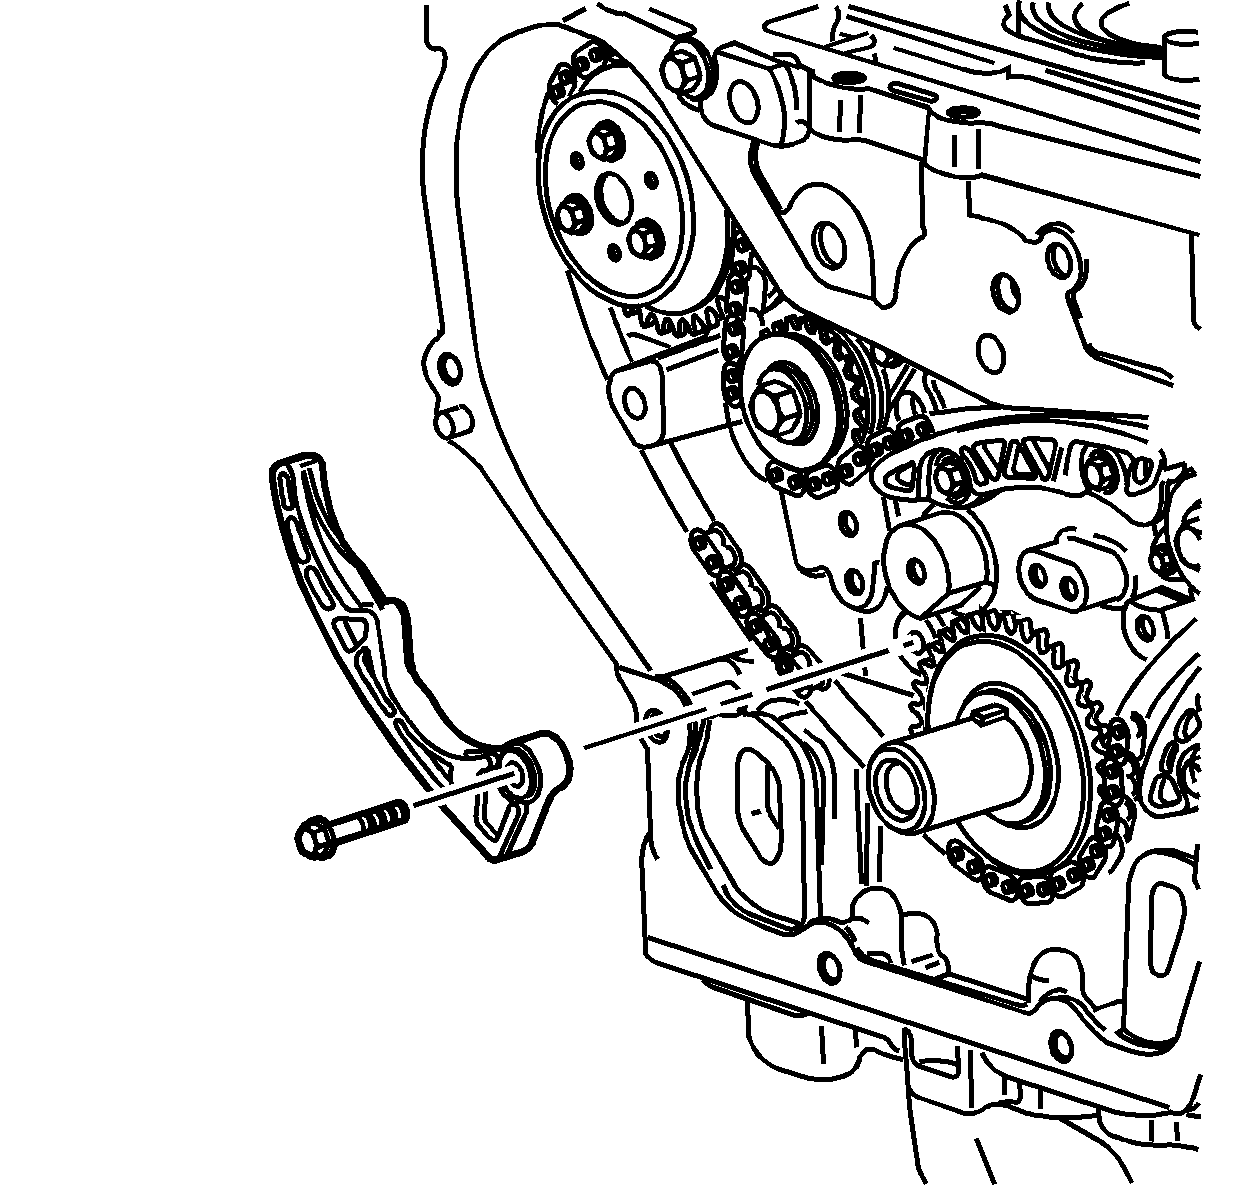
- Install the upper balance shaft chain guide and bolts.
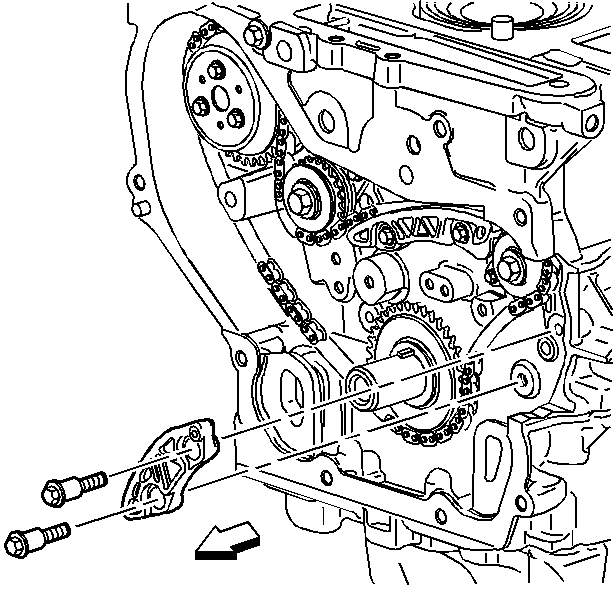
- Install the small balance shaft chain guide.
- Install the balance shaft chain guide bolts.
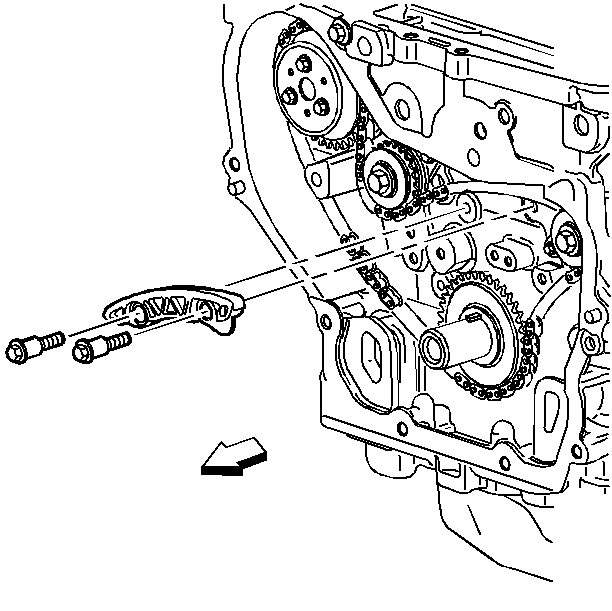
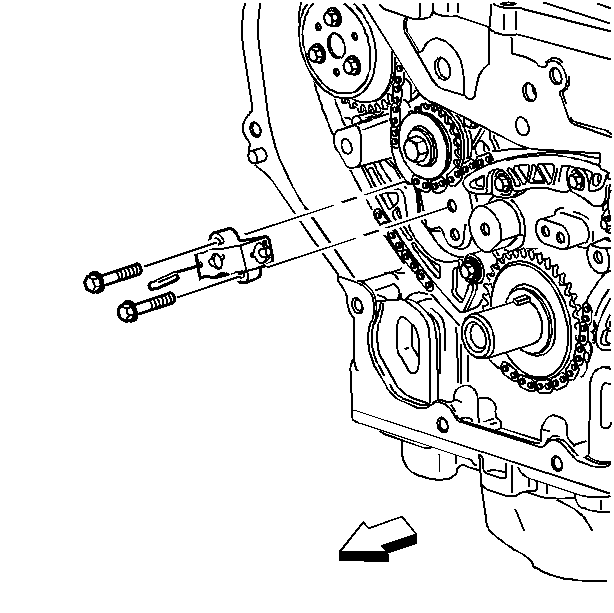
- Install the adjustable balance shaft drive chain guide.
- Install the adjustable balance shaft drive chain guide bolts.
- Reset the timing chain tensioner by performing the following steps:
- Install the timing chain tensioner.
- Install the chain tensioner bolts.
- Remove the paper clip from the balance shaft drive chain tensioner.
Notice: Use the correct fastener in the correct location. Replacement fasteners must be the correct part number for that application. Fasteners requiring replacement or fasteners requiring the use of thread locking compound or sealant are identified in the service procedure. Do not use paints, lubricants, or corrosion inhibitors on fasteners or fastener joint surfaces unless specified. These coatings affect fastener torque and joint clamping force and may damage the fastener. Use the correct tightening sequence and specifications when installing fasteners in order to avoid damage to parts and systems.
Important: If the balance shafts are not properly timed to the engine, the engine may vibrate and make noise.
Tighten
Tighten the upper balance shaft chain guide bolts to 15 N·m (11 lb ft).
Tighten
Tighten the chain guide bolts to 15 N·m (11 lb ft).
Tighten
Tighten the chain guide bolts to 10 N·m (89 lb in).
| 6.1. | Turn the tensioner plunger 90 degrees in its bore and compress the plunger. |
| 6.2. | Turn the tensioner back to the original 12 o'clock position and insert a paper clip through the hole in the plunger body and into the hole in the tensioner plunger. |
Tighten
Tighten the chain tensioner bolts to 10 N·m (89 lb in).
