General Power Sliding Side Door Diagnosis/Repair Procedures

| Subject: | General Power Sliding Side Door Diagnosis/Repair Procedures |
| Models: | 2005-2007 Buick Terraza |
| 2005-2007 Chevrolet Uplander |
| 2005-2007 Pontiac Montana |
| 2005-2007 Saturn Relay |
Condition
The power sliding side door motor continues to run for up to three seconds after the door has fully closed.
Cause
The door is closing too quickly. It needs to see two detent signals 450 milliseconds apart.
Correction
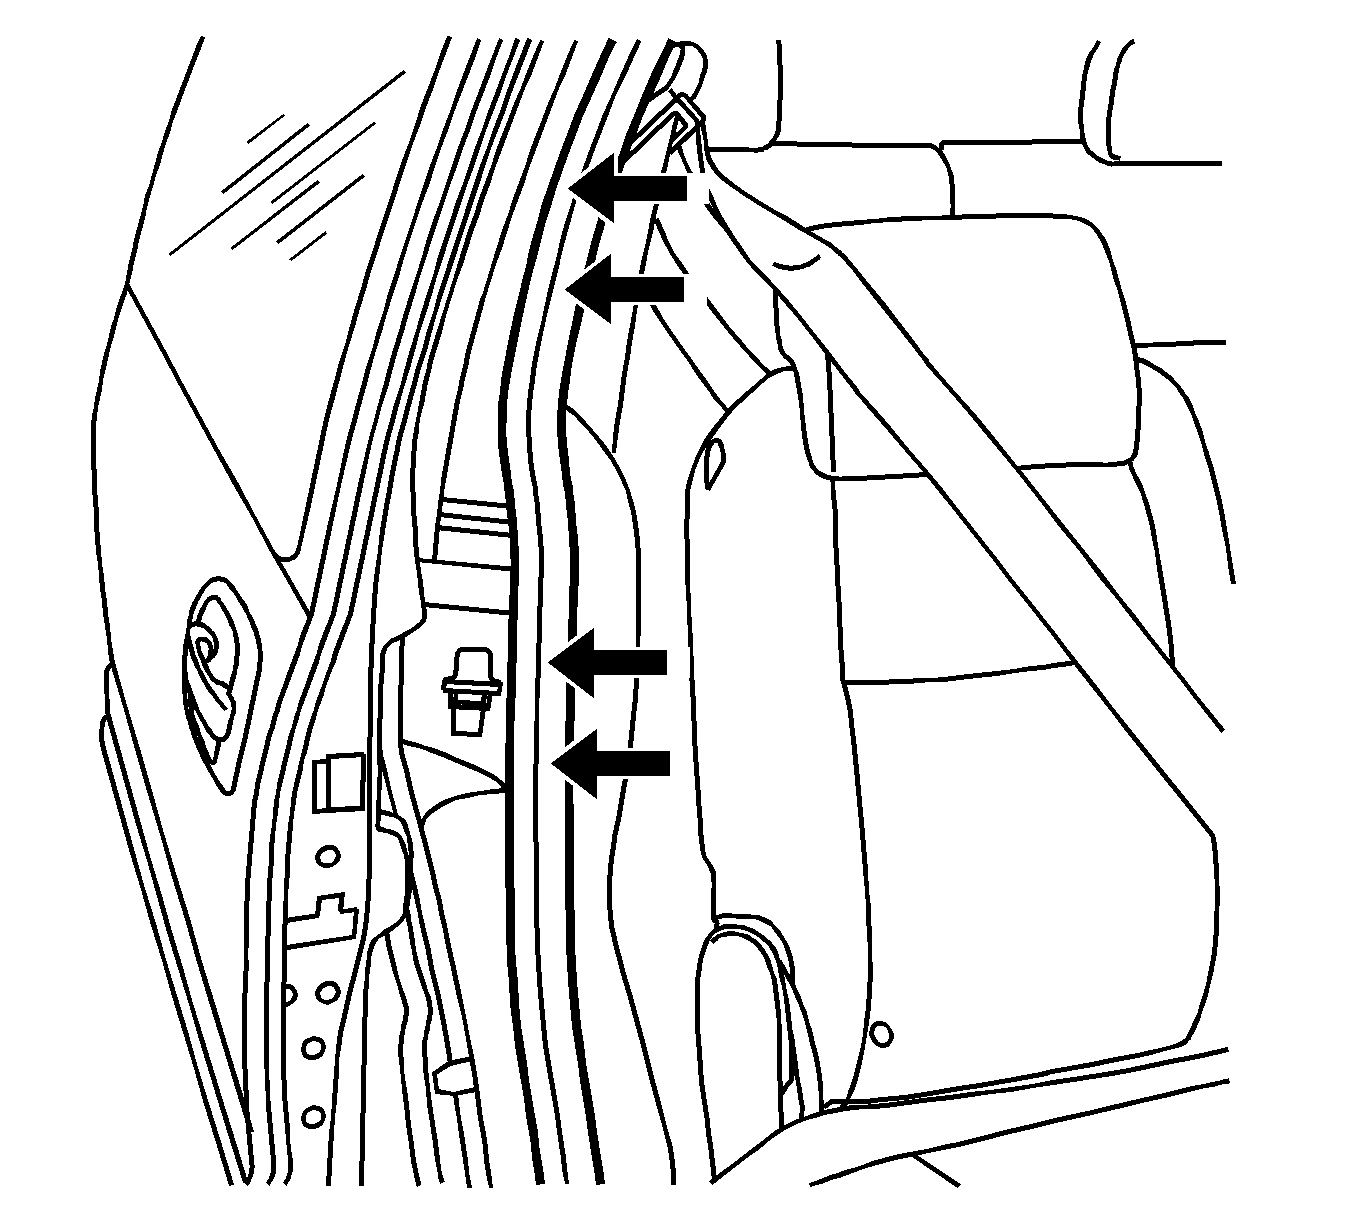
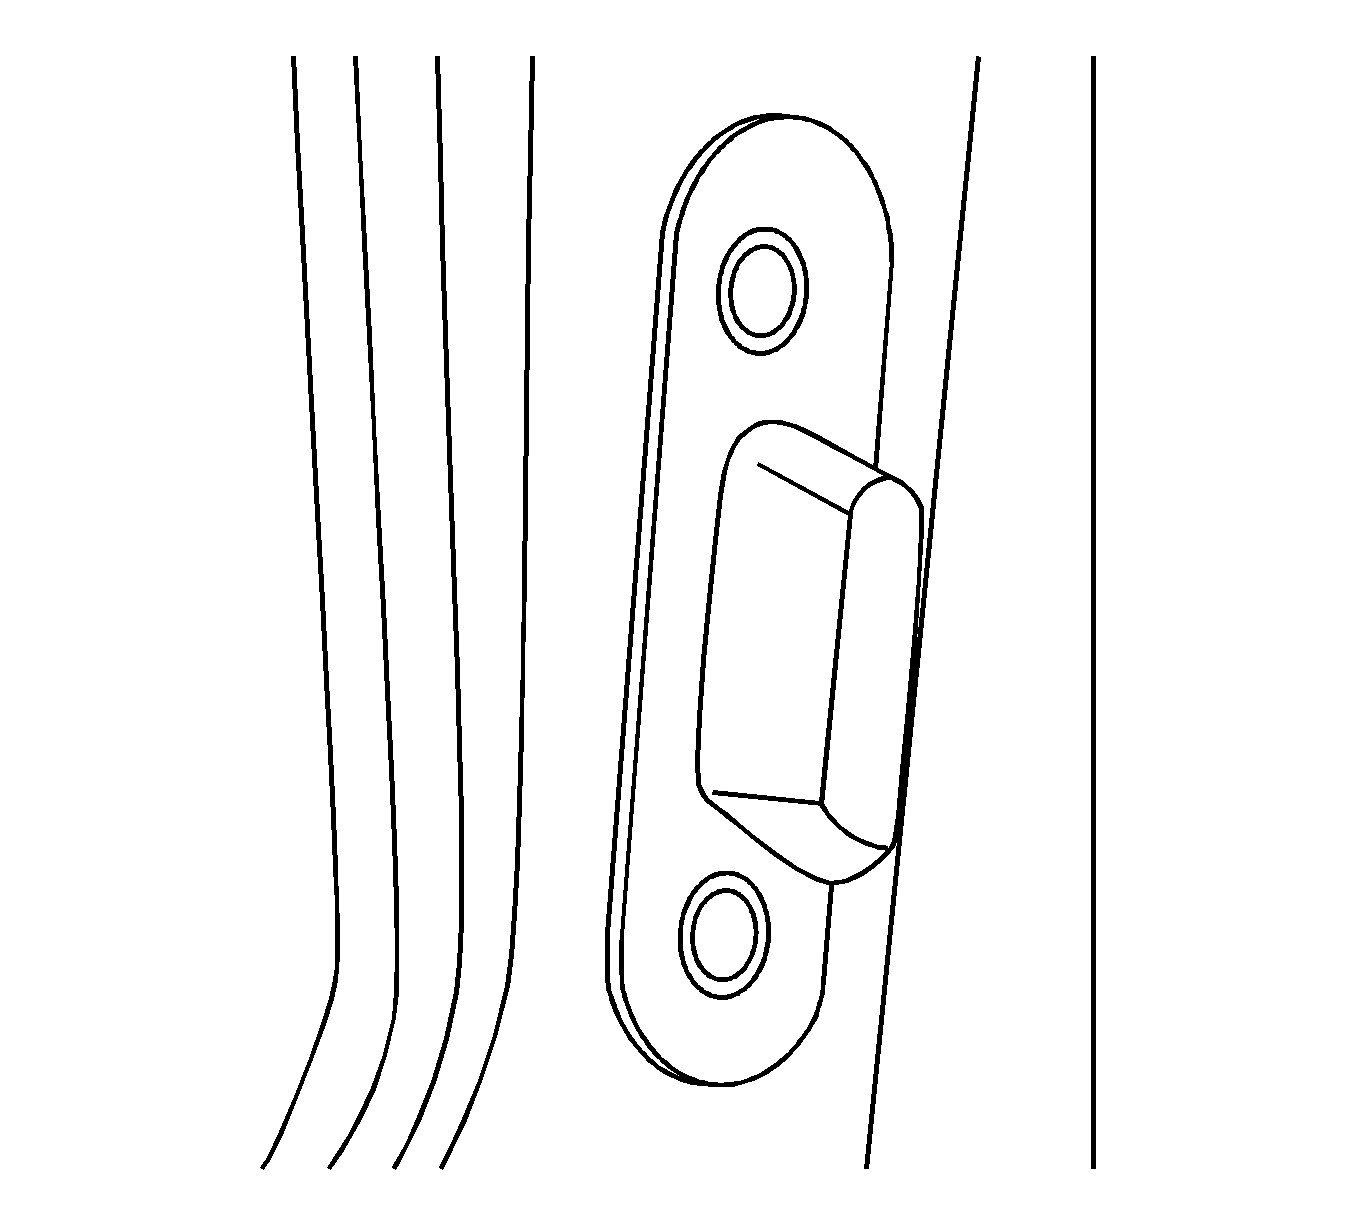
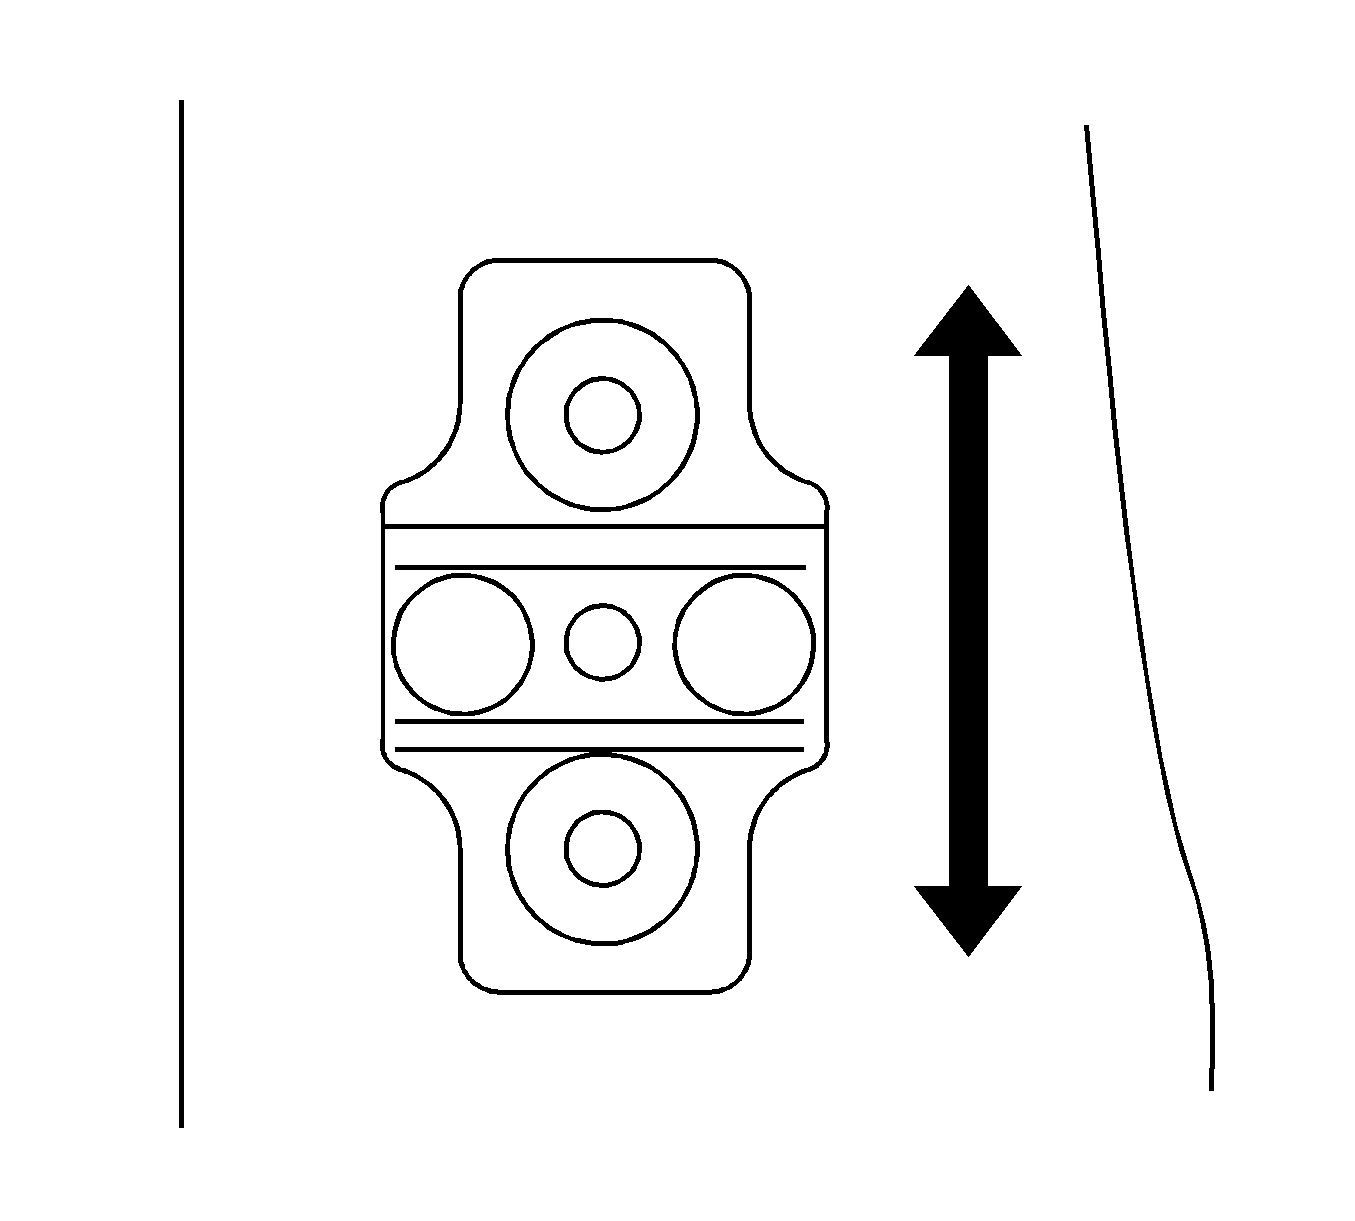
First verify that the door is flush to the rear quarter panel or inwards 1 to 2 mm (0.039 to 0.078 in). Bend the primary weatherstrip flange 1/8 inch outboard above and below the rear striker. Refer to the illustration above.
Condition
The power side door reverses prior to making contact with the pads and plungers.
Cause
Visually inspect the upper/lower roller tracks for foam and/or debris.
Correction
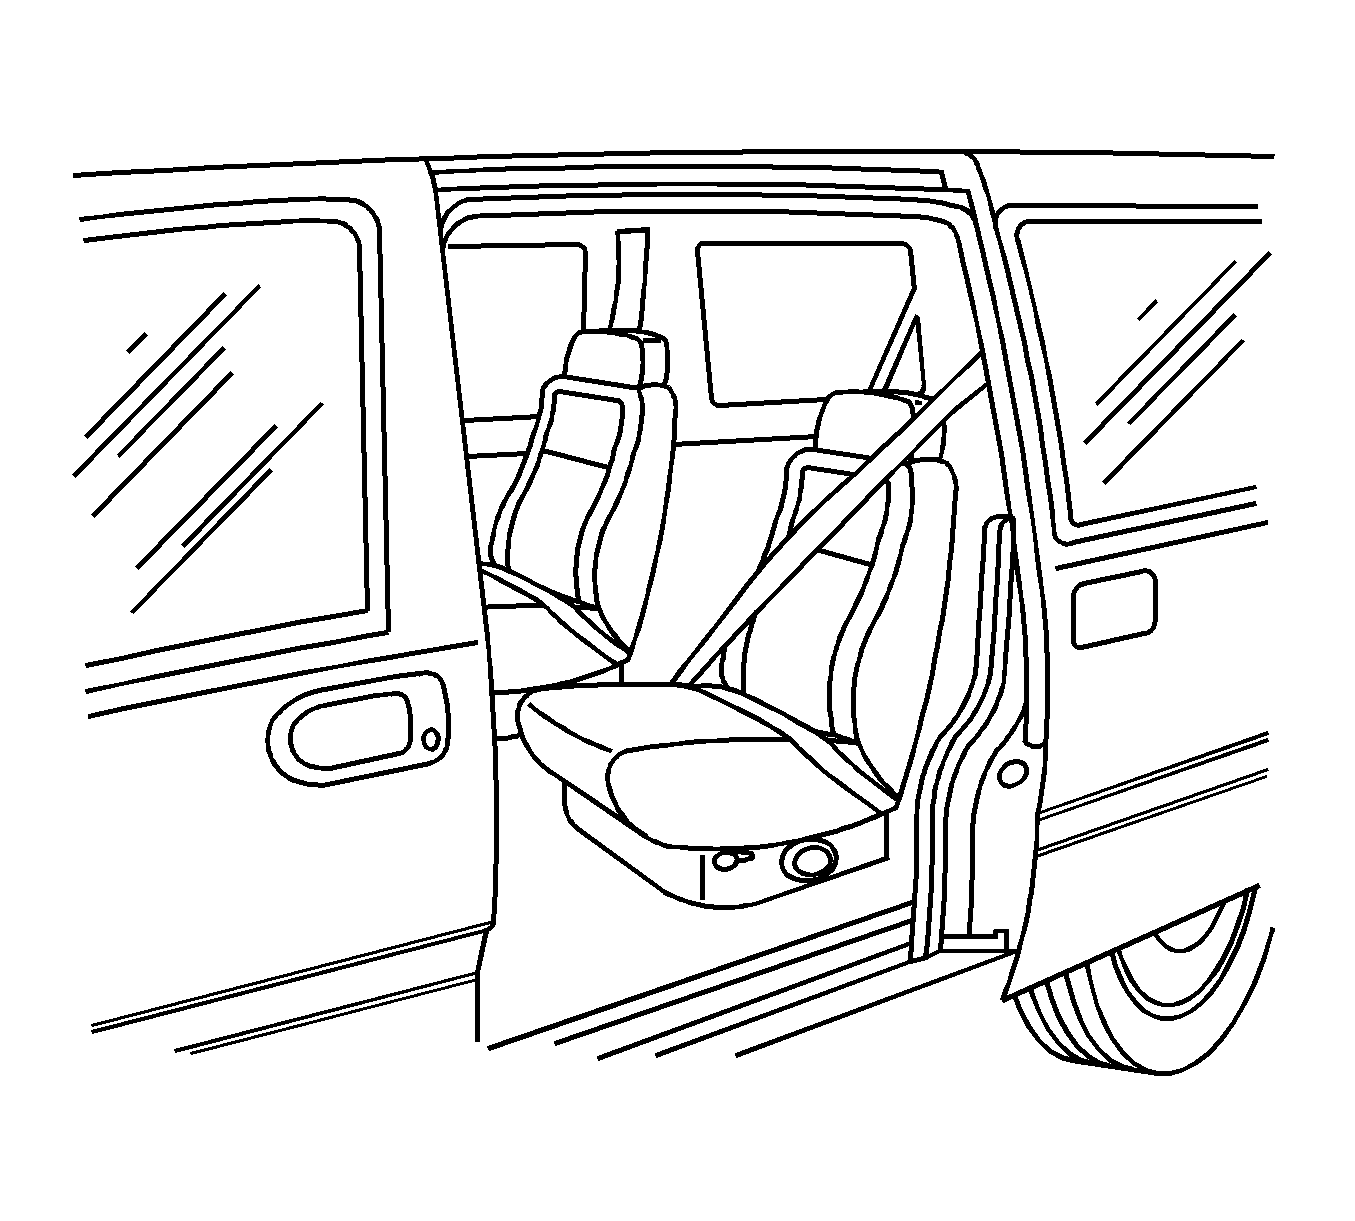
Manually operate the door applying downward pressure on the handle and see if the lower bracket contacts the primary seal. If yes, loosen and rotate the lower roller bracket to increase the clearance between the top of the primary seal and the bottom of the roller bracket. Inspect and adjust the front and rear door latches, strikers and door wedge as needed.
Condition
The power sliding side door reverses.
Cause
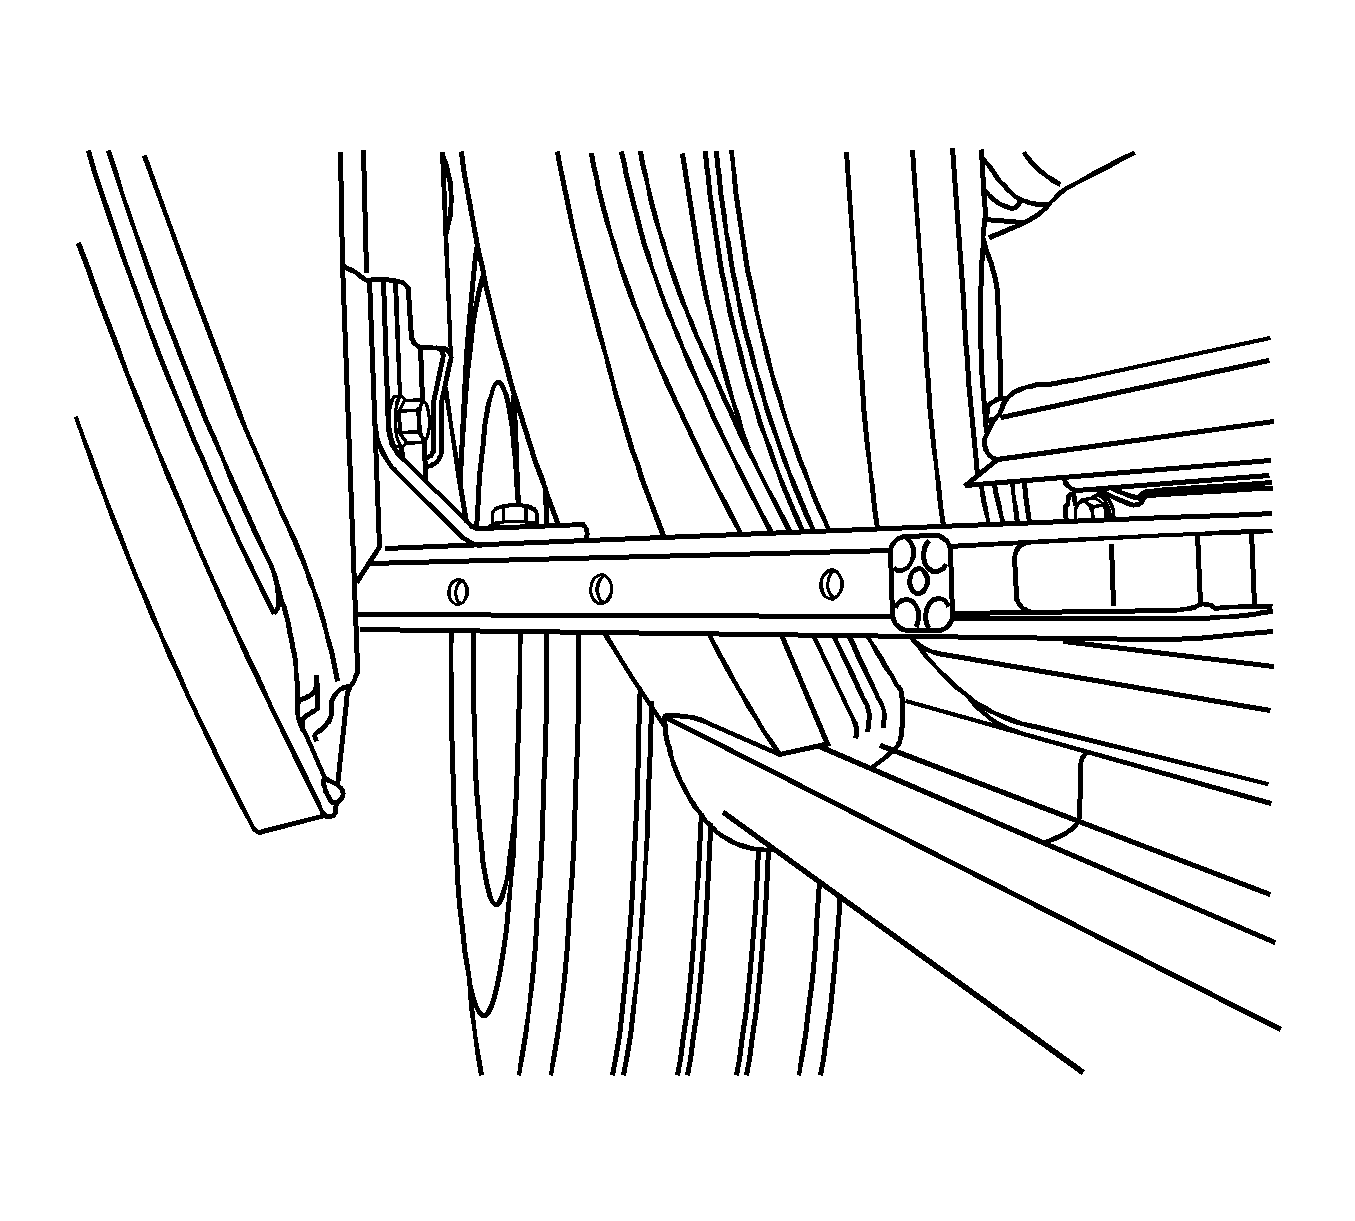
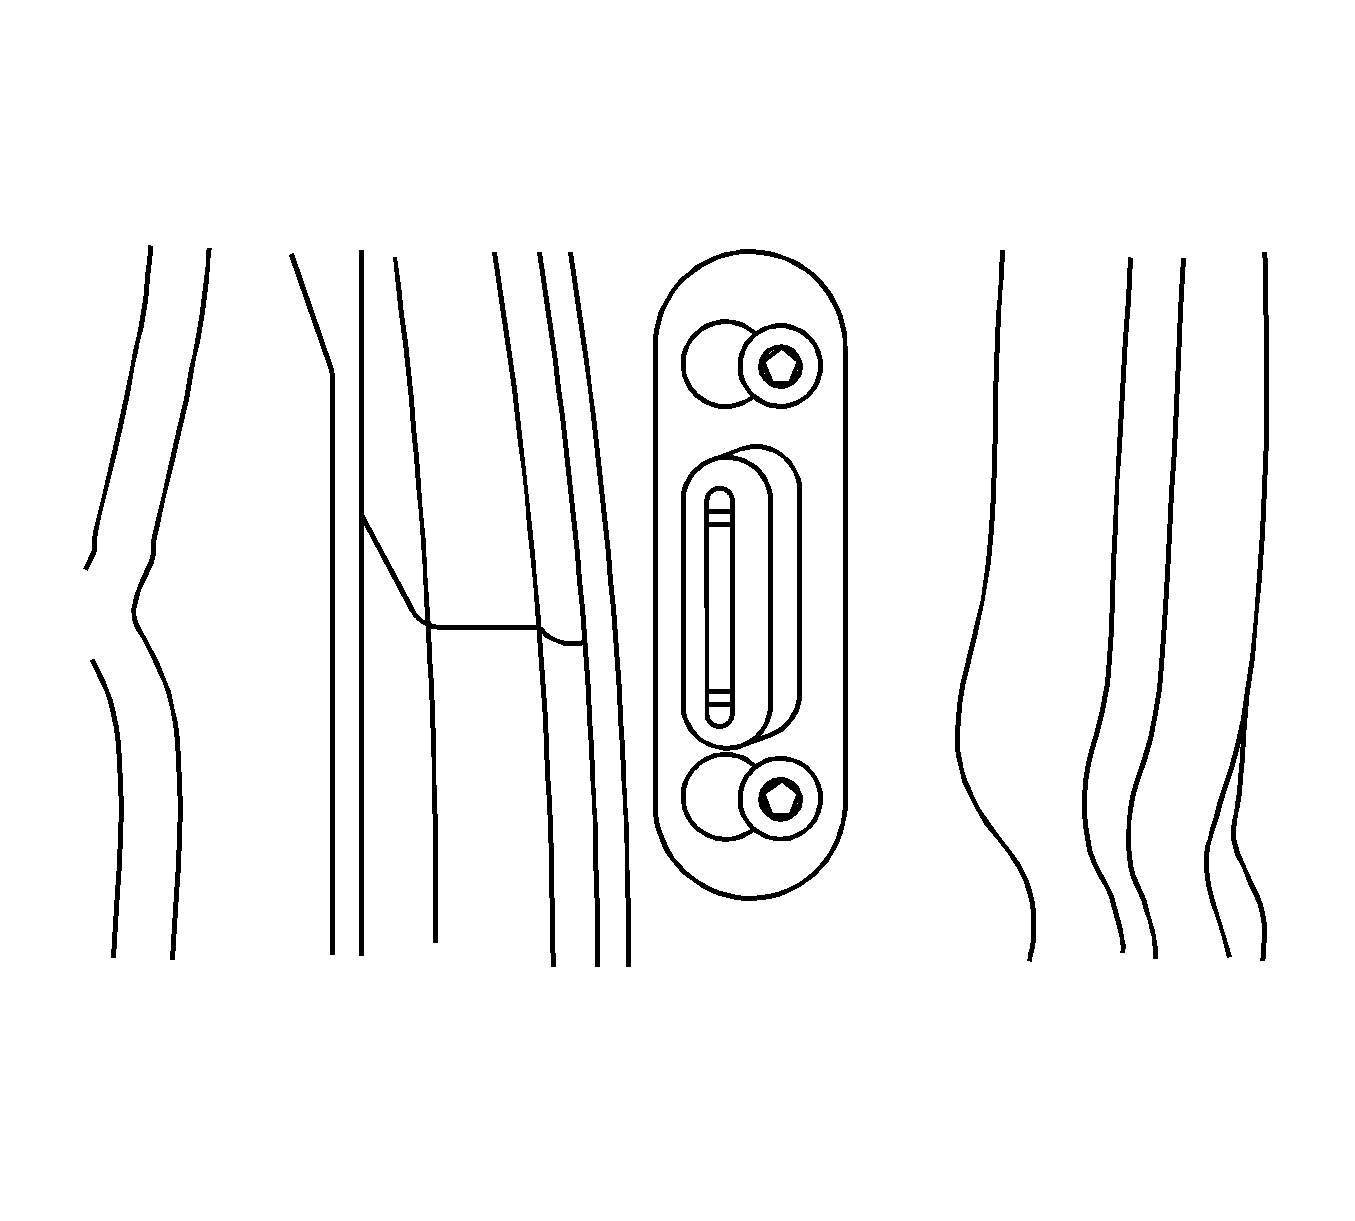
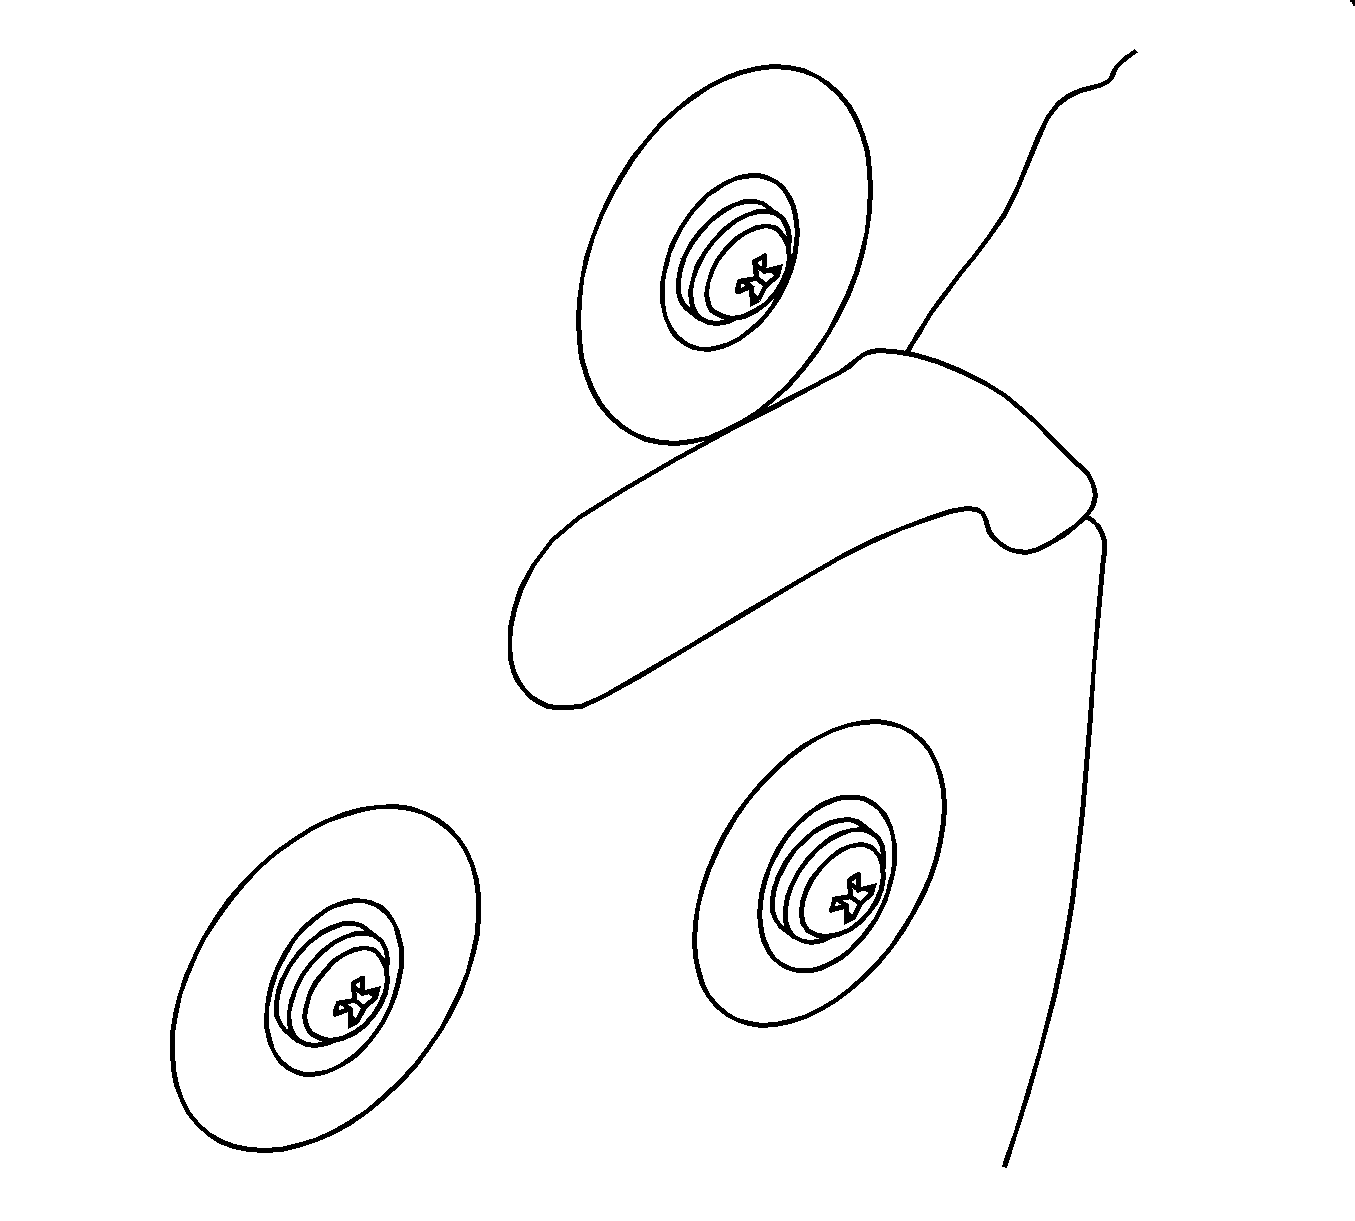
- Inspect the door opening and tracks for obstructions. Refer to the illustration above.
- Inspect the C-Pillar striker alignment. Refer to the illustration above.
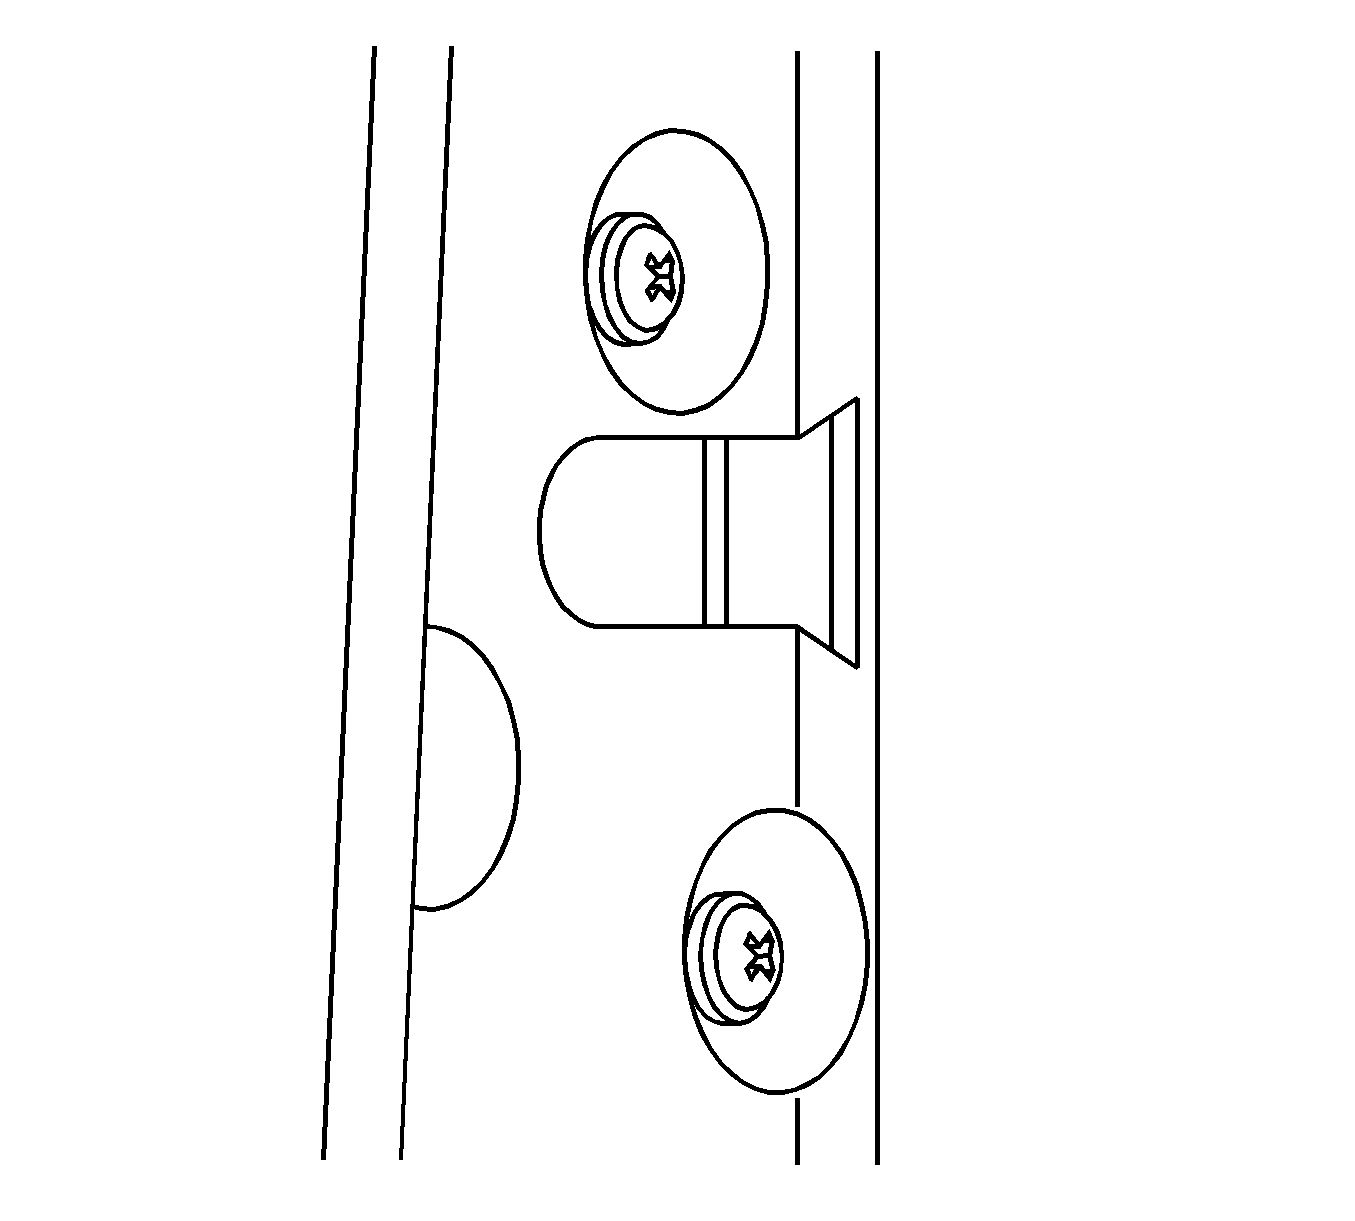
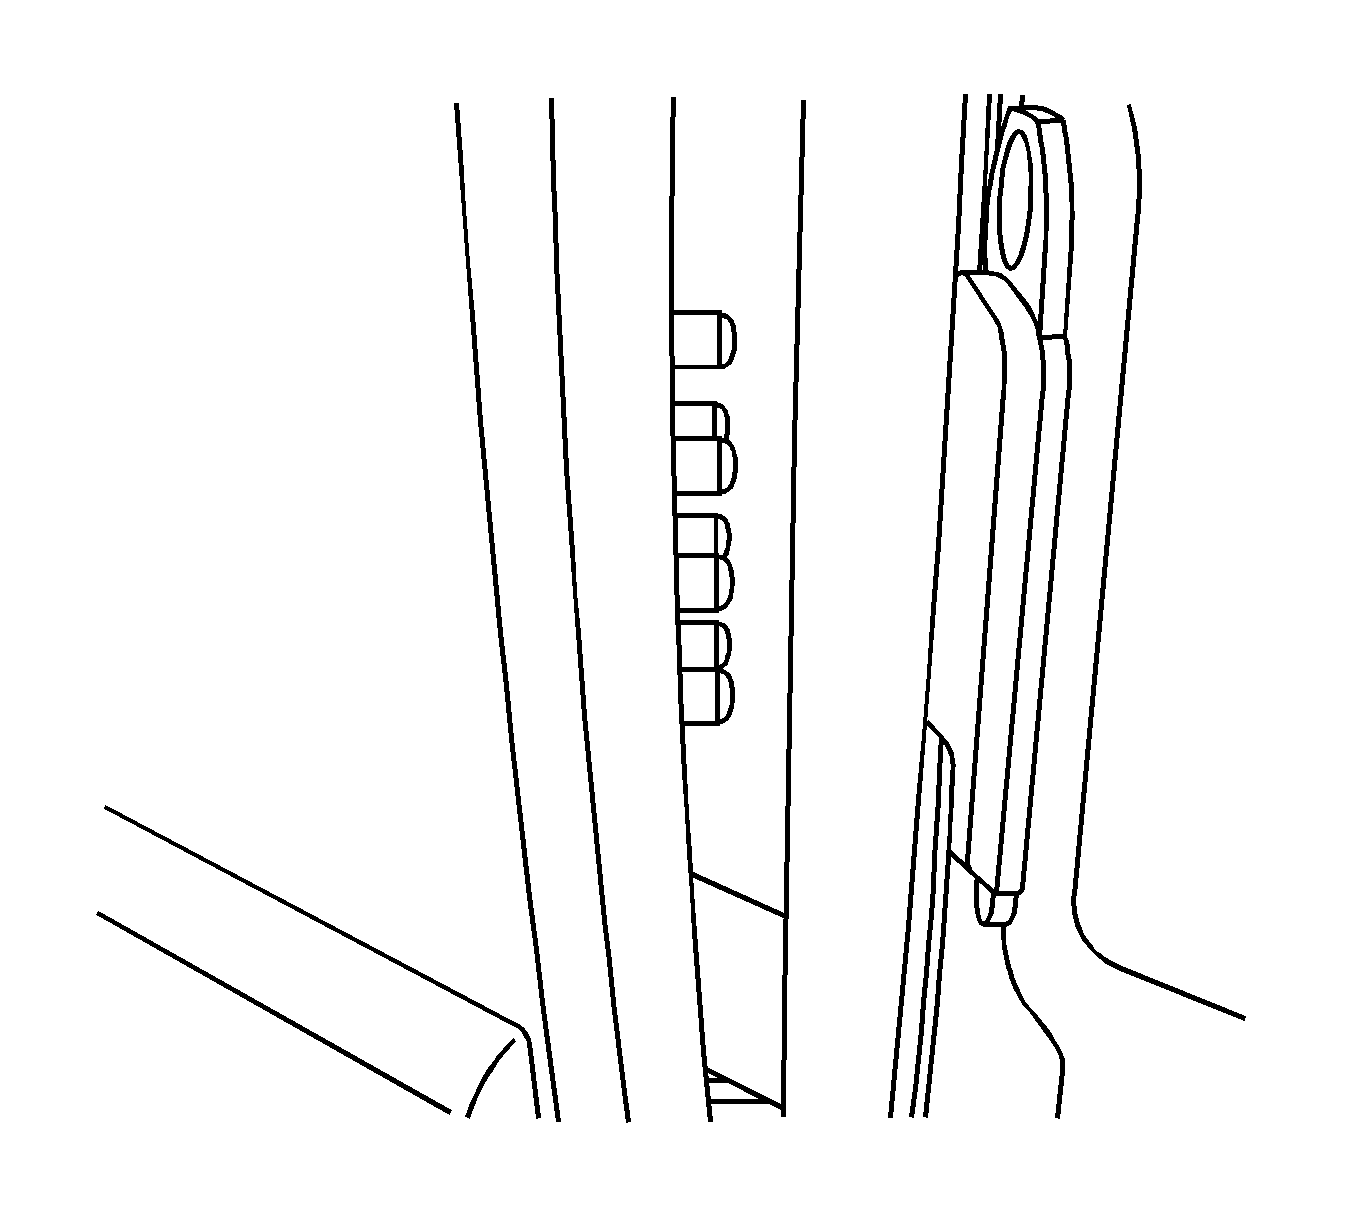
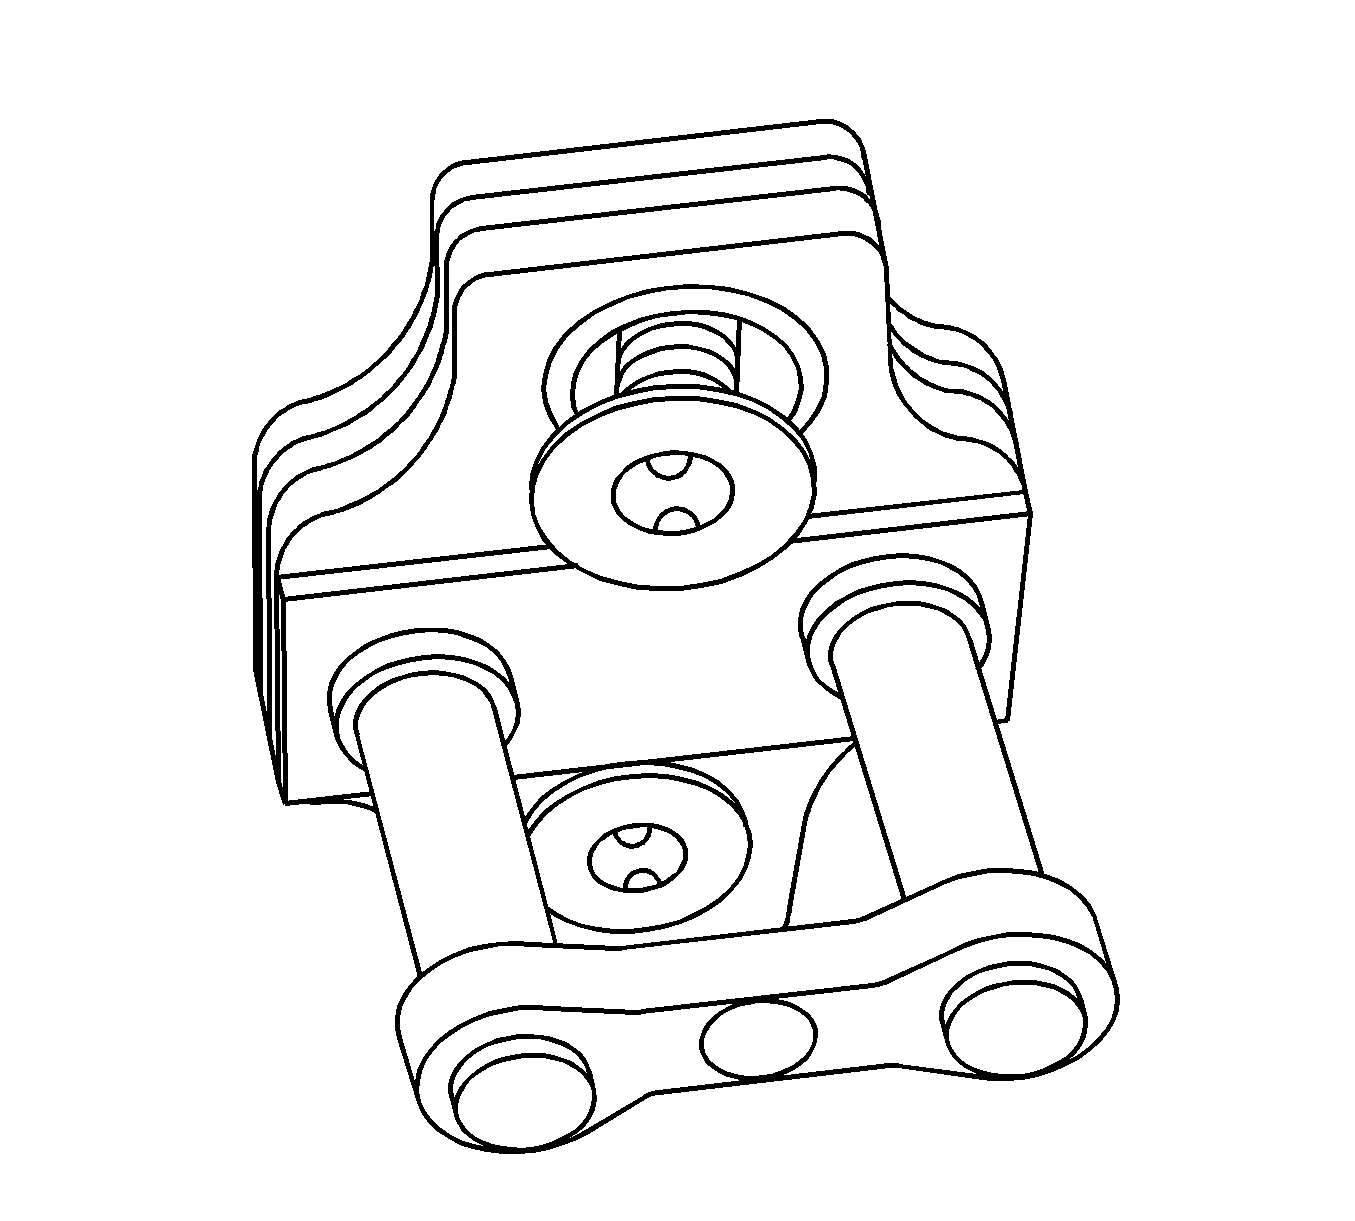
- Inspect the pad and plunger alignment. Refer to the illustration above.
- Inspect the pin and pocket alignment. Refer to the illustration above.
- Inspect the lower arm clearance to the track. Refer to the illustration above.
- Inspect the lower hinge arm clearance to the primary seal. Refer to the illustration above.
- Inspect all door hardware for alignment and to make sure it is properly seated. Refer to the illustration above.

Correction
- Eliminate any obstructions in the tracks.
- Adjust the "C" pillar striker up or down. Refer to the illustration above.
- Adjust the "B" pillar striker up or down. Refer to the illustration above.
- Adjust the pins on the door for proper alignment. Refer to the illustration above.
- Slightly bend the lower arm to create track clearance. Refer to the illustration above.
- Rotate the lower hinge arm for proper clearance. Refer to the illustration above.
- Align and seat any hardware as necessary. Refer to the illustration above.


Condition
The power sliding side door starts to close then reopens.
Cause
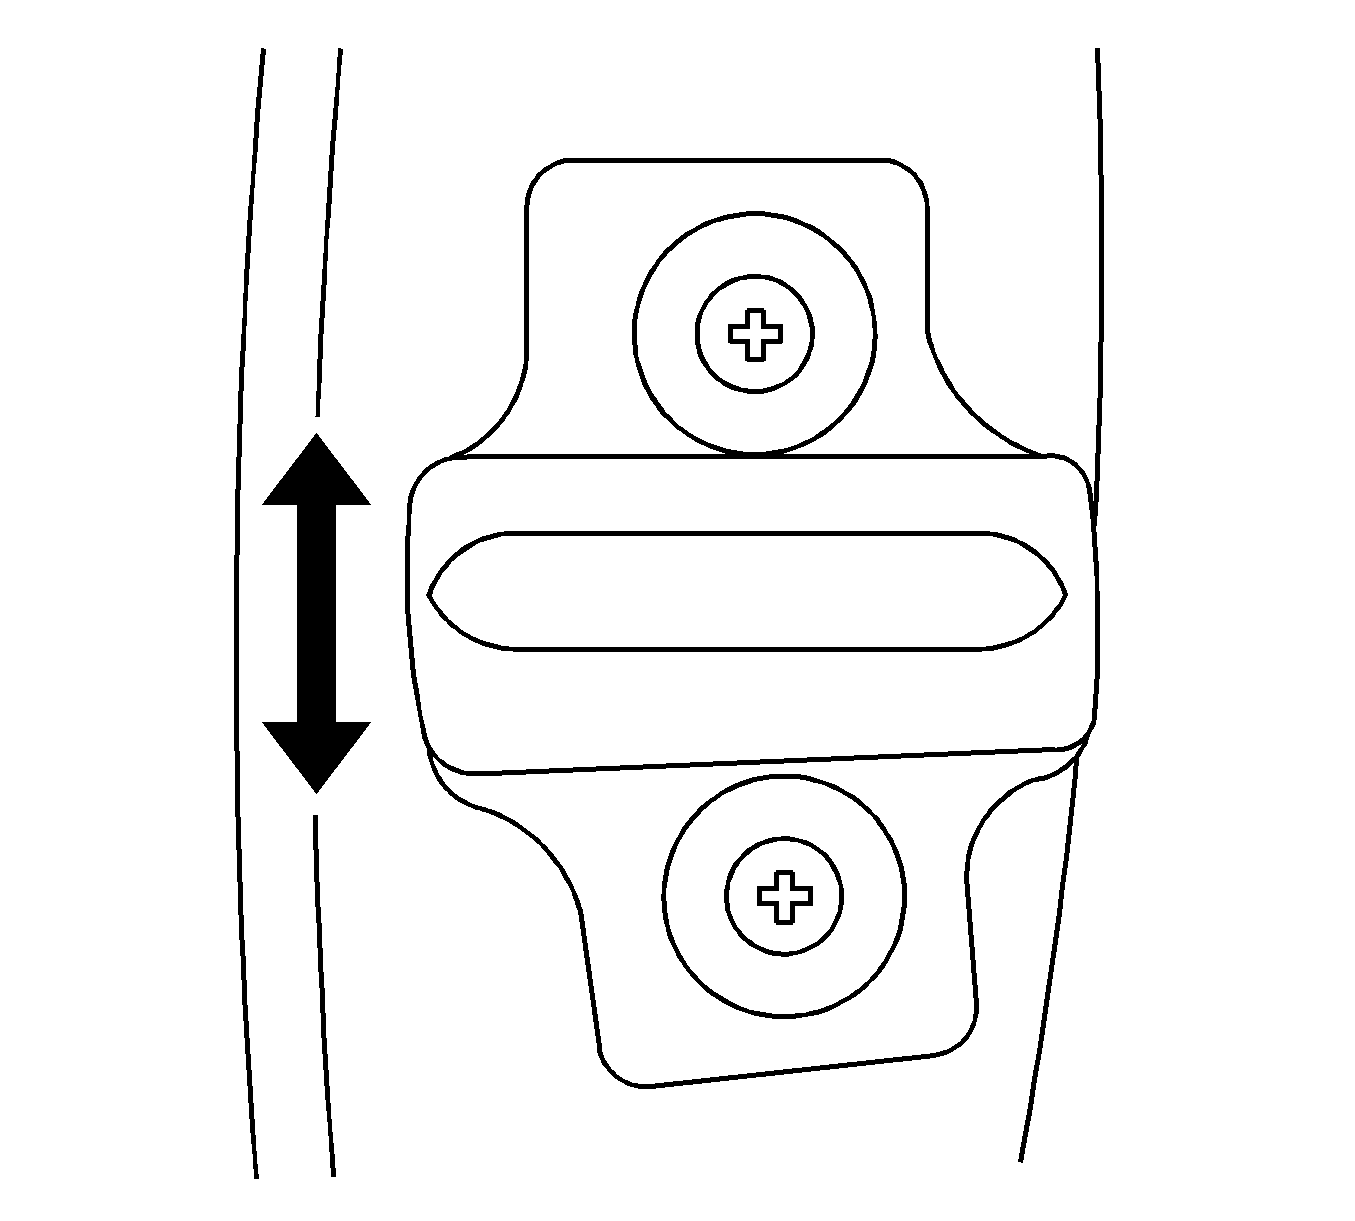
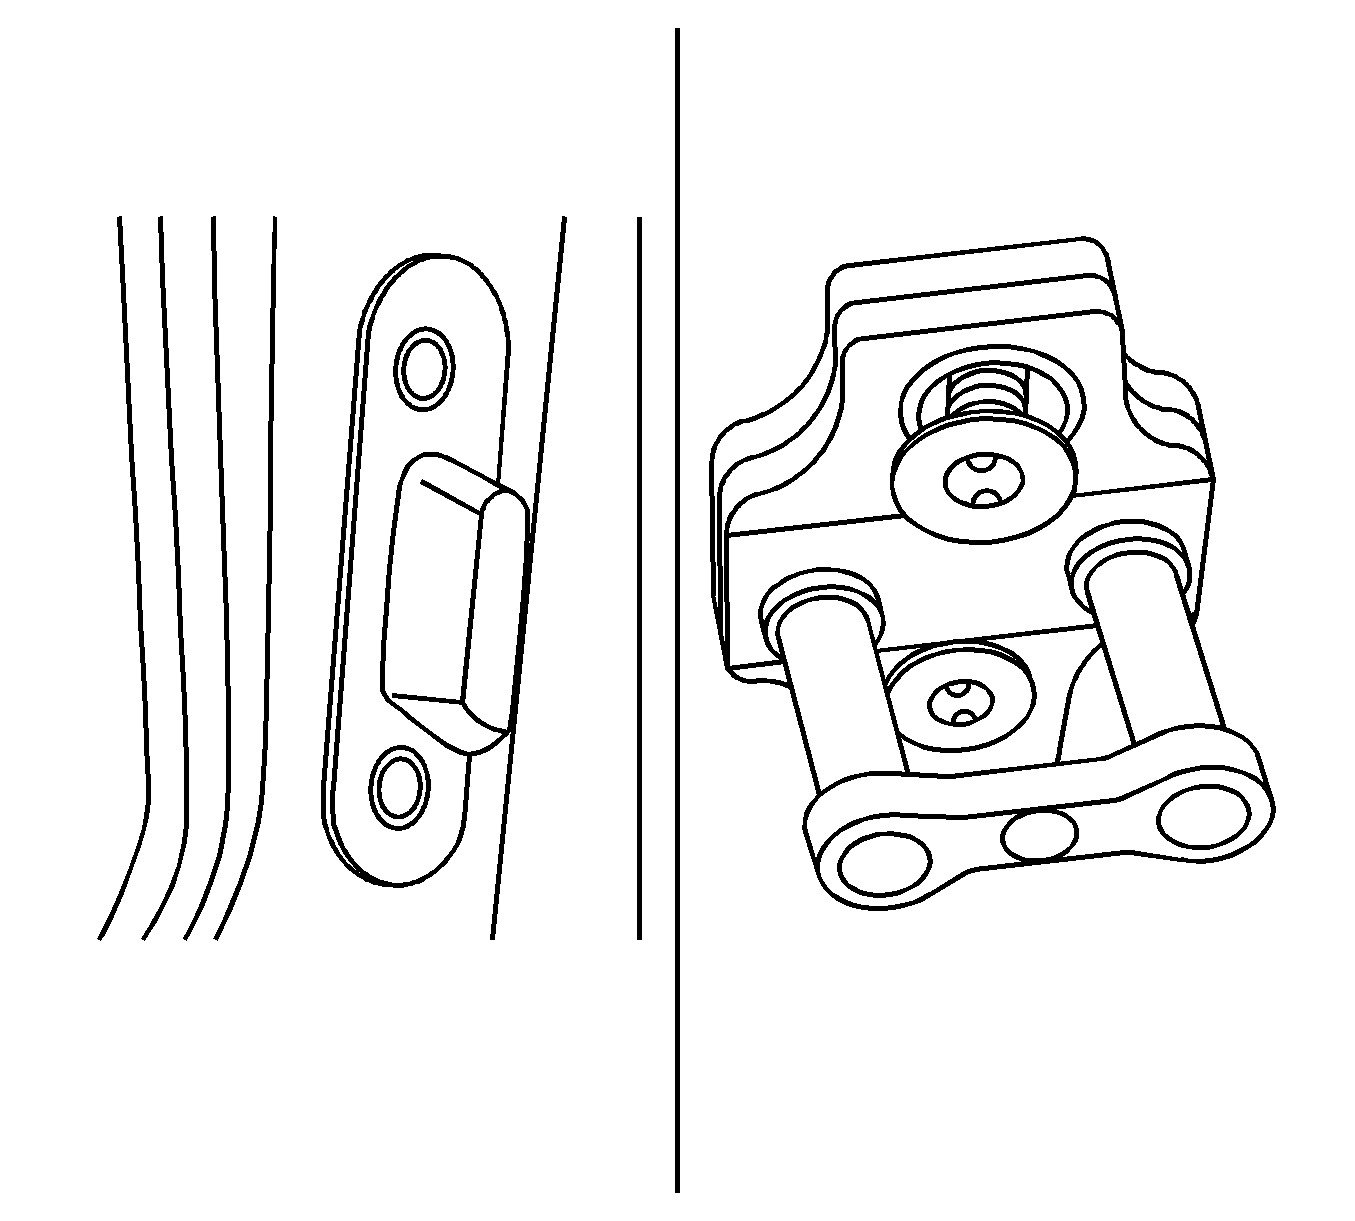
- Inspect the "C" pillar for proper alignment. Refer to the illustration above.
- Inspect the "C" pillar for latch wear. Refer to the illustration above.
- Inspect the "C" pillar for a bent striker.
- Inspect all door hardware for alignment and make sure it is properly seated. Refer to the illustration above.

Correction
- Adjust the "C" pillar striker up or down or outward. Refer to the illustration above.
- Adjust the "C" pillar striker outward. Look under the striker for a third shim. If this shim is present, remove the shim. Refer to the illustration above.
- Replace the striker. Refer to the illustration above.
- Align hardware and seat all fasteners. Refer to the illustration above.
Condition
The power sliding door reverses after making contact with the pads and plungers.
Cause
Visually inspect the pads and plungers for alignment and cleanliness. Also inspect the "B" pillar wiring for chaffing.
Correction
Visually inspect the pads and plunger for alignment and cleanliness. TAC has had cases where the wiring harness to the sliding door pad located on the "B" Pillar was chaffed at the base of the "B" pillar, inducing an intermittent reversal.
Condition
The warning chime sounds when the vehicle is placed into gear.
Correction
Verify that the power sliding door has not lost the learned open/closed position. With the Tech 2 updated with software version 25.009 or later, go into the Power Sliding Door menu and verify the "Open/Closed position learned" status. If either of the doors show "No", the door will have to be relearned. The power sliding door fuse will have to be removed and then restored. Open and close the power sliding doors twice with the overhead or "B" pillar switch to relearn the position. If the door reverses and/or stops prior to completing the two cycles, the procedure will need to be repeated.
Condition
The power sliding door will NOT automatically open when the outside handle is pulled.
Correction
The customer may comment that the door operates as designed when opened with an interior switch or key fob. Furthermore, the door will take off or open automatically once moved manually and the optical sensor detects movement. Remove the interior door panel, locate and replace the sliding door unlatch actuator (upper actuator).
Condition
Unable to tension the power sliding side door cables after replacement.
Cause
The power to the motor clutch assembly may have been connected prior to tensioning the cables.
Correction
Review SI procedures for Rear Side Door Actuator Cable Tension Adjustment.
U.S. dealers should also review the adjustment procedure on the GM Training website - www.gmtraining.com > TECHAssist > course 50250.20T1 (See Training Information below).
Ensure the cables remain overlapped 1-2 inches when the cables are properly routed and across the rollers.
Notice: Failure to properly tension the cables prior to operating the door will result in the motor clutch assembly being damaged.
U.S.A. Dealer Training Information
To access the training TECHAssist on this topic, take the following path at the GM Training Website:
- After logging into the gmtraining.com website, choose the link on the left side of the page titled "Service Know-How/TECHAssist."
- Then choose "TECHAssist."
- Next, scroll down to the category of Emerging Issues.
- Click the link for course "50250.20T1 Repair Procedure - Power Side Door on GMT 201 Crossover Vans."
- This will take you to the Catalog page. Choose the "Take or Continue Course" link on the left.
Warranty Information
For vehicles repaired under warranty, use:
Labor Operation | Description | Labor Time |
|---|---|---|
C1180 | Weatherstrip, Sliding Door - Align or Replace | 0.3 hr |
B5000 | Door Assembly, Sliding-Right - Align | 0.1-0.3 hr |
B5001 | Door Assembly, Sliding-Left - Align | 0.1-0.3 hr |
