For 1990-2009 cars only
Removal Procedure
- Disconnect the negative battery cable. Refer to Battery Negative Cable Disconnection and Connection .
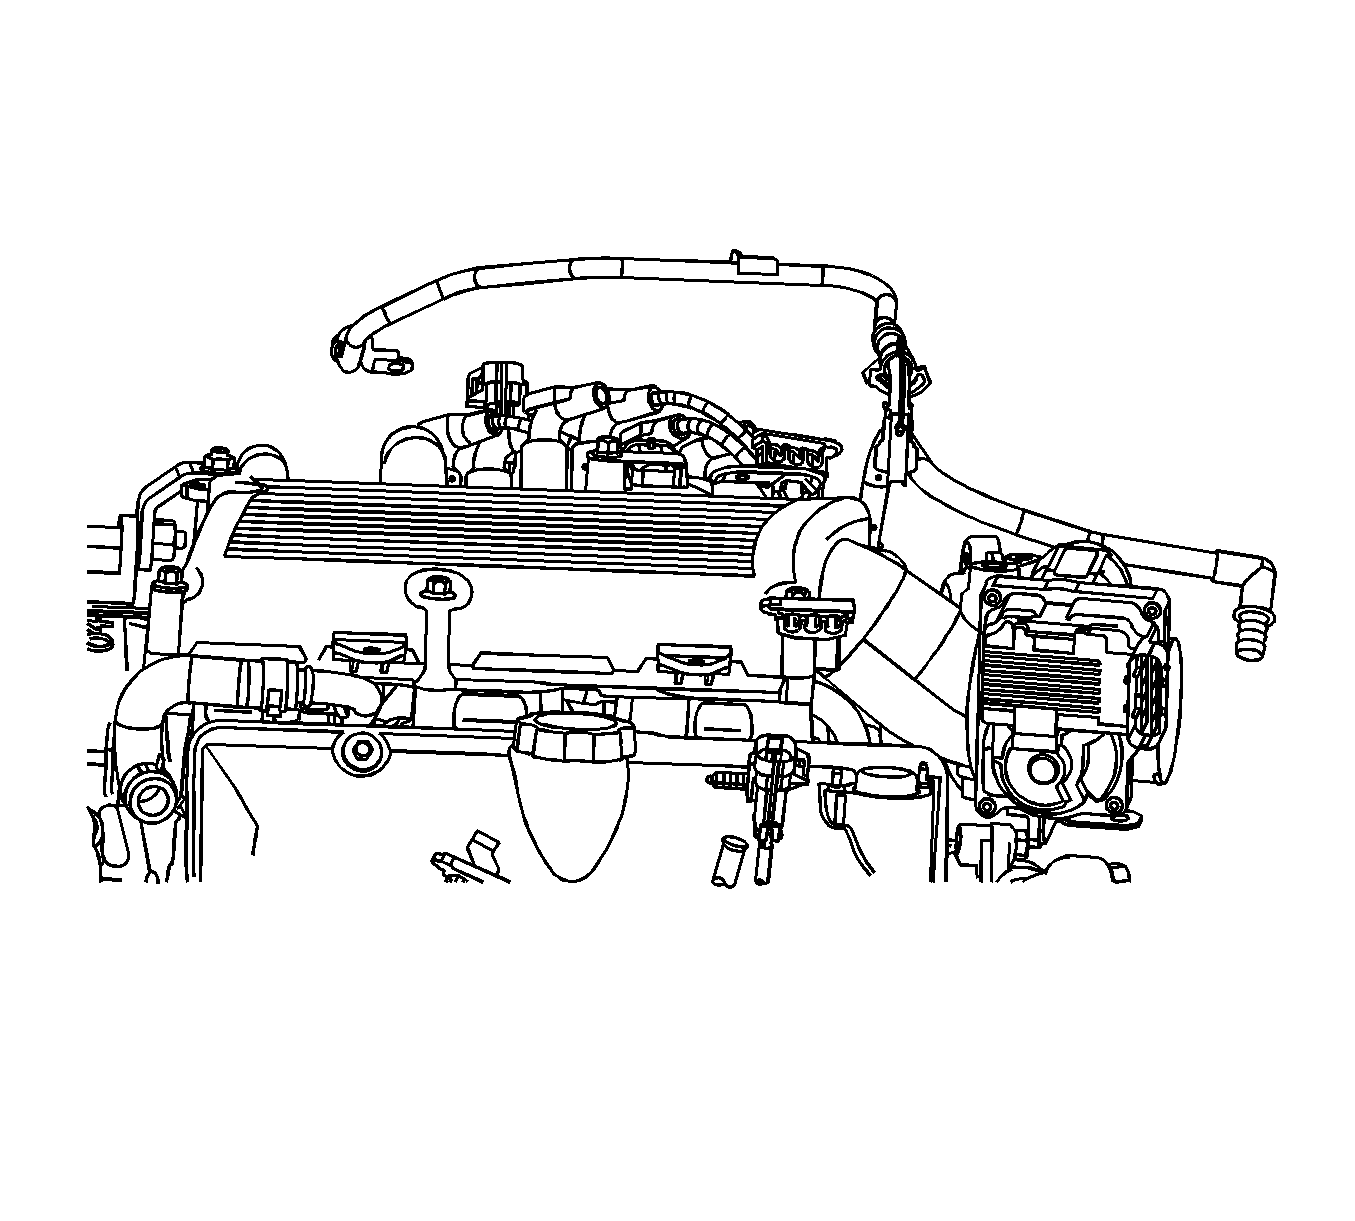
- Remove the vacuum hoses from the following:
- Disconnect the electrical connectors from the following:
- Remove the air cleaner intake duct. Refer to Air Cleaner Inlet Duct Replacement .
- Drain the cooling system. Refer to Cooling System Draining and Filling .
- Remove the left side spark plug wires from the spark plugs. Refer to Spark Plug Wire Replacement .
- Remove the following wiring harnesses from the retainers:
- Remove the ignition coil bracket with the coils. Refer to Ignition Control Module Replacement .
- Remove the EVAP canister purge solenoid valve. Refer to Evaporative Emission Canister Purge Solenoid Valve Replacement .
- Remove the manifold absolute pressure (MAP) sensor and the bracket. Refer to Manifold Absolute Pressure Sensor Replacement .
- Remove the EGR valve. Refer to Exhaust Gas Recirculation Valve Replacement .
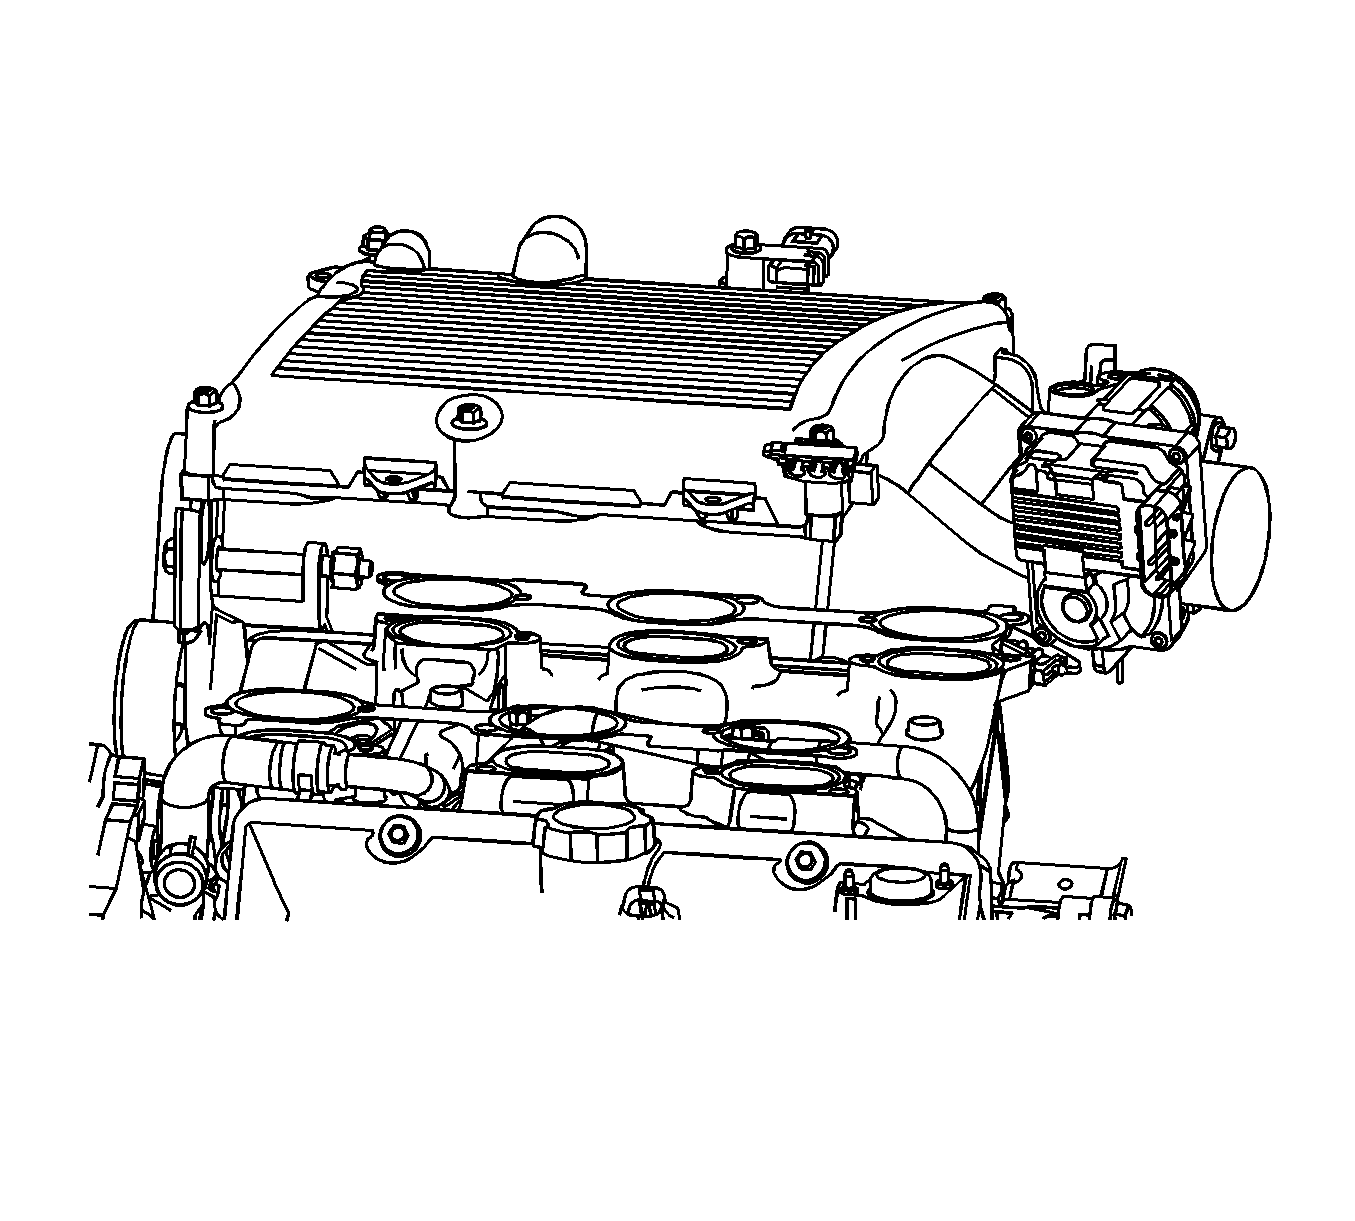
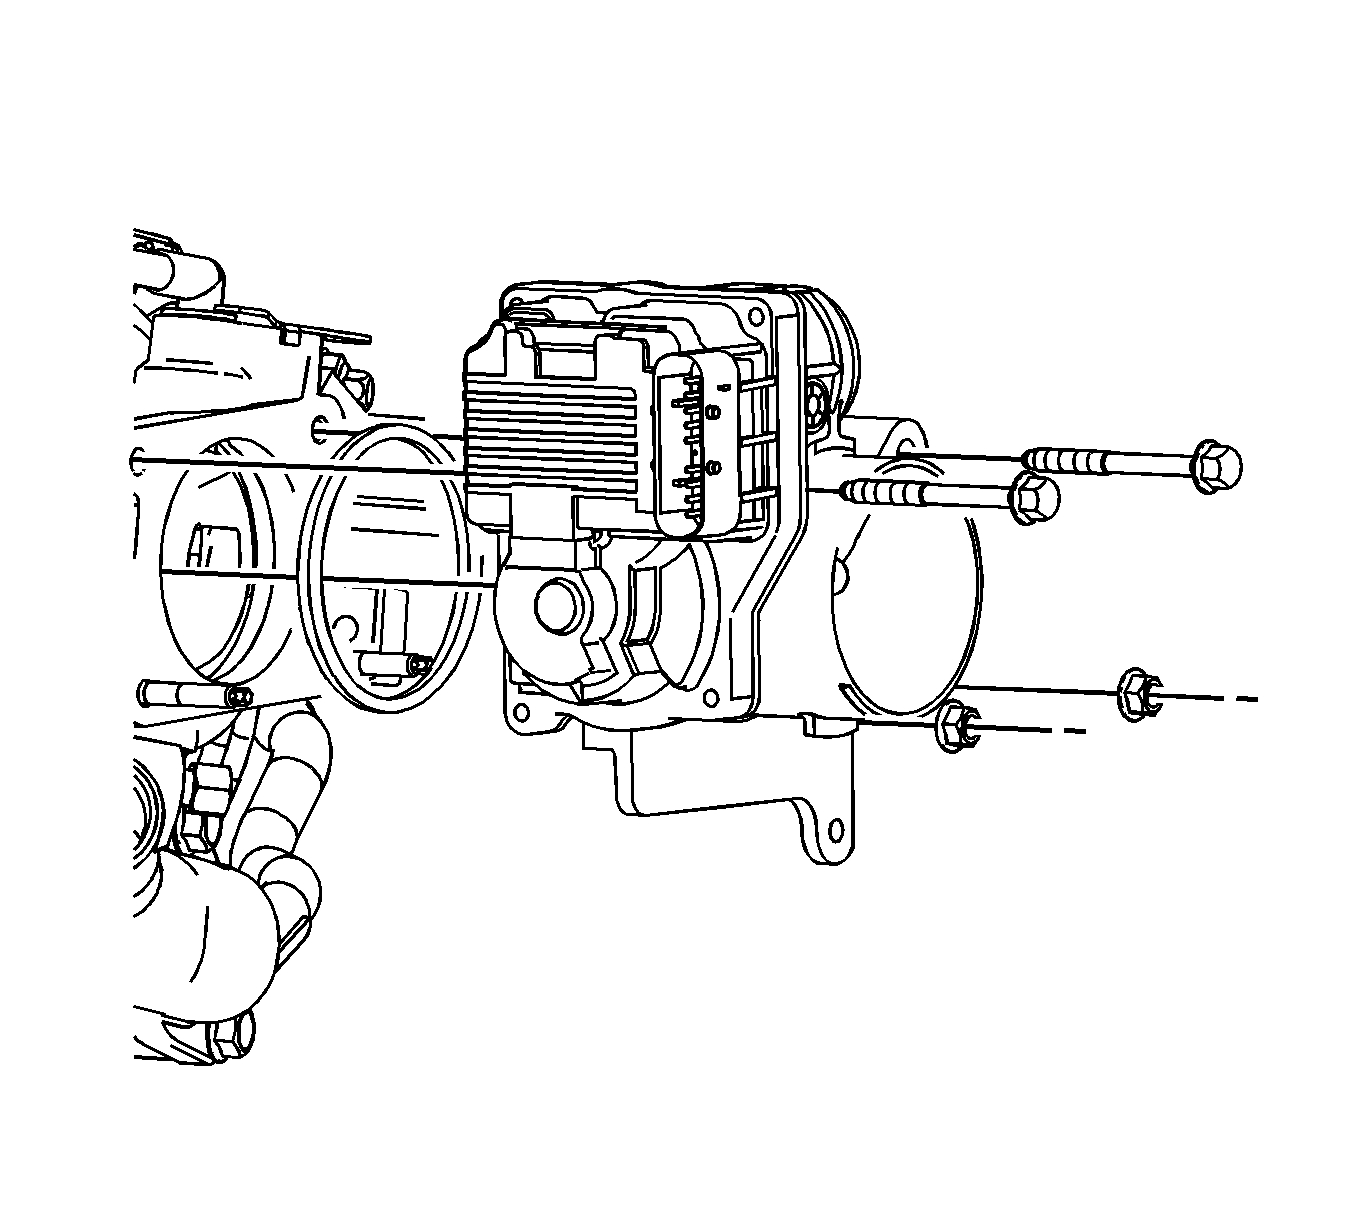
- Remove the upper intake manifold bolts and the stud.
- Remove the generator bracket. Refer to Generator Bracket Replacement .
- Remove the upper intake manifold.
- Remove the upper intake manifold gaskets.
- If replacing the upper intake manifold, remove the throttle body. Refer to Throttle Body Assembly Replacement .
- Clean the upper intake gasket mating surfaces.
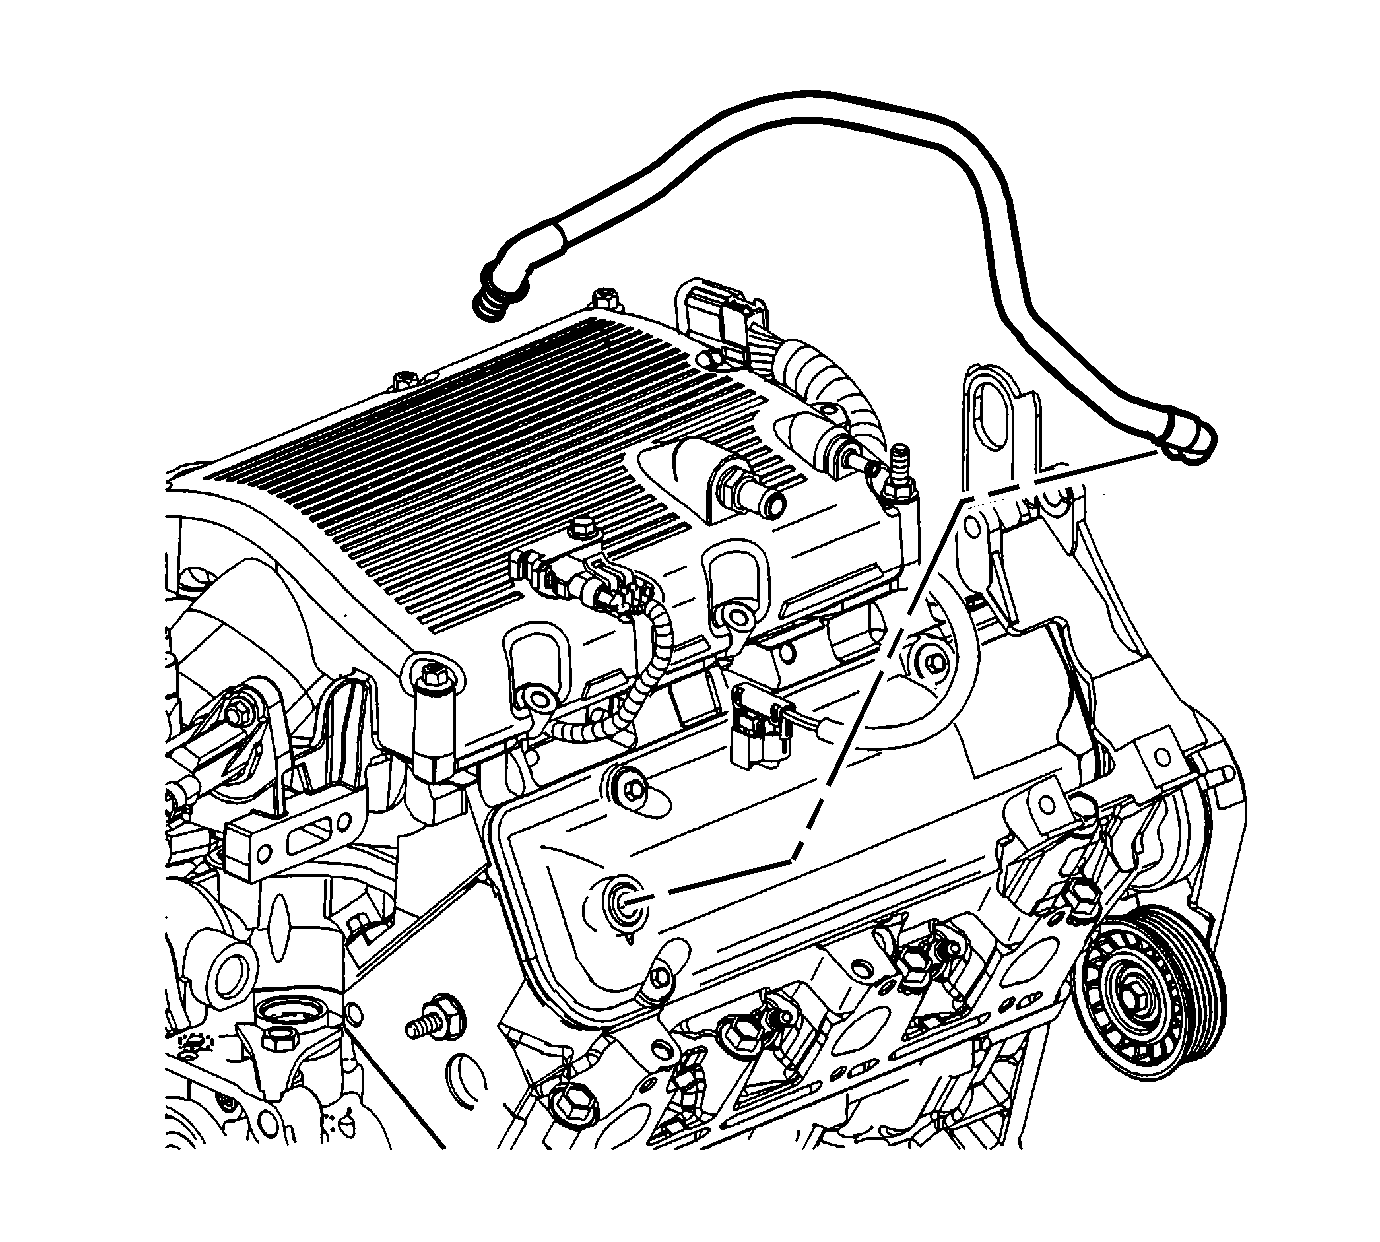
| • | Evaporative emissions (EVAP) canister purge valve |
| • | Brake booster |
| • | Exhaust gas recirculation (EGR) valve |
| • | Mass air flow (MAF) sensor |
| • | Electronic throttle control |
| • | EVAP canister purge valve |
| • | Camshaft position (CMP) sensor wiring harness |
| • | Left side spark plug wire harness |
| • | Engine wiring harness |
Installation Procedure
- If removed, install the throttle body. Refer to Throttle Body Assembly Replacement .
- Install the upper intake manifold gaskets.
- Install the upper intake manifold.
- Apply threadlocker to the upper intake manifold bolt threads. Refer to Adhesives, Fluids, Lubricants, and Sealers for the 3.5L engine.
- Install the upper intake manifold bolts and the stud.
- Install the generator bracket. Refer to Generator Bracket Replacement .
- Install the EGR valve. Refer to Exhaust Gas Recirculation Valve Replacement .
- Install the MAP sensor bracket and the sensor. Refer to Manifold Absolute Pressure Sensor Replacement .
- Install the EVAP canister purge solenoid valve. Refer to Evaporative Emission Canister Purge Solenoid Valve Replacement .
- Install the ignition coil bracket with the coils. Refer to Ignition Control Module Replacement .
- Install the following wiring harnesses to the retainers:
- Install the left side spark plug wires to the spark plugs. Refer to Spark Plug Wire Replacement .
- Install the air cleaner intake duct. Refer to Air Cleaner Inlet Duct Replacement .
- Connect the electrical connectors to the following:
- Install the vacuum hoses to the following:
- Connect the negative battery cable. Refer to Battery Negative Cable Disconnection and Connection .
- Fill the cooling system. Refer to Cooling System Draining and Filling .
Notice: Refer to Fastener Notice in the Preface section.
Tighten
Tighten the bolts and the stud to 25 N·m (18 lb ft).
| • | Engine wiring harness |
| • | Left side spark plug wire harness |
| • | CMP sensor wiring harness |
| • | EVAP canister purge valve |
| • | Electronic throttle control |
| • | MAF sensor |
| • | EGR valve |
| • | Brake booster |
| • | EVAP canister purge valve |
