Tools Required
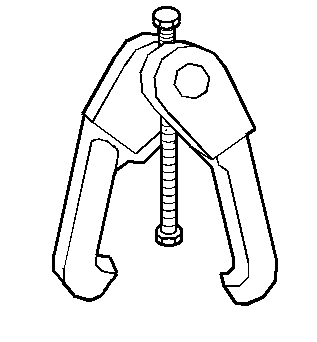
J 24319-B Steering Linkage and Tie Rod Puller
Removal Procedure
- Raise and support the vehicle. Refer to Lifting and Jacking the Vehicle .
- Remove the tire and wheel assembly. Refer to Tire and Wheel Removal and Installation .
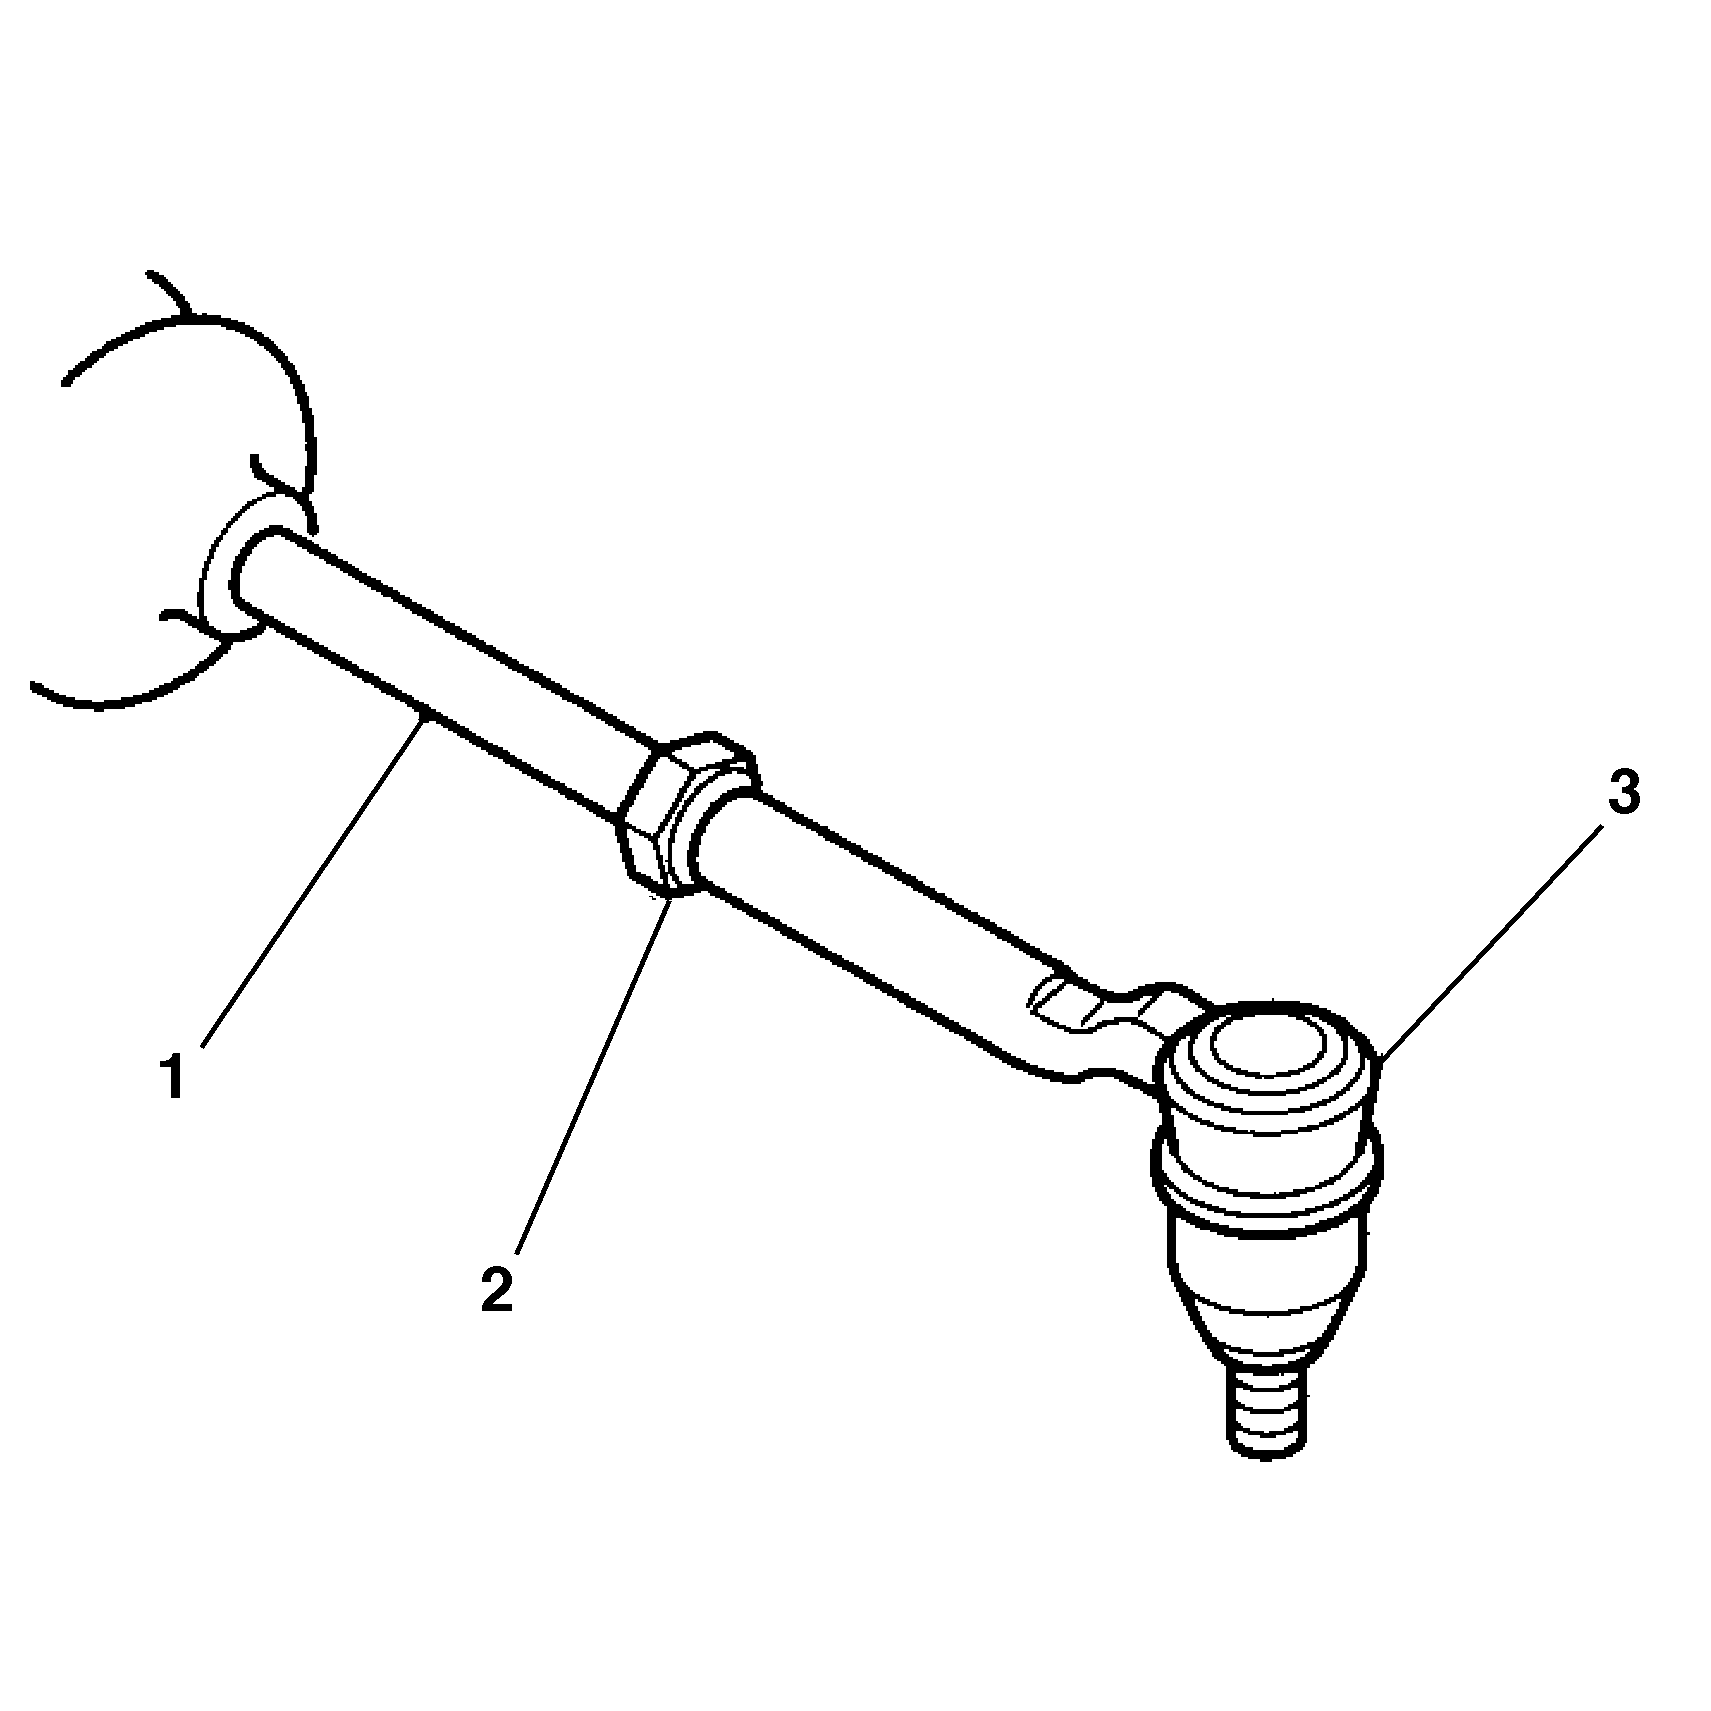
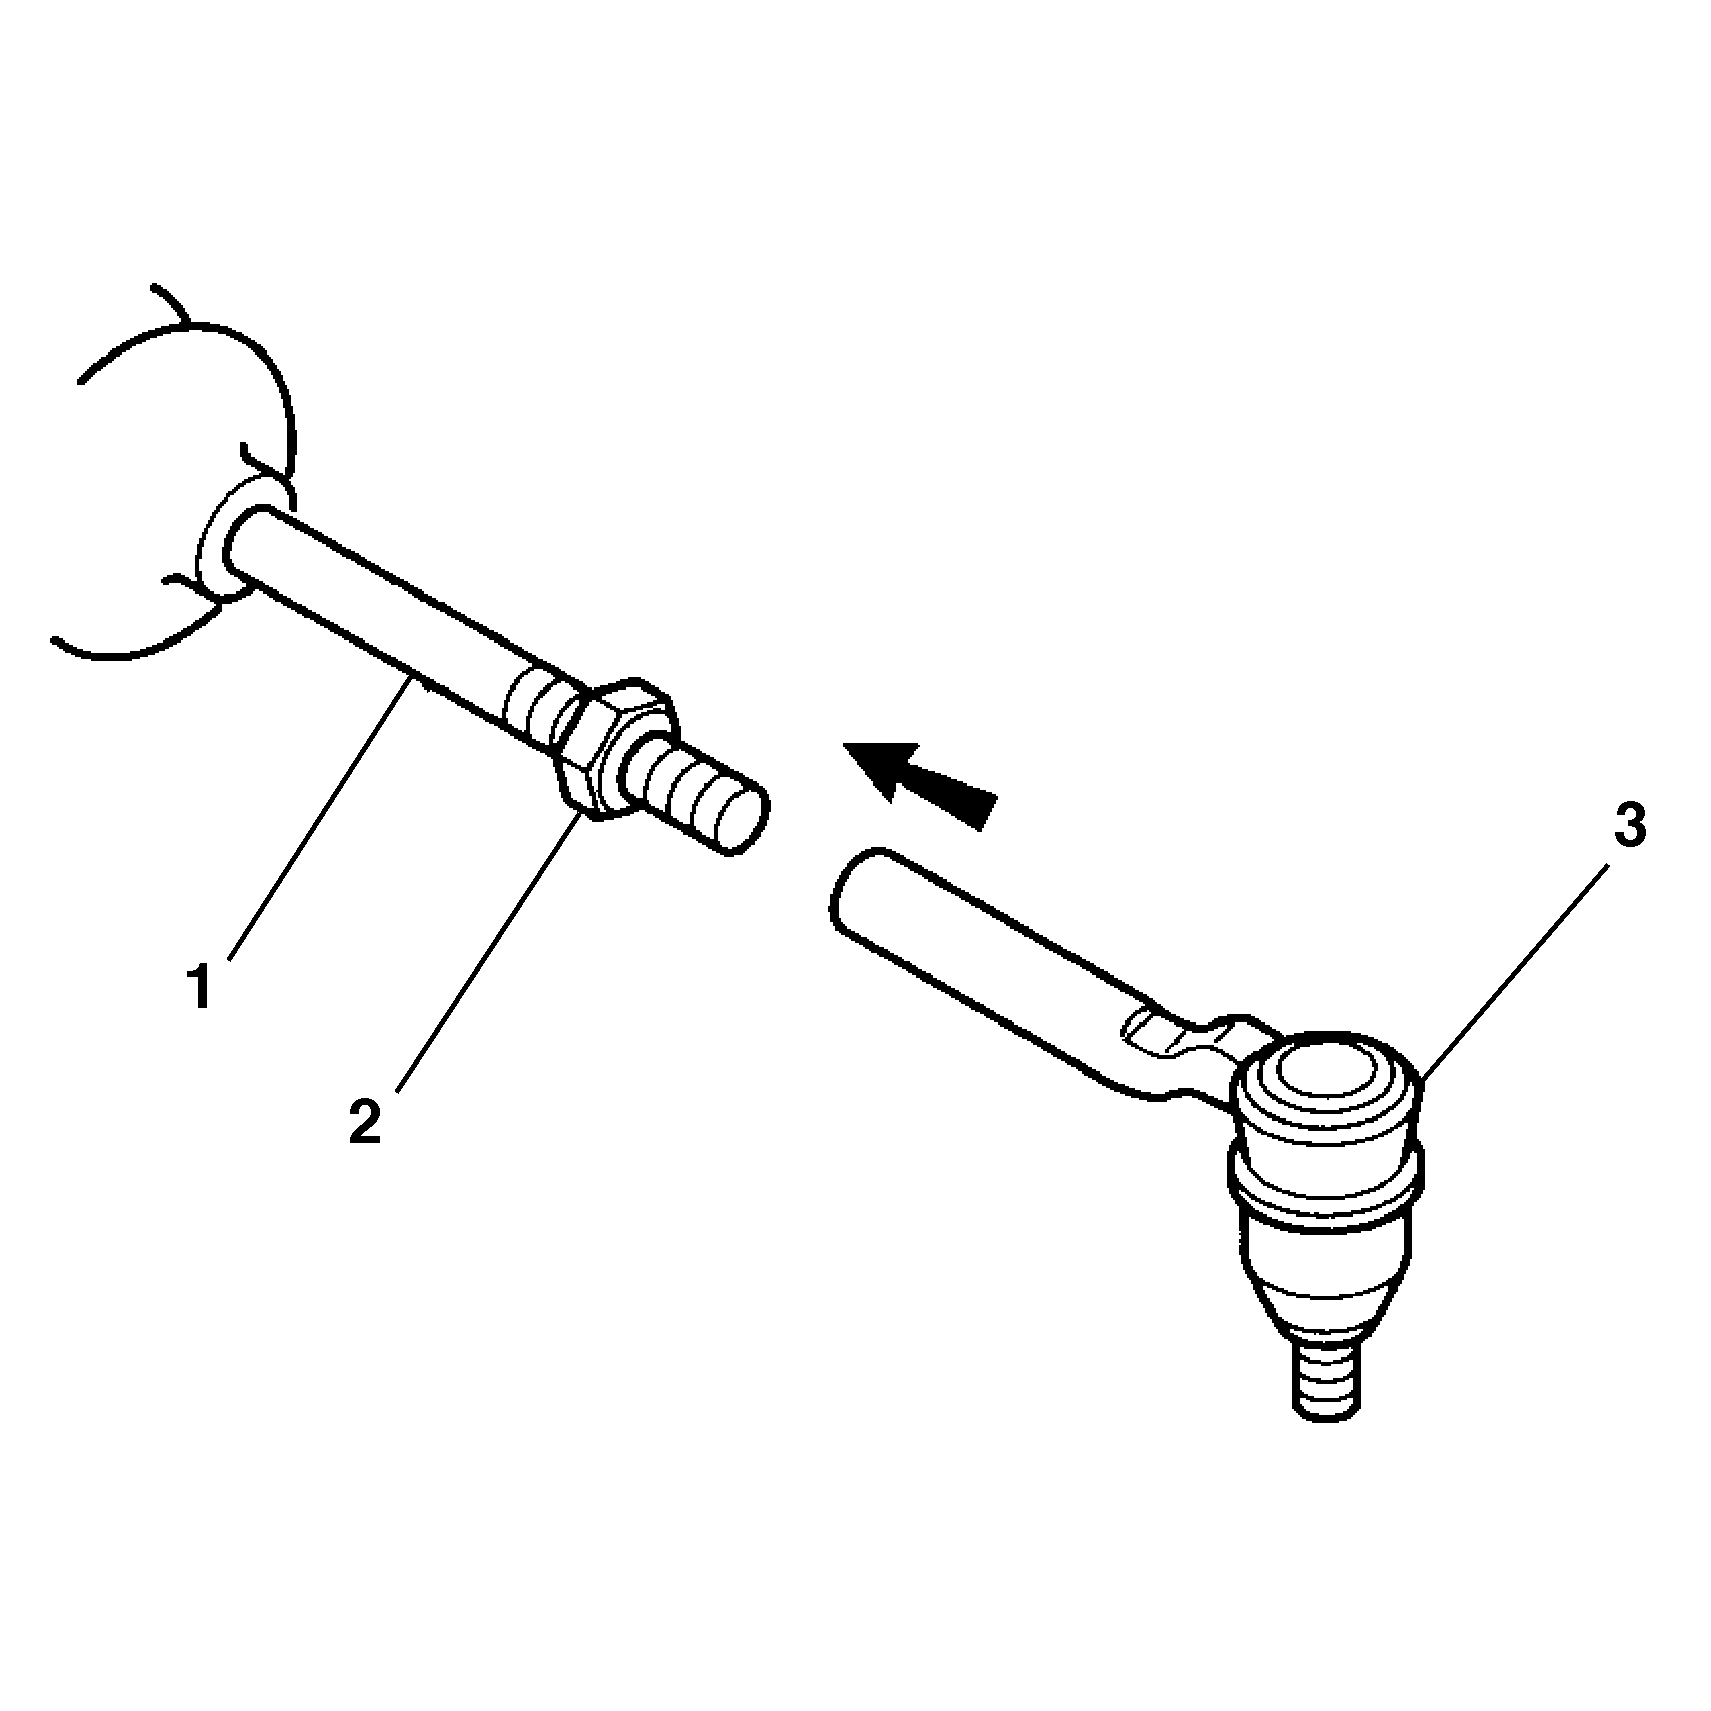
- Loosen the tie rod jam nut (2).
- Remove the tie rod ball stud nut.
- Use the J 24319-B to separate the outer tie rod from the steering knuckle.
- Remove the outer tie rod (3) from the inner tie rod (1).

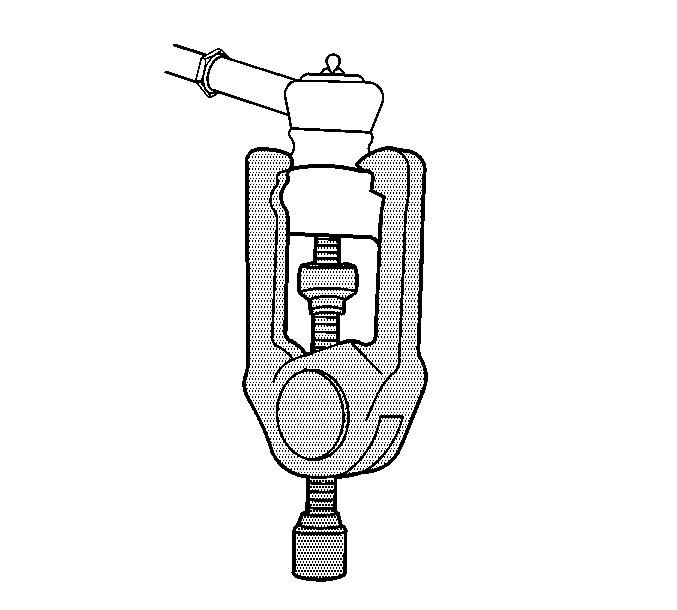
Notice: Do not attempt to free the ball stud by using a pickle fork or wedge type tool, because seal or bushing damage could result. Use the proper tool to separate all ball joints.
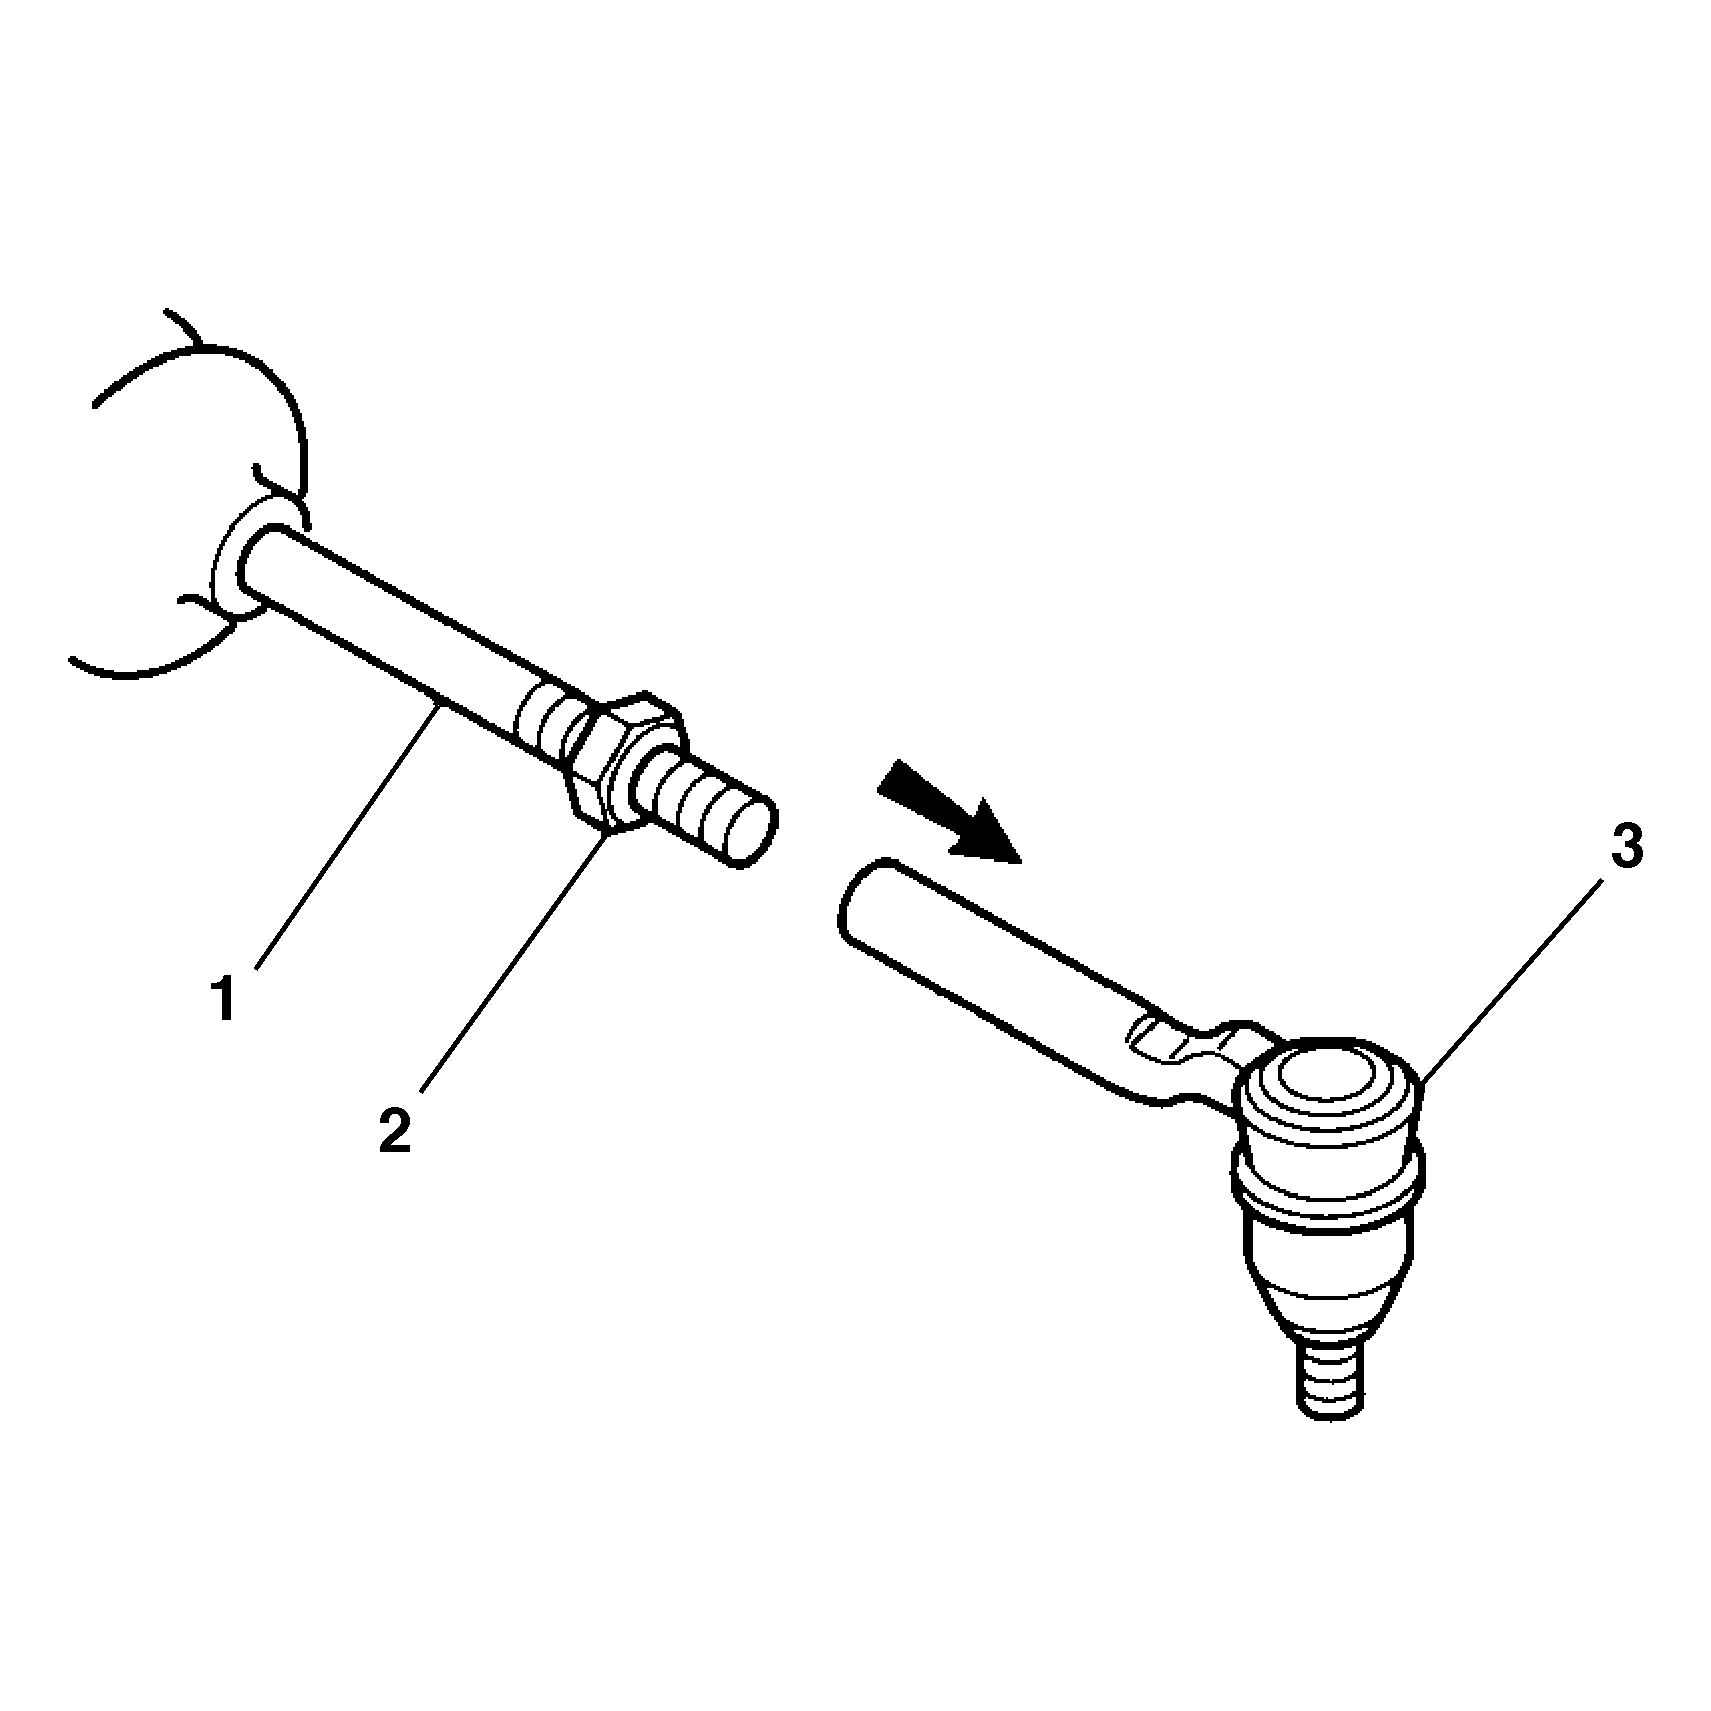
Important: Count the number of threads during removal for installation.
Installation Procedure
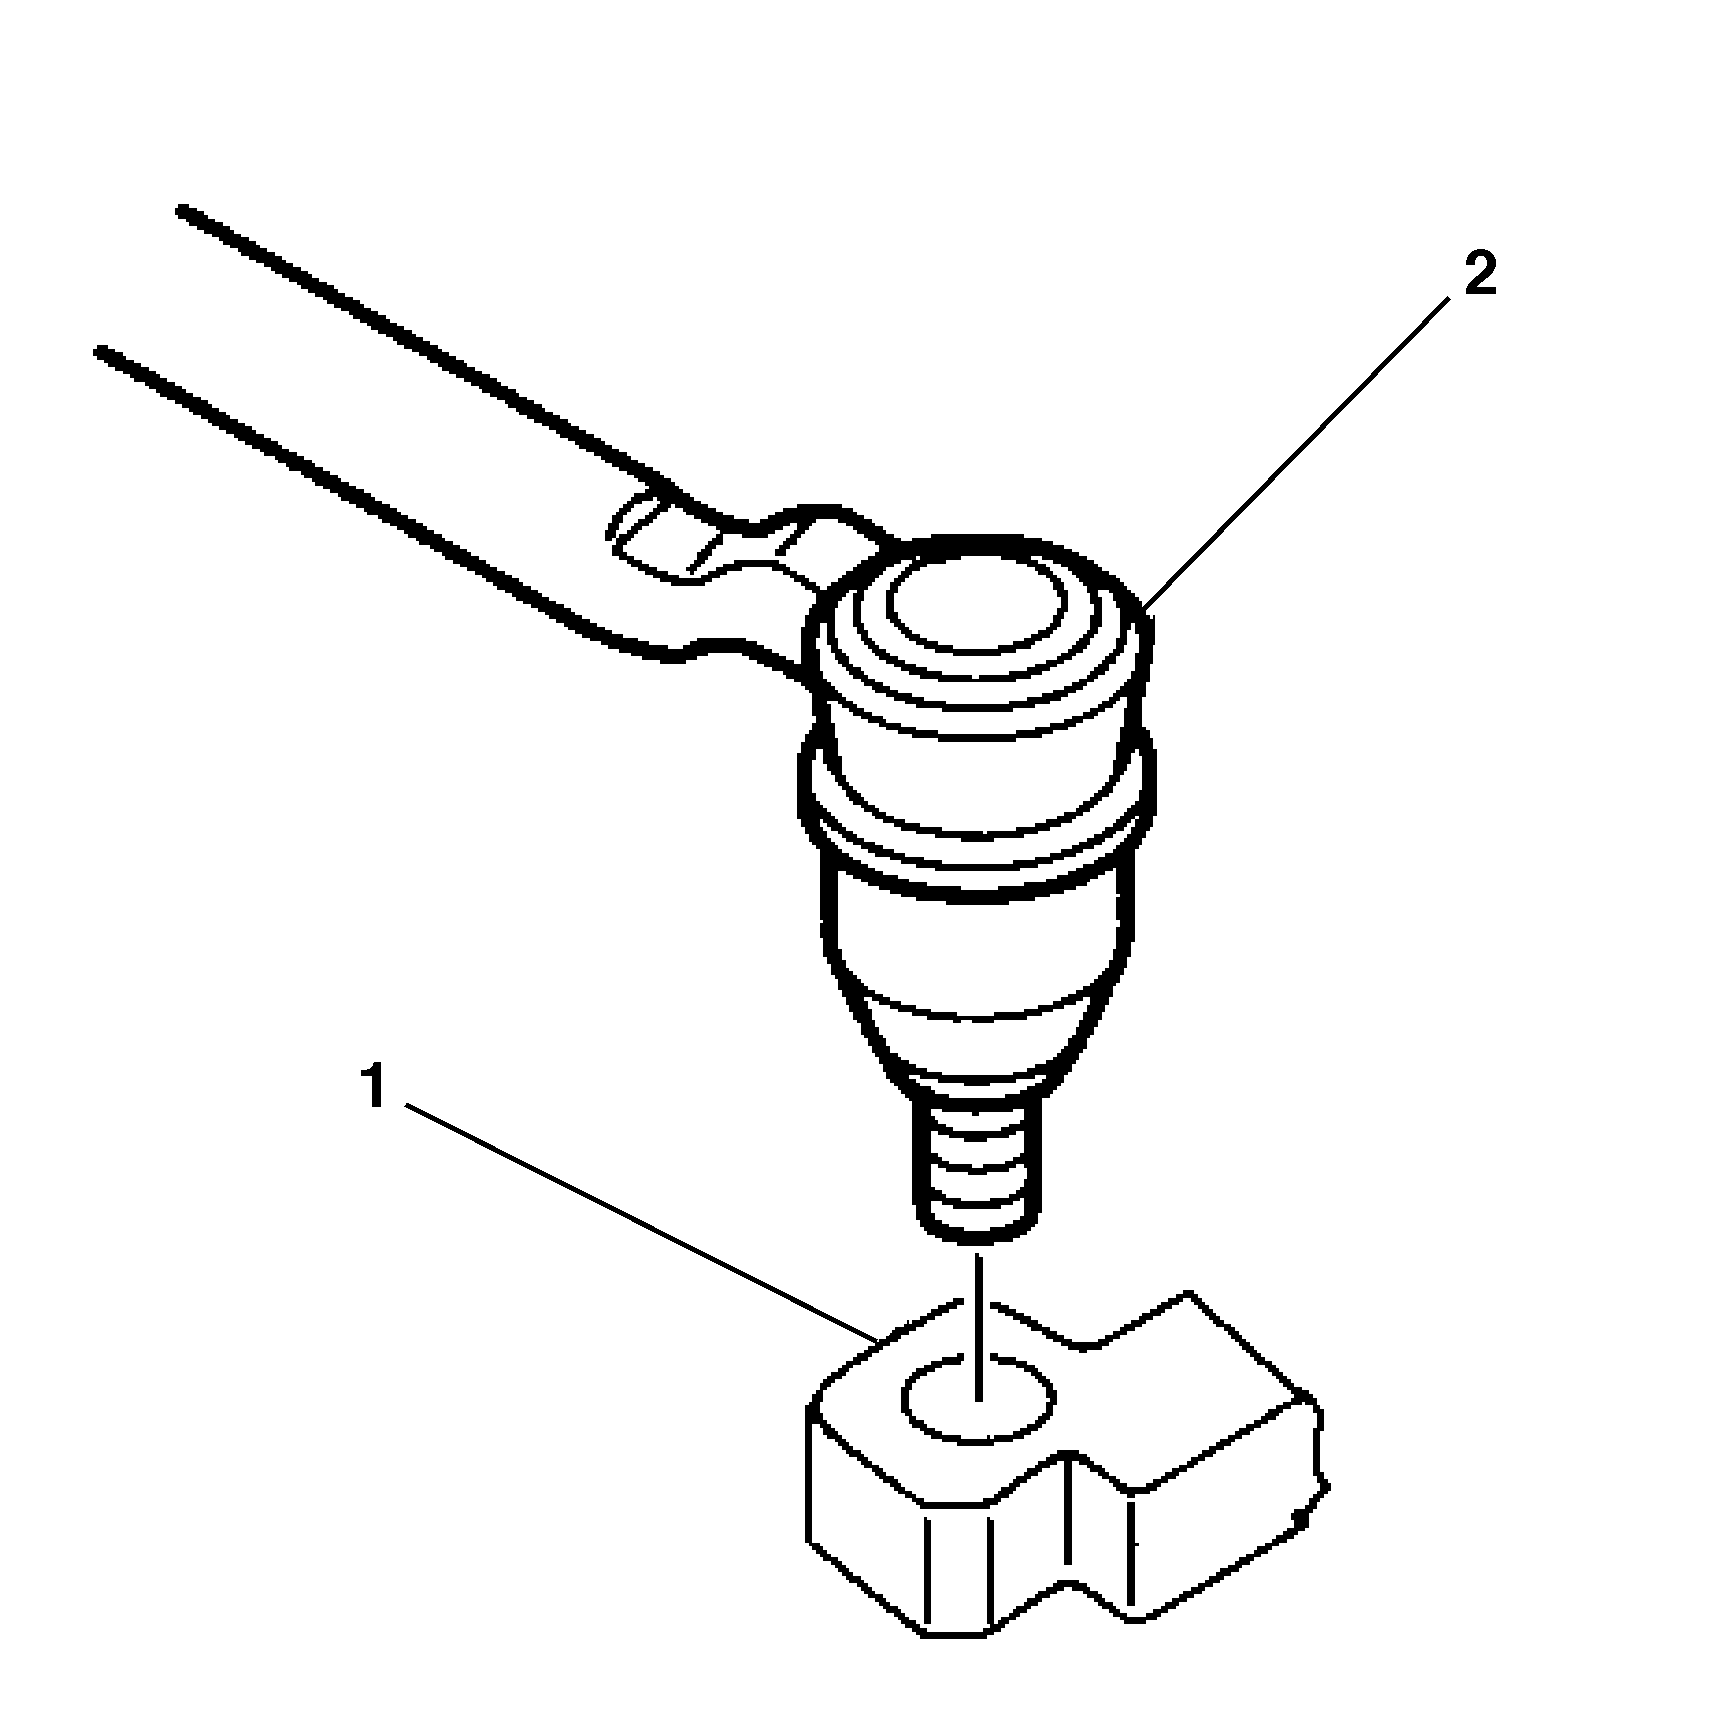
- Install the outer tie rod (3) to the inner tie rod (1). Do not tighten the tie rod jam nut (2).
- Install the outer tie rod (2) to the steering knuckle (1).
- Install the tie rod ball stud nut.
- Install the tire and wheel assembly. Refer to Tire and Wheel Removal and Installation .
- Lower the vehicle.
- Inspect and adjust the toe as necessary. Refer to Front Toe Adjustment .
Notice: Refer to Fastener Notice in the Preface section.
Important: This is a prevailing torque type fastener. You may reuse this fastener ONLY under the following conditions:
• The fastener and its counterpart are clean and free from rust. • The fastener develops 2 N·m (18 lb in) of torque/drag against its counterpart prior to the fastener seating.
Important: Ensure that 2.5-4.5 tie rod end threads are visible beyond the tie rod nut nylon.
Tighten
Tighten the tie rod ball stud nut to 30 N·m (22 lb ft) plus 120 degrees .
