For 1990-2009 cars only
Removal Procedure
- Remove the windshield garnish molding. Refer to Windshield Pillar Garnish Molding Replacement .
- Remove the upper trim pad. Refer to Instrument Panel Upper Trim Pad Replacement .
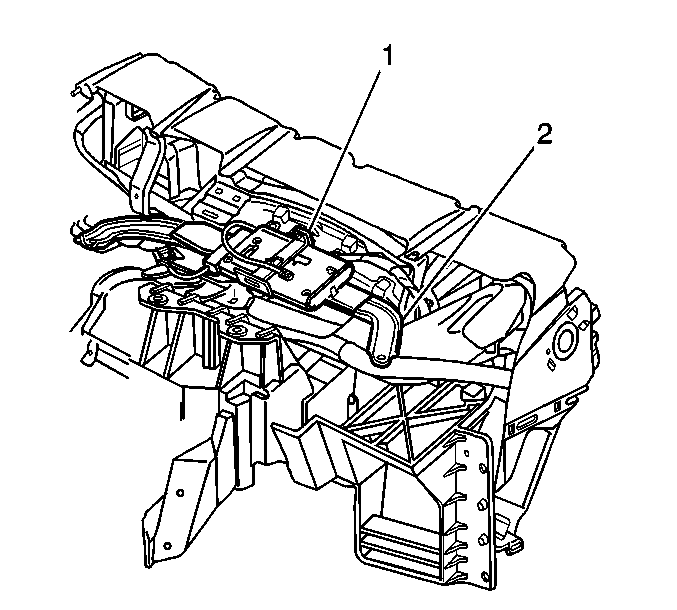
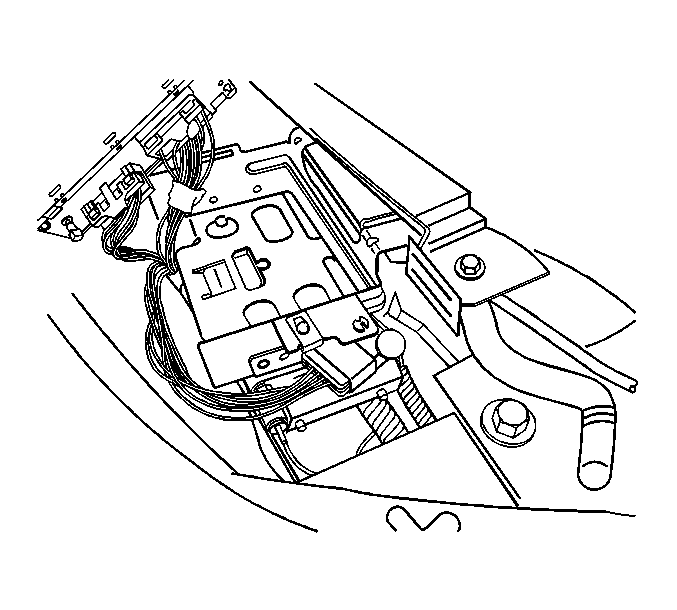
- Remove the clip-on strap which secures the VCU to the bracket (1).
- Disconnect the electrical connectors.
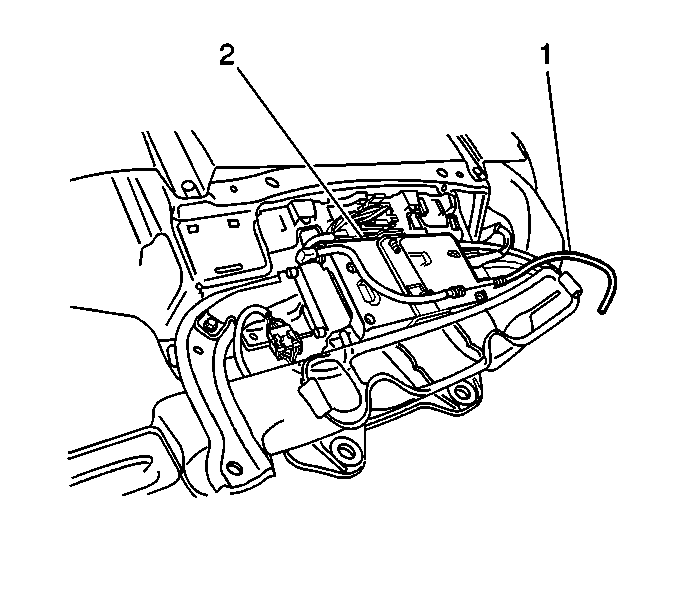
- Disconnect the cell antenna coaxial cable (1) from the VCU (2).
- Remove the VCU (2) from the bracket.
- The old VCU must be returned for core credit.
Important: The vehicle communication unit (VCU) has a specific set of unique numbers that tie the module to each vehicle. These numbers, the 10-digit station identification and the 11-digit electronic serial number, are used by the National Cellular Network and OnStar® to identify the specific vehicle. Because these numbers are tied to the vehicle identification number of the vehicle, you must never exchange these parts with those of another vehicle.
Installation Procedure
- Record the 11-digit ESN from the label on the new VCU module.
- Install the VCU to the bracket using the clip-on strap (1).
- Connect the electrical connectors.
- Connect the cell antenna coaxial cable (1) to the VCU (2).
- Slide and secure the VCU bracket (1) to the metal brace on the instrument panel.
- Install the upper trim pad. Refer to Instrument Panel Upper Trim Pad Replacement .
- Install the windshield garnish molding. Refer to Windshield Pillar Garnish Molding Replacement .
- Reconfigure the OnStar® system. Refer to OnStar Reconfiguration .
Important: After replacing the VCU, you must reconfigure the OnStar® system. Failure to reconfigure the system will result in an additional customer visit for repair.
