Removal Procedure
Important: Deformation of the roof panel is highly noticeable in terms of the vehicle's outer appearance. Before replacing the roof, make sure that the body is horizontal.
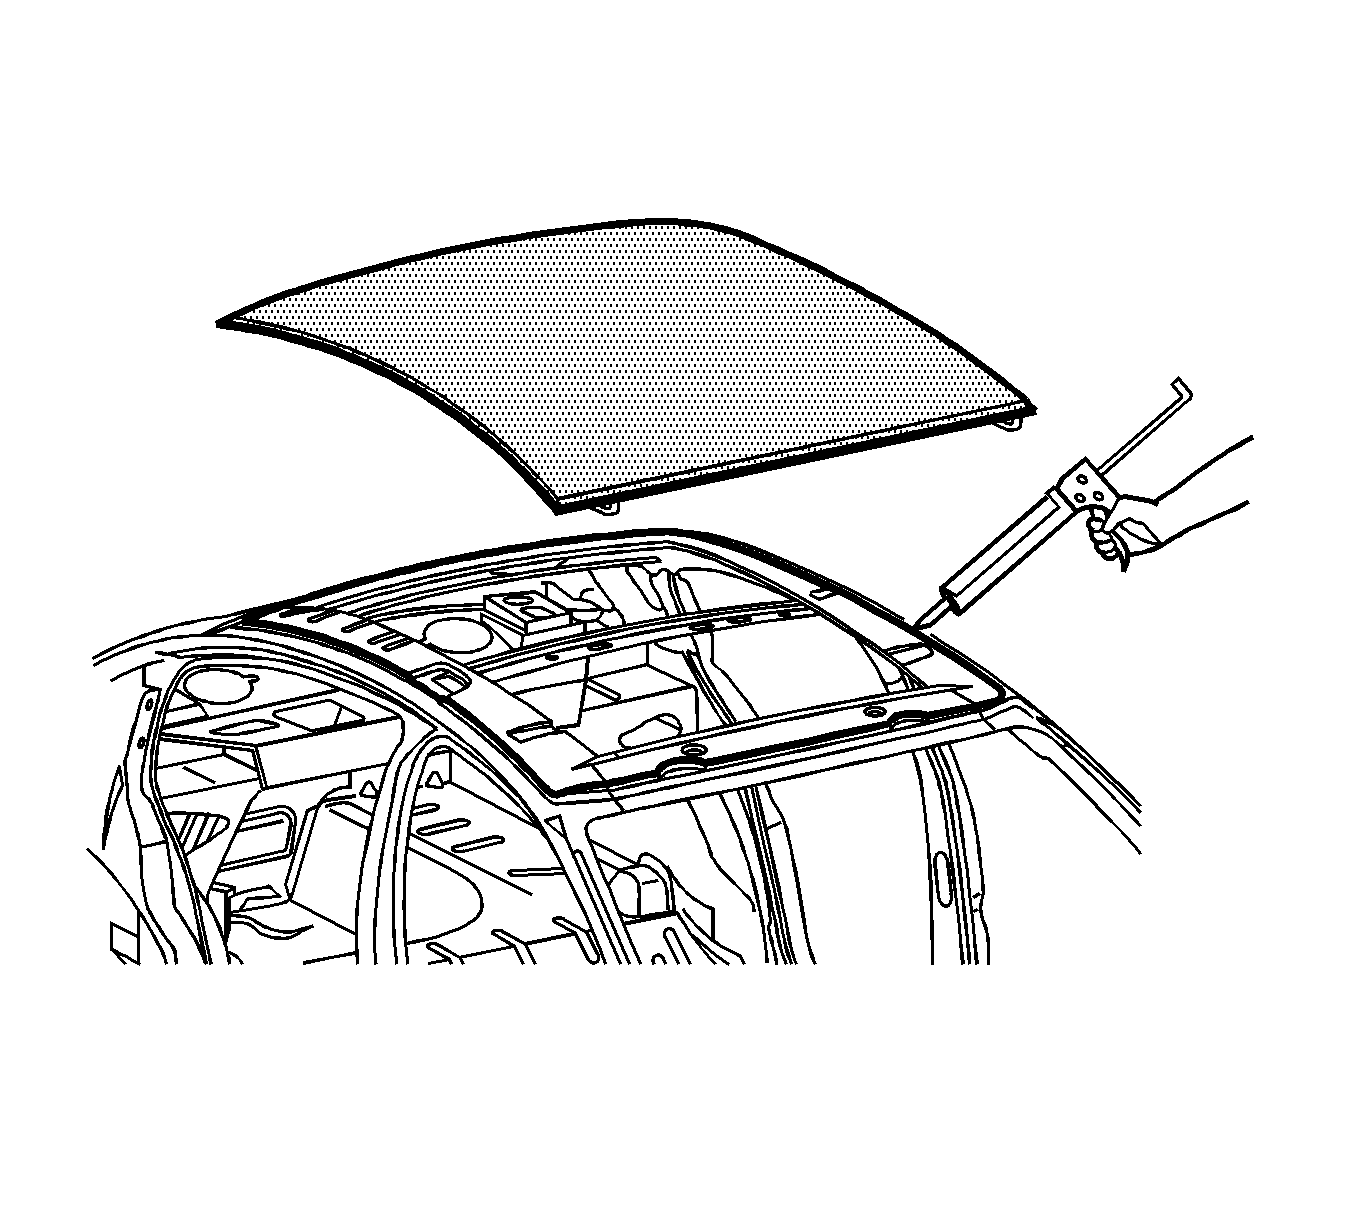
Before welding the roof panel, adjust the frame door opening flanges so that they contact the roof panel. Pay particular attention to twists and parallelism.- Disable the SIR system. Refer to SIR Disabling and Enabling .
- Disconnect the negative battery cable.
- Take note of the gap sizes along the perimeter of the roof panel to the headers, the glass, and the doors.
- Remove all related panels and components.
- Repair as much of the damaged area as possible. Refer to Dimensions - Body .
- Note the location and remove the sealers and anti-corrosion materials from the repair area, as necessary. Refer to Anti-Corrosion Treatment and Repair .
- Remove the 4 nuts that retain the front and rear of the roof panel to the front and rear header panels.
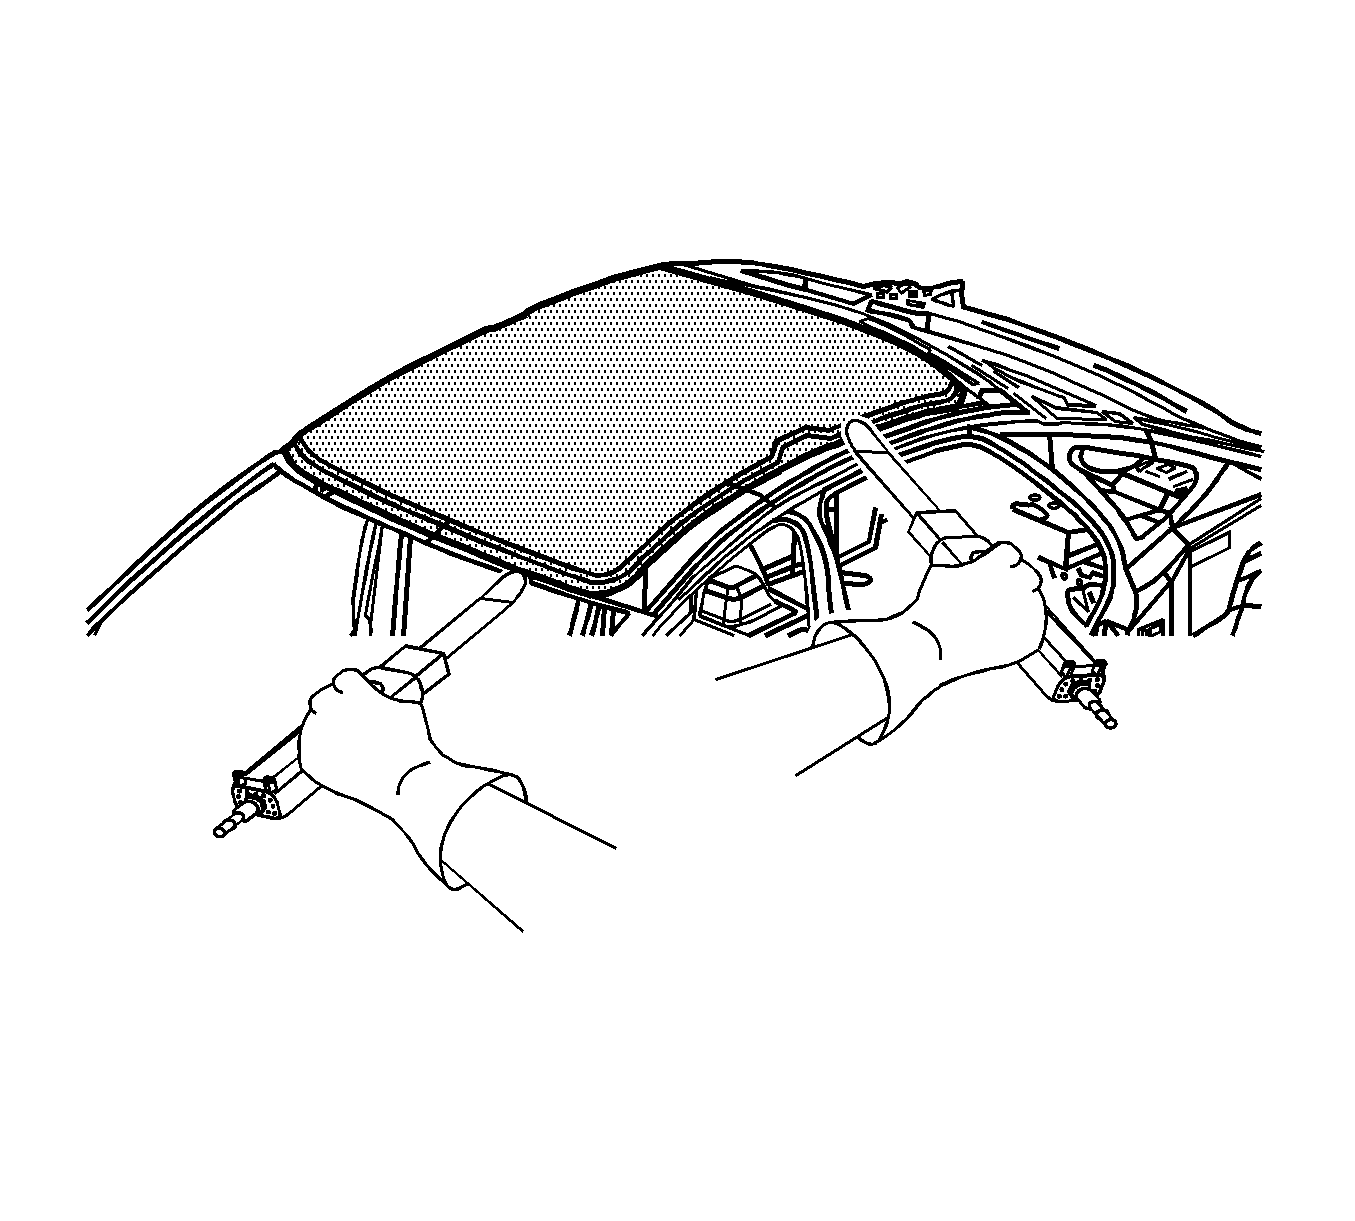
- Locate and cut the urethane adhesive holding the roof panel to the vehicle. Note the location of the adhesive for installation of the roof panel.
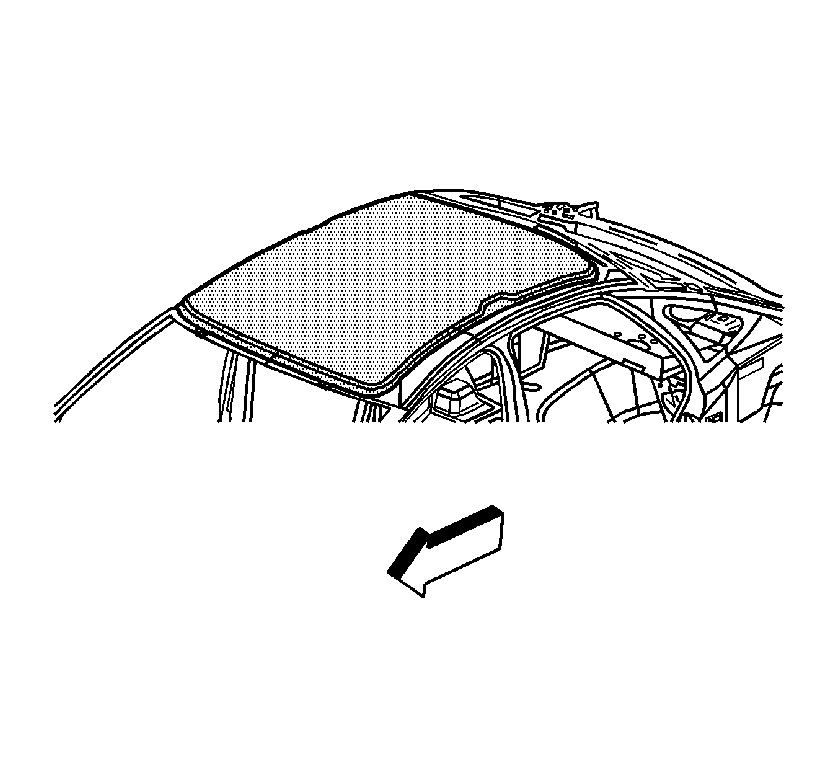
- Remove the damaged roof panel.
Caution: Refer to Approved Equipment for Collision Repair Caution in the Preface section.
Important: Do not damage any inner panels or reinforcements.
Installation Procedure
- Prepare all mating surfaces as necessary.
- Use pinchweld primer #2 from the glass kit GM P/N 12346392. Shake the pinchweld primer for at least 1 minute.
- Apply the black #2 primer with a new applicator dauber to the primer locations noted from the original panels.
- Allow the black #2 primer to dry for approximately 10 minutes.
- Place a 10 mm (3/8 in) diameter bead of urethane adhesive GM P/N 12346392 on the perimeter of the vehicle roof attachment points.
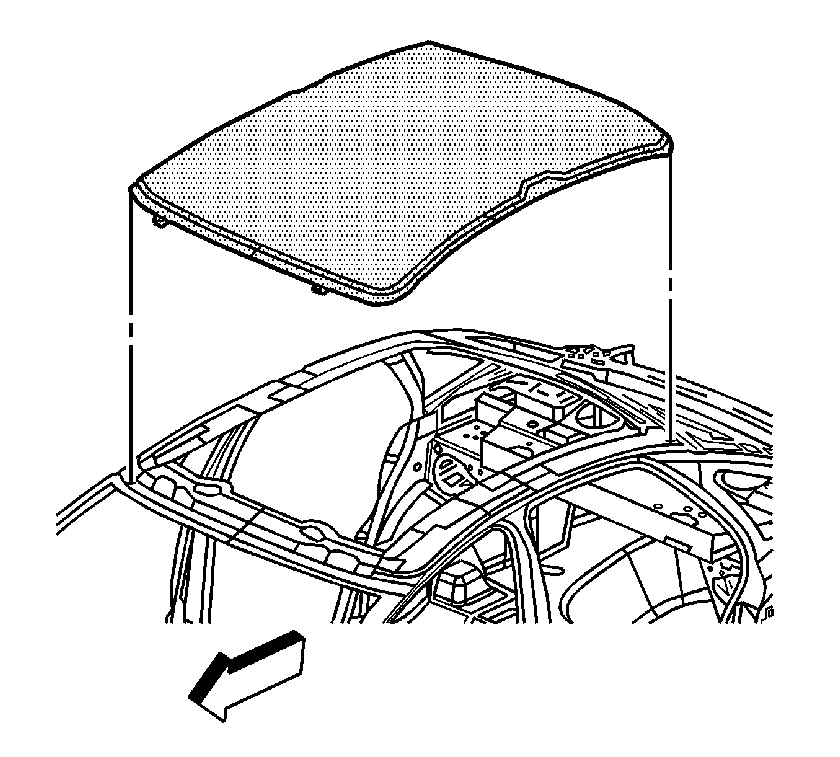
- Position the roof panel on the vehicle.
- Verify the fit of the roof panel to the front edge of the front header panel and to the rear edge of the rear header panel.
- Verify the fit of the roof panel at the gap along the top of the door frame to the roof panel. Adjust the panel if necessary.
- Install the 4 nuts at the front and rear header panels.
- Apply the sealers and anti-corrosion materials to the repair area, as necessary. Refer to Anti-Corrosion Treatment and Repair .
- Paint the repair area. Refer to Basecoat/Clearcoat Paint Systems .
- Install all related panels and components.
- Connect the negative battery cable.
- Enable the SIR system. Refer to SIR Disabling and Enabling .
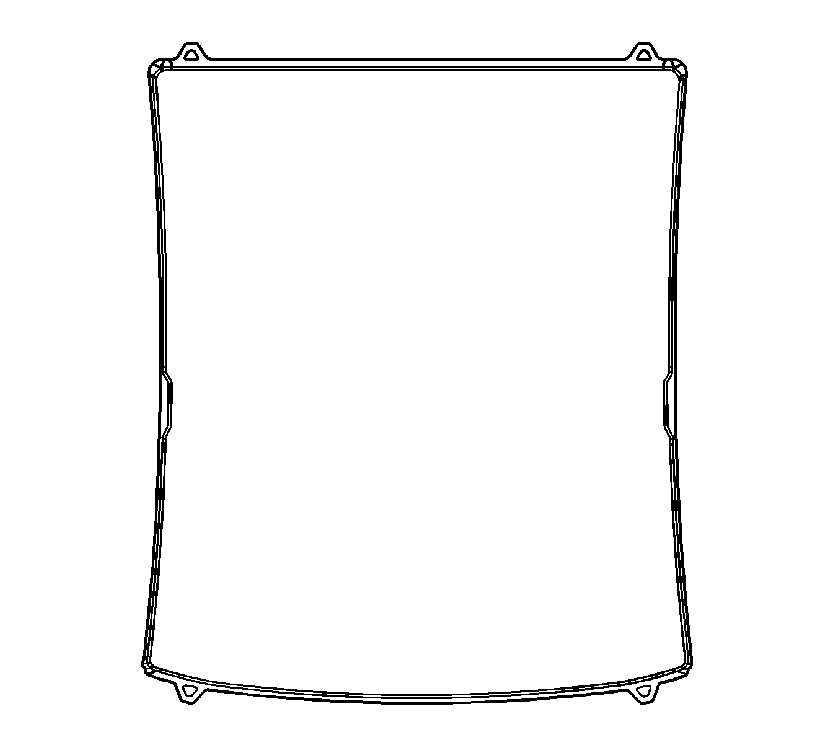
Important: Place the urethane adhesive on the outboard side of the roof panel stud hole locations.
Notice: Use the correct fastener in the correct location. Replacement fasteners must be the correct part number for that application. Fasteners requiring replacement or fasteners requiring the use of thread locking compound or sealant are identified in the service procedure. Do not use paints, lubricants, or corrosion inhibitors on fasteners or fastener joint surfaces unless specified. These coatings affect fastener torque and joint clamping force and may damage the fastener. Use the correct tightening sequence and specifications when installing fasteners in order to avoid damage to parts and systems.
Tighten
Tighten the nuts to 8-12 N·m (3.1-4.7 lb in).
