For 1990-2009 cars only
Removal Procedure
Caution: When a hood hold open device is being removed or installed, provide alternate support to avoid the possibility of damage to the vehicle or personal injury.
- Remove the hood. Refer to Hood Replacement .
- Remove the rear hood side seal. Refer to Hood Rear Outer Seal Replacement .
- Remove the hood assist rod. Refer to Hood Open Assist Rod Replacement .
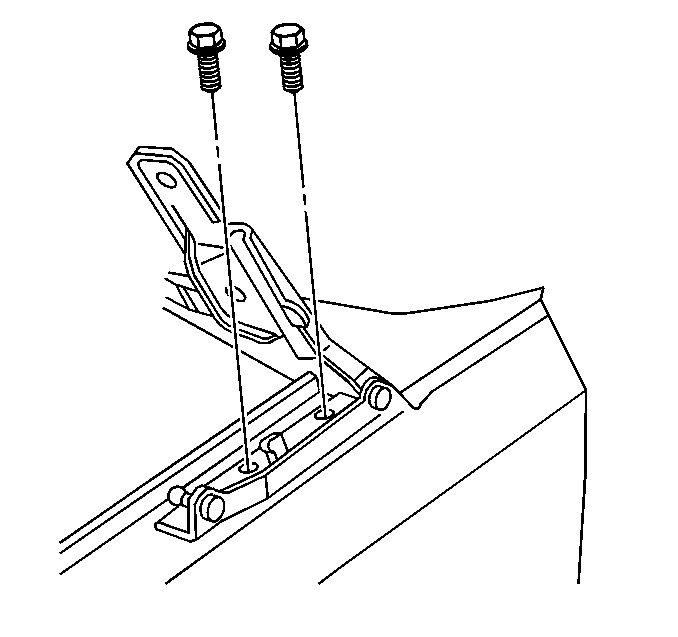
- Loosen the hood hinge to fender bolts, but do not remove the bolts.
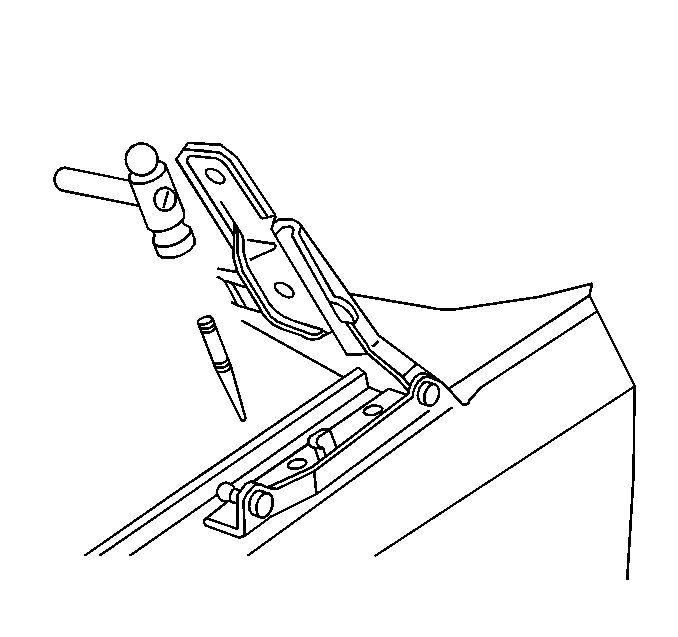
- Center punch the spot weld
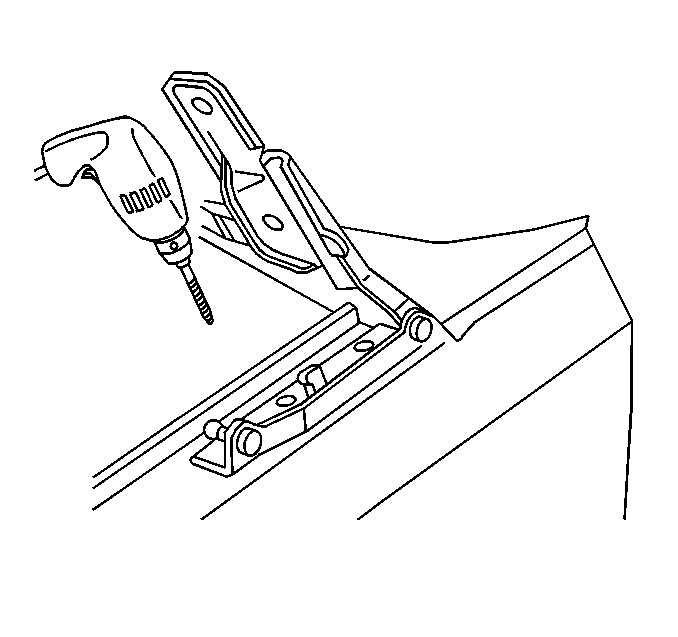
- Drill out the spot weld using a 9.5 mm (3/8 in) drill bit.
- Remove the hood hinge to fender bolts.
- Remove the hood hinge from the fender.
- Repair the paint on the fender where the hood hinge was removed. Refer to Anti-Corrosion Treatment and Repair .
Installation Procedure
Important: Weld on body side is an assembly plant assembly aid only. Weld is not required when installing a replacement hinge.
- Install the hood hinge to the fender.
- Install the hood hinge to the fender bolts.
- Install the rear hood side seal. Refer to Hood Rear Outer Seal Replacement .
- Install the hood assist rod. Refer to Hood Open Assist Rod Replacement .
- Install the hood. Refer to Hood Replacement .
- Adjust the hood as required. Refer to Hood Adjustment .
Notice: Refer to Fastener Notice in the Preface section.
Tighten
Tighten the hood hinge to fender bolts to 25 N·m (18 lb ft).
