For 1990-2009 cars only
Removal Procedure
- Remove the floor console. Refer to Front Floor Console Replacement .
- Remove the ashtray insert.
- Remove the cupholder liner.
- Remove the wiring harness.
- Remove the HUD switch, if equipped. Refer to Head Up Display Switch Replacement .
- Remove the traction control switch. Refer to Electronic Traction Control Switch Replacement in Antilock Brake System.
- Remove the accessory power receptacles. Refer to Cigarette Lighter Housing Replacement - Floor Console and to Floor Console Accessory Power Receptacle Replacement in Power Outlets.
- Remove the armrest and the hinge. Refer to Front Floor Console Armrest Replacement .
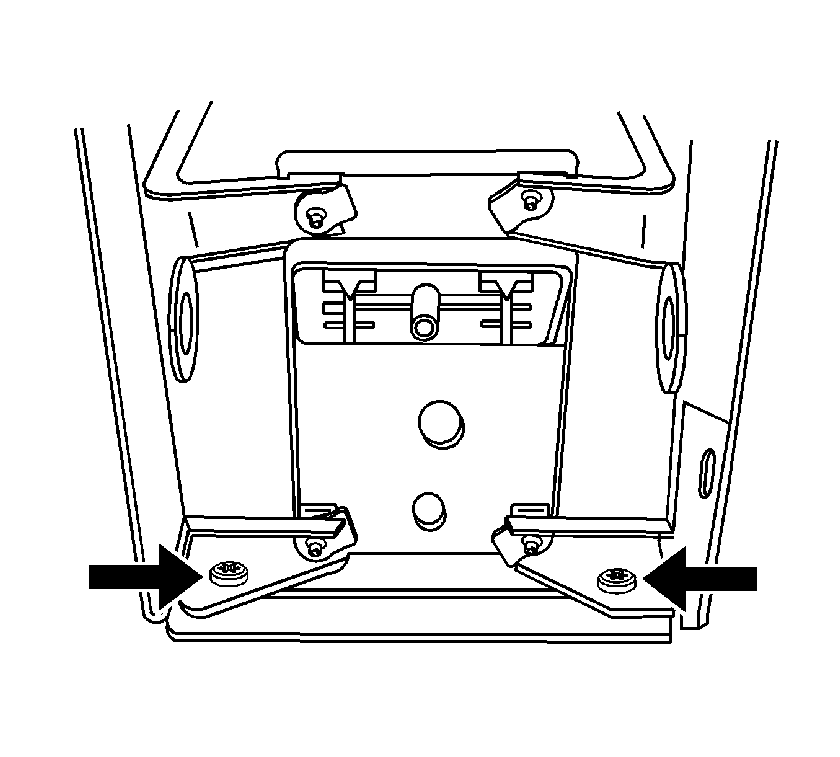
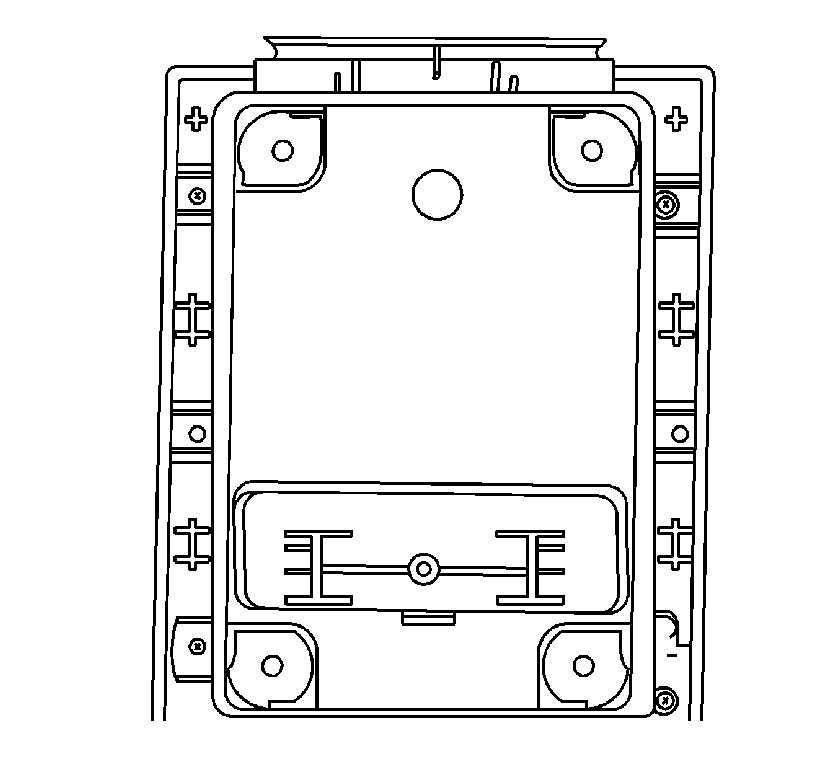
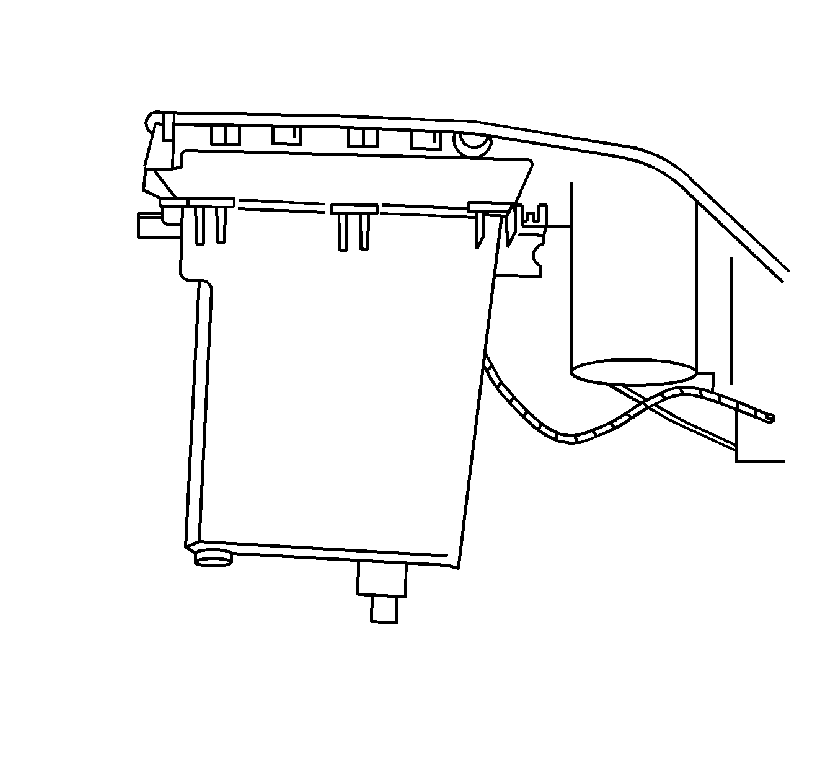
- Remove the rear cover screws.
- Remove the rear cover.
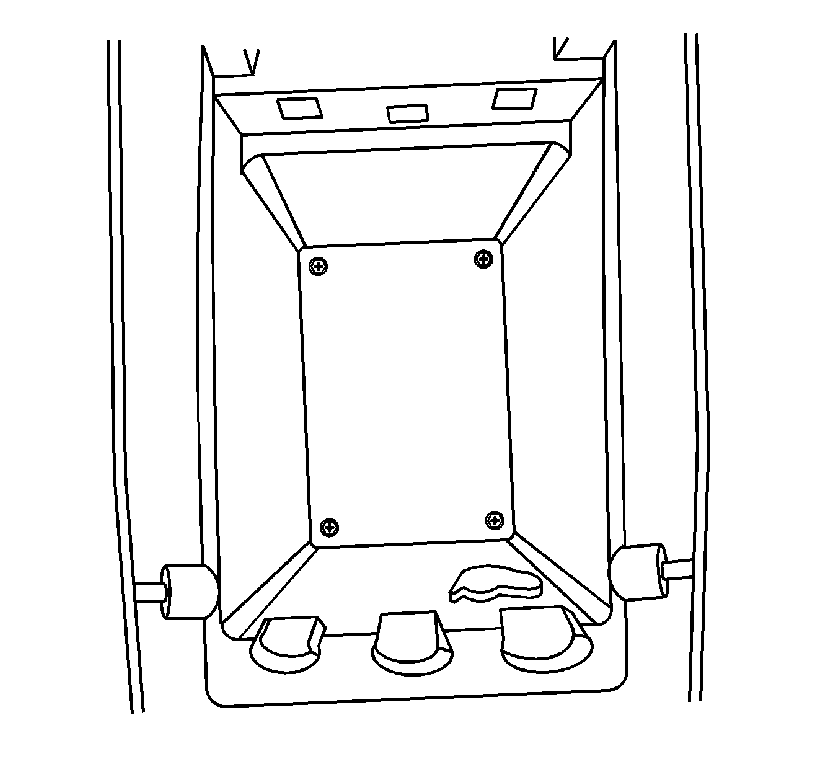
- Remove the compartment screws.
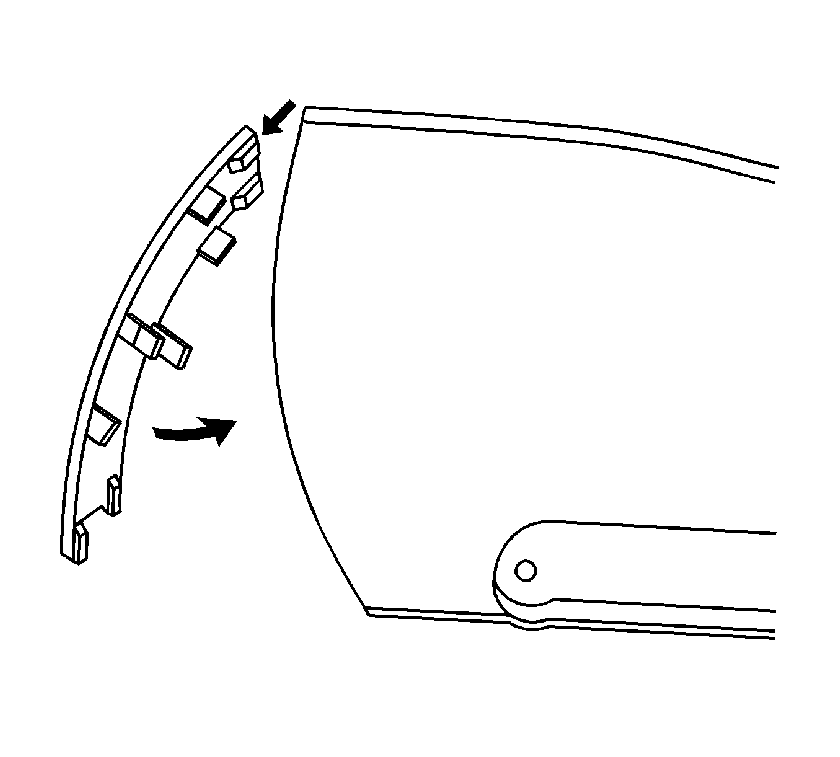
- Remove the side trim panel screws.
- Remove the side trim panels.
- Remove the compartment screws.
- Remove the upper trim plate.
Installation Procedure
- Align the compartment to the upper trim plate.
- Install the compartment screws.
- Align the side trim panels to the locators.
- Install the side trim panel screws.
- Install the compartment screws.
- Align the rear cover to the floor console.
- Install the rear cover screws.
- Install the armrest and the hinge. Refer to Front Floor Console Armrest Replacement .
- Install the accessory power receptacles. Refer to Cigarette Lighter Housing Replacement - Floor Console and to Floor Console Accessory Power Receptacle Replacement in Power Outlets.
- Install the traction control switch. Refer to Electronic Traction Control Switch Replacement in Antilock Brake System.
- Install the HUD switch, if equipped. Refer to Head Up Display Switch Replacement .
- Install the wiring harness.
- Install the cupholder liner.
- Install the ashtray insert.
- Install the floor console. Refer to Front Floor Console Replacement .
Notice: Refer to Fastener Notice in the Preface section.
Tighten
Tighten the screws to 2 N·m (18 lb in).
Tighten
Tighten the screws to 2 N·m (18 lb in).
Tighten
Tighten the screws to 2 N·m (18 lb in).
Tighten
Tighten the screws to 2 N·m (18 lb in).
