For 1990-2009 cars only
Tools Required
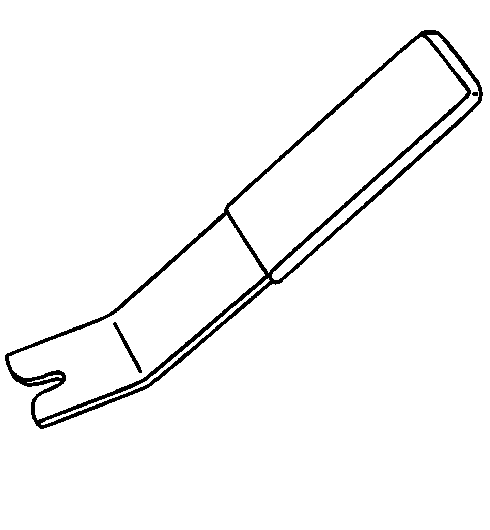
J 38778 Door Trim Pad and Garnish Clip Remover
Removal Procedure
- Raise the rear compartment lid.
- Apply tape to the fascia and adjacent surfaces.
- Remove the rear compartment sill plate. Refer to Rear Compartment Sill Trim Plate Replacement in Body Rear End.
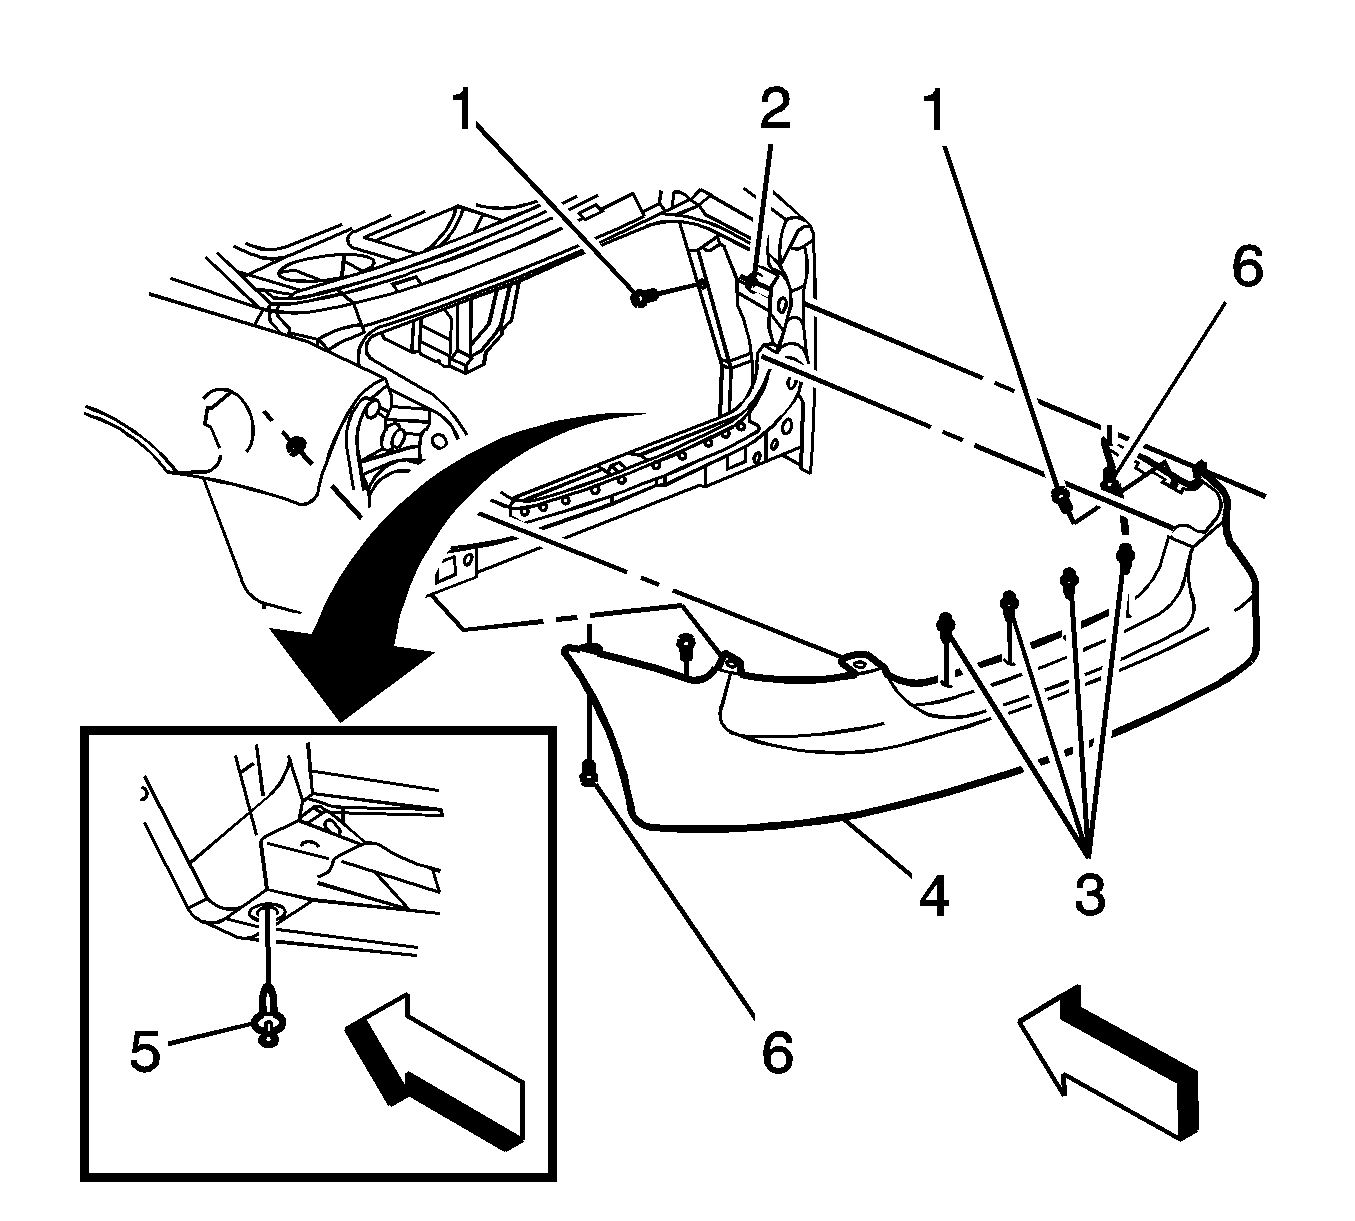
- Pull the left and right compartment side trim panels down to access the fascia bolts (1) and nuts (2).
- Remove the tail lamps. Refer to Tail Lamp Assembly and /or Backup, Sidemarker, Stop, Turn Signal Bulb Replacement in Lighting Systems.
- Remove the fascia bolts (1) and nuts (2) from the rear bumper fascia.
- Remove the push-in retainers (3) from the top edge of the fascia.
- Raise and support the vehicle. Refer to Lifting and Jacking the Vehicle in General Information.
- Remove the push-in retainers (5) from the rear bumper fascia using the J 38778 .
- Remove the fascia bolts (6) from the rear bumper fascia.
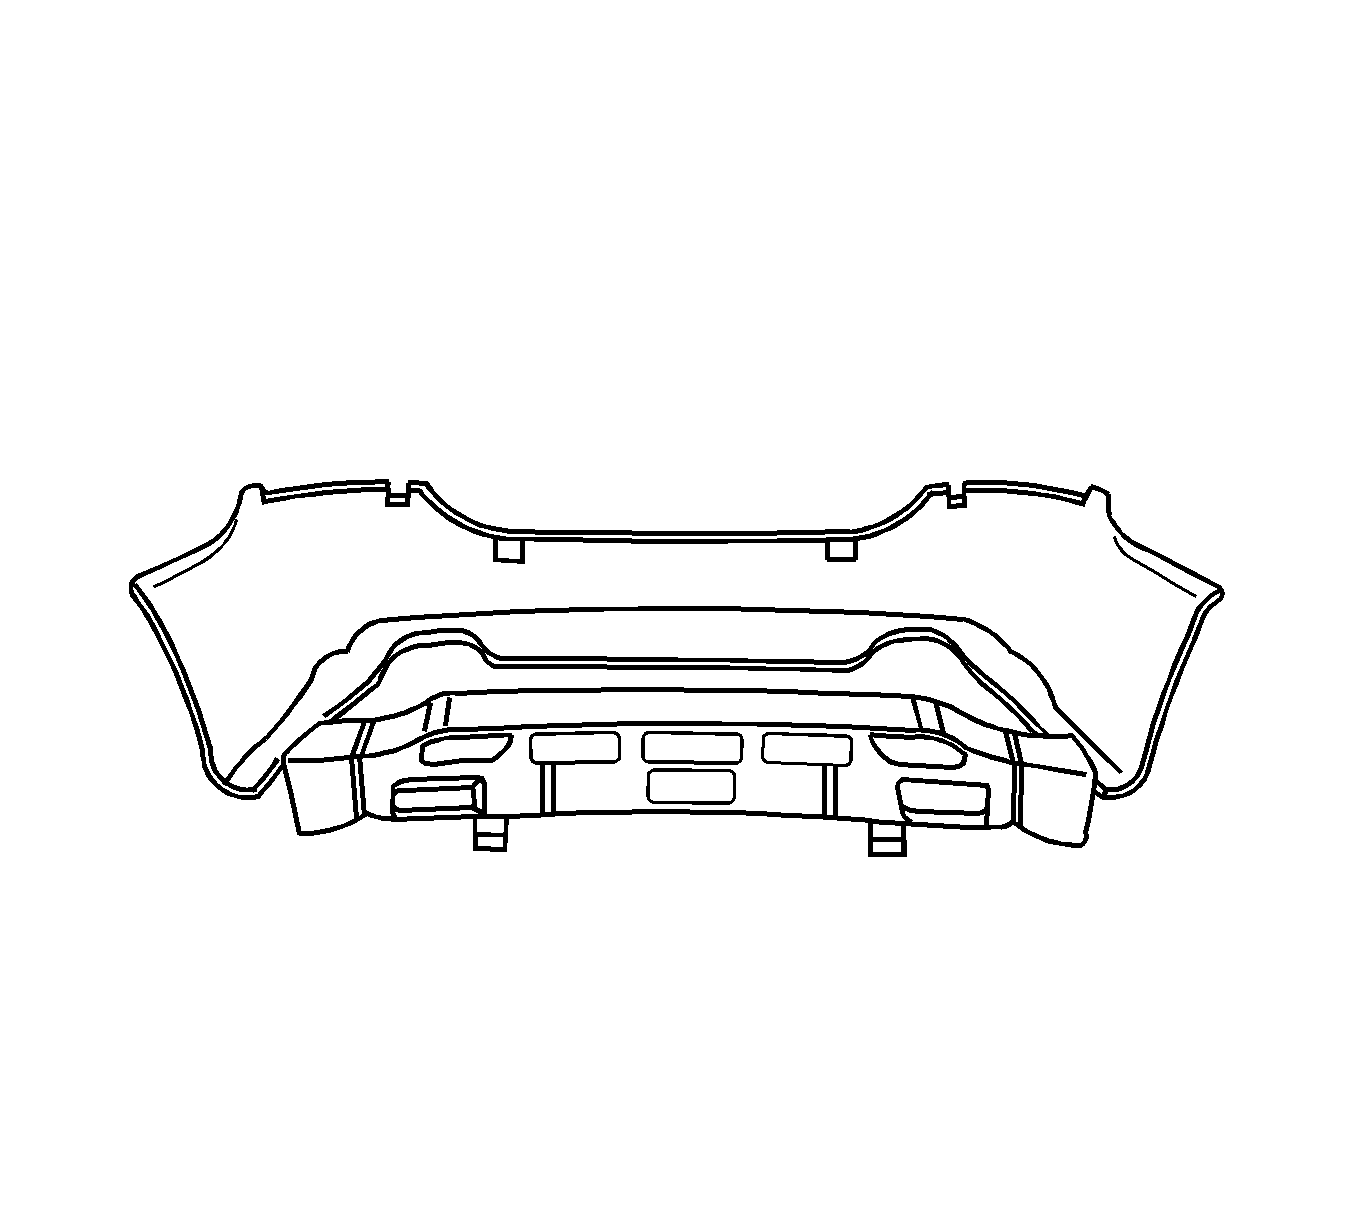
- Remove the rear bumper fascia (4) from the vehicle.
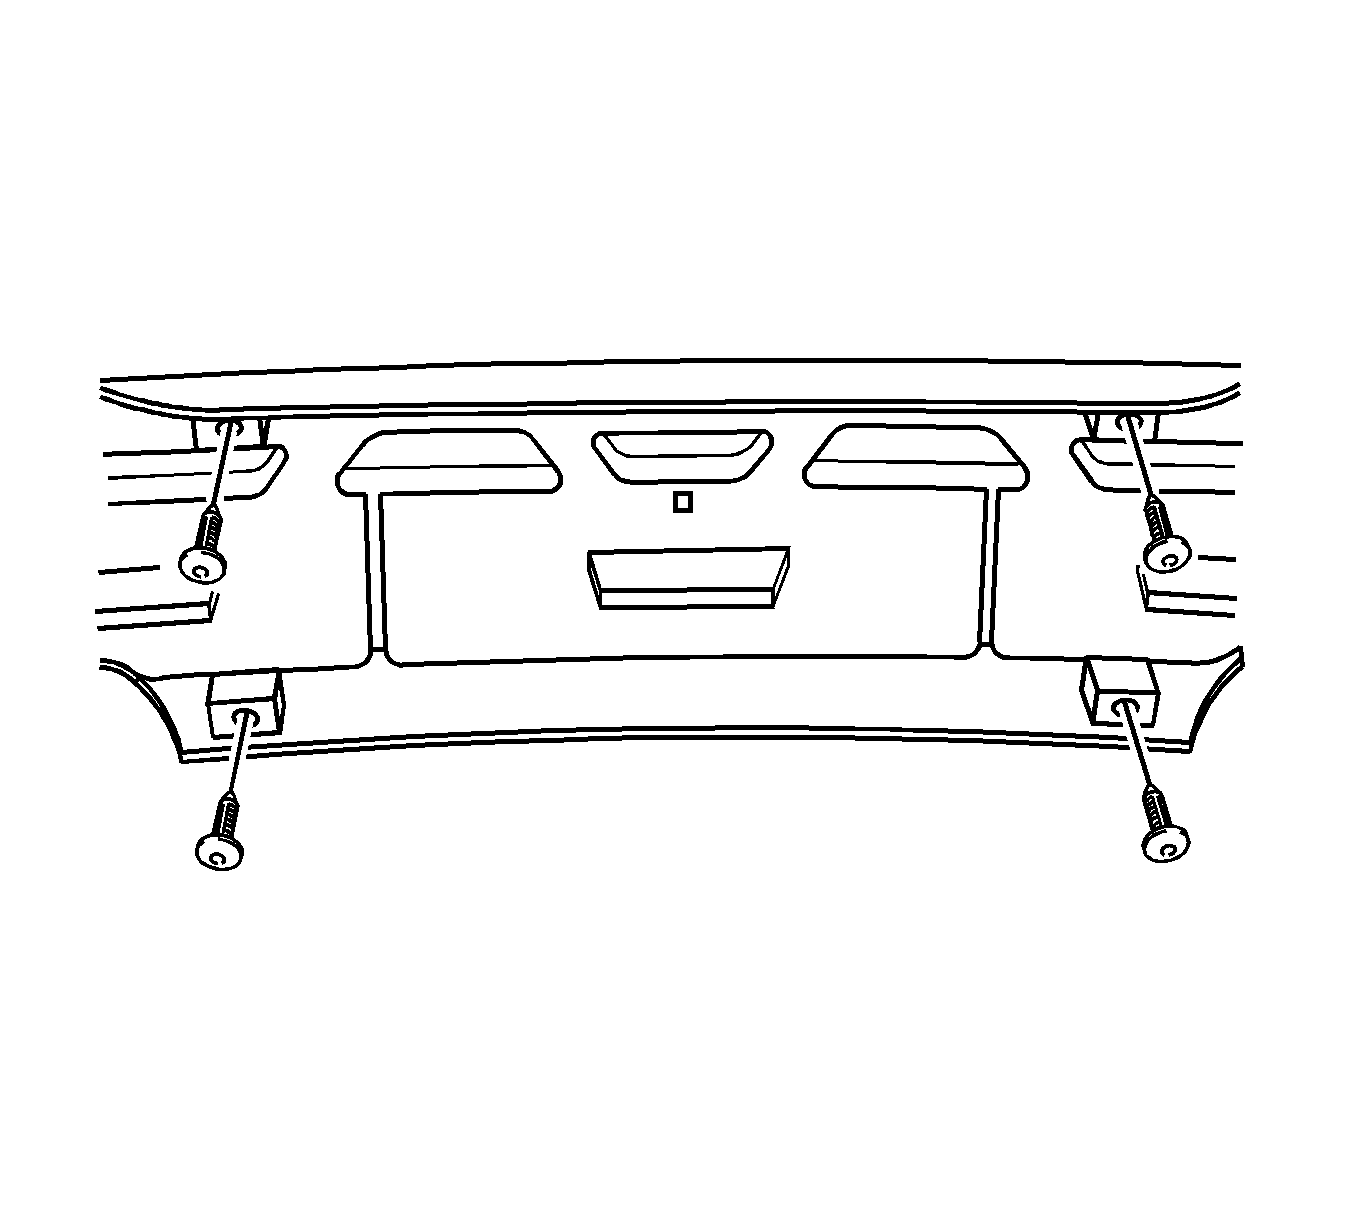
- Remove the screws from the rear bumper energy absorber.
- Remove the rear bumper energy absorber from the rear fascia.
Notice: Refer to Tape Corners of Panel Notice in the Preface section.
Installation Procedure
- Position the rear bumper energy absorber to the rear fascia.
- Install the screws to the rear bumper energy absorber.
- Position the rear bumper fascia (4) to the vehicle.
- Install the push-in retainers (5) to the rear bumper fascia.
- Install the rear bumper fascia bolts (6) to the fascia.
- Lower the vehicle.
- Install the push-in retainers (3) to the top edge of the fascia.
- Install the fascia bolts (1) and nuts (2) to the rear bumper fascia.
- Install the tail lamps. Refer to Tail Lamp Assembly and /or Backup, Sidemarker, Stop, Turn Signal Bulb Replacement in Lighting Systems.
- Position the rear compartment trim panels back to there original positions.
- Install the rear compartment sill plate. Refer to Rear Compartment Sill Trim Plate Replacement in Body Rear End.
- Remove the protective tape that was applied.
- Close the rear compartment lid.
Notice: Refer to Fastener Notice in the Preface section.
Tighten
Tighten the screws to 2 N·m (18 lb in).
Tighten
Tighten the bolts to 10 N·m (89 lb in).
Tighten
Tighten the nuts and bolts to 10 N·m
(89 lb in).
