For 1990-2009 cars only
Removal Procedure
- Remove the left or the right valve rocker arm cover. Refer to Valve Rocker Arm Cover Replacement - Left Side or Valve Rocker Arm Cover Replacement - Right Side .
- Remove the lower intake manifold. Refer to Lower Intake Manifold Replacement .
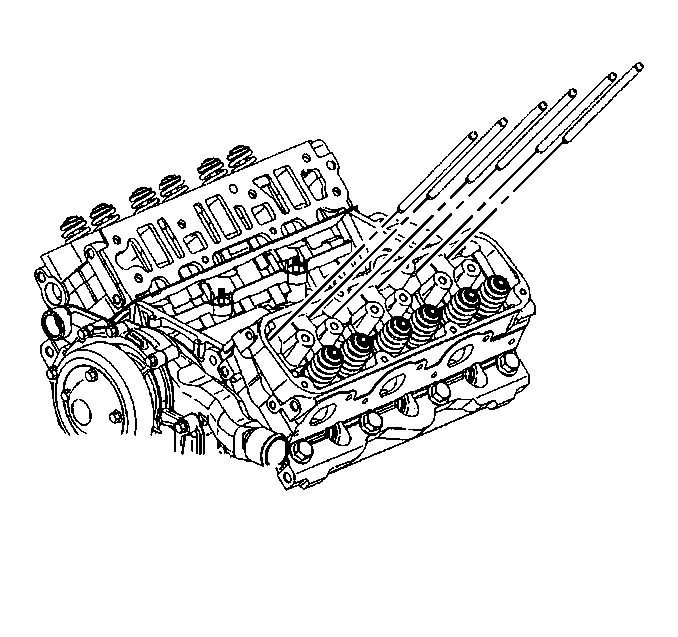
- Remove the rocker arm bolts, the valve rocker arms, the push rods and the push rod guide plates. Refer to Valve Rocker Arm and Push Rod Replacement .
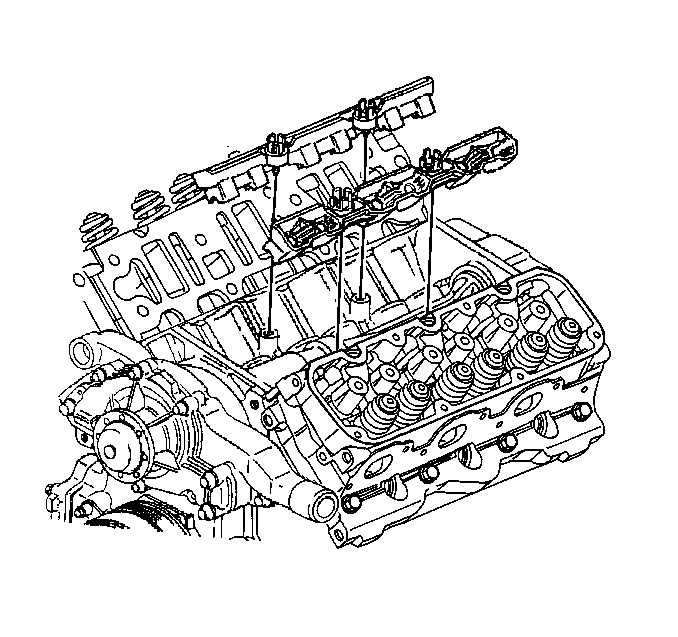
- Remove the valve lifter guide bolts.
- Remove the valve lifter guides.
- Remove the valve lifters.
- Clean all the gasket mating surfaces.
- Clean the valve train parts.
- Inspect the valve lifters and the cam lobes for wear. Refer to Valve Lifter and Guide Cleaning and Inspection .
Important: Ensure that all the valve train parts are kept in order so that they can be reinstalled in their original locations and with the same mating surfaces as when removed.
Installation Procedure
- Dip the valve lifters in prelube. Refer to Adhesives, Fluids, Lubricants, and Sealers for the correct part number.
- Install the valve lifters to the same position the valve lifters were removed.
- Install the valve lifter guides.
- Install the valve lifter guide bolts.
- Install the push rod guide plates, the push rods, the valve rocker arms, and the bolts. Refer to Valve Rocker Arm and Push Rod Replacement .
- Install the lower intake manifold. Refer to Lower Intake Manifold Replacement .
- Install the left or the right valve rocker arm cover. Refer to Valve Rocker Arm Cover Replacement - Left Side or Valve Rocker Arm Cover Replacement - Right Side .
Notice: Refer to Fastener Notice in the Preface section.
Tighten
Tighten the bolts to 30 N·m (22 lb ft).
