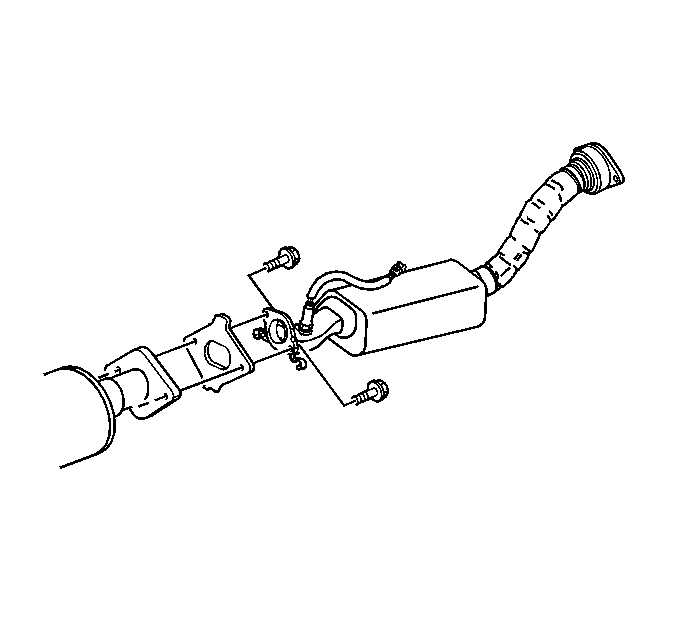
Exhaust Muffler Replacement Single
Removal Procedure
- Raise and support the vehicle. Refer to Lifting and Jacking the Vehicle in General Information.
- Support the exhaust system.
- Remove the catalytic converter bolts.
- Remove the catalytic converter gasket.
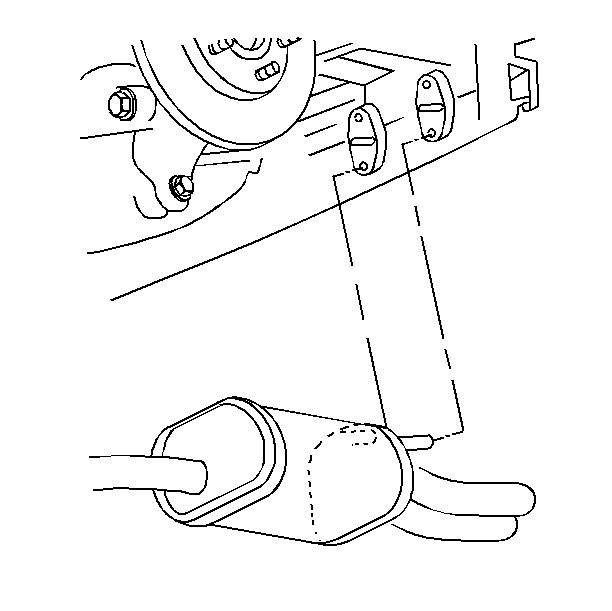
- Remove the exhaust hanger insulators from the exhaust muffler with exhaust pipe and tail pipe.
- Remove the exhaust muffler with exhaust pipe and tail pipe.
Notice: To prevent internal damage to the flexible coupling of the catalytic converter assembly, the converter must be supported. The vertical movement at the rear of the catalytic converter assembly must not exceed 6 degrees up or down.

Installation Procedure
- Install and support the exhaust muffler with exhaust pipe and tail pipe.
- Install the exhaust hanger insulators to the exhaust muffler with exhaust pipe and tail pipe.
- Install the catalytic converter gasket.
- install the catalytic converter bolts.
- Remove the support from the exhaust system.
- Inspect the exhaust system for leaks and underbody contact.
- Lower the vehicle.
Notice: To prevent internal damage to the flexible coupling of the catalytic converter assembly, the converter must be supported. The vertical movement at the rear of the catalytic converter assembly must not exceed 6 degrees up or down.
Notice: Use the correct fastener in the correct location. Replacement fasteners must be the correct part number for that application. Fasteners requiring replacement or fasteners requiring the use of thread locking compound or sealant are identified in the service procedure. Do not use paints, lubricants, or corrosion inhibitors on fasteners or fastener joint surfaces unless specified. These coatings affect fastener torque and joint clamping force and may damage the fastener. Use the correct tightening sequence and specifications when installing fasteners in order to avoid damage to parts and systems.
Tighten
Tighten the catalytic converter bolts to 45 N·m (33 lb ft).
Exhaust Muffler Replacement Dual
Removal Procedure
- Raise and support the vehicle. Refer to Lifting and Jacking the Vehicle in General Information.
- Support the exhaust system.
- Remove the exhaust tail pipe.
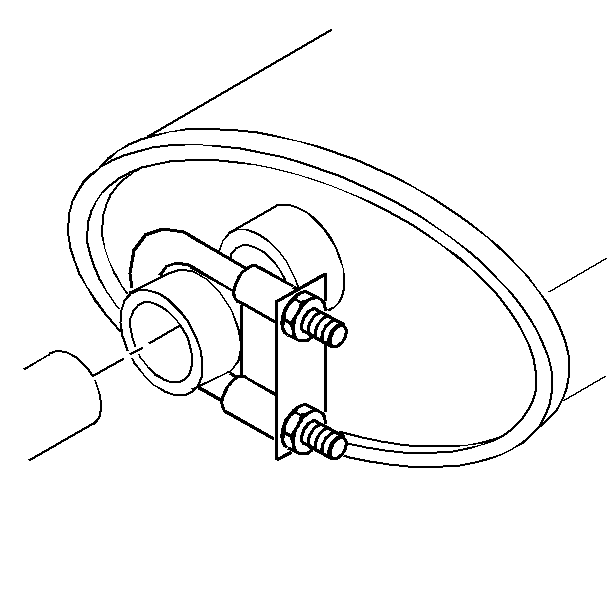
- Cut the exhaust pipe (1) at the exhaust muffler in front of the weld (2).
- Remove the exhaust muffler rear hanger insulators from the exhaust muffler.
- Remove the exhaust muffler.
Notice: To prevent internal damage to the flexible coupling of the catalytic converter assembly, the converter must be supported. The vertical movement at the rear of the catalytic converter assembly must not exceed 6 degrees up or down.
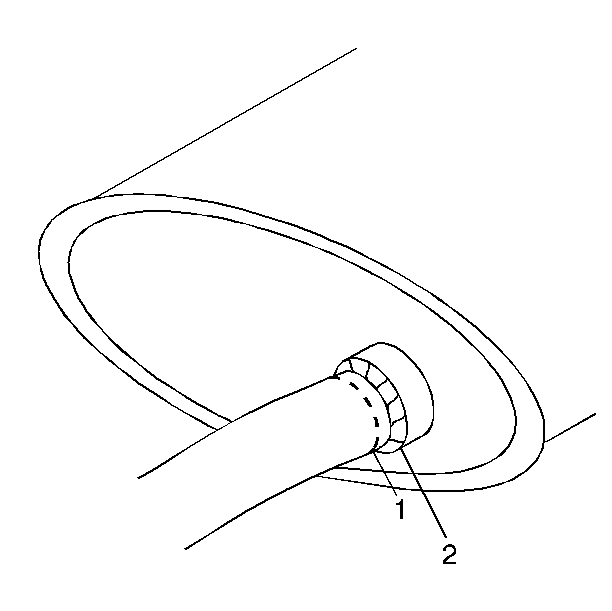
Important: The cut must be made as close to the muffler as possible to ensure adequate overlap for clamping.
Installation Procedure
- Install the exhaust muffler.
- Install the exhaust muffler rear hanger insulators to the exhaust muffler.
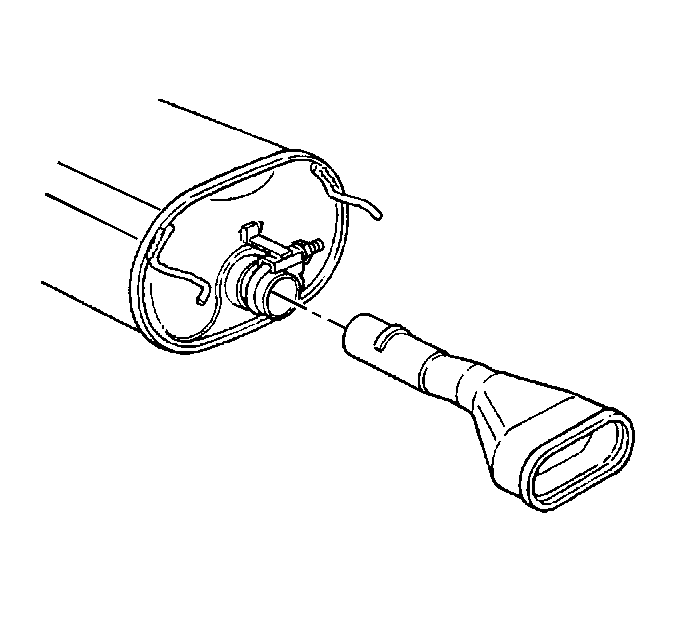
- Connect the exhaust muffler to the exhaust pipe with a exhaust muffler inlet pipe clamp.
- Install and adjust the exhaust tail pipe.
- Tighten the tail pipe clamp.
- Remove the support from the exhaust system.
- Inspect the exhaust system for leaks and underbody contact.
- Lower the vehicle.
Notice: Use the correct fastener in the correct location. Replacement fasteners must be the correct part number for that application. Fasteners requiring replacement or fasteners requiring the use of thread locking compound or sealant are identified in the service procedure. Do not use paints, lubricants, or corrosion inhibitors on fasteners or fastener joint surfaces unless specified. These coatings affect fastener torque and joint clamping force and may damage the fastener. Use the correct tightening sequence and specifications when installing fasteners in order to avoid damage to parts and systems.
Tighten
Tighten the exhaust muffler inlet pipe clamp nuts to 50 N·m
(37 lb ft).
Tighten
Tighten the tail pipe clamp to 35 N·m (26 lb ft).
