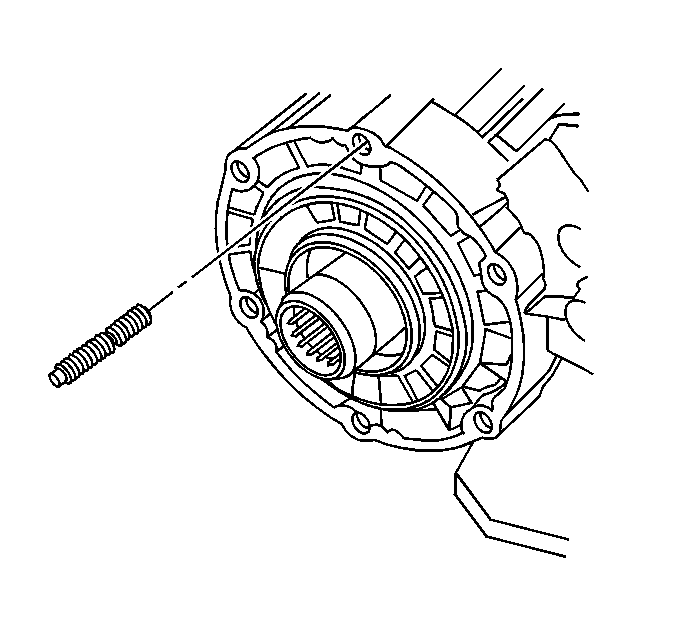
- Install the mounting studs to the height of 29.5-30.5 mm (1.16-1.20
in).
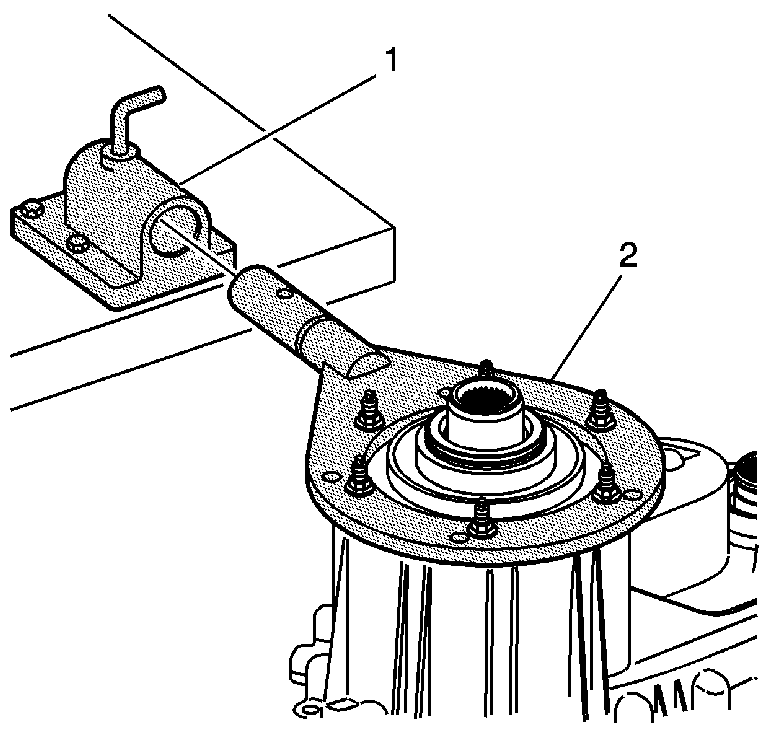
- Attach the
J 45759
to the front transfer case using the adapter studs. All of the assembly procedures can be performed with the case mounted to the
J 45759
.
- Install the
J 45759
(2) into the
J 3289-20
(1) and secure with the pivot pin.
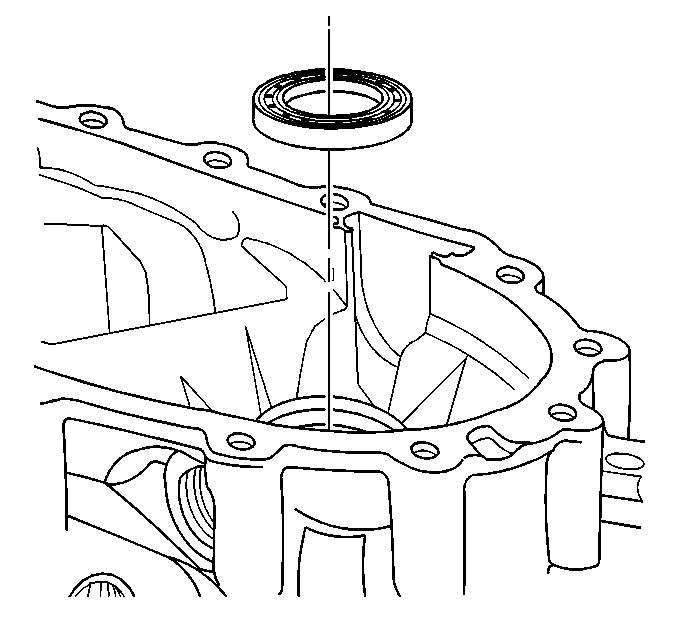
- Install the front output shaft bearing.
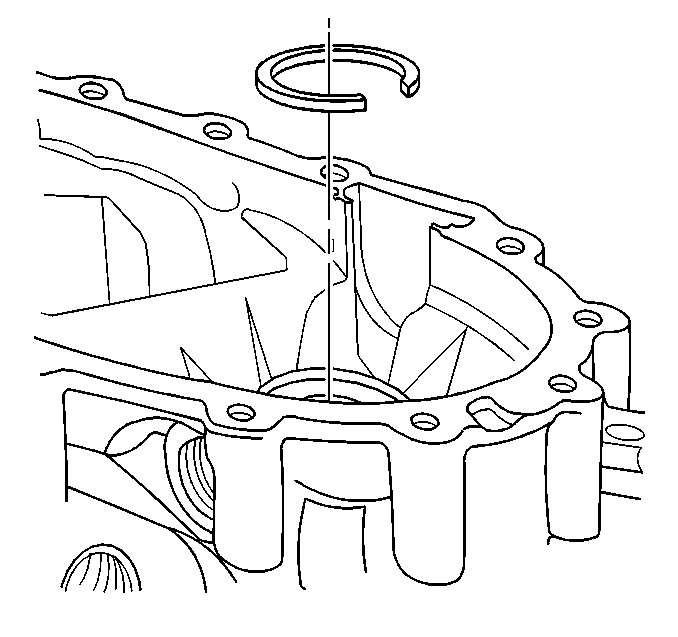
- Install the front output shaft bearing retaining ring.
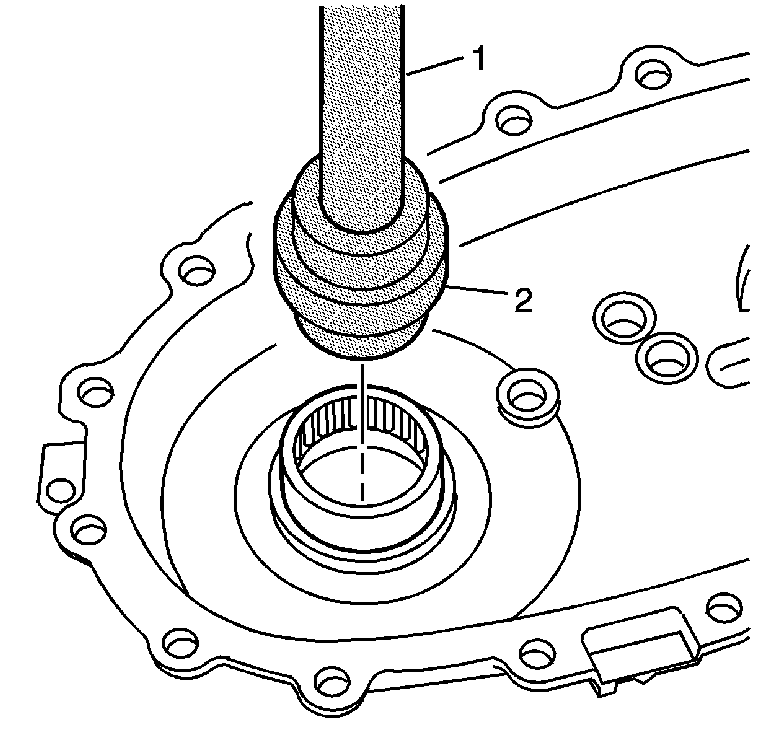
- Using the
J 8092
(1) and the
J 36370
(2), install the front output shaft rear bearing.
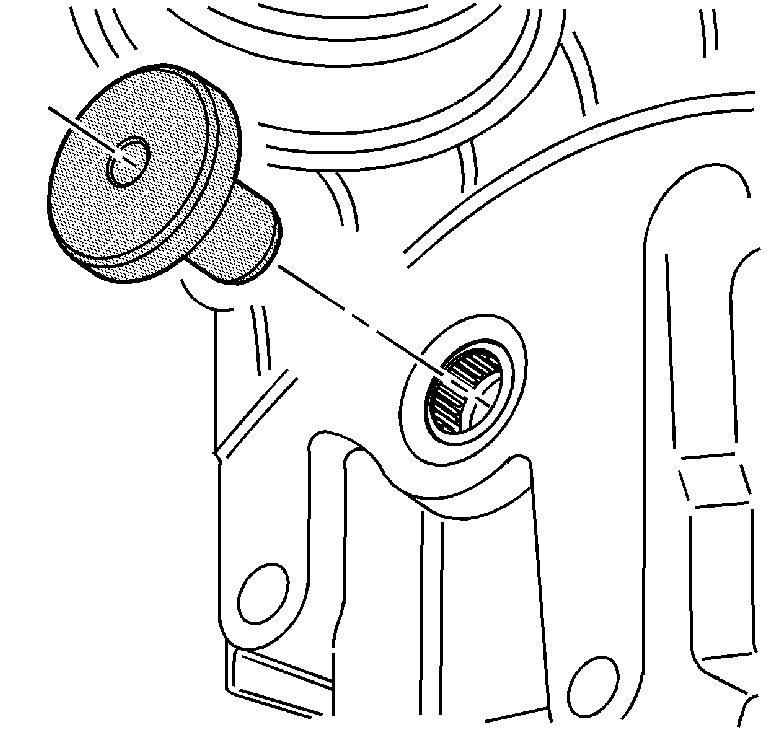
- Using the
J 42737
, install the control actuator lever
shaft bearing.
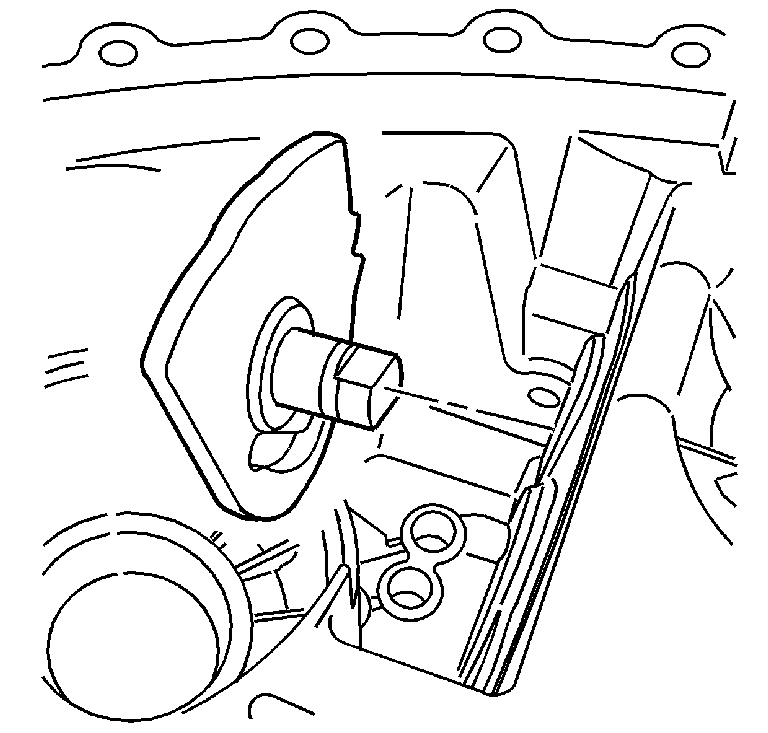
- Lubricate the control actuator lever shaft bearing.
- Install the control actuator lever shaft.
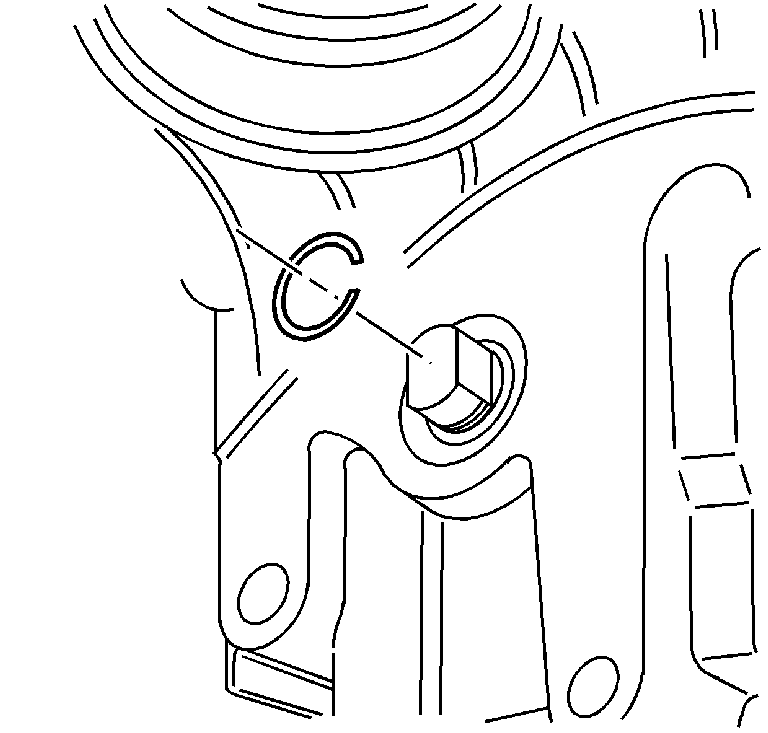
- Install the NEW retaining ring for the control actuator lever shaft. Ensure the retaining ring is fully seated.
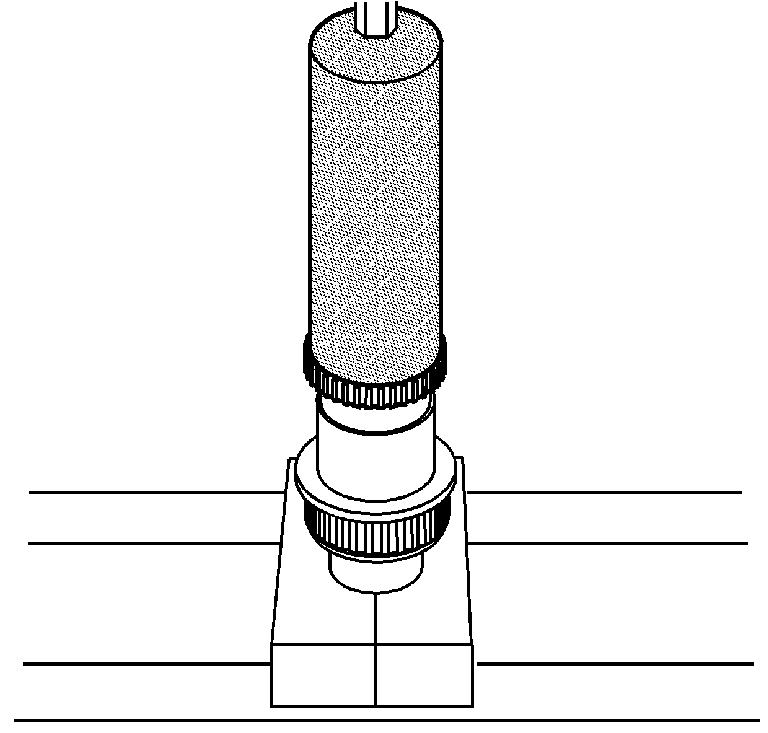
- Using the
J 22873
and a hydraulic press, install the
tone wheel on the front output shaft.
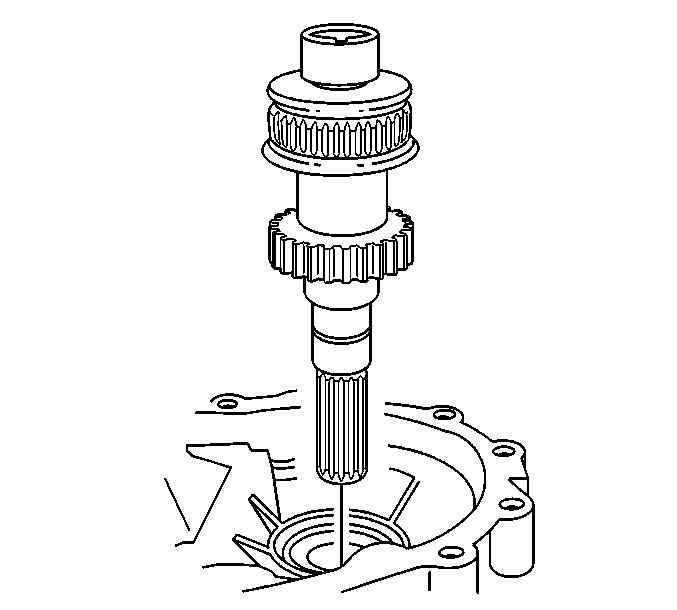
- Install the front output shaft assembly. Use a soft-face hammer to tap the shaft into the bearing.
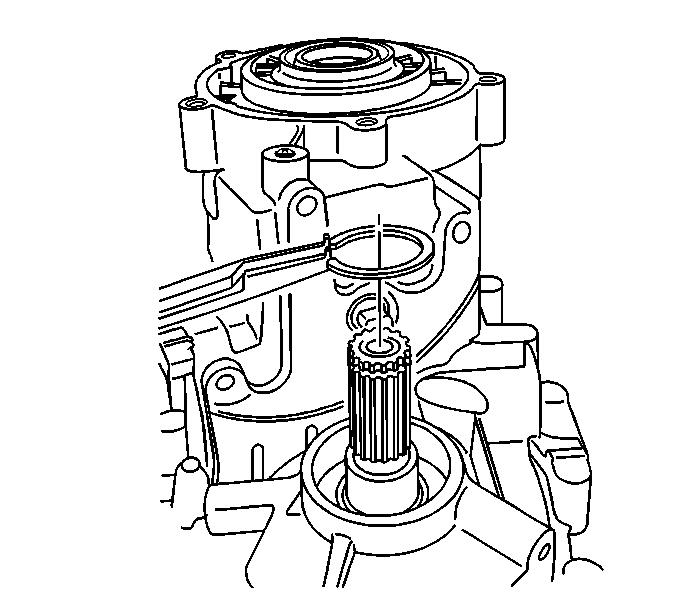
Important: Do not scratch the oil seal surface on the front input shaft while installing the retaining ring.
- Install the front output shaft retaining ring.
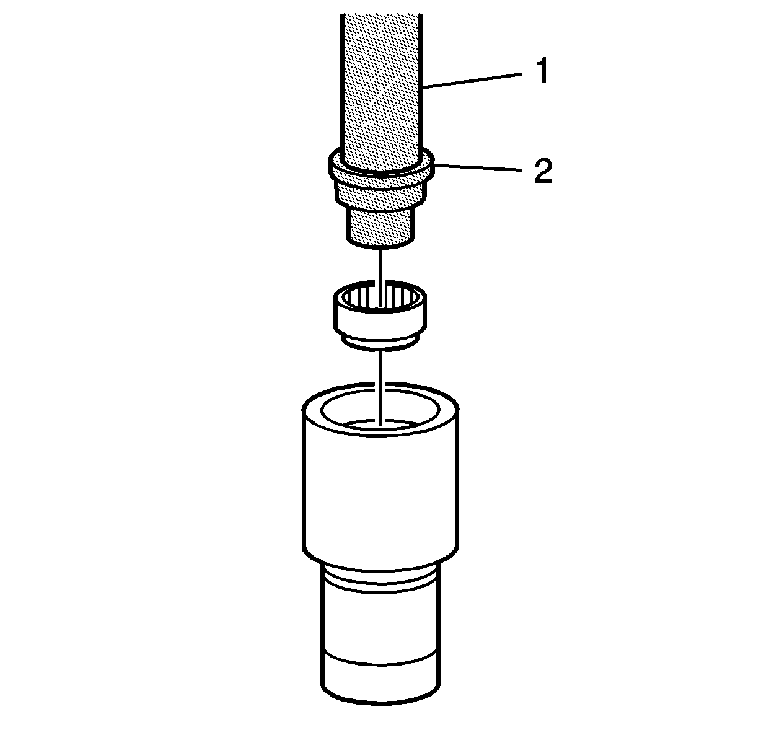
Important: The bearing installed depth is 33 mm (1.30 in) from the face of the gear, or just below the taper of the bore.
- Install the pilot bearing in the input shaft, using the
J 8092
(1) and the
J 45237
(2).
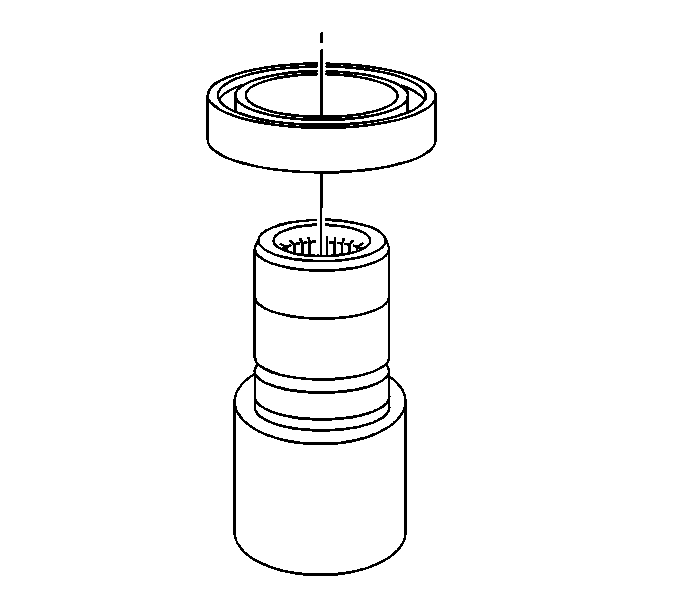
- Install the input shaft bearing.
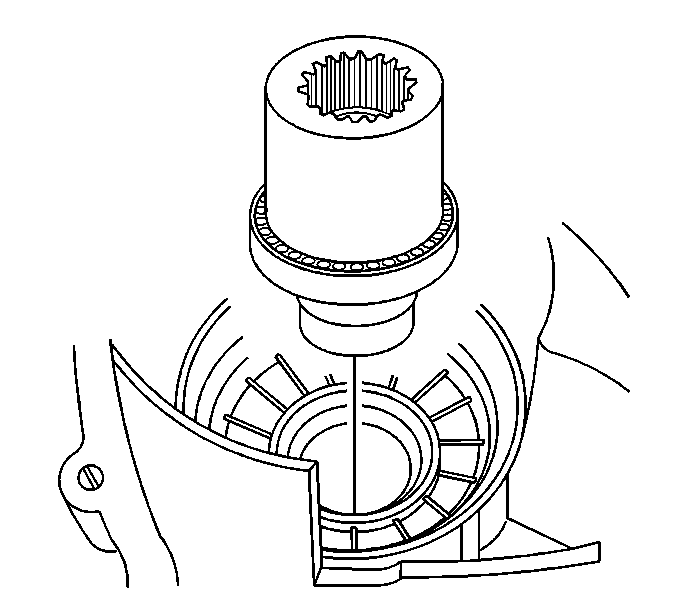
- Install the input shaft assembly.
| 16.1. | Ensure the bearing is square to the case. |
| 16.2. | Use a soft-face hammer to tap the shaft and bearing into the case. |
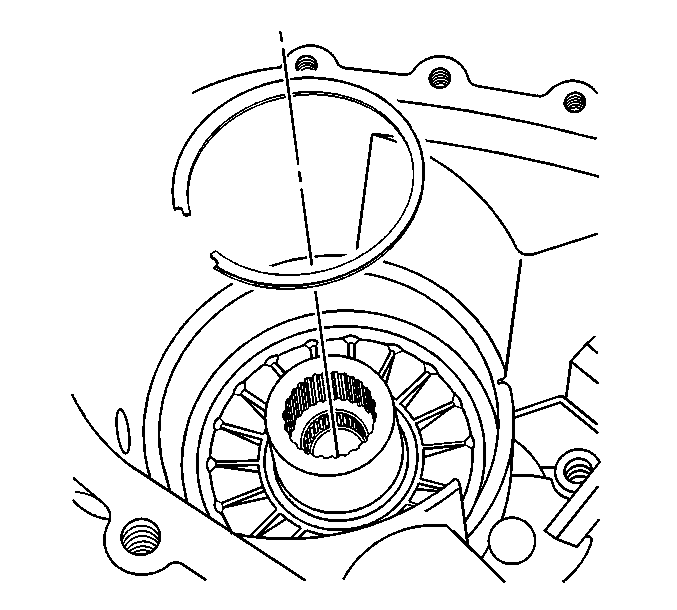
- Install the input shaft bearing inner retaining ring.
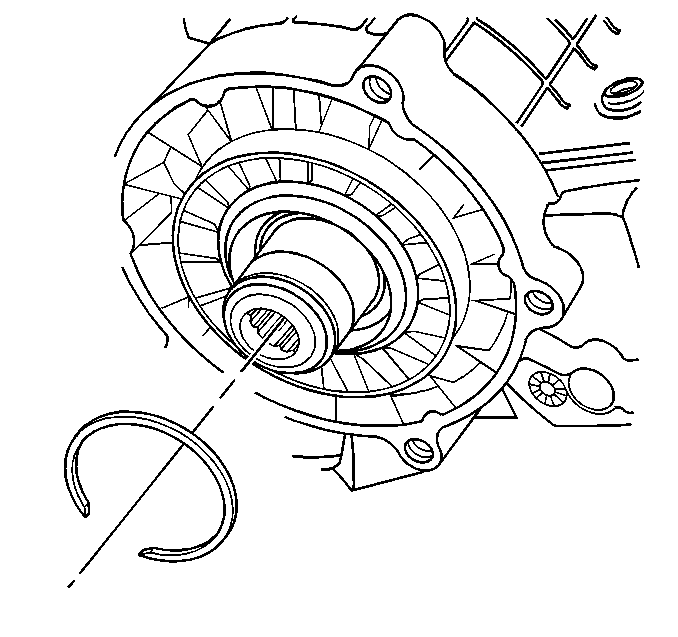
- Install the input shaft retaining ring onto the input shaft.
| • | Use snap ring pliers to position the retaining ring onto the input shaft. |
| • | During installation of the retaining ring, do not scratch/damage the seal surface area of the input shaft with the retaining ring. |
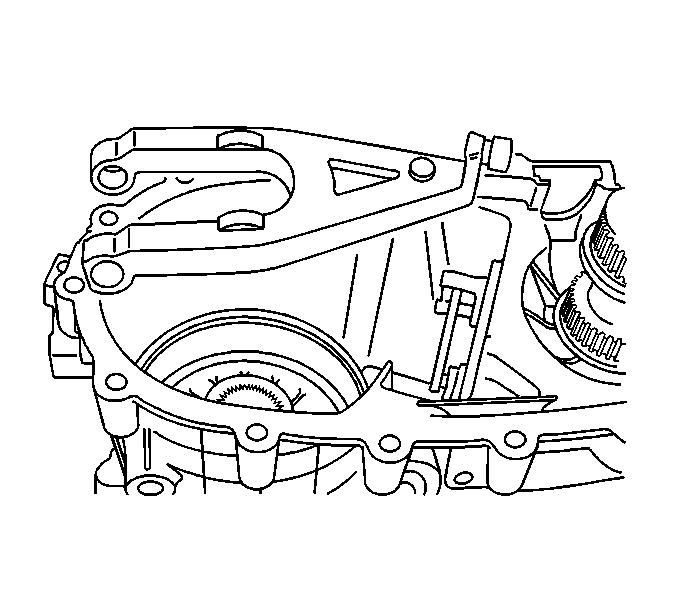
- Install the clutch lever assembly.
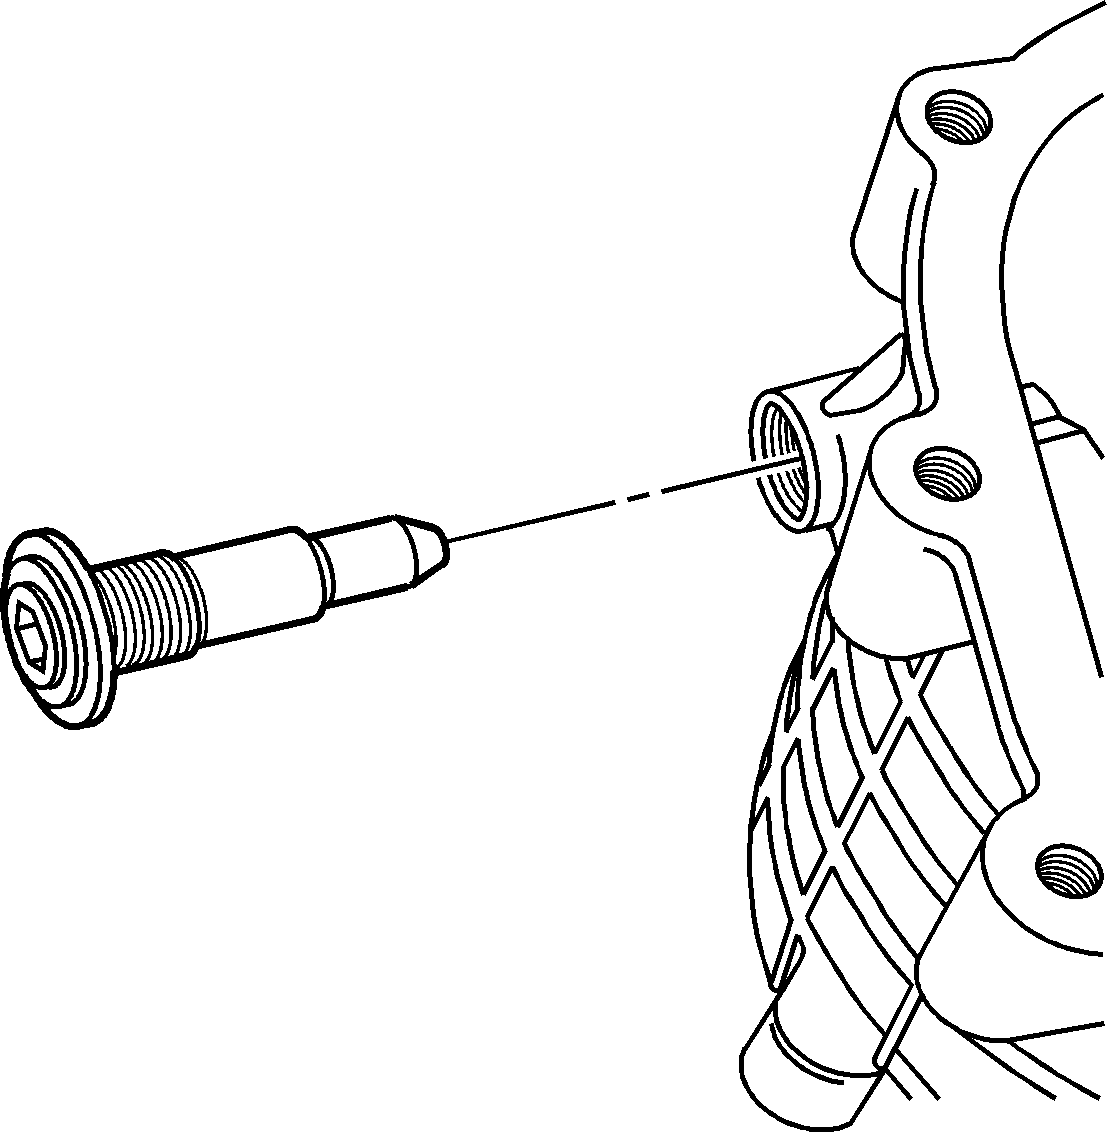
- Install new O-ring seals on the clutch lever pivot pins.
- Apply threadlock GM P/N 12345493 (Canadian P/N 10953488), or equivalent, to the clutch lever pivot pin threads.
Notice: Refer to Fastener Notice in the Preface section.
- Install both clutch lever pivot pins with the aluminum washers and O-ring seals.
Tighten
Tighten the clutch lever pivot pins to 61 N·m (45 lb ft).
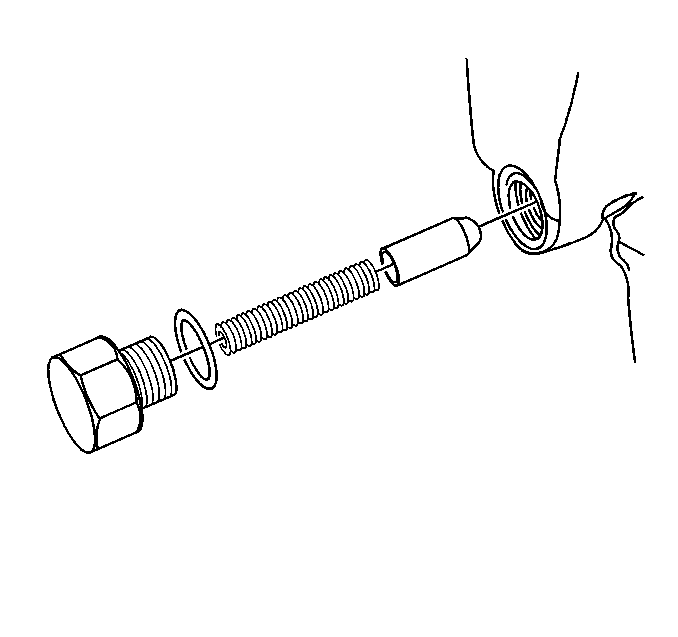
Important: Ensure that the shift detent plunger is seated correctly on the control actuator lever.
- Install the shift detent plunger.
- Install the shift detent spring.
- Lightly lubricate a NEW shift detent plunger O-ring seal with transfer case fluid.
- Install the O-ring seal on the shift detent spring bolt.
- Install the shift detent spring bolt in the front transfer case.
Tighten
Tighten the shift detent spring bolt to 17 N·m (13 lb ft).
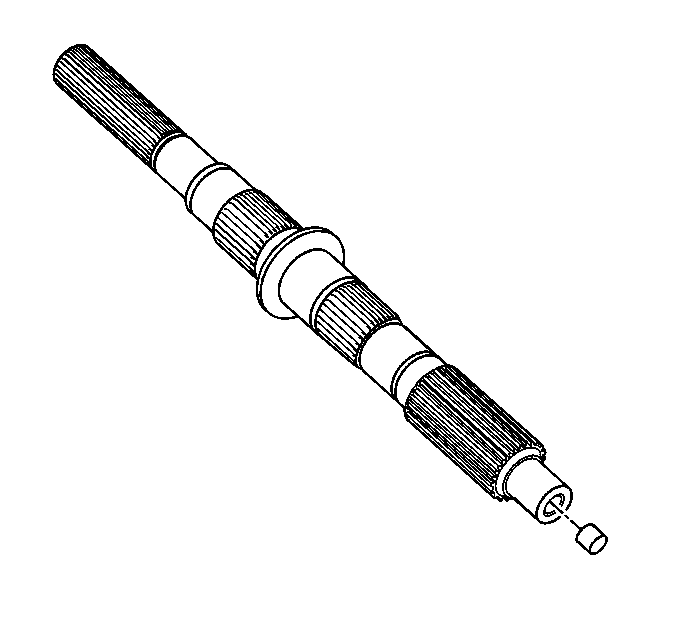
Important: The following service procedure is to be performed only if the rear output shaft is new.
- Install the rear output shaft oil restrictor flush with the end of the shaft.
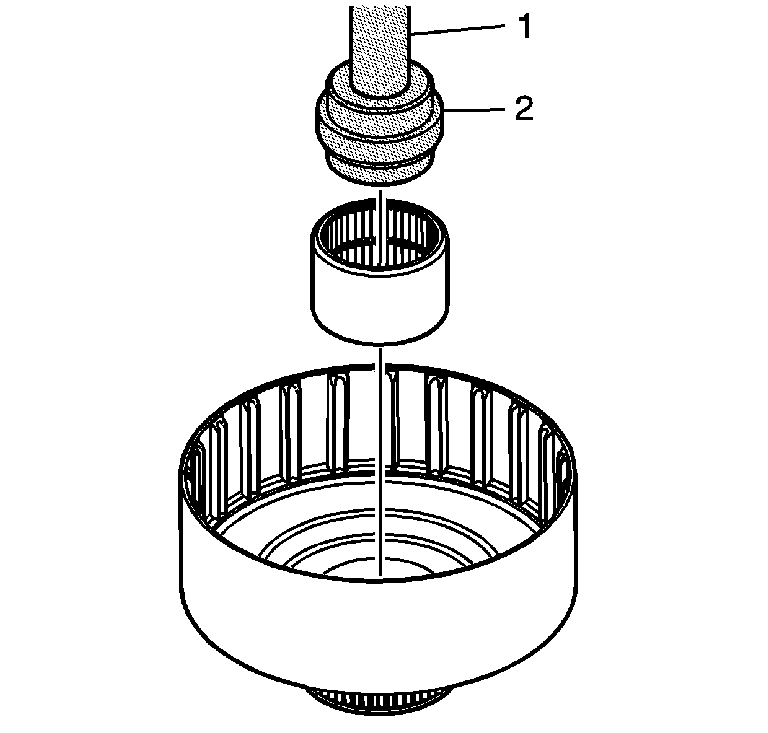
Important: In order to position the bearing at the proper depth, ensure that the double shoulder of the
J 36370
is against the bearing.
- Install the clutch housing bearing, using the
J 8092
(1) and the
J 36370
(2).
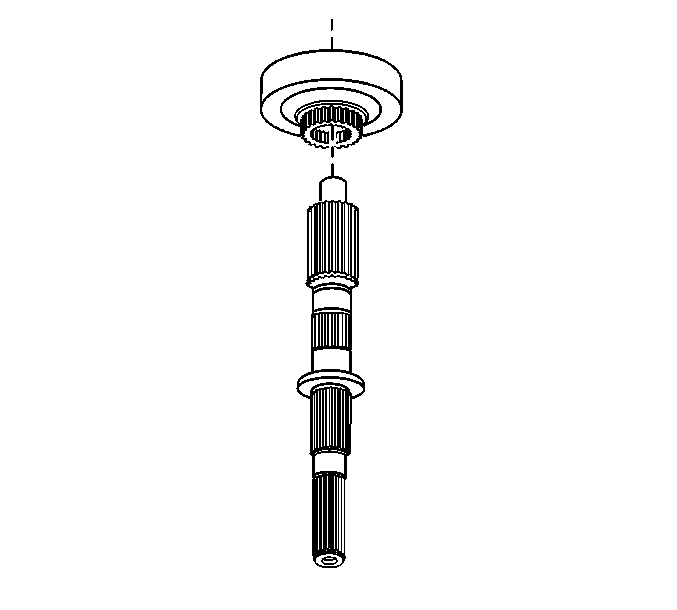
- Clamp the rear output shaft in a soft-jaw vise with the front end facing up.
- Install the clutch housing on the rear output shaft.
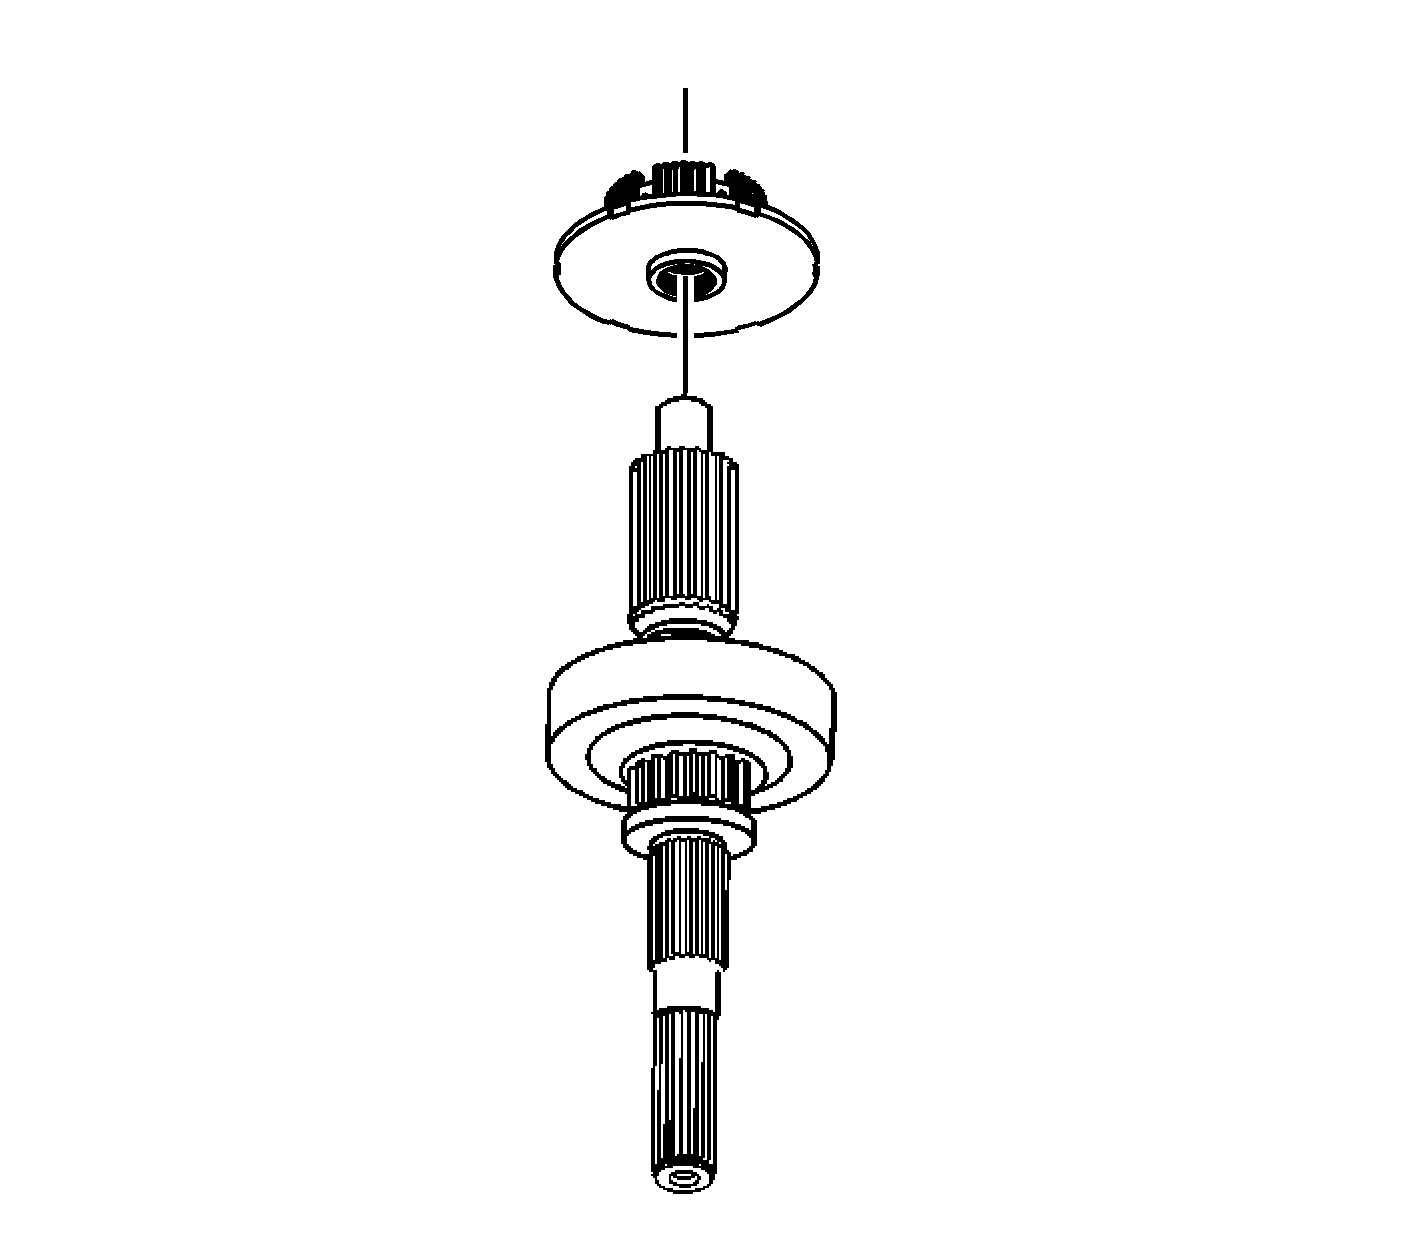
- Install the clutch hub.
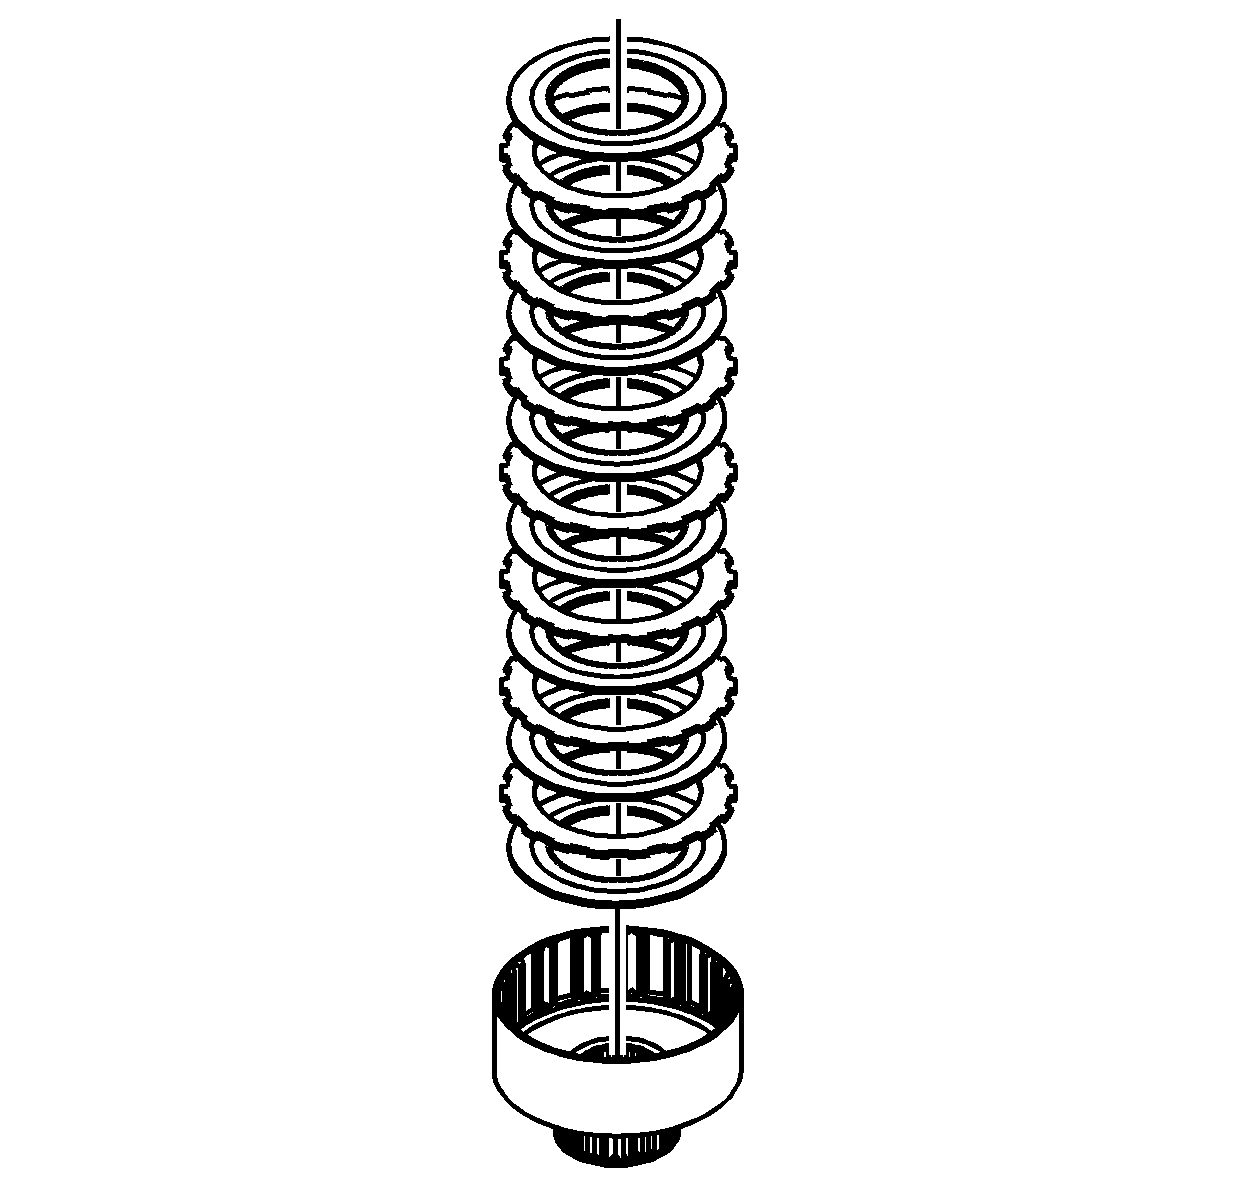
- Install a friction clutch pressure plate.
- Install a steel clutch pressure plate.
- Continue to install the friction and the steel clutch plates, alternating until 8 friction plates and 7 steel plates are installed.
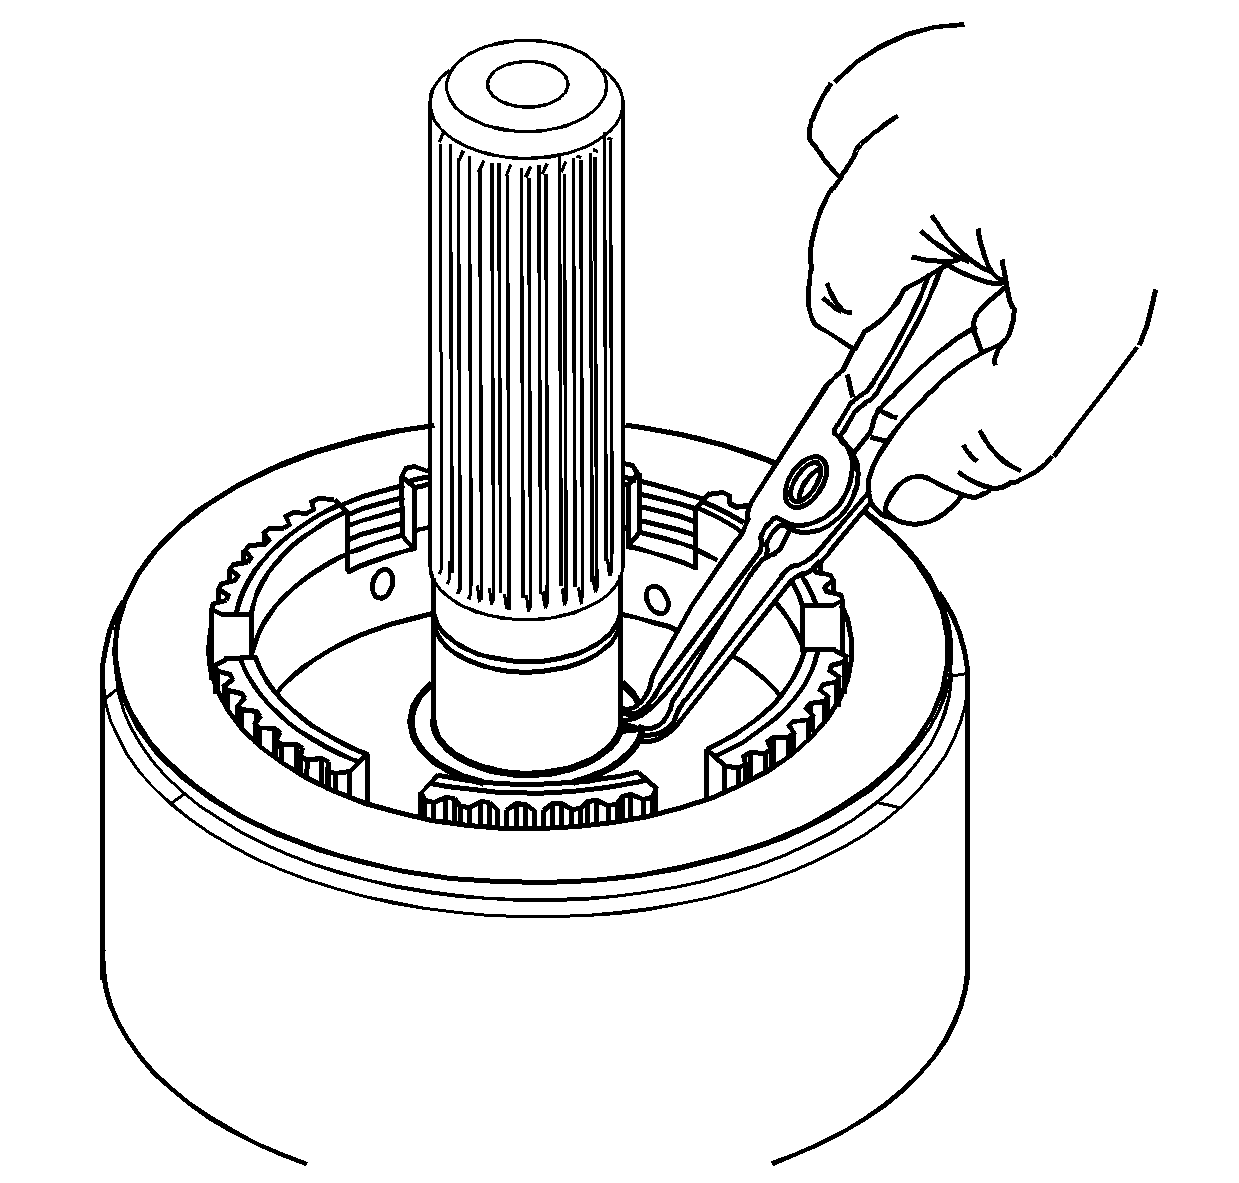
- Install the clutch hub retaining ring.
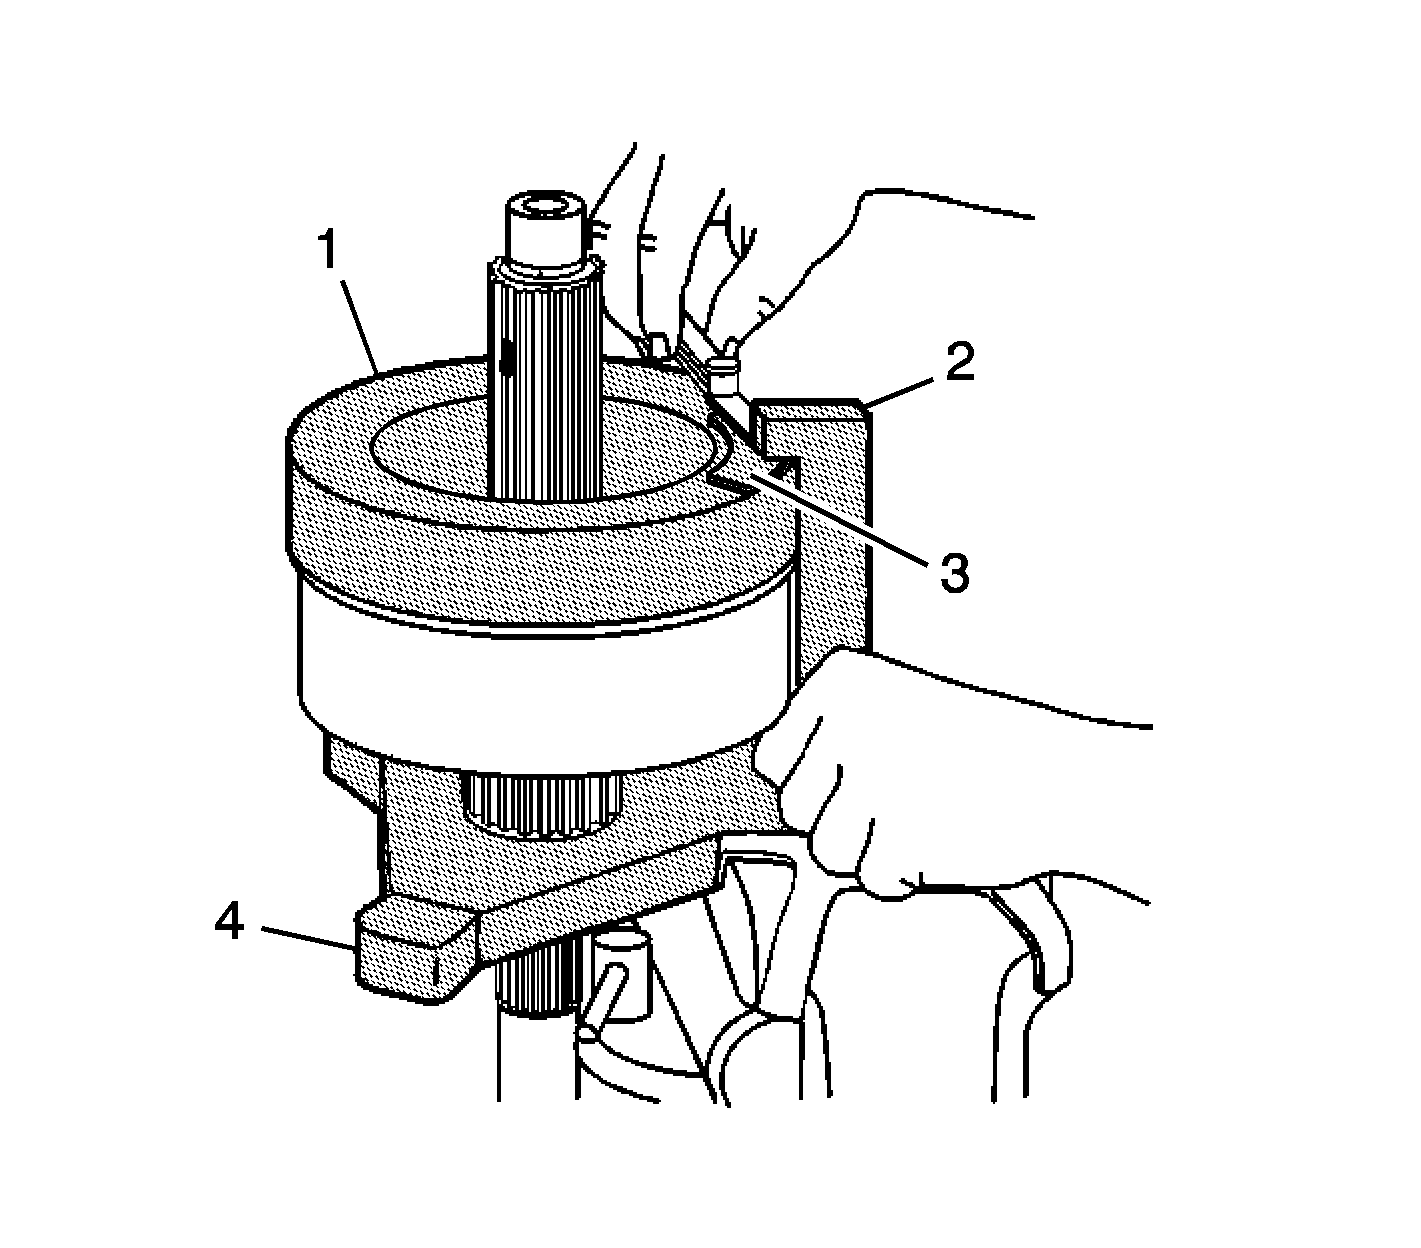
Important: A clutch plate shim package is necessary in order to have the proper shims available for setting up the clutch pack. Improper shimming can cause drivability concerns and failure of the transfer case.
- Securely install the base plate (4) of the
J 44295
in a vise, with the machined surface of the locating tabs facing up.
- Install the assembled mainshaft, with the drum, the inner clutch plates, and the outer separator plates, on the base plate (4) of the
J 44295
.
- Install the weight (1) of the
J 44295
on top of the assembled clutch plates.
- Place the gage block (2) of the
J 44295
on 1 of the locating tabs of the base plate (4) of the
J 44295
.
- Place the spacer (3) of the
J 44295
under the gage block (2) of the
J 44295
.
- Using a feeler gage, measure between the gage block (2) and the spacer (3).
- Measure with the gage block (2), the spacer (3) and the feeler gage on the remaining 2 locating tabs of the base plate (4).
Important: The specification is the average clearance remaining between the gage block (2) and the shim (3).
- Take the average of the 3 measurements. This is the required shim thickness.
Important: Measure the clutch shims in the center area of the shim. The shims may have a burr or ridge around the inner or outer edge causing an incorrect measurement. The available shims may not combine to the desired measurement.
- Select the correct shim or shims from the clutch plate shim package, plus or minus 0.10 mm (0.004 in). You may use a combination of 2 shims to obtain the correct thickness.
The shims in the clutch plate shim package are
the following thickness:
- Remove the weight (1) of the
J 44295
.
Important: After obtaining the desired thickness of shims, do not remove the clutch plates from the drum. Removing and then installing the clutch plates could change the measurement.
- Install the shim or shims.
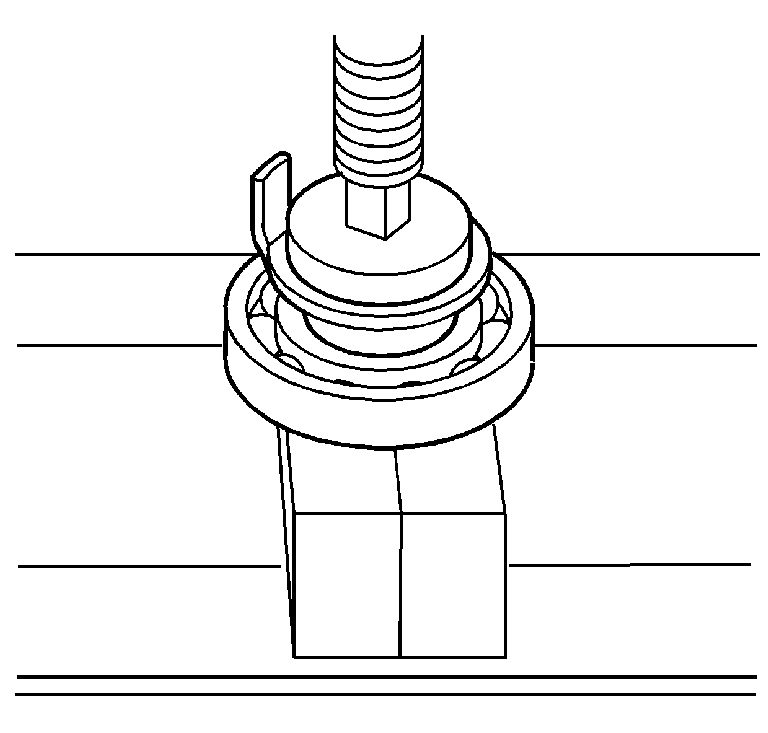
- Using a suitable press plate and a hydraulic press, press the clutch bearing inner
support in the clutch pressure plate bearing. Ensure the bearing inner bearing race is supported.
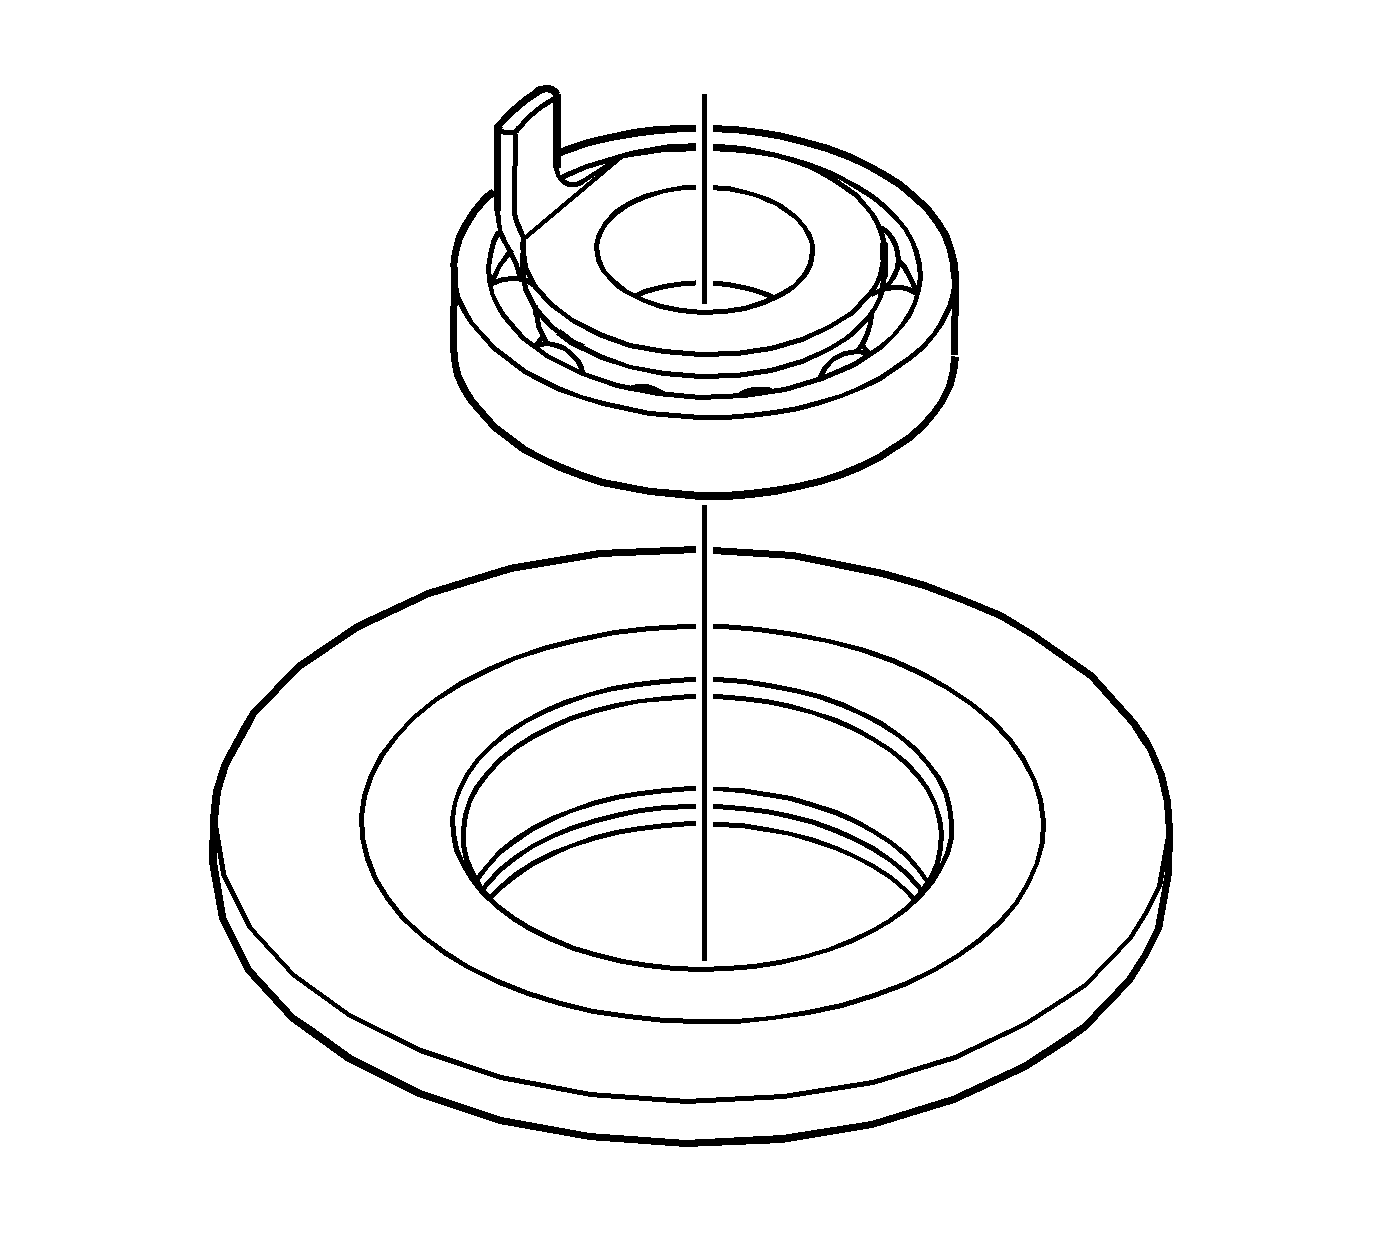
- Install the clutch pressure plate bearing,
with the inner support, in the clutch pressure plate.
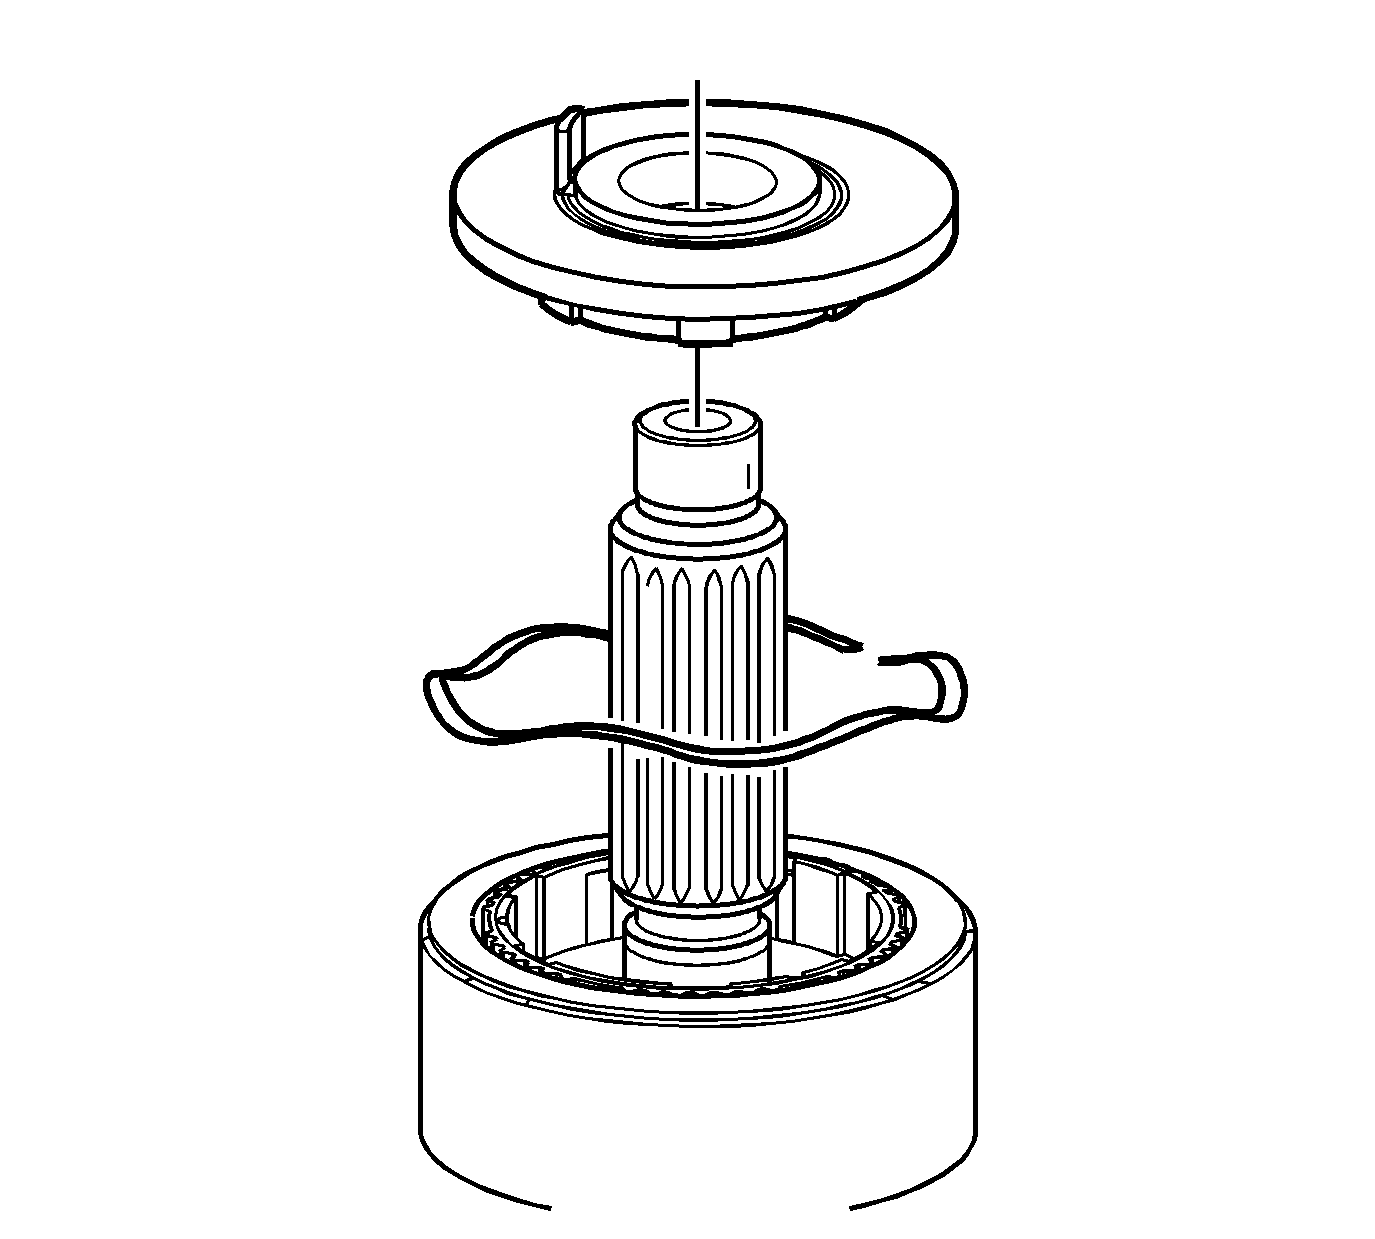
- Install the clutch pressure plate,
plate spring.
- Install the clutch pressure plate. Align the lugs of the pressure plate with the slots in the hub. The spring installs in the groove of the plate.
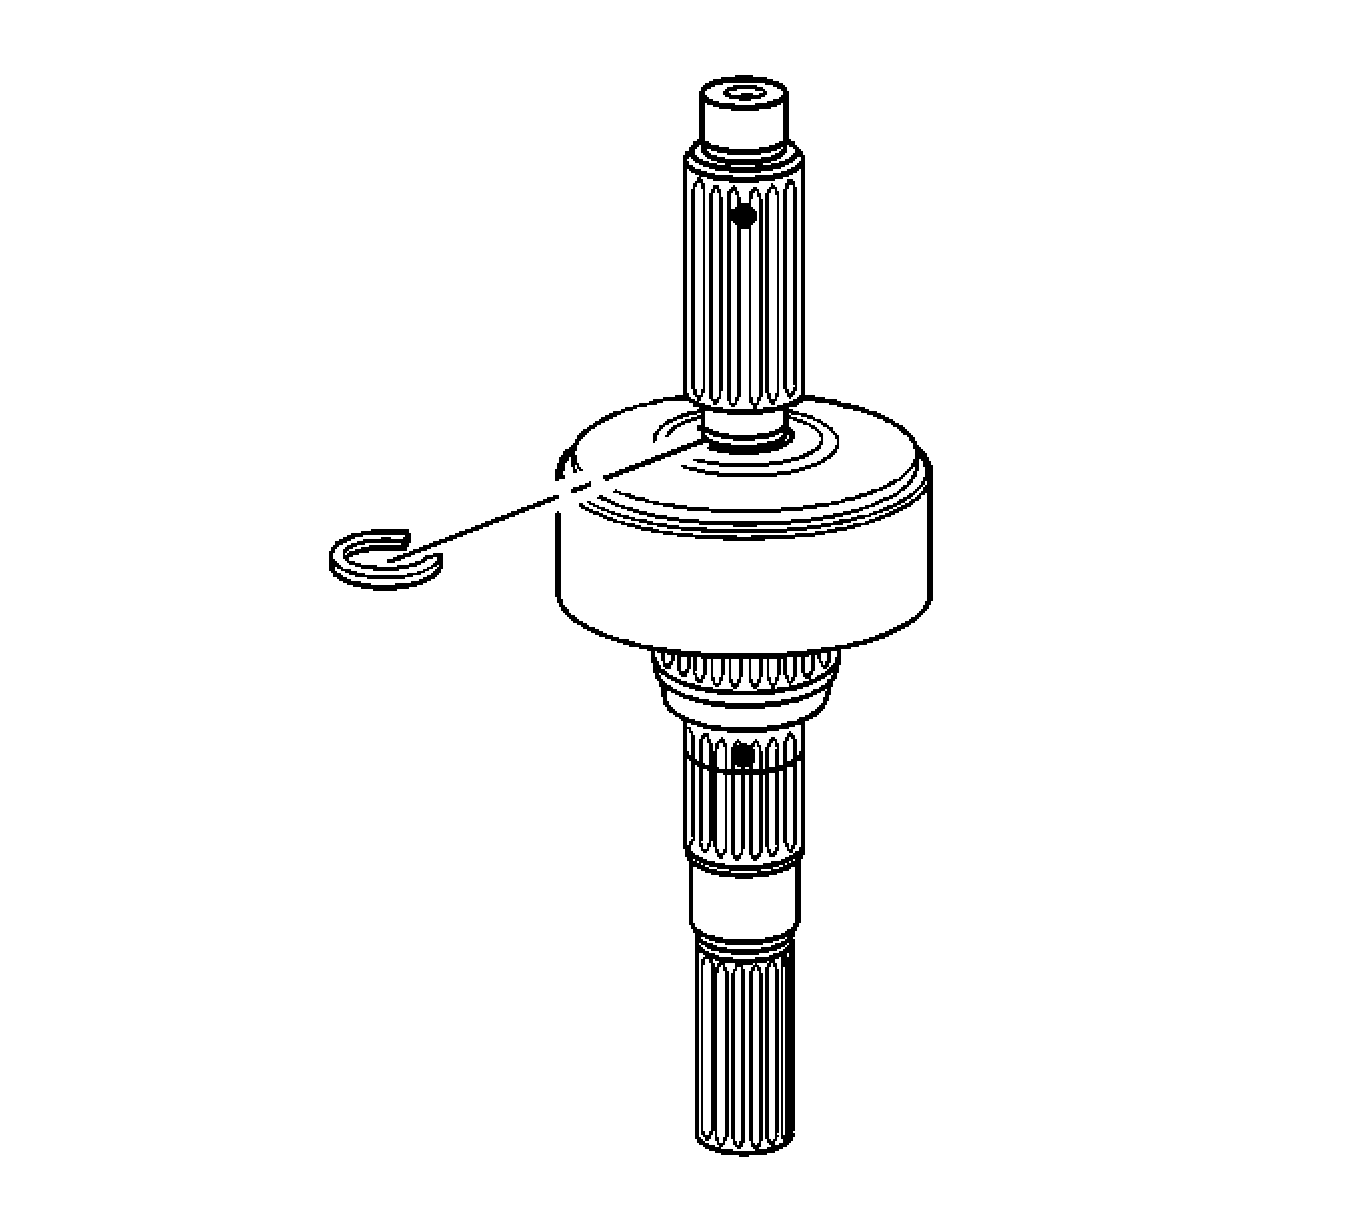
- Install the clutch pressure plate retaining ring. Push down on the clutch pressure plate to access the retaining
ring groove.
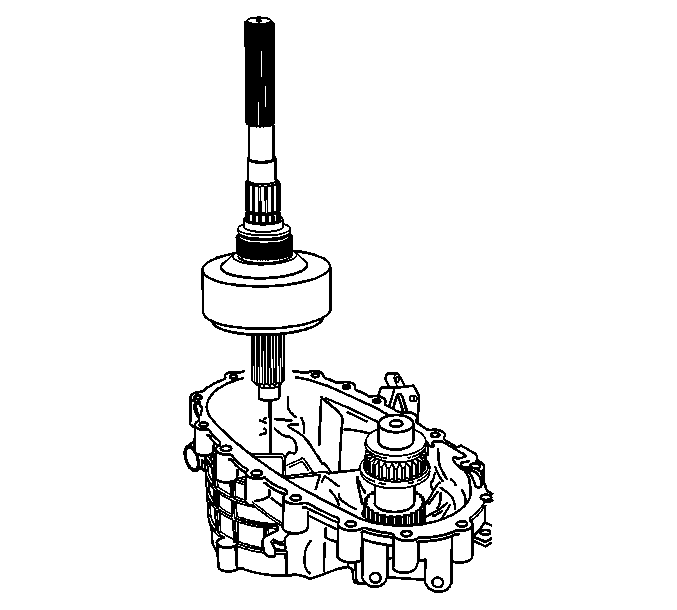
- Align the tab on the clutch bearing inner support, between the clutch lever.
- Install the rear output shaft assembly. Turn the rear output shaft to align the splines with the input shaft.
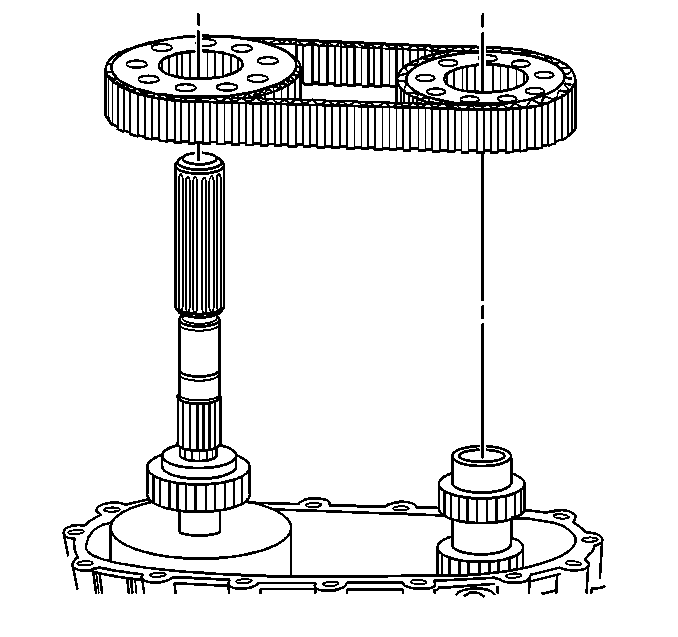
Important: Ensure that the relationship marks used to remove the drive chain and sprockets are aligned for proper installation
- Install the drive chain and sprockets. The blue links on the chain must face up, toward the rear of the transfer case.
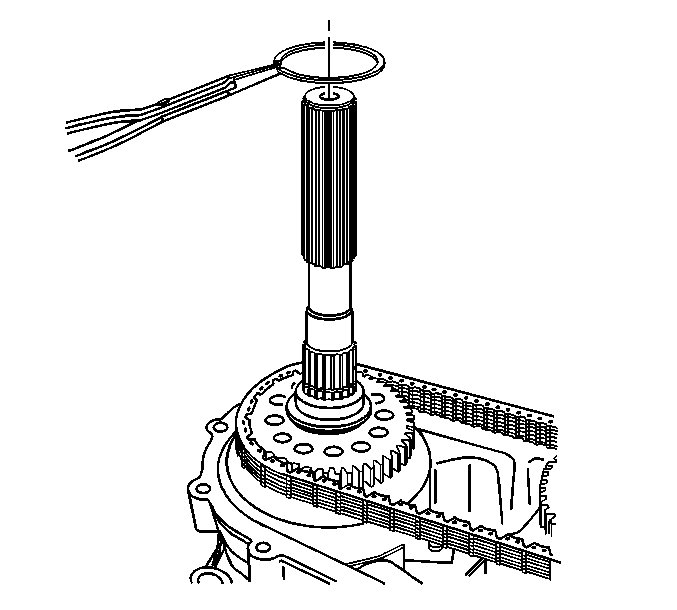
- Install the drive sprocket retaining ring.
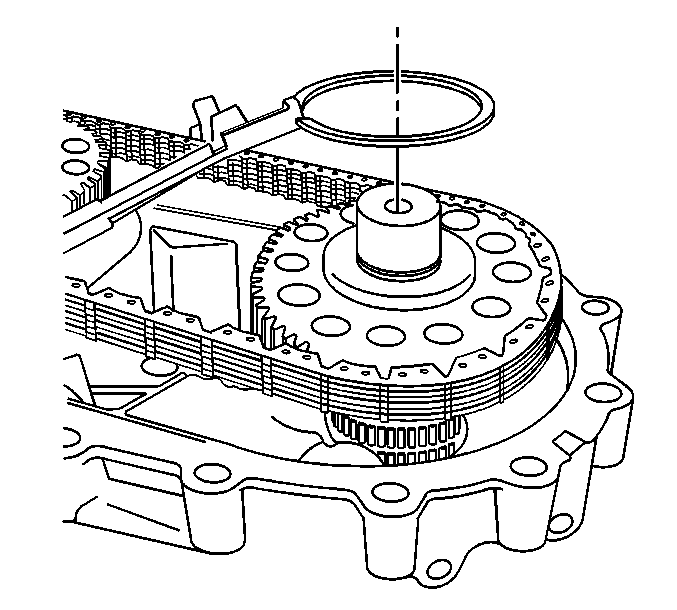
- Install the driven sprocket retaining ring.
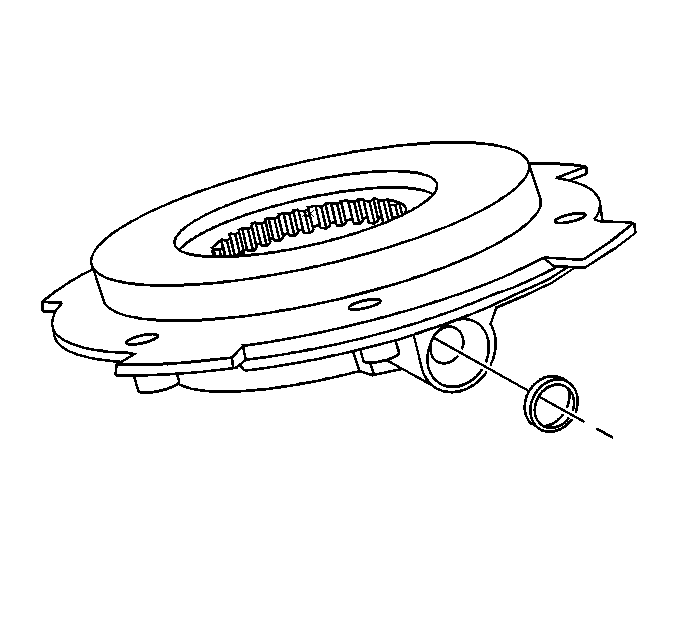
- Install a new oil pump O-ring for the oil pump suction pipe in the oil pump.
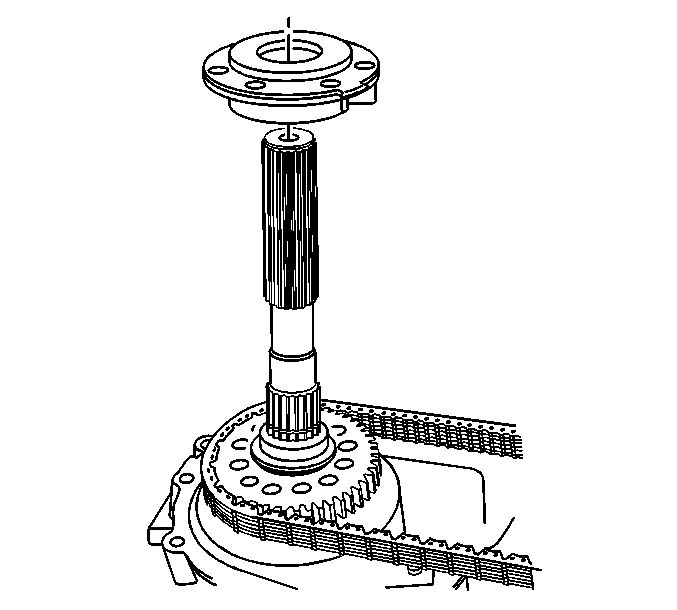
- Install the oil pump assembly.
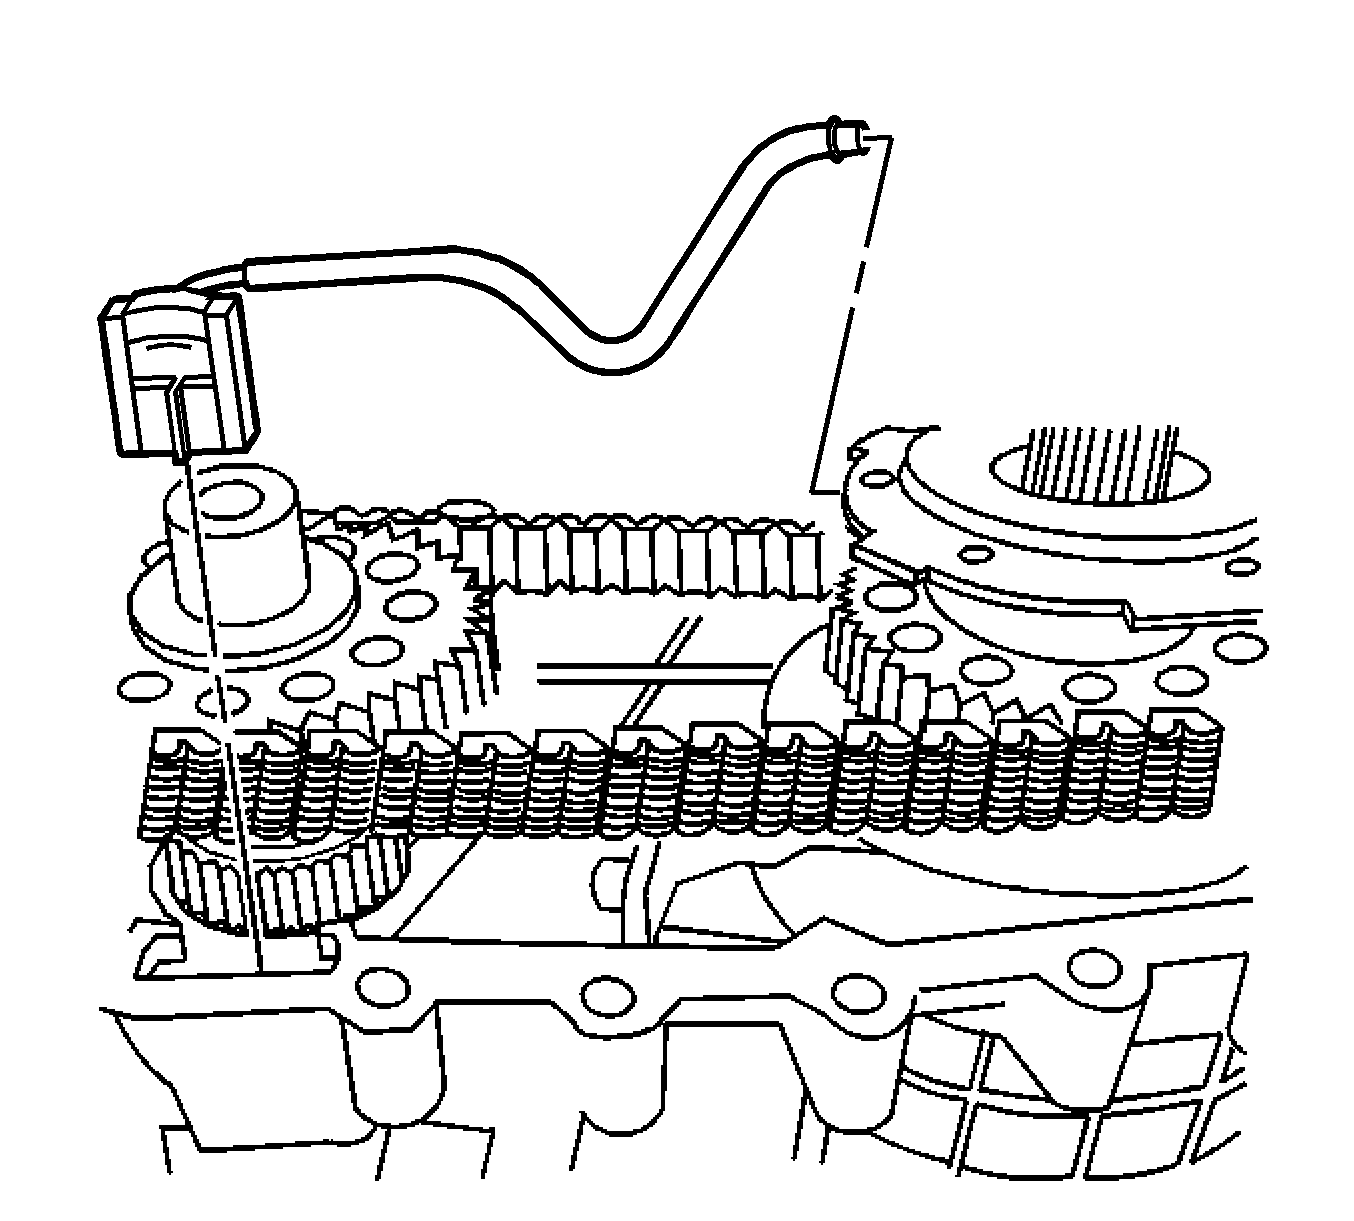
- Install the oil pump suction pipe assembly.
| 60.1. | Install the screen in the case. |
| 60.2. | Install the suction pipe to the oil pump. |
| 60.3. | Inspect for the O-ring being in the proper position and not damaged. |
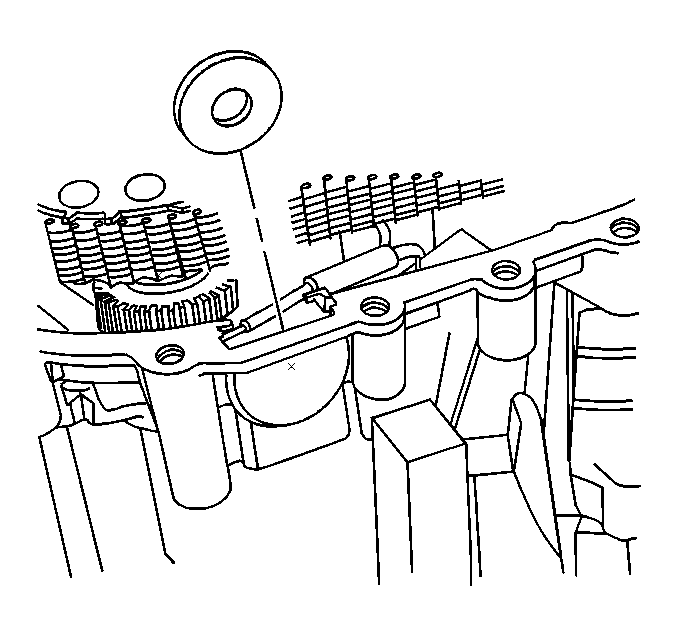
- Install the magnet.
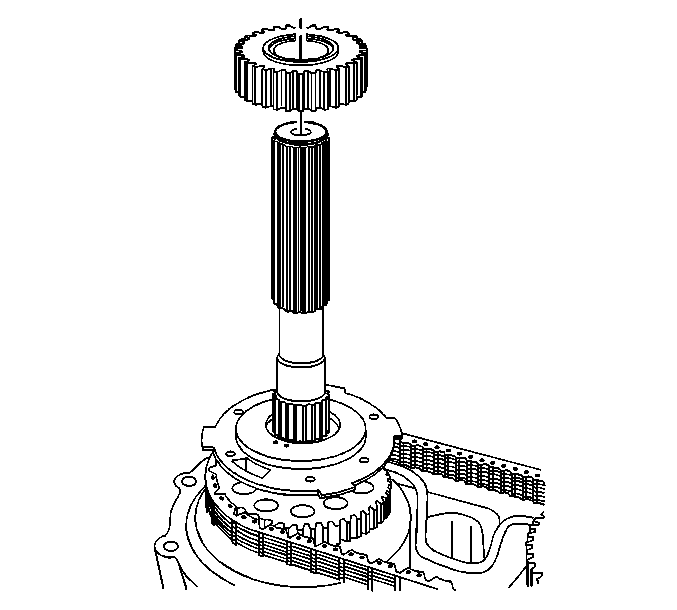
- Install the rear output shaft speed sensor reluctor wheel.
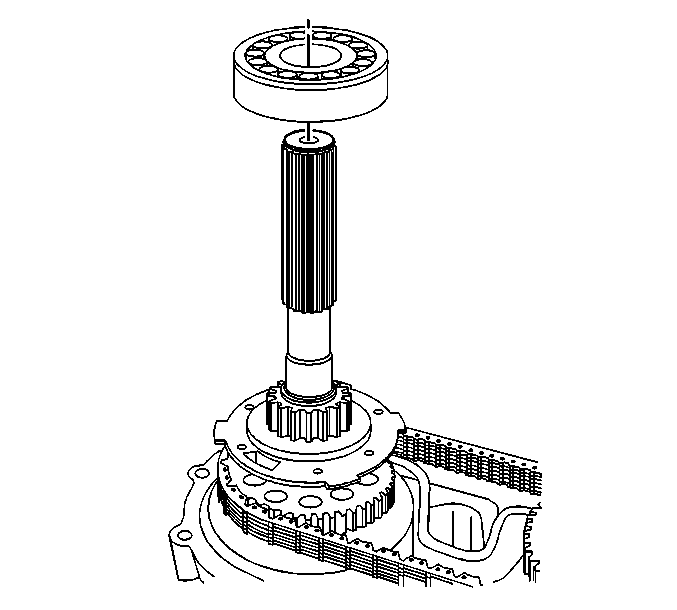
- Install the rear output shaft bearing, with the retaining ring groove facing up.
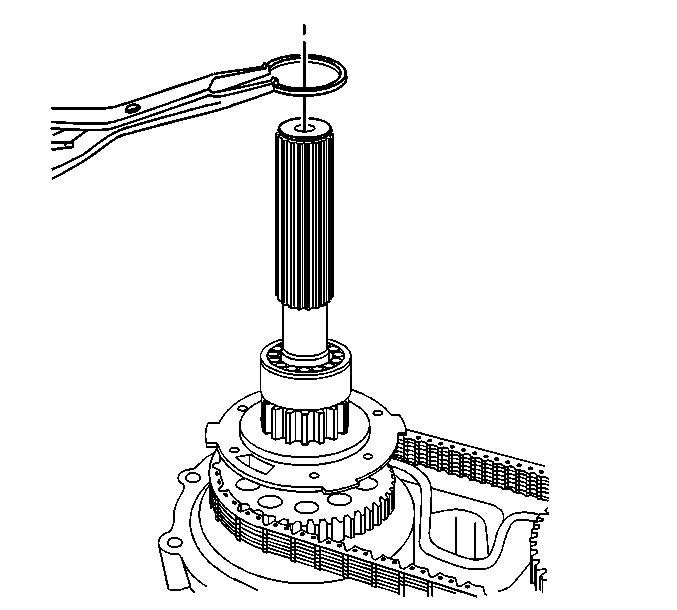
- Install the rear output shaft bearing retaining ring.
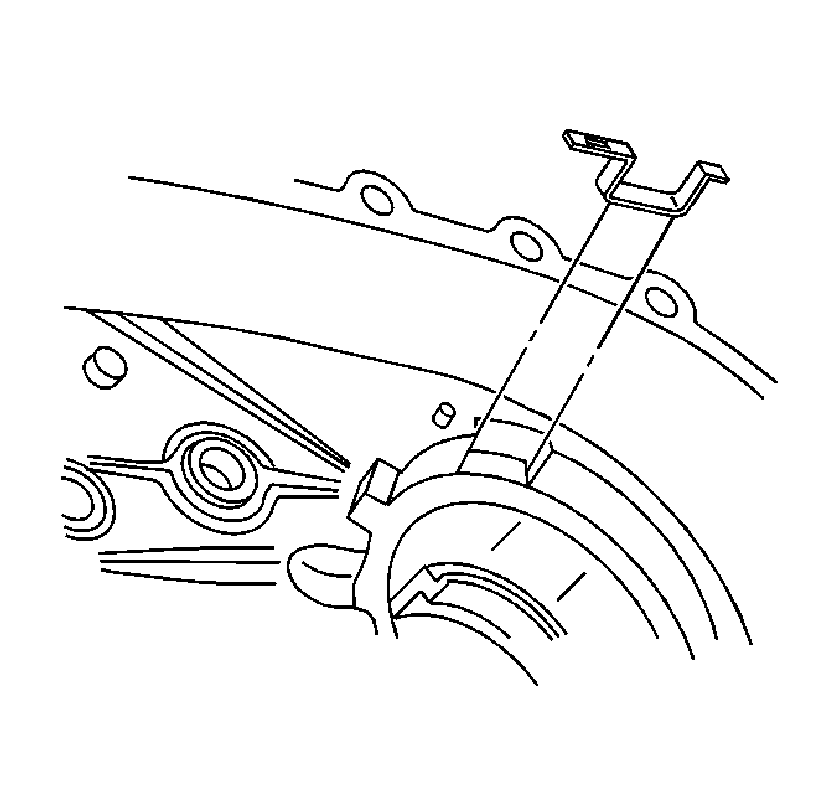
- If necessary, install the oil pump wear sleeve.
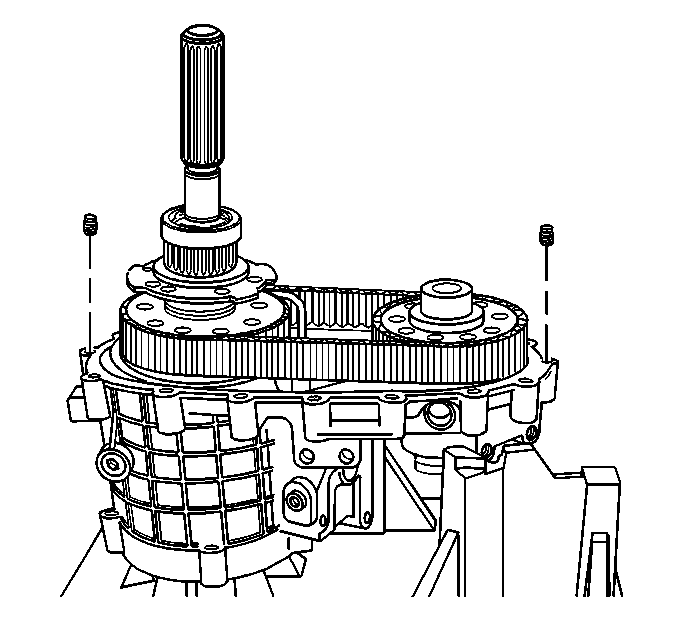
Important:
| • | Ensure the locating pins are installed in the front case half. |
| • | Ensure that the sealing surface on the front case half and the rear case half are free of dirt and cleaning solvent. |
- Install the locating pins in the front case, if necessary.
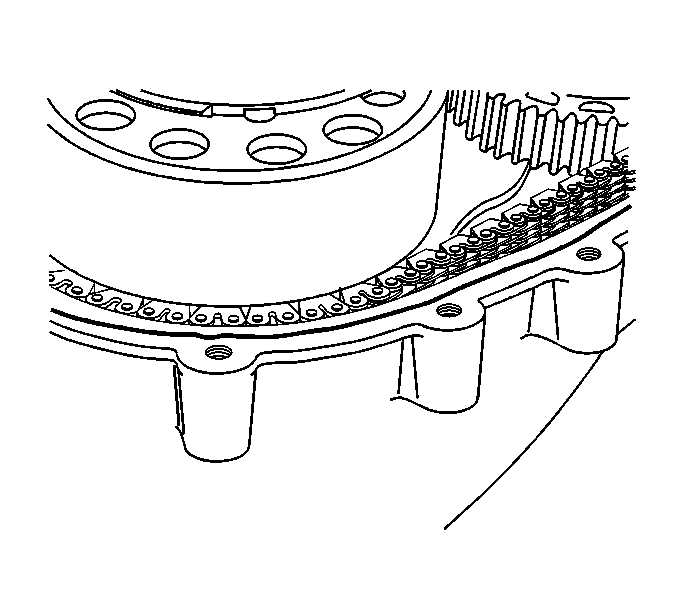
Notice: Apply the proper amount of sealant to the flange when assembling the transfer case. Excessive amounts of sealant can plug the oil pump screen, resulting in internal component failure.
Important: Ensure both sealing surfaces of the front and rear case halves are free of dirt, oil, and cleaning solvent.
- Apply a 3 mm (1/8 in) bead of RTV sealant GM P/N 12345739 (Canadian P/N 10953541) to the front case sealing surface.
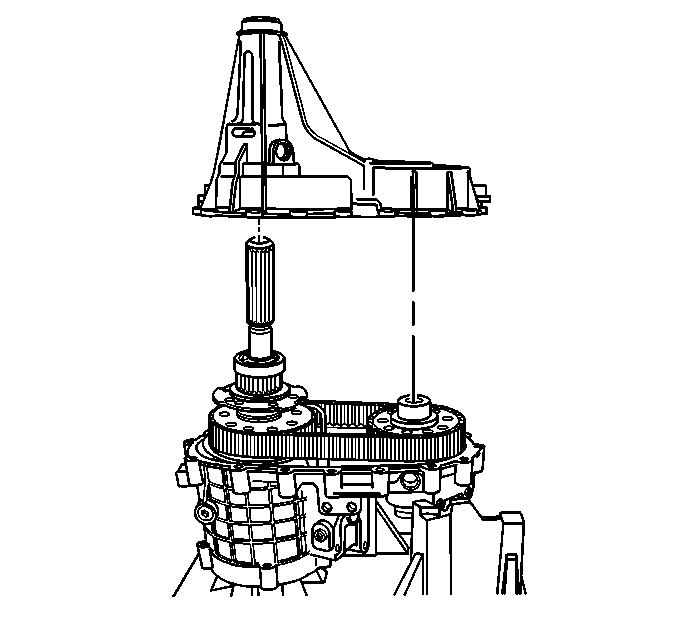
Important: Before the rear case half is installed on the mainshaft, ensure that the outer retaining ring for the rear output shaft bearing is aligned with the access opening.
- Install the rear case half assembly.
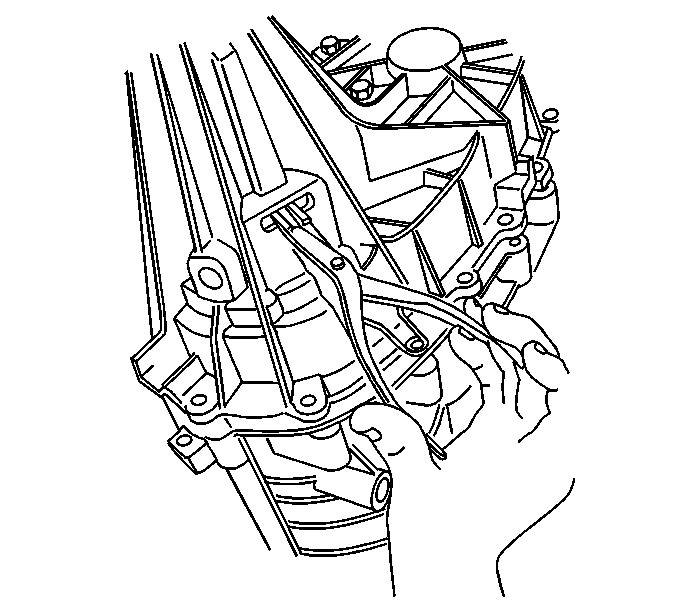
- Insert snap ring pliers in the access opening.
- Using the snap ring pliers, open the outer retaining ring for the rear output shaft bearing.
- Insert a rubber coated screwdriver into 1 of the speed sensor holes. Lift up the speed reluctor wheel, and seat the retaining ring.
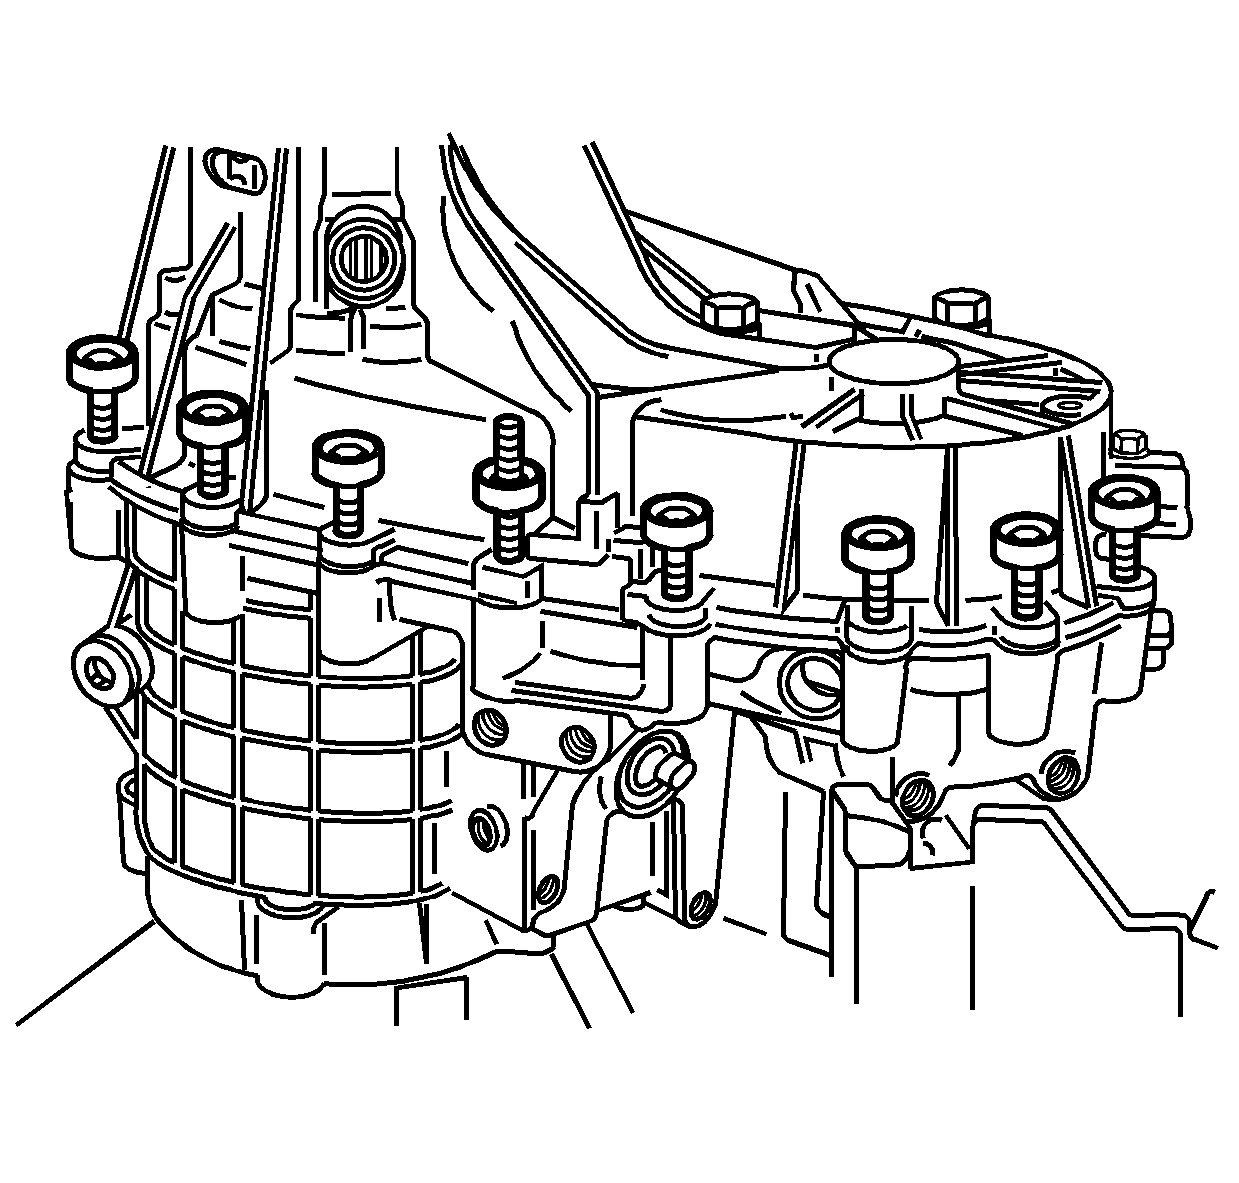
Notice: This component is made of magnesium. Proper assembly is required to
prevent damage. Ensure the magnesium transfer case housings are properly
insulated from all external steel components, or galvanic corrosion
will occur. Use only the transfer case bolts/studs with the cup style aluminum
washer. Use only aluminum fill and drain plugs. Use only aluminum brackets
under the case bolts. Ensure new seals are installed that have a rubber
insulated outside diameter and have no tears or cuts. Extensive damage will
occur if there is galvanic corrosion between the magnesium and steel components.
- Install the case half bolts/studs with cup washers.
Tighten
Tighten the case half bolts to 37 N·m (27 lb ft).
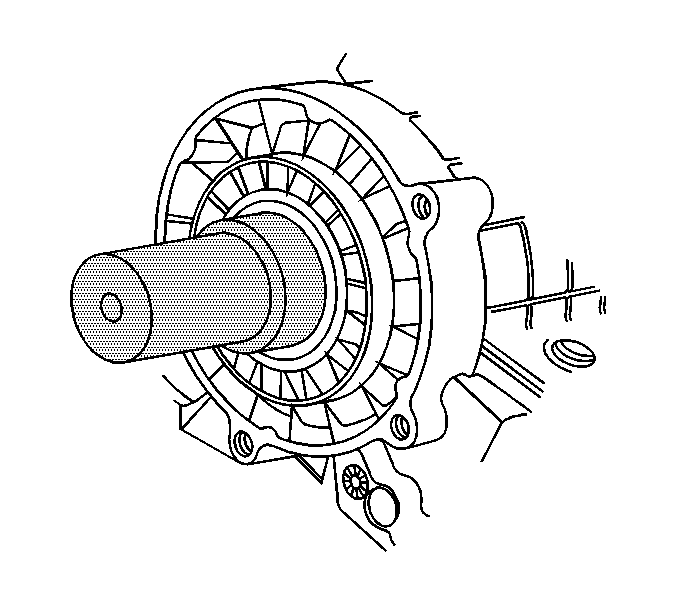
- Using the
J 42738
, install the input shaft seal.

- Using the
J 45380
, install a new rear output shaft bushing.
| 74.1. | Install the bushing on the finger section of the
J 45380
. |
| 74.2. | Install the finger section to the main body of the
J 45380
. |
| 74.3. | Position the bushing and tool to the case. |
| 74.4. | Using a hammer and the
J 45380
, install the bushing. |
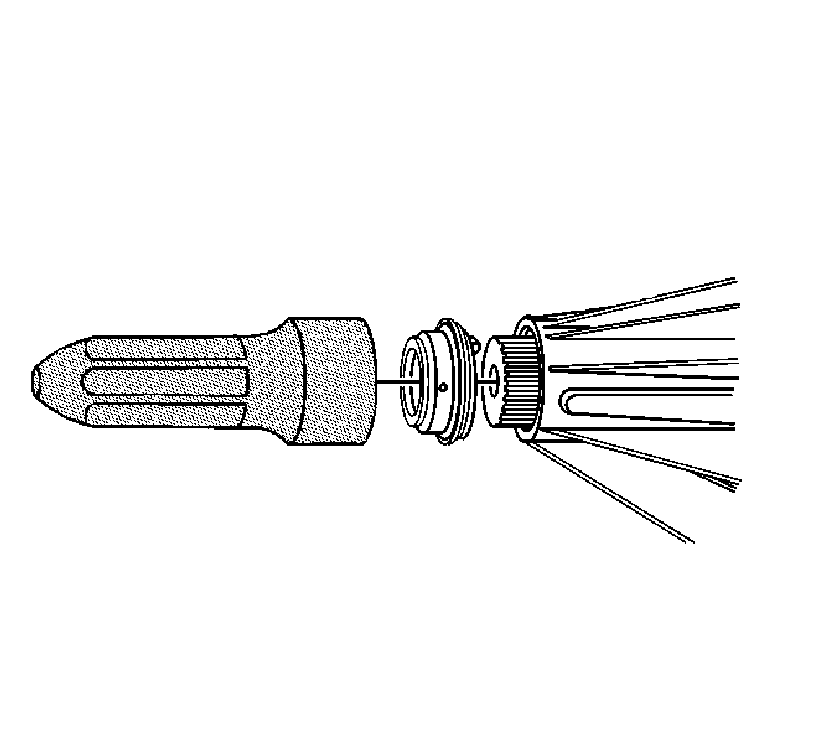
Important: When installing the rear output shaft seal, ensure that the drain hole is facing down.
- Using the
J 37668-A
, install the rear output shaft seal.
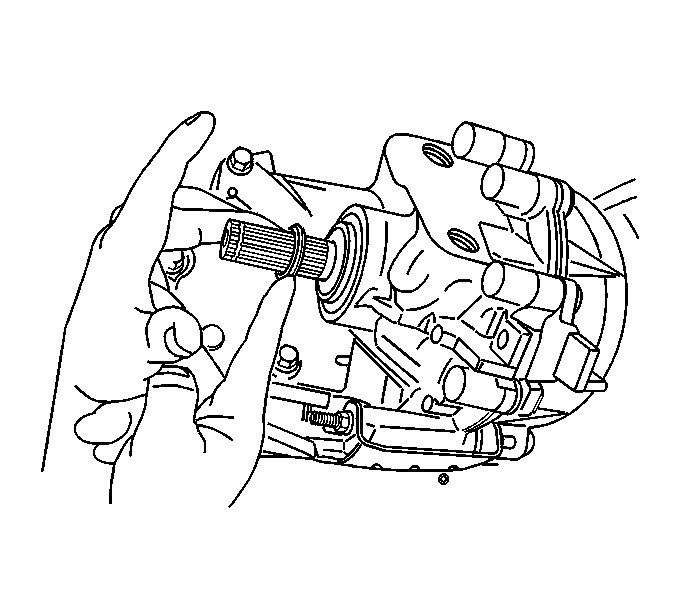
- Install the dust seal.
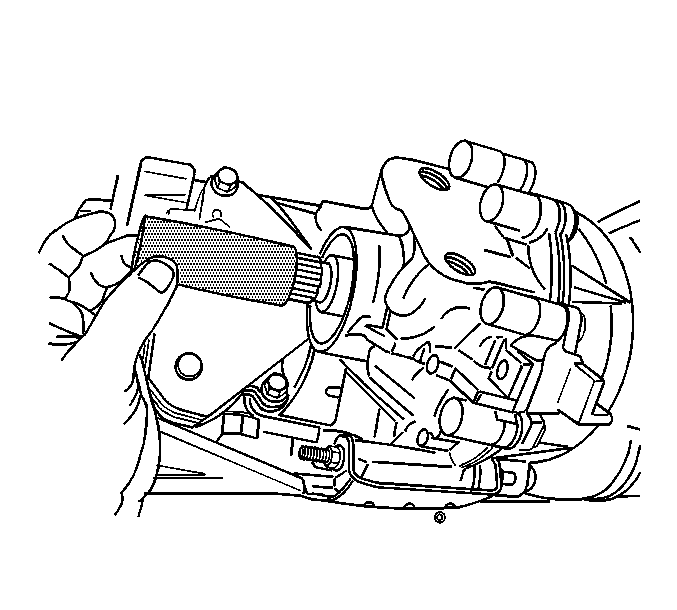
- Install the
J 44636-2
on the front output shaft.
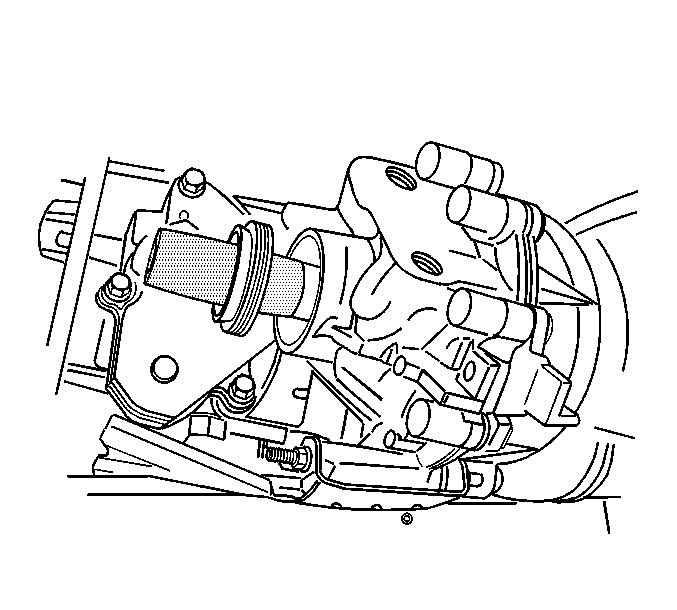
- Install the front output shaft seal on the
J 44636-2
.
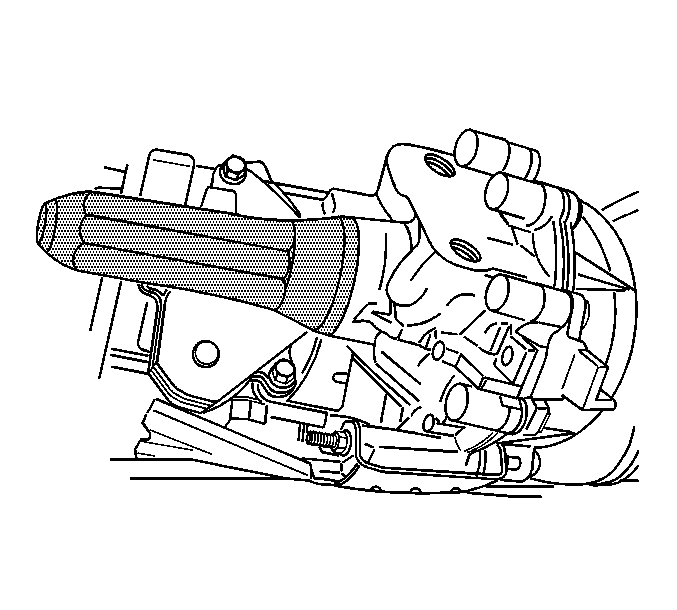
- Using the
J 44636-1
, install the front output shaft seal.
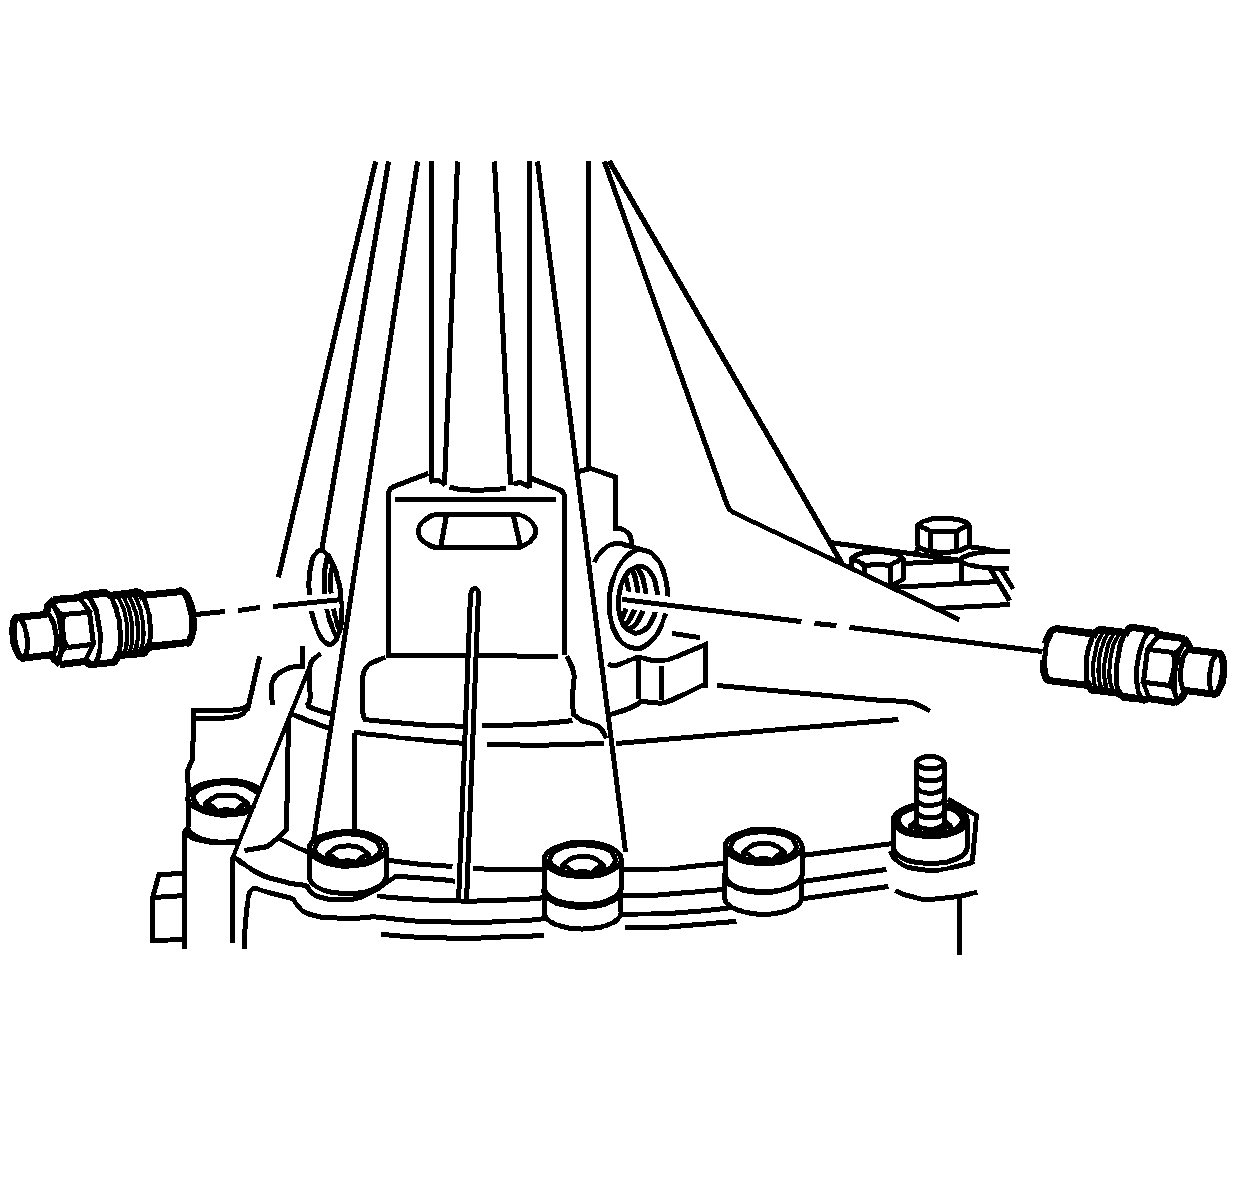
- Install new O-ring seals on the vehicle speed sensors (VSS).
- Lubricate the VSS O-ring seals with transfer case fluid.
- Install the left rear VSS.
Tighten
Tighten the left rear VSS to 15 N·m (11 lb ft).
- Install the right rear VSS.
Tighten
Tighten the right rear VSS to 15 N·m (11 lb ft).
- Install the front VSS.
Tighten
Tighten the front VSS to 15 N·m (11 lb ft).
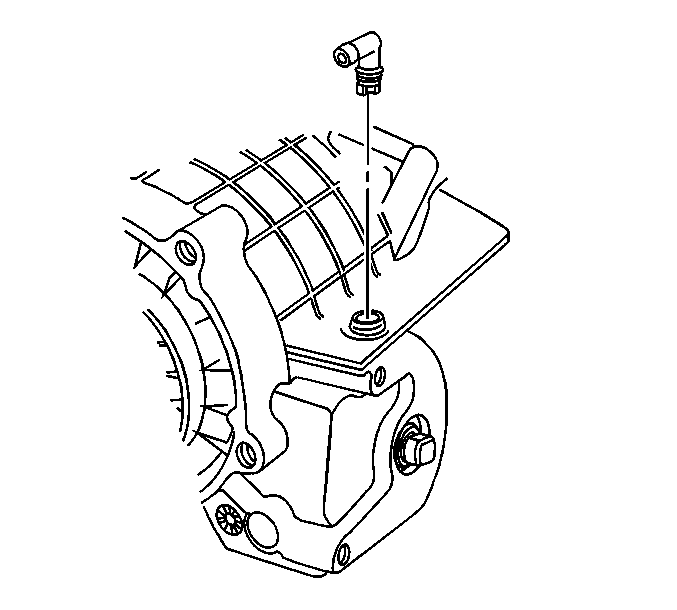
- Install the vent tube elbow, if needed.
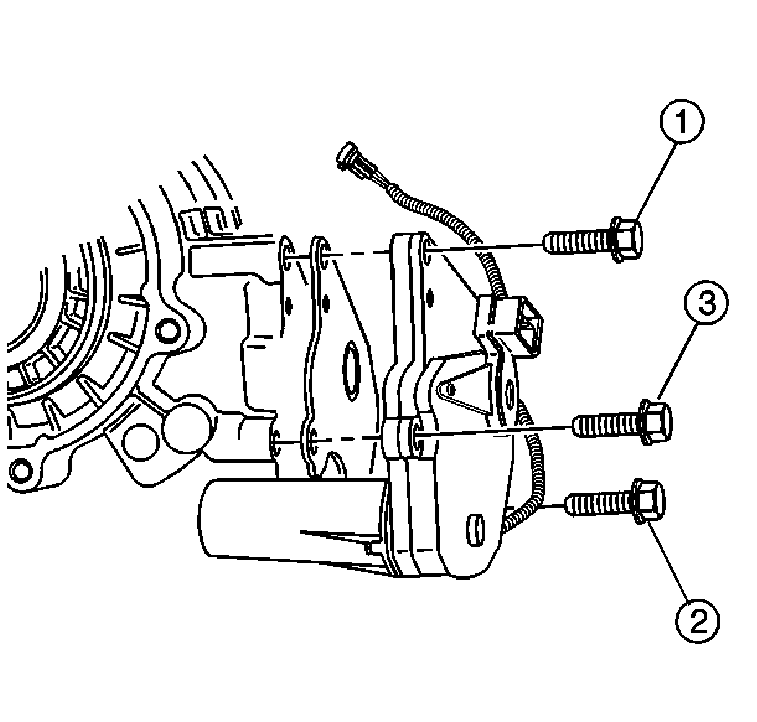
- Install the actuator insulator to the transfer case.
- Rotate the control actuator shaft to align to the actuator encoder motor output shaft.
- Install the actuator encoder motor.
- Install the actuator encoder motor mounting bolts.
Tighten
Tighten the actuator encoder motor mounting bolts, in the sequence shown, to 20 N·m (15 lb ft).
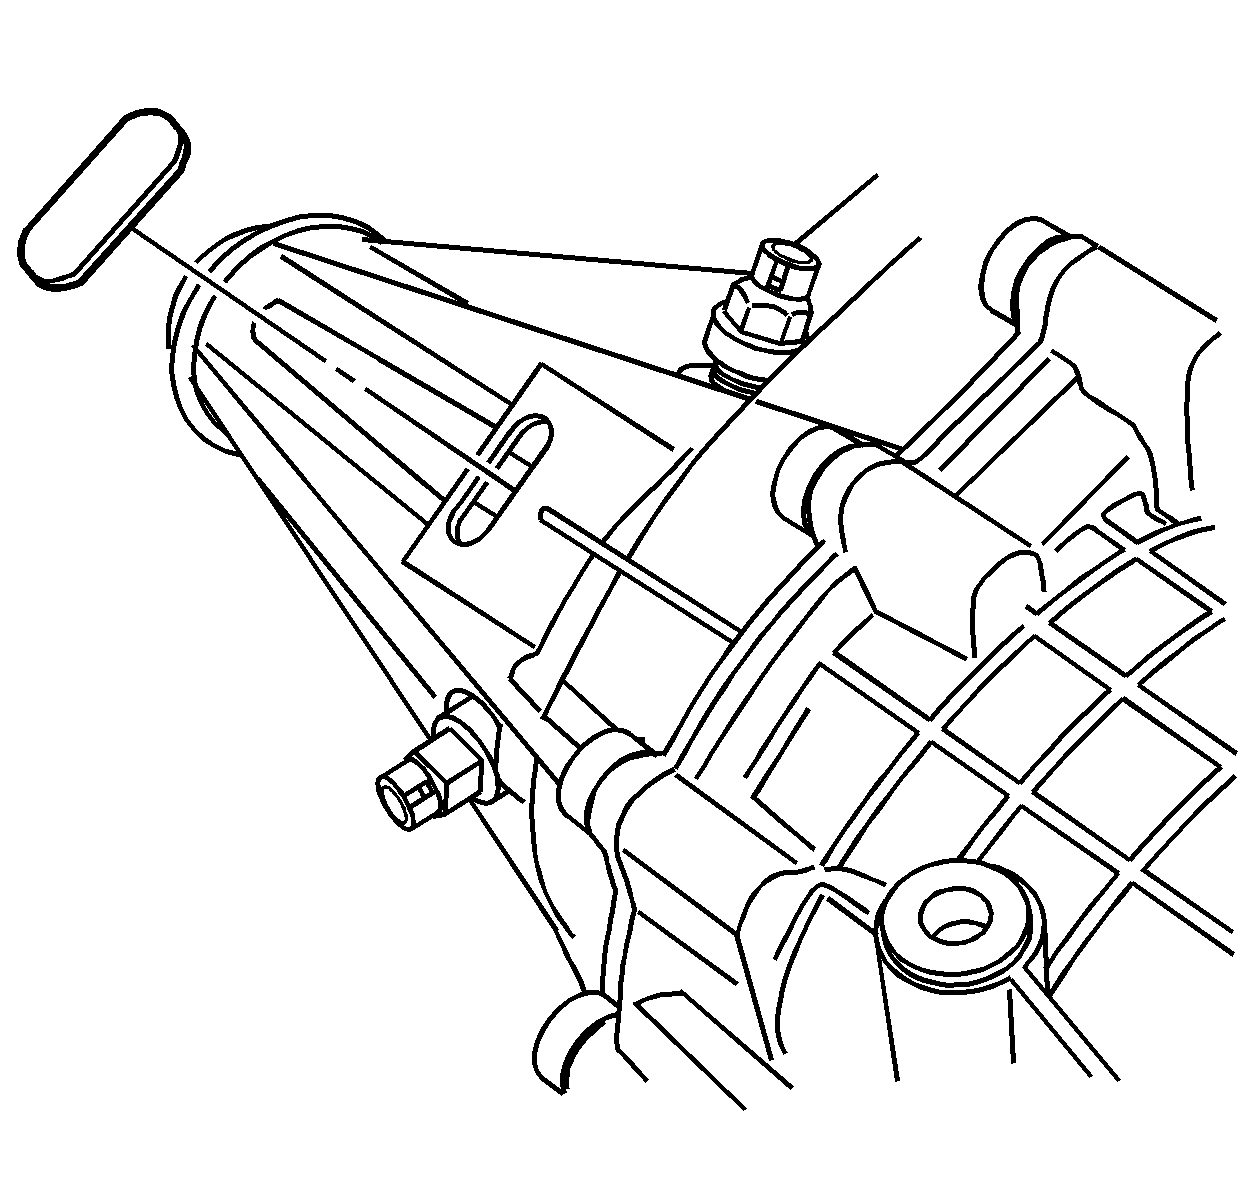
- Install the rubber plug.


