For 1990-2009 cars only
Removal Procedure
- Raise and support the vehicle. Refer to Lifting and Jacking the Vehicle in General Information.
- Remove the left front wheel and tire assembly. Refer to Tire and Wheel Removal and Installation in Tires and Wheels.
- Remove the left front splash shield. Refer to Front Fender Liner Replacement in Body Front End.
- Install a jackstand and a block of wood to support the transaxle.
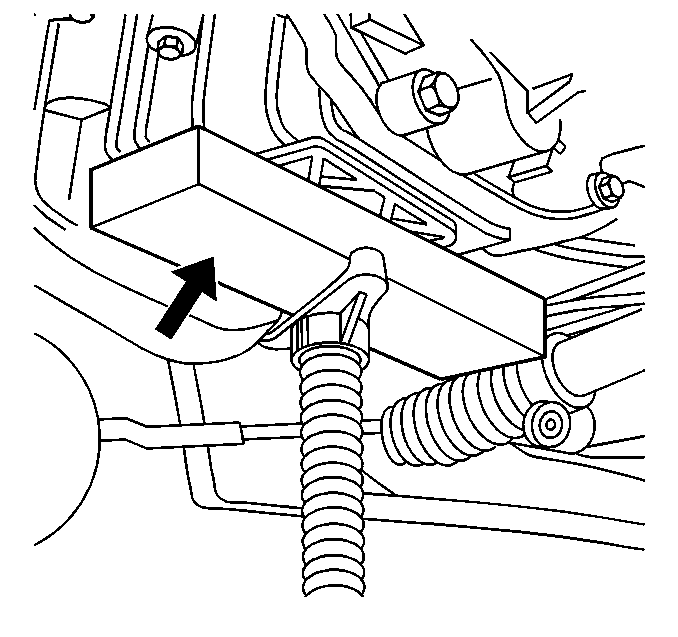
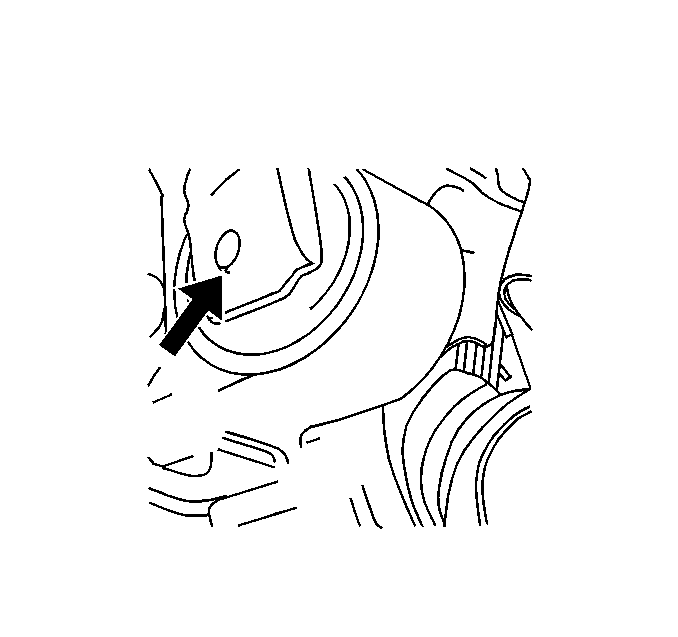
- Remove the through bolt from the transmission mount.
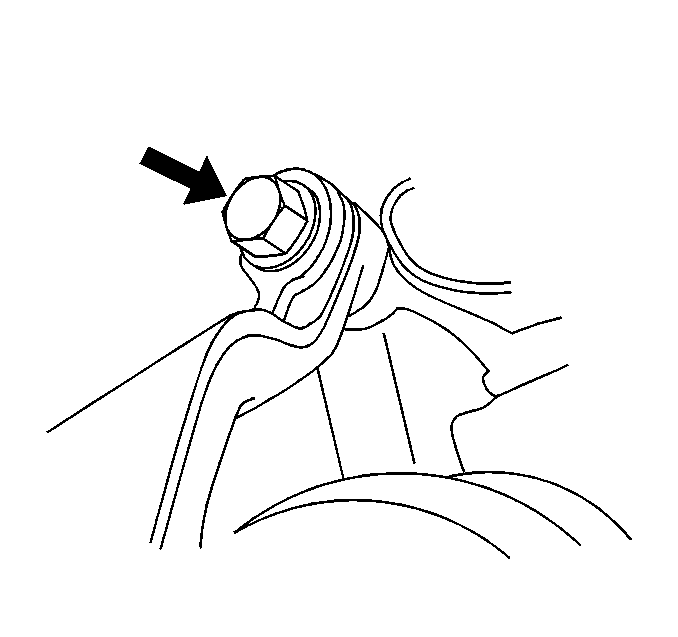
- Unthread the rear upper mount bolt and leave in place.
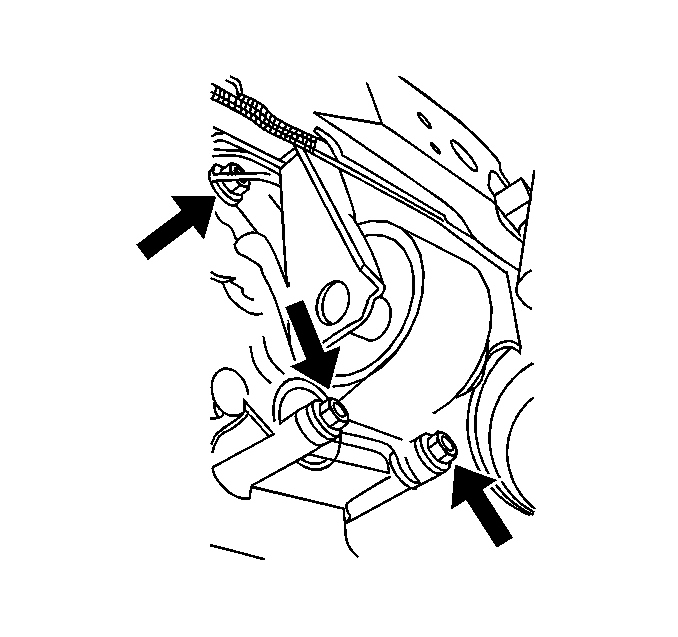
- Remove the remaining 3 mount bolts.
- Remove the mount.
Installation Procedure
- Transfer the rear upper mount to the new mount.
- Position the mount and start the rear upper bolt into the threads.
- Install the remaining 3 bolts.
- Tighten all 4 of the mount bolts.
- Install the mount through bolt.
- Remove the jackstand and the wood block.
- Install the left splash shield. Refer to Front Fender Liner Replacement in Body Front End.
- Install the left tire and wheel assembly. Refer to Tire and Wheel Removal and Installation in Tires and Wheels.
- Lower the vehicle.
Notice: Refer to Fastener Notice in the Preface section.
Tighten
Tighten the bolts to 66 N·m (49 lb ft).
Tighten
Tighten the mount through bolt to 55 N·m
(41 lb ft).
