For 1990-2009 cars only
Removal Procedure
- Lower the front of the headliner. Refer to Headlining Trim Panel Replacement in Interior Trim.
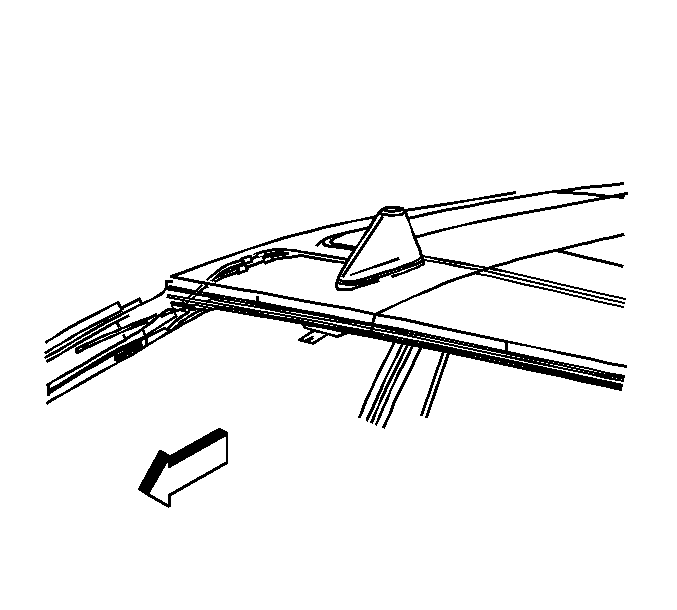
- Adjust the antenna cable mastic patch/tape at the windshield pillar and the roof.
- Disconnect the antenna cable from the antenna base cable connector.
- Remove the instrument panel (I/P) compartment. Refer to Instrument Panel Compartment Replacement in Instrument Panel, Gages, and Console.
- Remove the right side outboard I/P insulator. Refer to Instrument Panel Insulator Panel Replacement - Right Side in Instrument Panel, Gages, and Console.
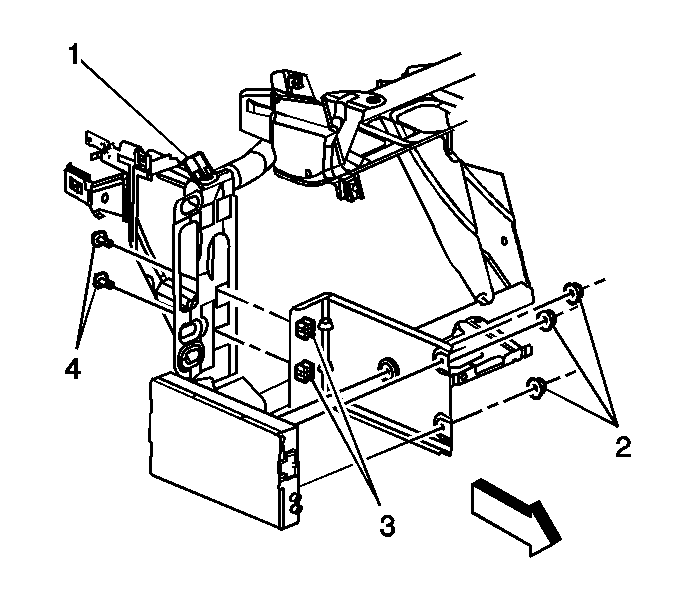
- Remove the digital radio receiver nuts.
- Remove the receiver from the bracket.
- Disconnect the antenna cable from the digital radio receiver.
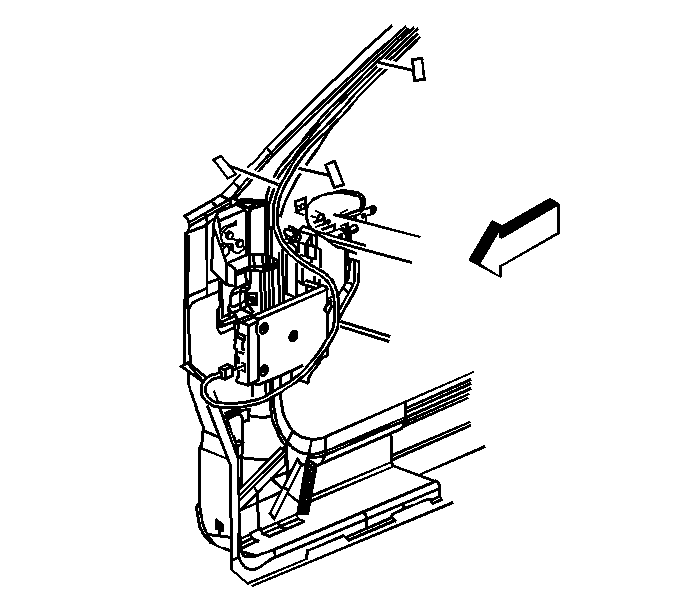
- Note the routing of the antenna cable through the instrument panel (I/P). Remove the antenna cable.
Installation Procedure
- Route the antenna cable through the I/P.
- Connect the antenna cable to the digital radio receiver.
- Install the receiver to the bracket.
- Install the digital radio receiver nuts.
- Install the right side outboard I/P insulator. Refer to Instrument Panel Insulator Panel Replacement - Right Side in Instrument Panel, Gages, and Console.
- Install the instrument panel (I/P) compartment. Refer to Instrument Panel Compartment Replacement in Instrument Panel, Gages, and Console.
- Connect the antenna cable to the antenna base cable connector.
- Install antenna cable mastic patch/tape to the antenna cable along the windshield pillar and the roof.
- Install the headliner. Refer to Headlining Trim Panel Replacement in Interior Trim.
Tighten
Tighten the digital radio receiver nuts to 6 N·m (53 lb in).
