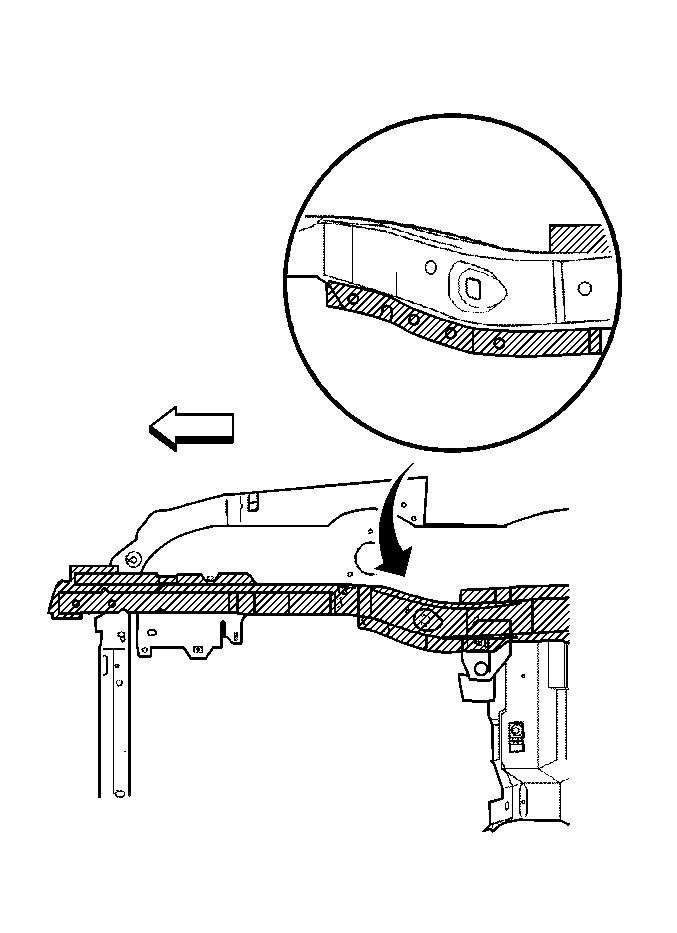
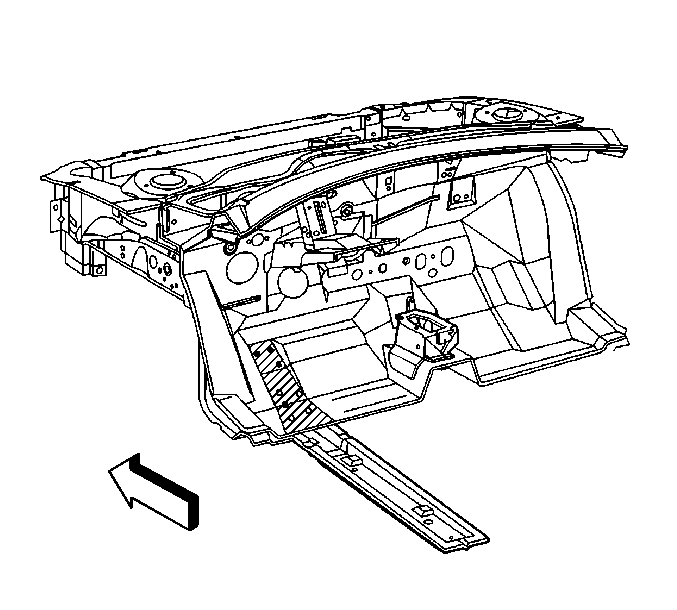
Removal Procedure
- Remove all related panels and components.
- Visually inspect and restore as much of the damage as possible
to factory specifications.
- Remove the following as necessary:
| • | Anti-corrosion materials |
- Use an air chisel to remove the rear engine mount.

- Locate and drill out resistance
welds in the torque box panel. Drill through one layer of metal ONLY.
- Locate welds that secure the rail to the floor pan from the underside
of the vehicle.
- Use a 3 mm (1/8 in) drill bit to drill through the
floor and mark welds for removal.
- Separate the floor pan reinforcement vertical flange from inside
the lower rail. Care must be taken to not damage the flange.
- Drill out factory welds along the lower flange on the floor pan
reinforcement and at the wheelhouse. Note that the flanges overlap the rail.
- From inside of vehicle, use an 8 mm (5/16 in) drill
bit to drill through the floor pan and the reinforcement inside the vehicle.
- Remove the damaged rail.
Installation Procedure

- Prepare mating surfaces and check for
proper fit of the new rail.
- Apply suitable weld-through primer.
- Position the new rail in place and check for proper alignment.
Use three-dimensional measuring.
- With the new rail in place, plug weld all holes created from the
removal process.
- Where the floor inner panel does not contact the floor pan, use
a ball pein hammer to flatten the inner panel against the floor pan.
- Plug weld floor to new rail in remaining areas.
- Clean and prepare welded surfaces.
Important: Do not combine paint systems. Prior to refinishing, refer to GM P/N 4901MD-99
Refinish Manual for recommended products.
- Apply approved anti-corrosion primer.
- Apply sealers and refinish as necessary.
- Install all related panels and components.


