For 1990-2009 cars only
Engine Coolant Fan Replacement 3.4L
Removal Procedure
Caution: To help avoid personal injury or damage to the vehicle, a bent, cracked, or damaged fan blade or housing should always be replaced.
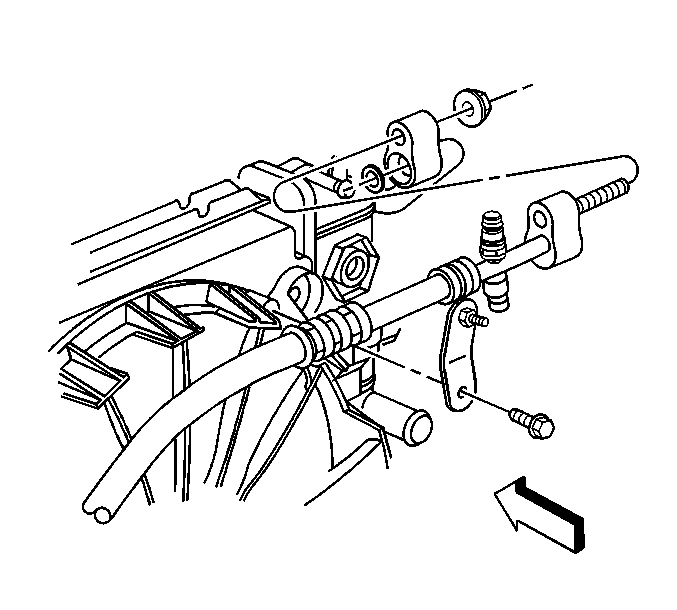
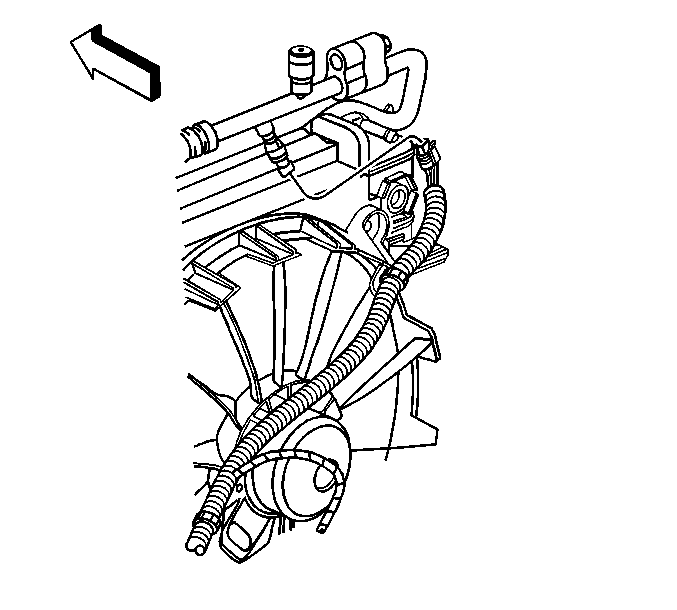
- Remove the upper transaxle cooler line from the radiator ONLY.
- Remove the discharge hose to cooling fan shroud bolt ONLY.
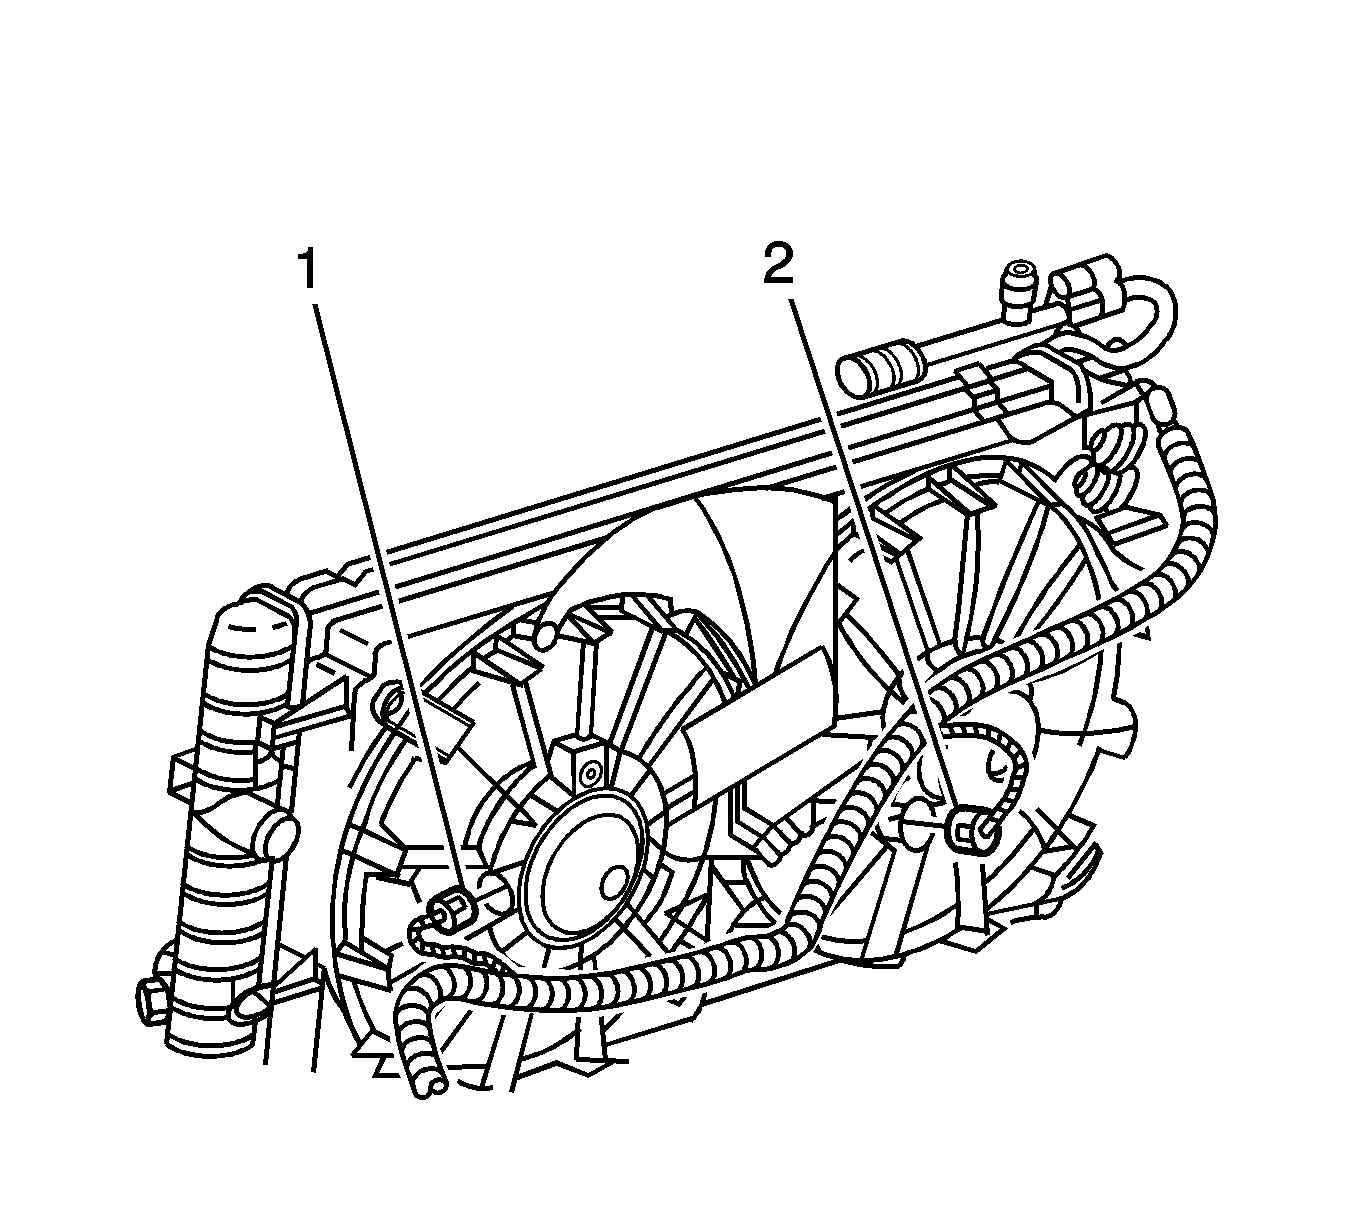
- Disconnect the cooling fan electrical connectors.
- Raise the vehicle. Refer to Lifting and Jacking the Vehicle .
- Remove the lower closeout panel.
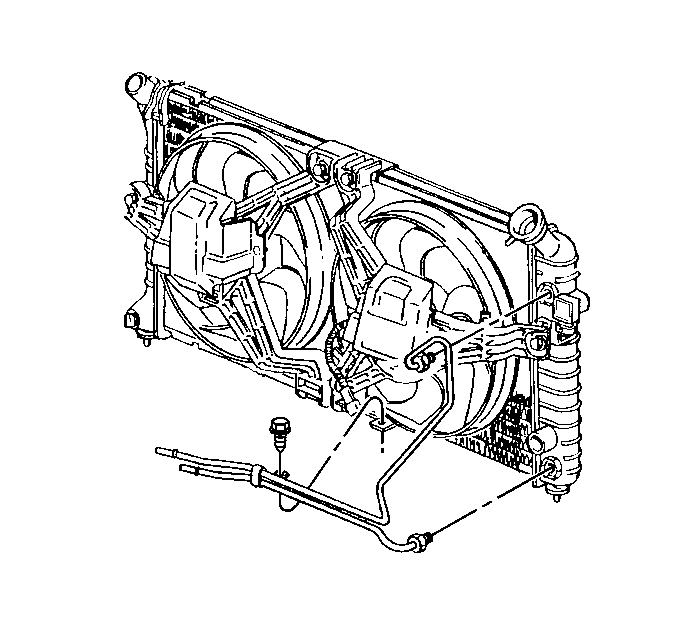
- Remove the lower transaxle cooler line from the radiator.
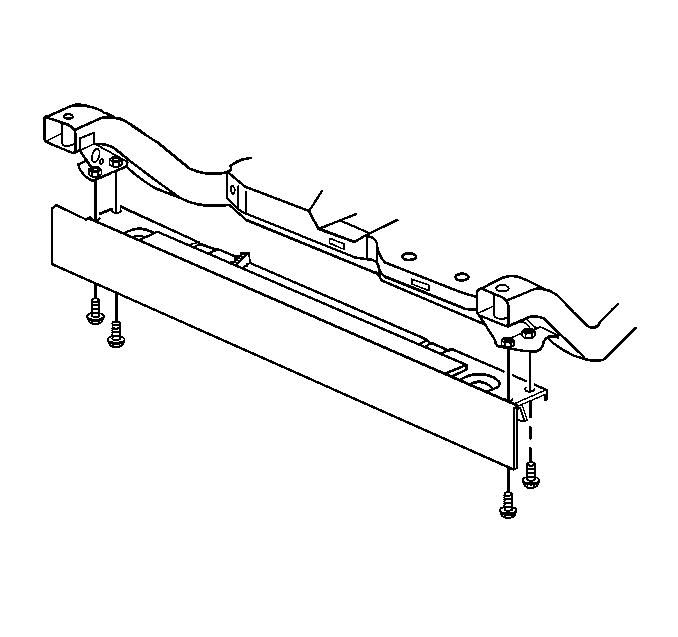
- Remove the lower radiator support mounting panel.
- Reposition the transmission oil cooler lines away from the fan shroud.
- Push up on the cooling fan to remove the cooling fan shroud from the radiator.
- Remove the cooling fan from the bottom of the vehicle.

Installation Procedure
- Install the cooling fan from the bottom of the vehicle.
- Install the cooling fan shroud to the radiator.
- Pull down on the cooling fan to snap it onto the radiator.
- Install the lower radiator mounting panel.
- Install the lower transaxle cooler line to the radiator.
- Connect the cooling fan electrical connectors.
- Install the lower closeout panel.
- Lower the vehicle. Refer to Lifting and Jacking the Vehicle .
- Install the discharge hose to cooling fan shroud bolt.
- Install the refrigerant pressure sensor electrical connector.
- Install the upper transaxle cooler line to the radiator.
Notice: Refer to Fastener Notice in the Preface section.
Tighten
Tighten the bolts to 10 N·m (89 lb in).
Tighten
Tighten the fitting to 30 N·m (22 lb ft).
Tighten
Tighten the fitting to 10 N·m (89 lb in).
Tighten
Tighten the fitting to 30 N·m (22 lb ft).
Engine Coolant Fan Replacement 2.2L
Removal Procedure
Caution: To help avoid personal injury or damage to the vehicle, a bent, cracked, or damaged fan blade or housing should always be replaced.
- Remove the fan shroud. Refer to Fan Shroud Replacement.
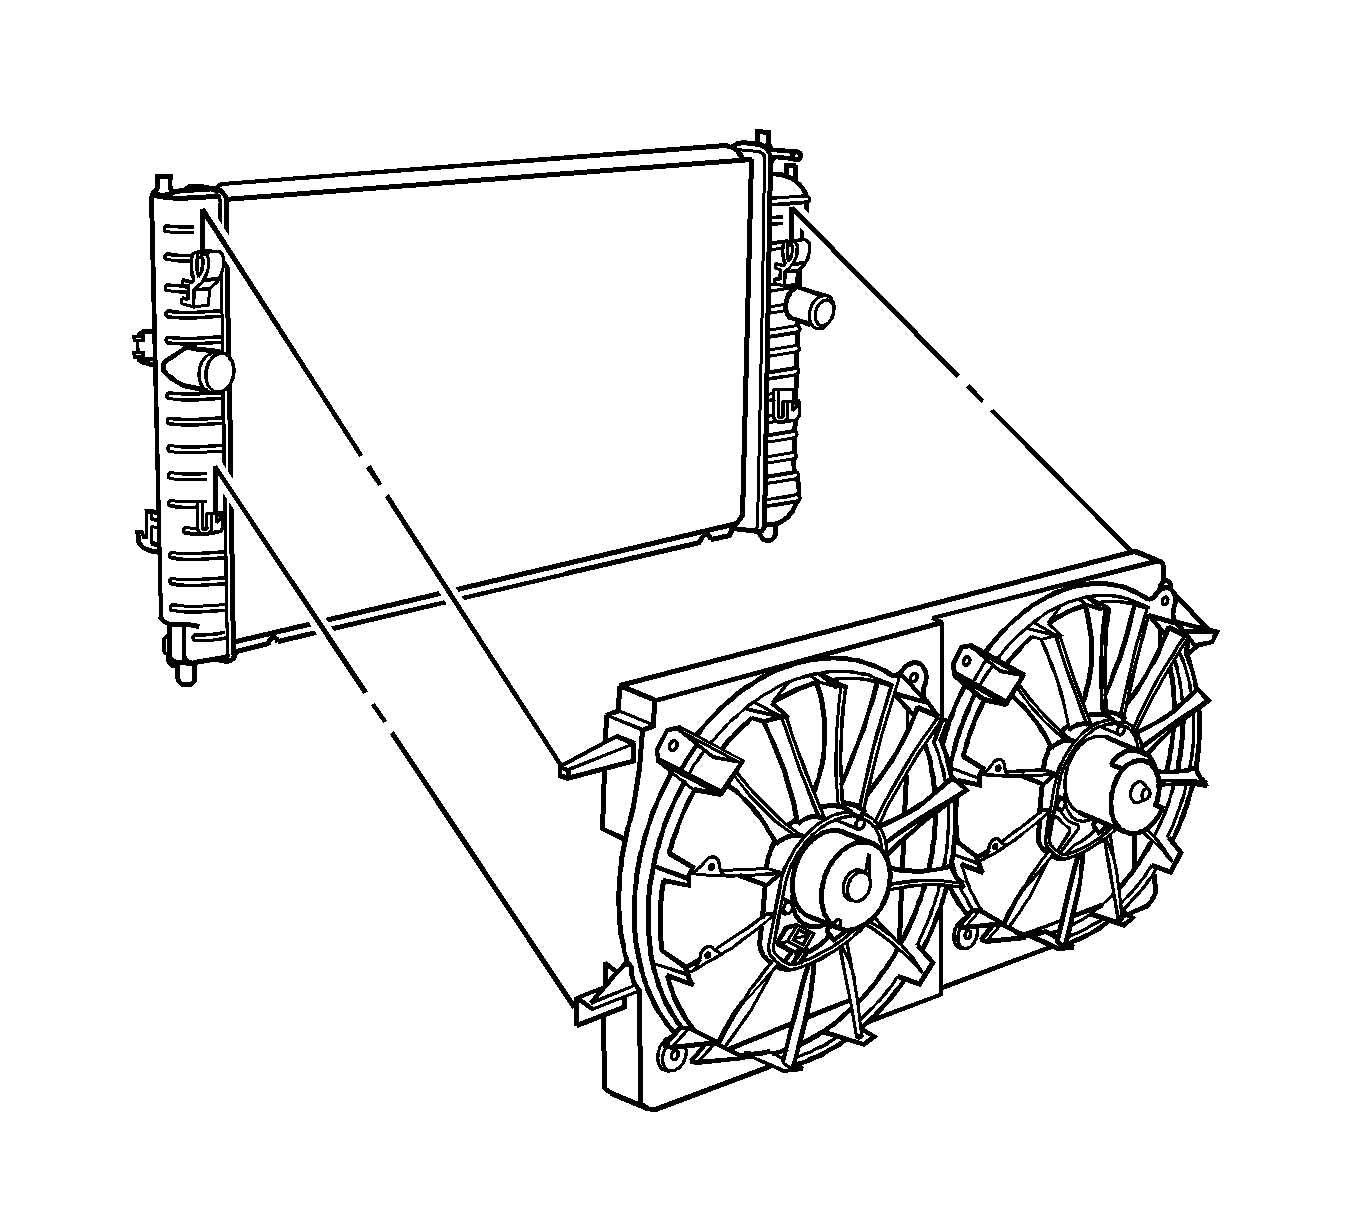
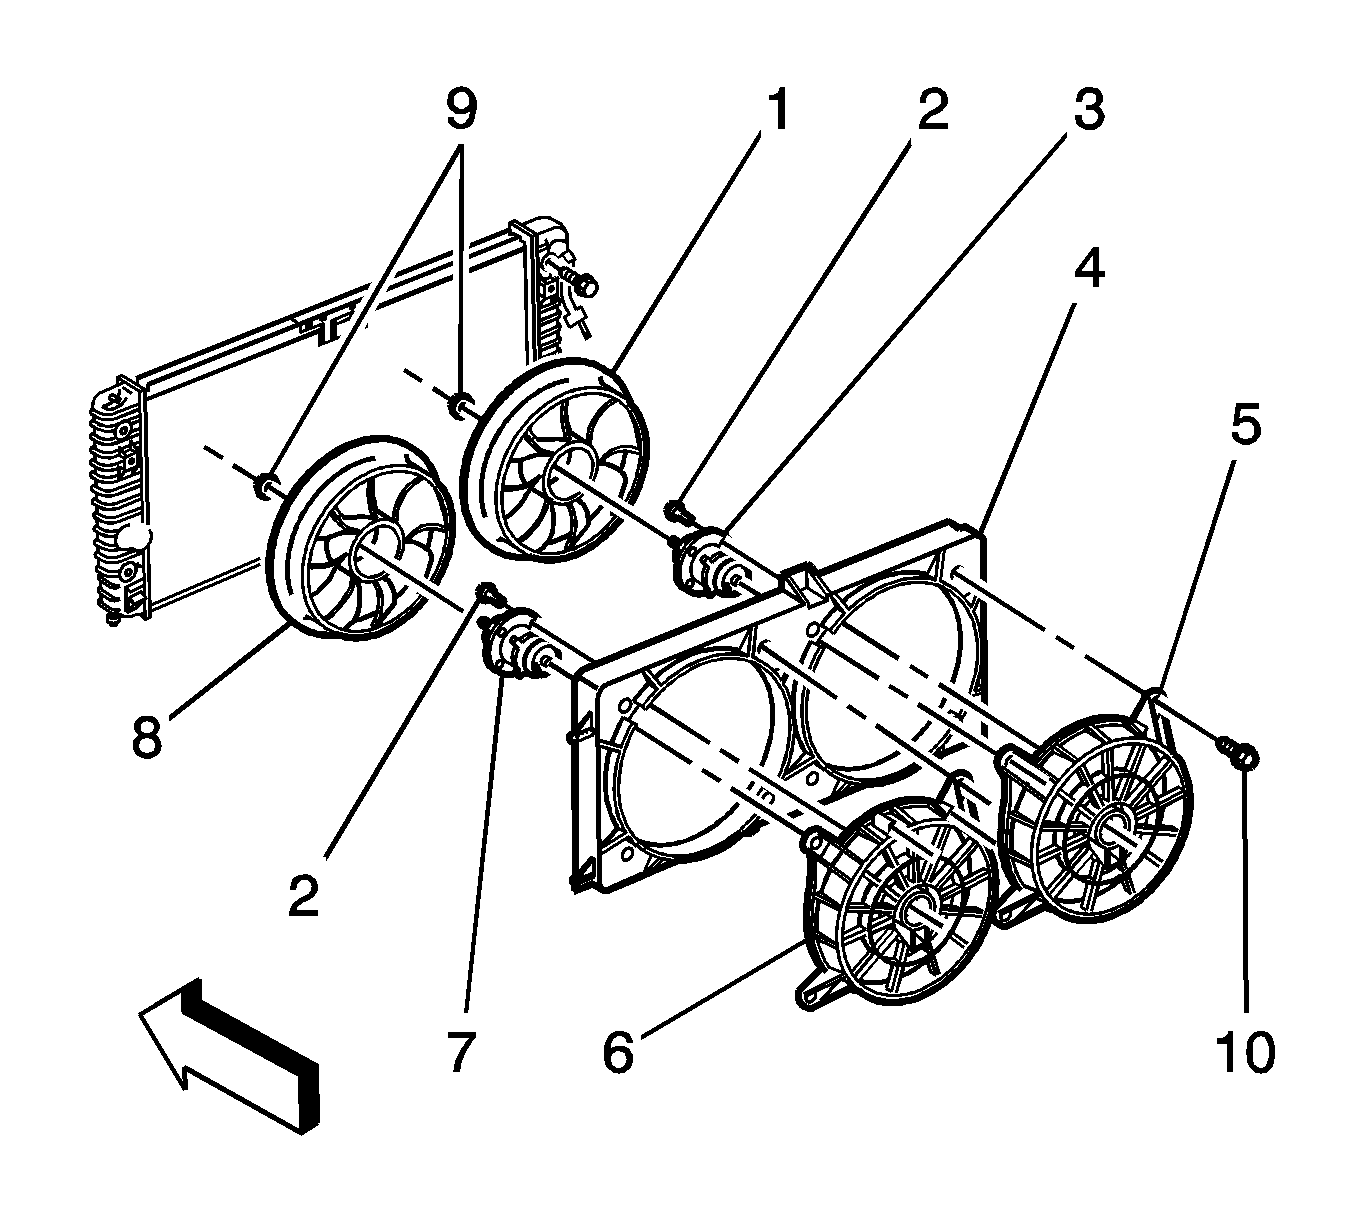
- Remove the fan nuts (9) from the fans (1, 8).
- Remove the fans (1,8) from the fan motors (7, 3).
Installation Procedure
- Install the fan to the fans (1, 8) to the fan motors (7, 3) .
- Install the fan nuts (9) to the fans (1, 8).
- Install the cooling fan shroud. Refer to Fan Shroud Replacement.
Notice: Refer to Fastener Notice in the Preface section.
Tighten
Tighten the nut to 6 N·m (53 lb in).
