For 1990-2009 cars only
Removal Procedure
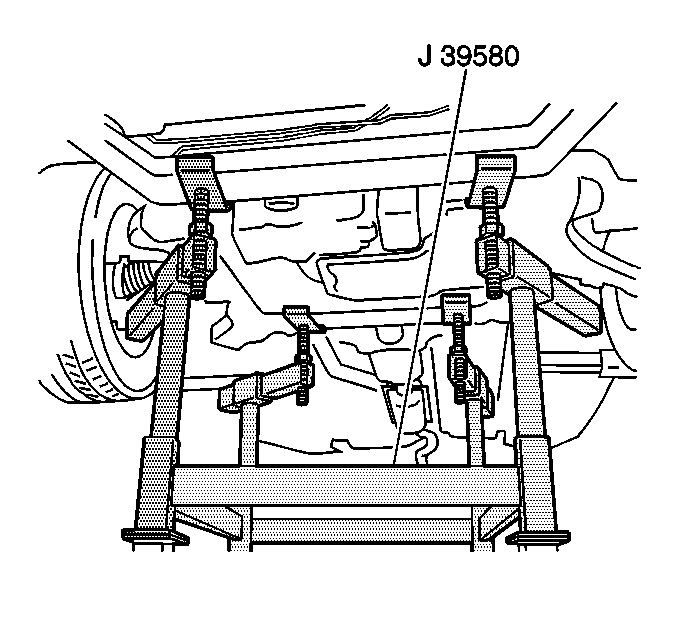
- Install a utility stand under the frame near the cage (crossmember) nut that you are replacing.
- Remove and DISCARD the frame bolt.
- If you are replacing the FRONT cage (crossmember) nut, remove the front impact bar in order to gain access. Refer to Front Bumper Impact Bar Replacement in Bumpers.
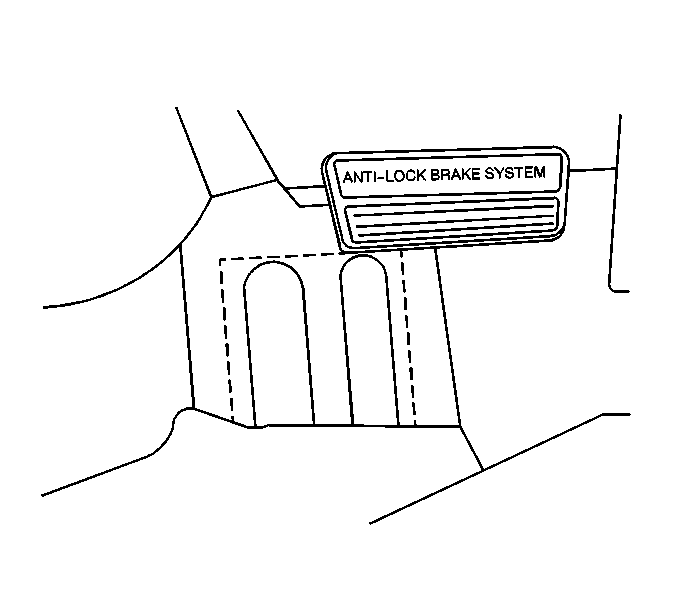
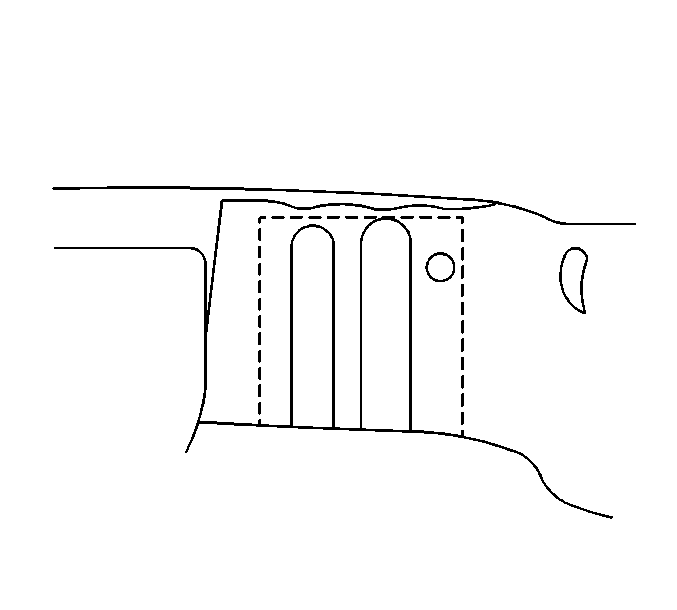
- Use a cutoff wheel in order to cut a 100 mm (4 in) square access door.
- Pry the access door open.
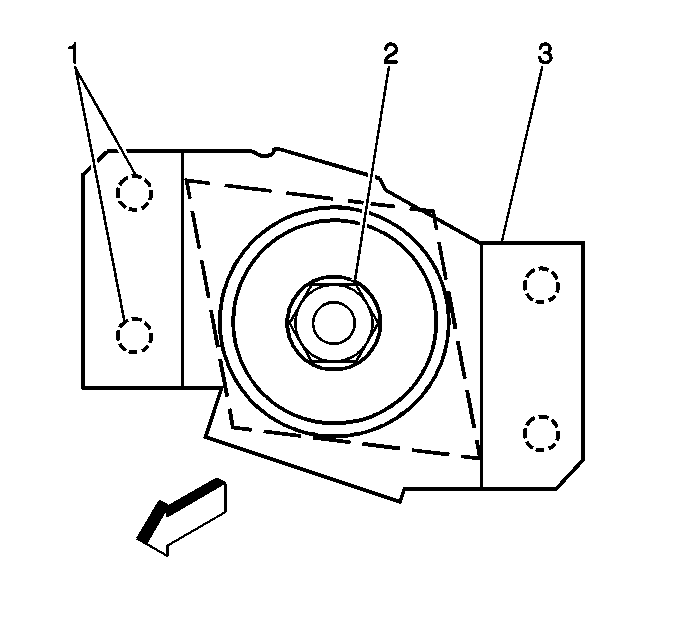
- Use a chisel in order to break the spot welds (1) on one side of the frame crossmember nut retainer (3).
- Lift one side of the frame crossmember nut retainer.
- Remove the frame crossmember nut (2).

If you are replacing the REAR cage (crossmember) nut, perform the following steps in order to gain access
| • | Remove the carpet retainer. Refer to Front Floor Panel Carpet Replacement in Interior Trim. |
| • | Pull back the carpet and the sound deadener in order to provide access to the floor pan sheet metal. |

| • | Locate the area directly above the cage (crossmember) nut. |


Installation Procedure
- Install the frame crossmember nut (2).
- Install and weld the frame crossmember nut retainer (3) to the original position.
- Weld the frame crossmember nut retainer to the original position.
- Clean the repair area.
- Apply the corrosion protection to the repair area. Refer to Anti-Corrosion Treatment and Repair in General Body Service.
- If you are replacing the REAR cage (crossmember) nut, perform the following steps:
- If you are replacing the FRONT cage (crossmember) nut, perform the following steps:
- Remove the utility stand.

| 6.1. | Pry the access door back to the original position. |
| 6.2. | Stitch weld the access door closed. |
| 6.3. | Use a grinder in order to remove any rough edges. |
| 6.4. | Apply the corrosion protection to the repair area. Refer to Anti-Corrosion Treatment and Repair in General Body Service. |
| 6.5. | Move the sound deadener and the carpet back to the original position. |
| 6.6. | Install the carpet retainer. Refer to Front Floor Panel Carpet Replacement in Interior Trim. |
| 6.7. | Install the NEW frame rear bolt. |
Tighten
Tighten the NEW frame REAR bolt to 160 N·m (118 lb ft).
| 7.1. | install the NEW frame front bolt. |
Tighten
Tighten the NEW frame FRONT bolt to 160 N·m (118 lb ft).
| 7.2. | Install the front impact bar. Refer to Front Floor Panel Carpet Replacement in Bumpers. |
