Tools Required
| • | EN-47823 Valve Spring Compressor Adapter |
| • | J 5892-D Valve Spring Compressor |
- Lubricate the valve stem with clean engine oil.
- Install the valves.
- Lightly tap the new or reconditioned valves into the valve seat.
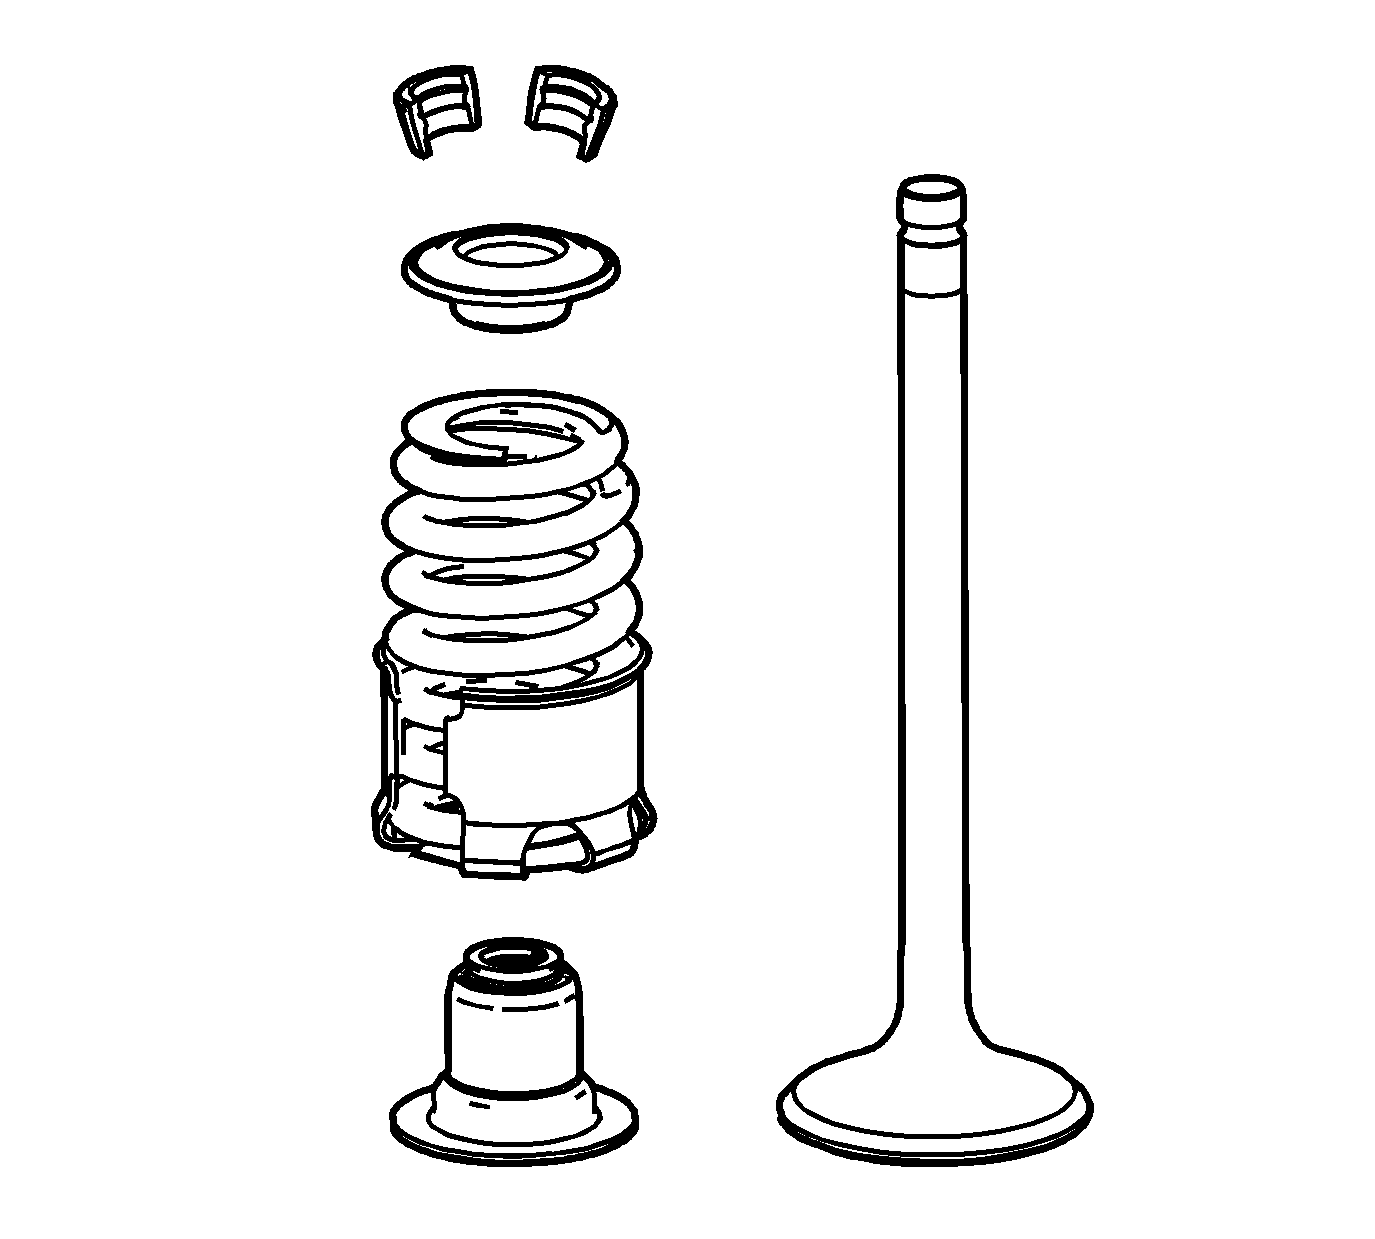
- Install the valve stem oil seals, ensuring proper intake - black seal and exhaust - brown seal, seals are installed.
- Install the valve springs.
- Install the valve spring caps.
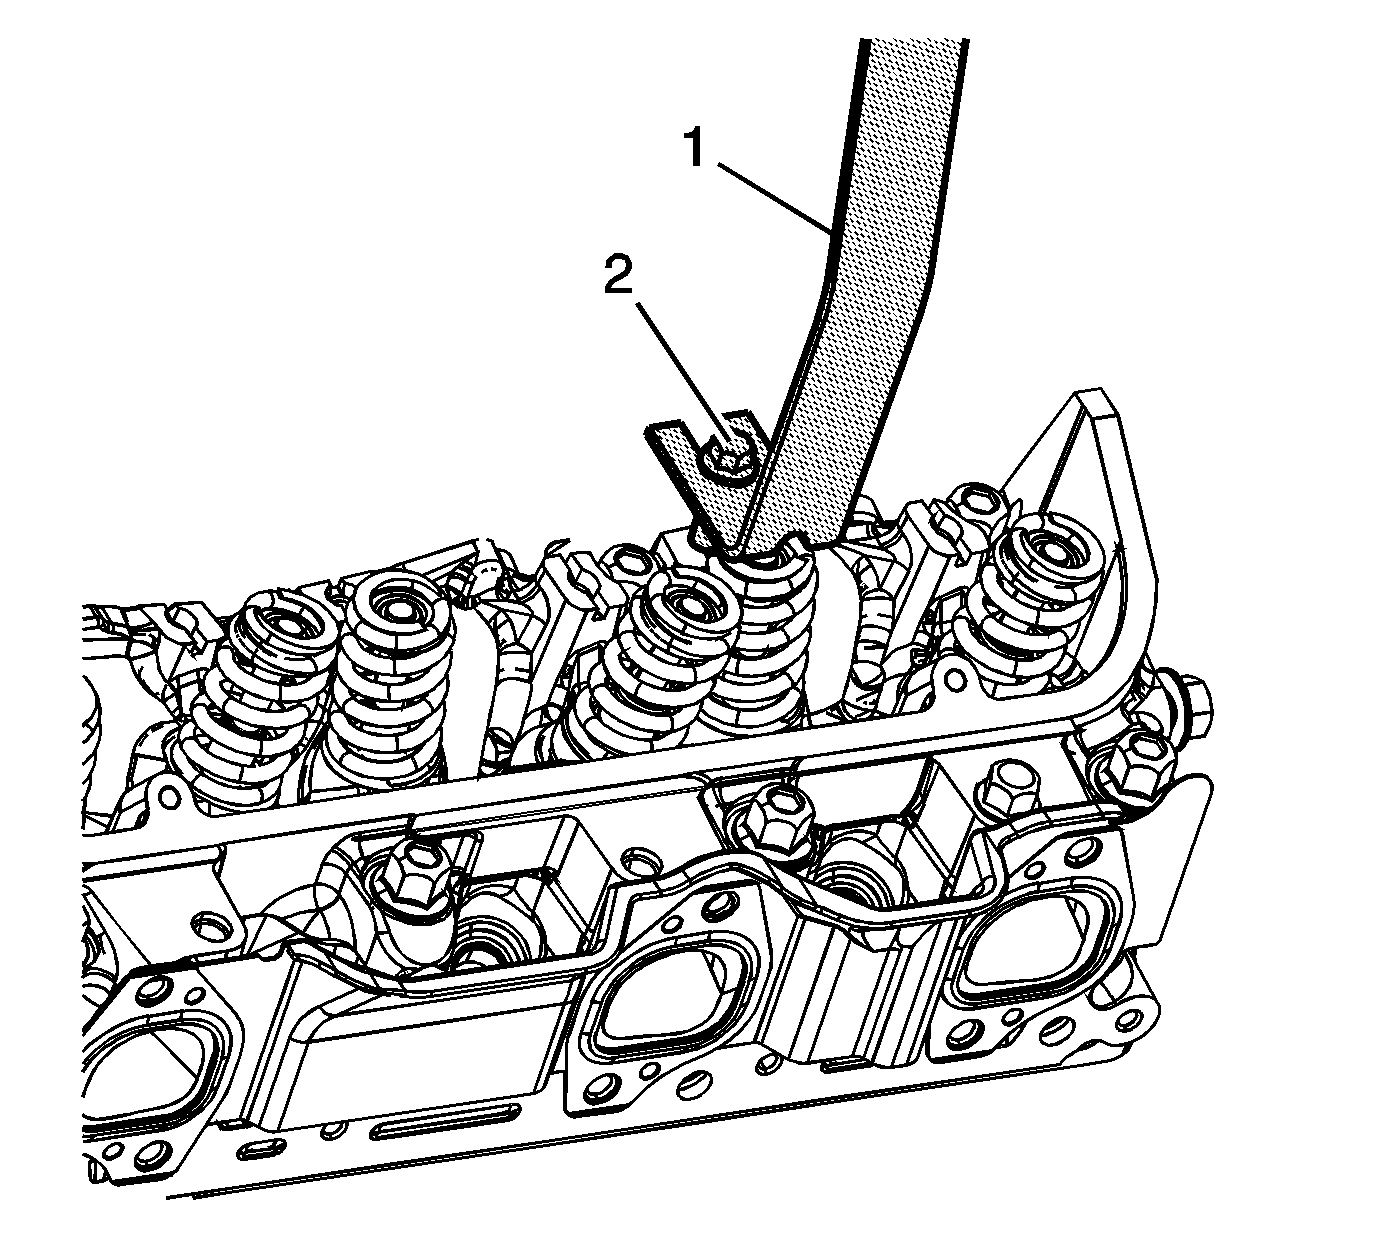
- Using caution so as not to damage the valve spring or valve spring dampener, compress the valve springs using the J 5892-D (1) and the EN-47823 (2).
- Install the valve spring cap keys. Hold the valves in place with grease, if necessary.
- Release the valve springs.
- Ensure that the valve locks are seated.
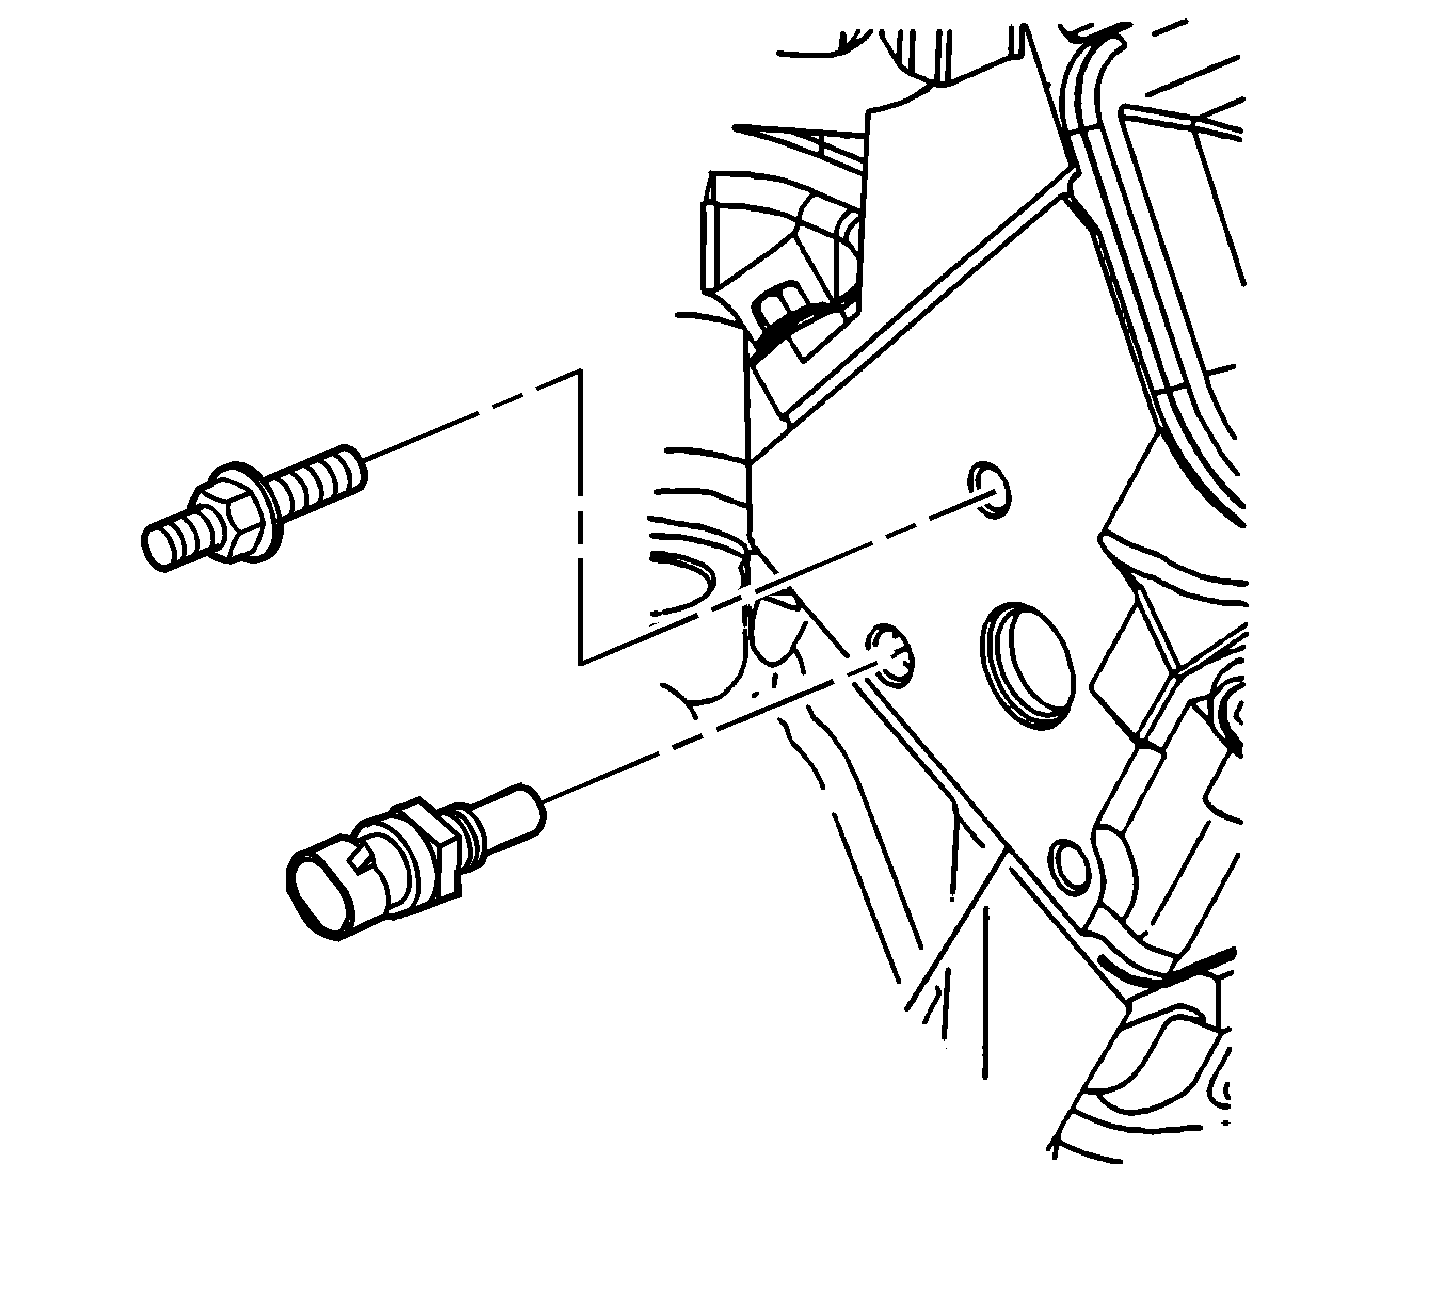
- Apply sealer P/N 21485278 to the coolant temperature sensor.
- Install the coolant temperature sensor, if required.
- Install the heater inlet pipe stud, if required.

Important: Use oversize valve stem seals if you install oversize valves.


Notice: Use the correct fastener in the correct location. Replacement fasteners must be the correct part number for that application. Fasteners requiring replacement or fasteners requiring the use of thread locking compound or sealant are identified in the service procedure. Do not use paints, lubricants, or corrosion inhibitors on fasteners or fastener joint surfaces unless specified. These coatings affect fastener torque and joint clamping force and may damage the fastener. Use the correct tightening sequence and specifications when installing fasteners in order to avoid damage to parts and systems.
Tighten
Tighten the coolant temperature sensor to 23 N·m (17 lb ft).
Tighten
Tighten the heater inlet pipe stud to 35 N·m (26 lb ft).
