Special Tools
EN-7872 Magnetic Base Dial Indicator Set
For equivalent regional tools, refer to Special Tools.
- Clean the crankshaft (1) with solvent.
- Thoroughly clean all oil passages and inspect for restrictions or burrs.
- Dry the crankshaft with compressed air.
- Perform a visual inspection of the crankshaft for damage.
- The crankshaft position reluctor ring (1) may be replaced if damaged. Tighten the crankshaft position reluctor ring bolts to 15 N·m (11 lb ft).
- Inspect the crankshaft journals for wear (1). The journals should be smooth, with no signs of scoring, wear, or damage.
- Inspect the crankshaft journals for grooves or scoring (2).
- Inspect the crankshaft journals for scratches or wear (3).
- Inspect the crankshaft journals for pitting or imbedded bearing material (4).
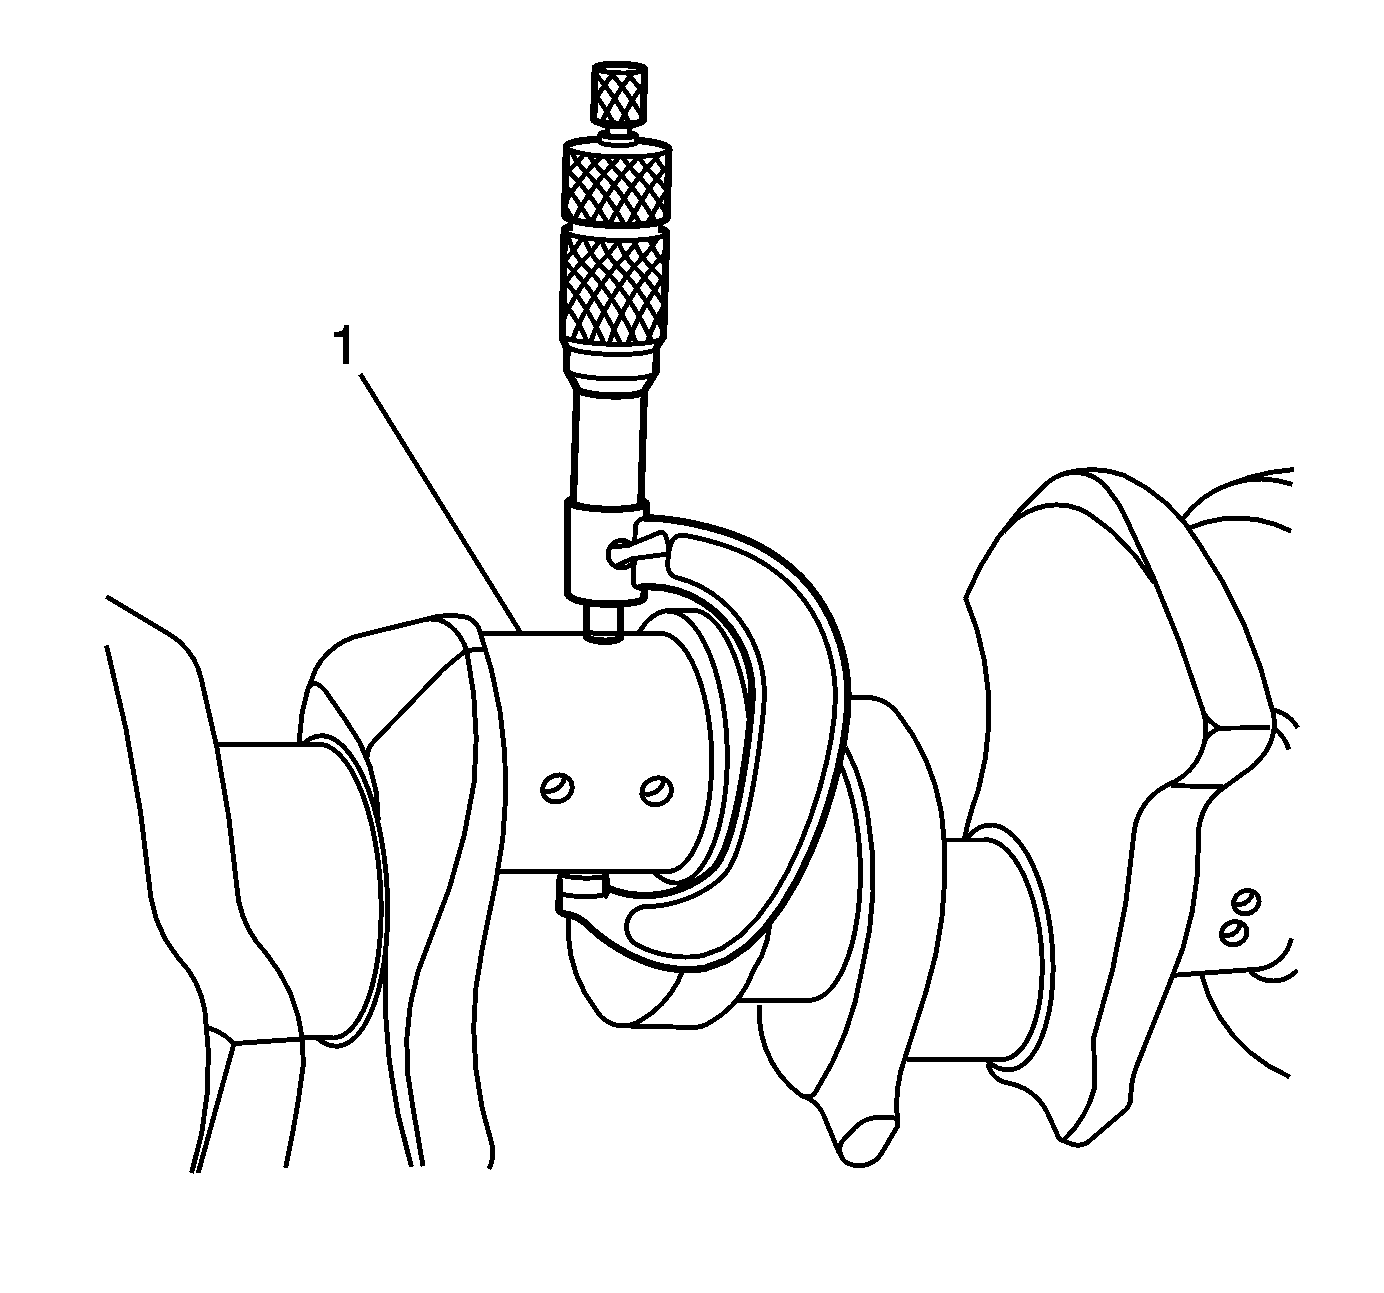
- Measure the crankshaft journals (1) for out-of-round.
- Measure the crankshaft journals for taper.
- Measure the crankshaft runout.
- Use the EN-7872 indicator (1) in order to measure the crankshaft runout at the front and rear intermediate journals.
- Use the EN-7872 indicator in order to measure the runout of the crankshaft rear flange.
- Replace the crankshaft if the measurements are not within specifications.
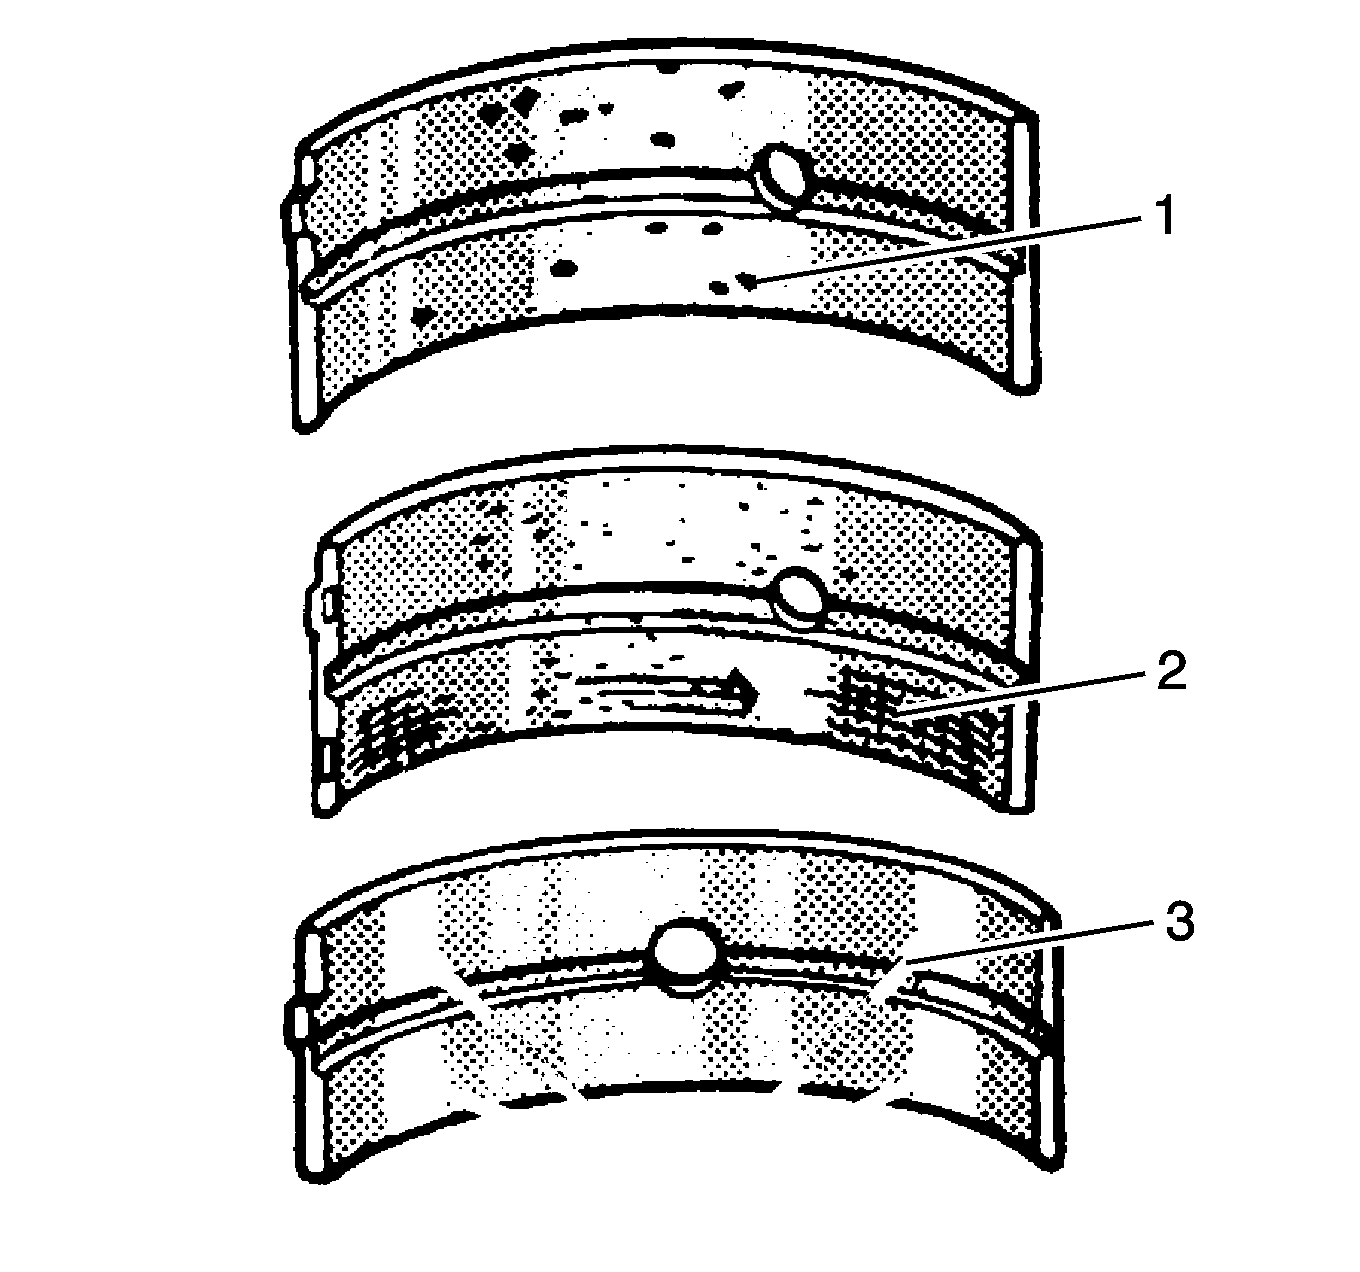
- Inspect crankshaft bearings for craters or pockets (1). Flattened sections on the bearing halves also indicate fatigue.
- Inspect the crankshaft bearings for excessive scoring or discoloration (2).
- Inspect the crankshaft bearings for dirt or debris imbedded into the bearing material.
- Inspect the crankshaft bearings for improper seating indicated by bright, polished sections of the bearing (3).
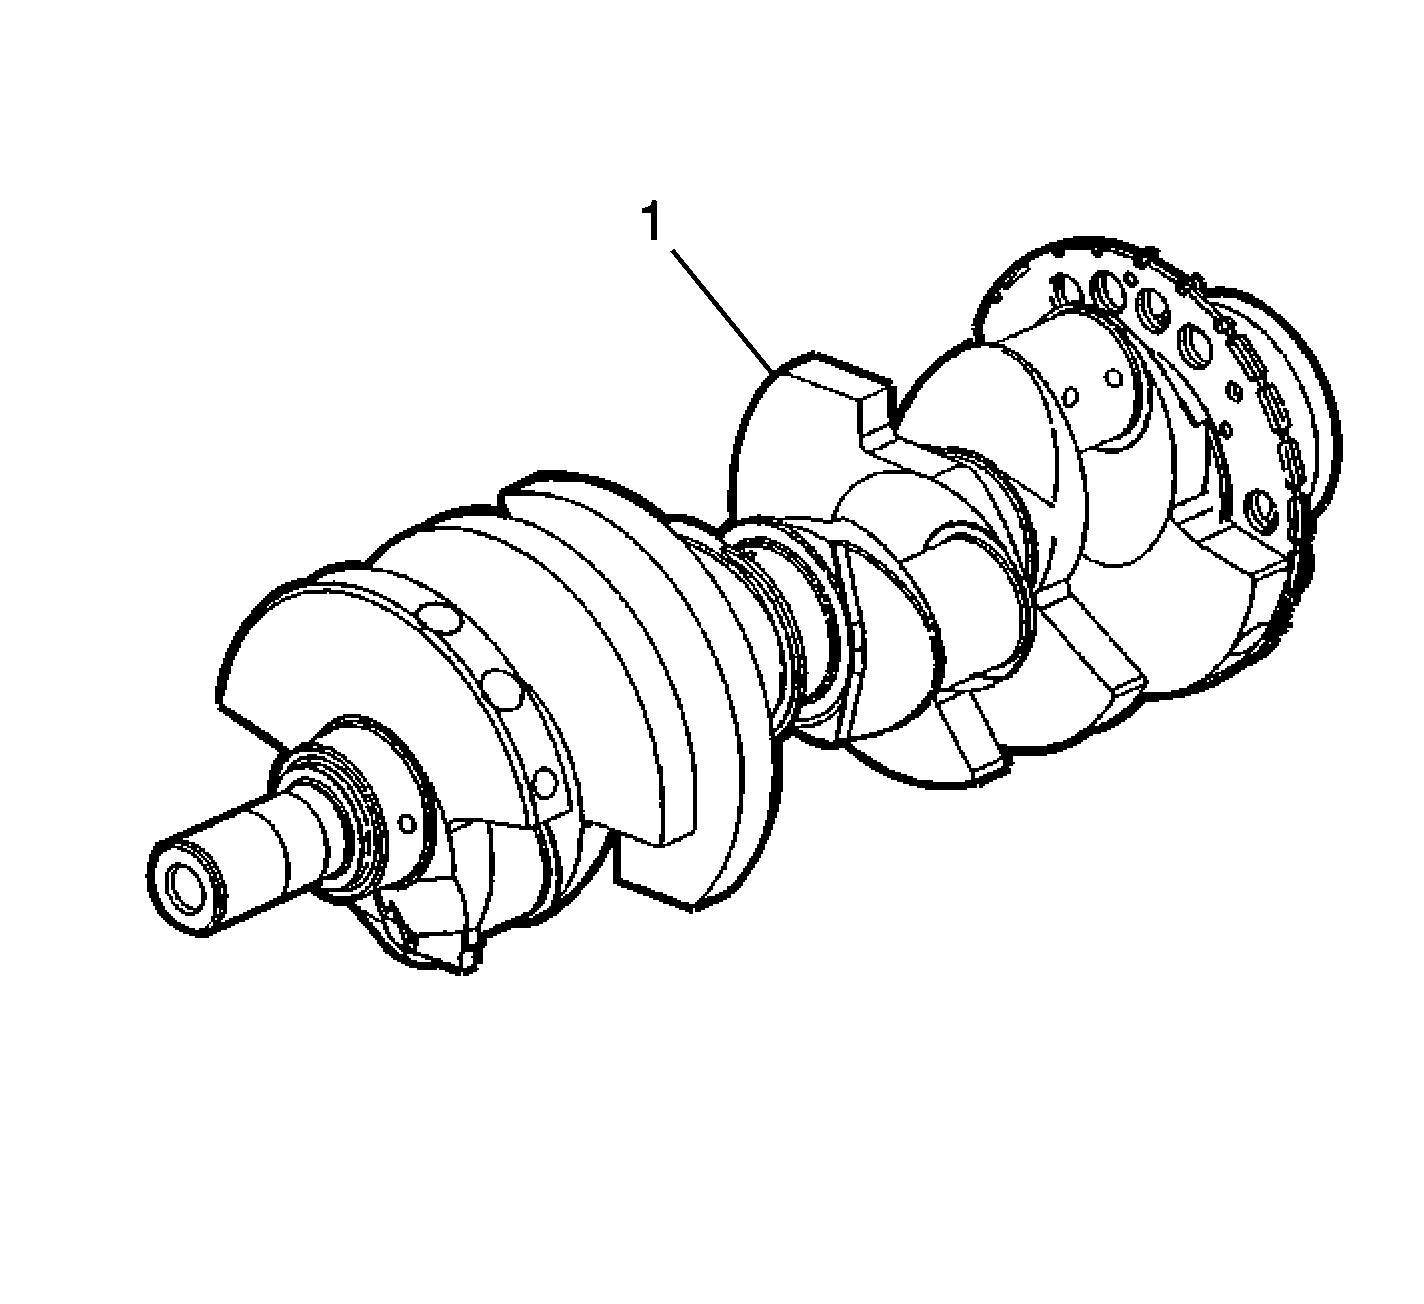
Note: Use care when handling the crankshaft. Avoid damage to the bearing surfaces or the lobes of the crankshaft position reluctor ring. Damage to the teeth of the crankshaft position reluctor ring may affect on-board diagnostic (OBD) II system performance.
Warning: Refer to Safety Glasses Warning in the Preface section.
Note: Reluctor ring teeth should not have imperfections on the rising or falling edges.
Imperfections of the reluctor ring teeth may effect OBD II system performance.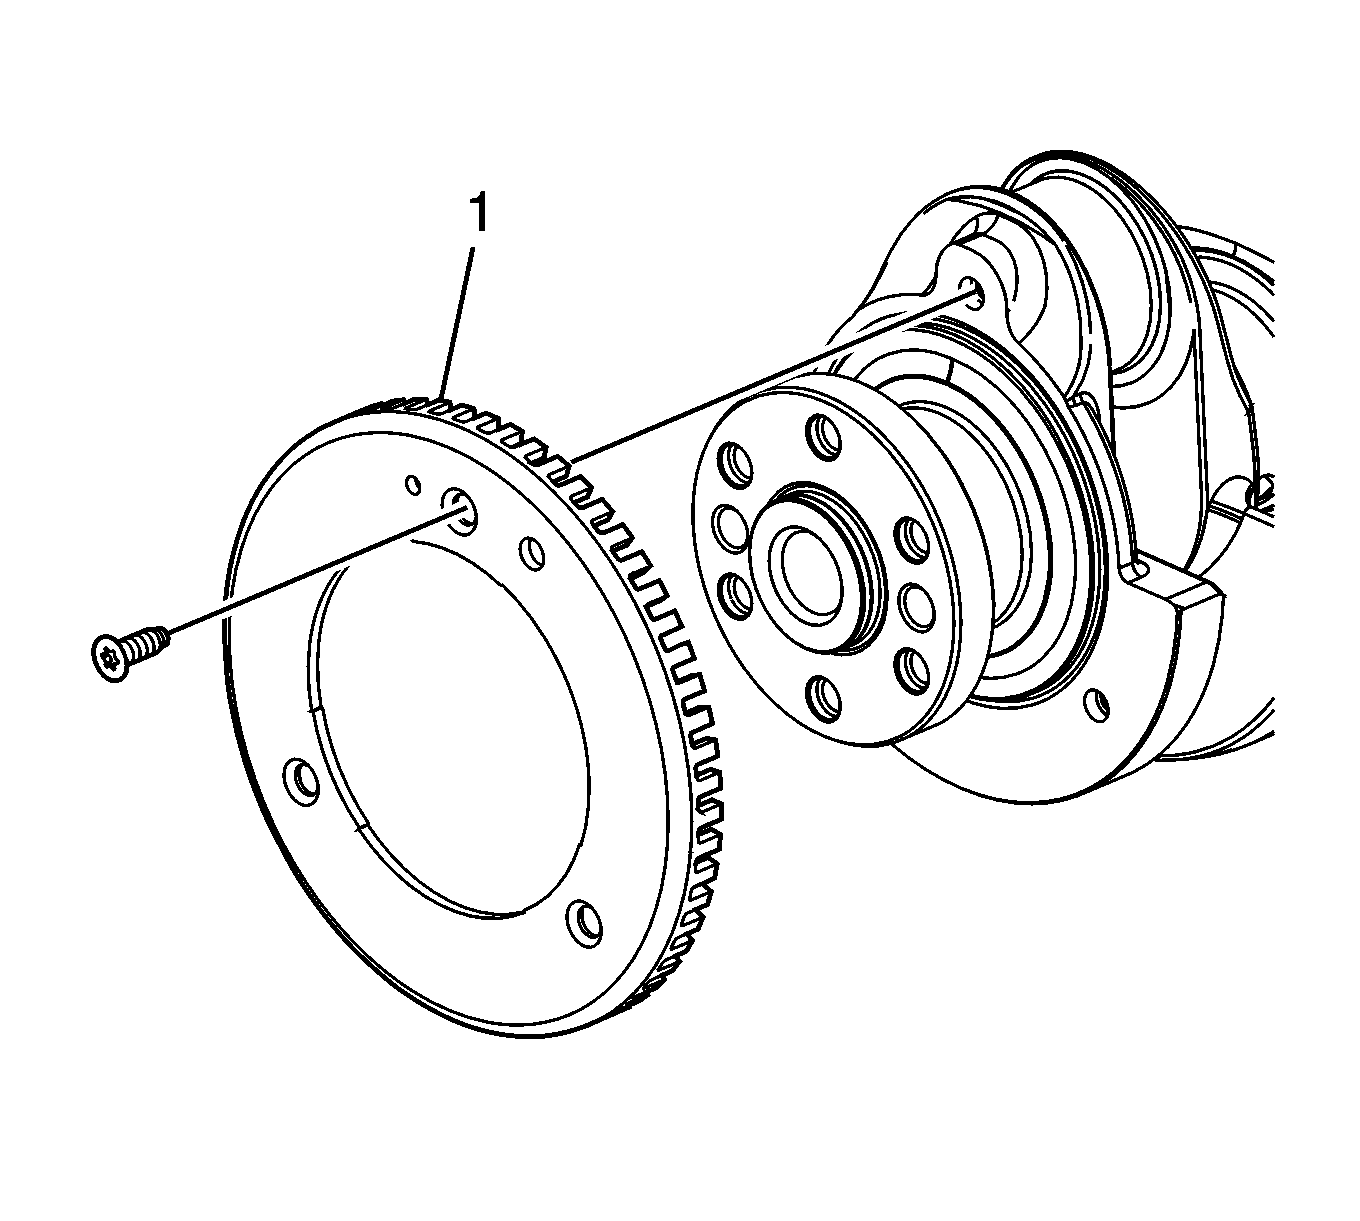

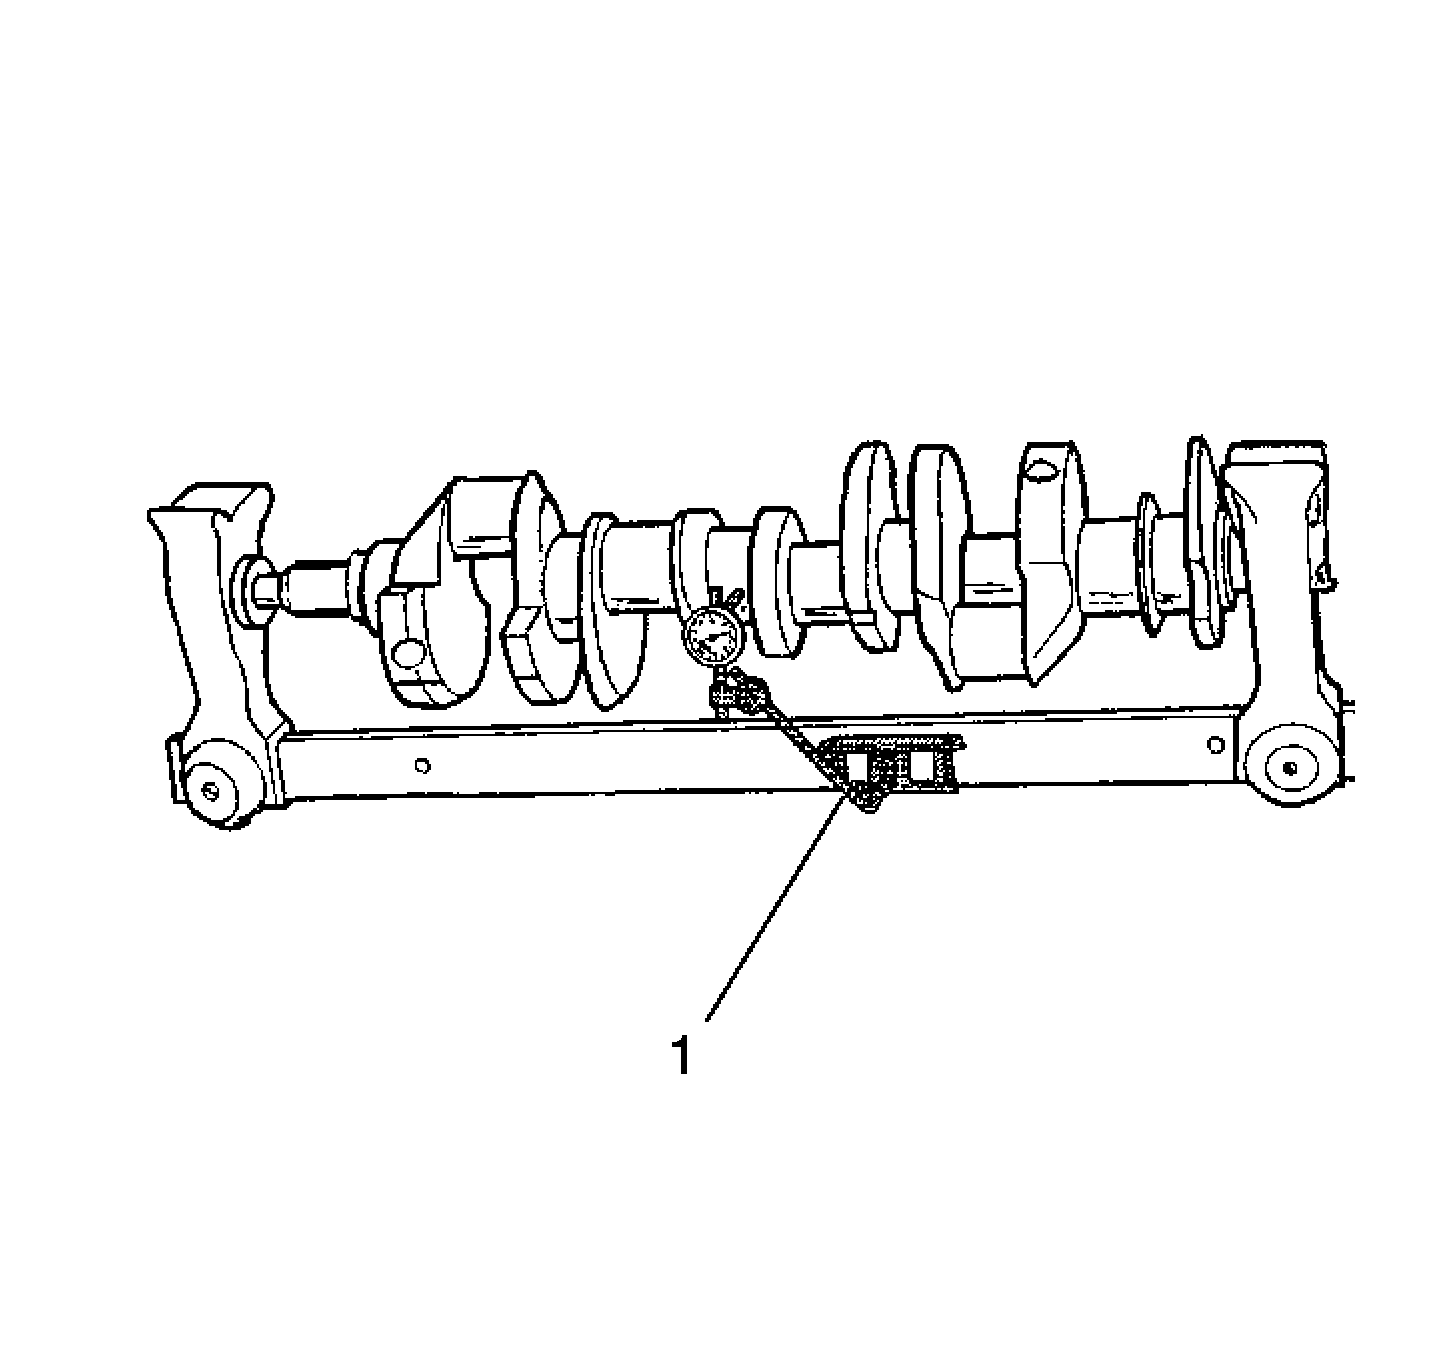
Using wooden V-blocks, support the crankshaft on the front and rear journals.
If the lower half of the bearing is worn or damaged, both upper and lower halves should be replaced.
Generally, if the lower half is suitable for use, the upper half should also be suitable for use.
