For 1990-2009 cars only
Door Lock Switch Replacement Pontiac
Removal Procedure
Notice: Apply protective coating/tape at the insertion point of the small flat-bladed tool in order to prevent damage to the inner door trim panel.
- Pry up the rear edge of the driver side accessory panel (1), and or the front edge of the passenger side accessory panel.
- Slide the driver side accessory panel (1) rearward, and or the passenger side accessory panel forward out of the door trim panel.
- Disconnect the power door lock electrical connector (7).
- Remove the power door lock switch (8) from the accessory panel (1).
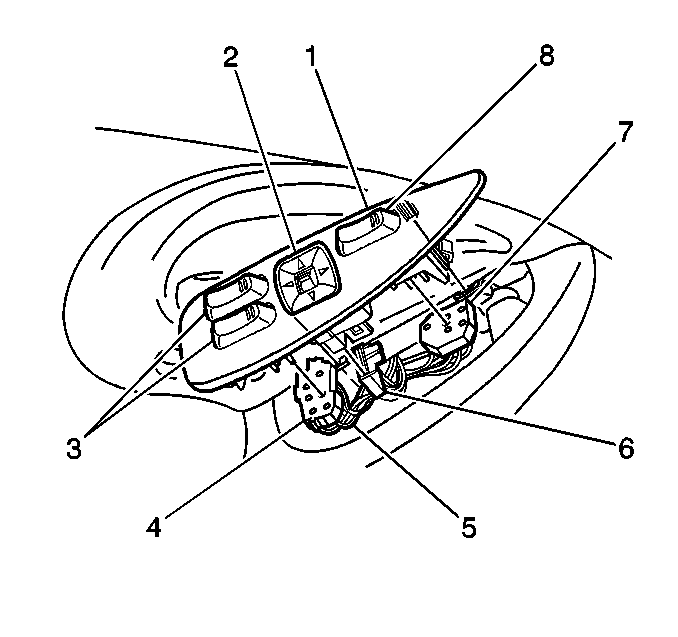
Installation Procedure
- Install the power door lock switch (8) to the accessory panel (1).
- Connect the power door lock switch electrical connector (7).
- Insert the front edge of the driver side accessory panel (1), and or the rear edge of the passenger side accessory panel into the door trim panel.
- Press the rear edge of the driver side accessory panel, and or the front edge of the passenger side accessory pane until fully seated.
Door Lock Switch Replacement Chevrolet
Removal Procedure
Notice: Apply protective coating/tape at the insertion point of the small flat-bladed tool in order to prevent damage to the inner door trim panel.
- Pry up the rear edge of the drivers side accessory panel (3), and or the front edge of the passenger side accessory panel.
- Slide the drivers side accessory panel (3) rearward, and or the passenger side accessory panel forward, out of the door trim panel.
- Disconnect the electrical connector (7) from the power door switch (2).
- Remove the power lock switch (2) from the accessory panel (3).
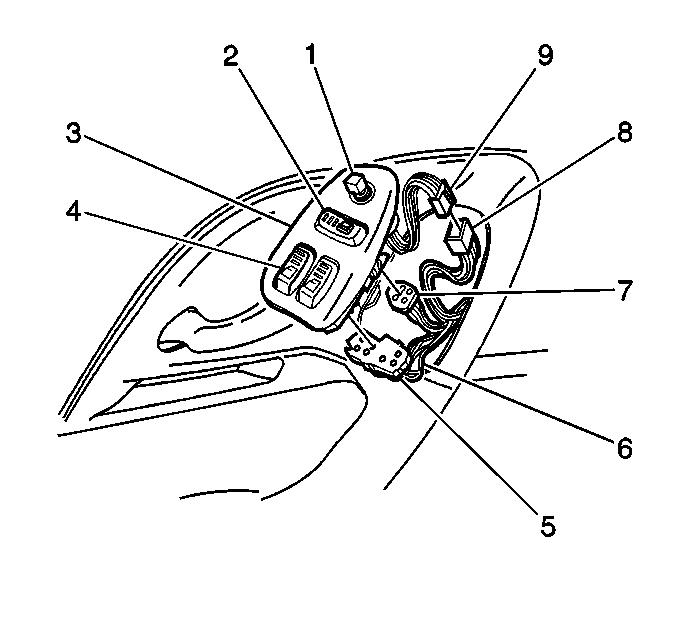
Installation Procedure
- Install the power lock switch (2) to the accessory panel (3).
- Connect the electrical connector (7) to the power door switch (2).
- Insert the front edge of the drivers side accessory panel (3), and or the rear edge of the passenger side accessory panel, into the door trim panel.
- Press the rear edge of the drivers side accessory panel (3), and or the front edge of the passenger side accessory panel until fully seated.
