For 1990-2009 cars only
Removal Procedure
- Recover the refrigerant. Refer to Refrigerant Recovery and Recharging .
- Disconnect the air conditioning (A/C) compressor and condenser hose bolt at the accumulator.
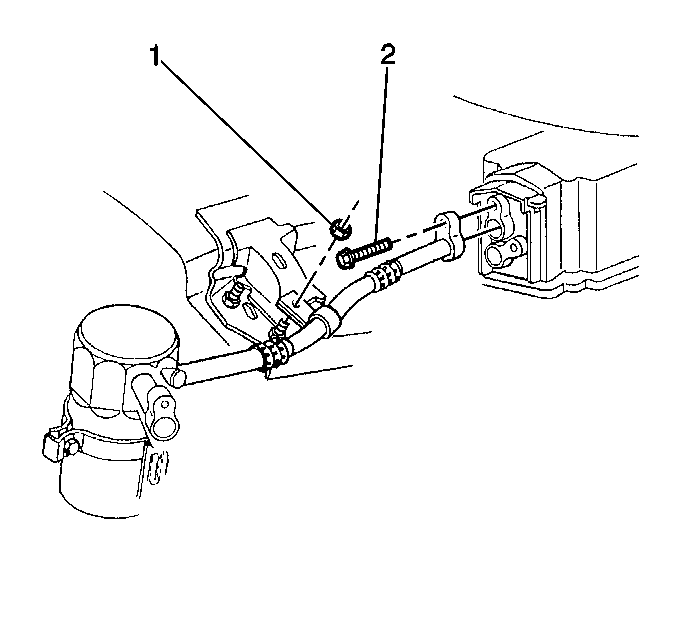
- Remove the accumulator bolt (2) at the module.
- Remove the accumulator hose bracket nut (1) at the strut tower.
- Remove the accumulator bracket bolt.
- Remove the accumulator from the bracket.
- Discard the O-rings.

Installation Procedure
- Before installing a new, or reinstalling the old accumulator perform the following:
- Install the new O-ring.
- Install the accumulator to the bracket.
- Install the accumulator bracket bolt.
- Install the accumulator hose bracket nut (1) at the strut tower.
- Install the accumulator bolt (2) at the module.
- Connect the A/C compressor and condenser hose bolt at the accumulator.
- Recharge the A/C system. Refer to Refrigerant Recovery and Recharging .
- Perform a leak test on the A/C system. Refer to Leak Testing .

| 1.1. | Drain, measure and record the amount of poly-alkylene glycol (PAG) oil in the accumulator that was removed. |
| 1.2. | Add 60 ml (2 oz) of new, clean PAG oil MORE than the amount drained from the removed accumulator. |
Tighten
Tighten the accumulator bracket bolt to 6 N·m (53 lb in).
Tighten
Tighten the accumulator hose bracket nut (1) at the strut tower to 8 N·m
(71 lb in).
Tighten
Tighten the accumulator bolt (2) at the module to 16 N·m
(12 lb ft).
Tighten
Tighten the A/C compressor and condenser hose bolt at the accumulator
to 16 N·m (12 lb ft).
