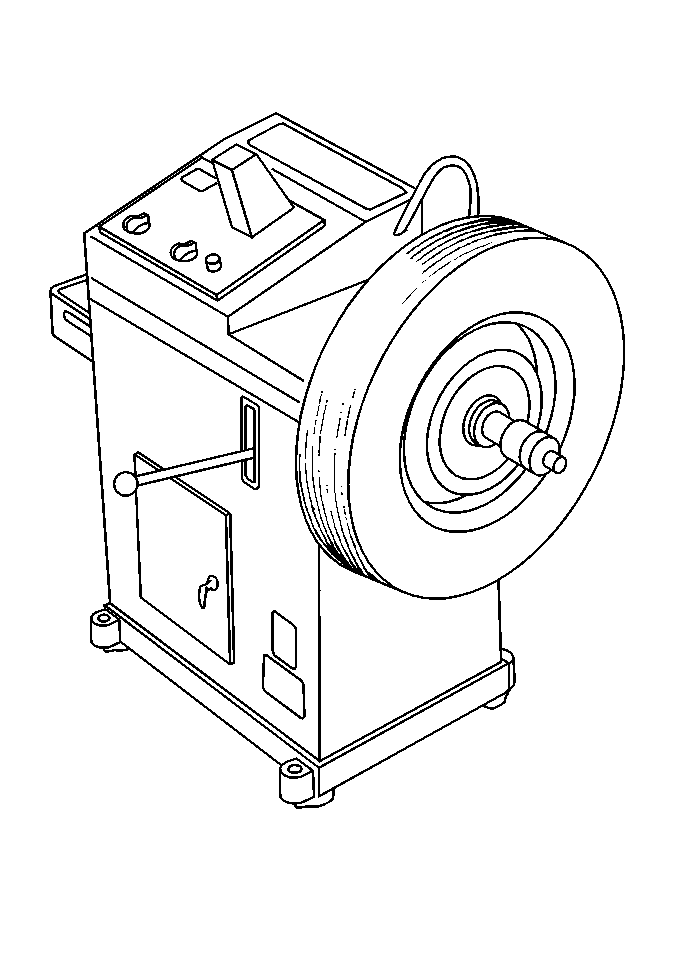
Tire Balancer Calibration Test
Caution: Failure to adhere to the following precautions before tire balancing
can result in personal injury or damage to components:
| • | Clean away any dirt or deposits from the inside of the wheels. |
| • | Remove any stones from the tread. |
| • | Use coated weights on aluminum wheels. |
Important: Tires may be balanced either on-vehicle or off-vehicle,
but the off-vehicle balancing procedures are recommended. Off-vehicle
methods are better because tire rotation will not affect the balancing. The
off-vehicle balancers are also more accurate than the on-vehicle
balancers. Off-vehicle balancers can perform dynamic balancing as well
as static balancing.
Tire and wheel balancers can drift out of calibration without warning
or become inaccurate as a result of abuse. The balancer calibration should
be inspected every two weeks or whenever the readings become questionable.
- Spin the balancer without
a wheel or any of the adapters on the shaft.
- Inspect the balancer readings.
Specification
0.00-0.25 oz.
- Balance a tire and wheel that is within radial and lateral tolerances
to ZERO.
- Add a 3-ounce test weight to the wheel at any location.
- Spin the tire and wheel again. Observe the readings.
| • | In the static and dynamic modes, the balancer should call for
3 ounces of weight, 180 degrees opposite the test weight. |
| • | In the dynamic mode only, the weight should be called for on the
flange of the wheel opposite the last weight. |
- With the wheel unbalanced to 3 ounces, cycle the balancer
five times.
- Take the balancer readings:
Specification
Variation: 0.25 oz or less.
- Index the tire and wheel at four separate locations on the balancer
shaft, 90 degrees apart.
- Cycle the balancer with the weights at each location.
- Take the balancer readings:
Specification
Variation: 0.25 oz or less.
Tire Balancing Guidelines
Static and dynamic balance are two kinds of tire/wheel balancing:
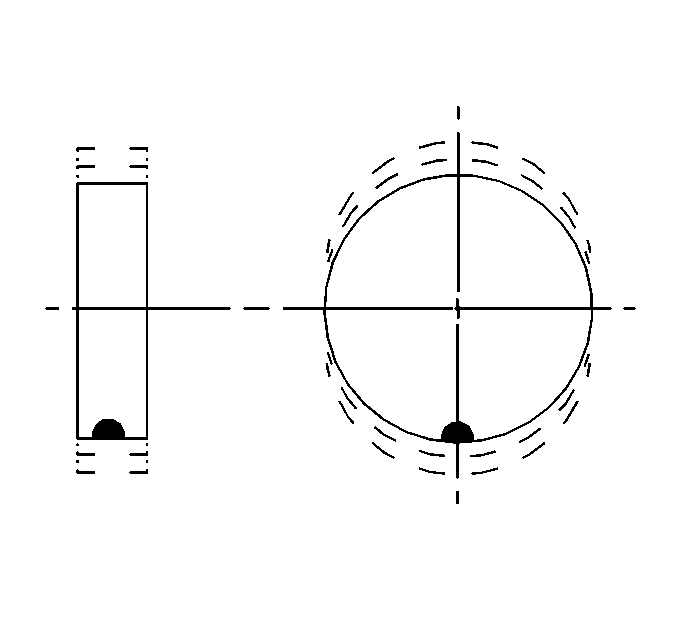
- Static balance, also called
single plane balance, affects the distribution of weights around the wheel
circumference.
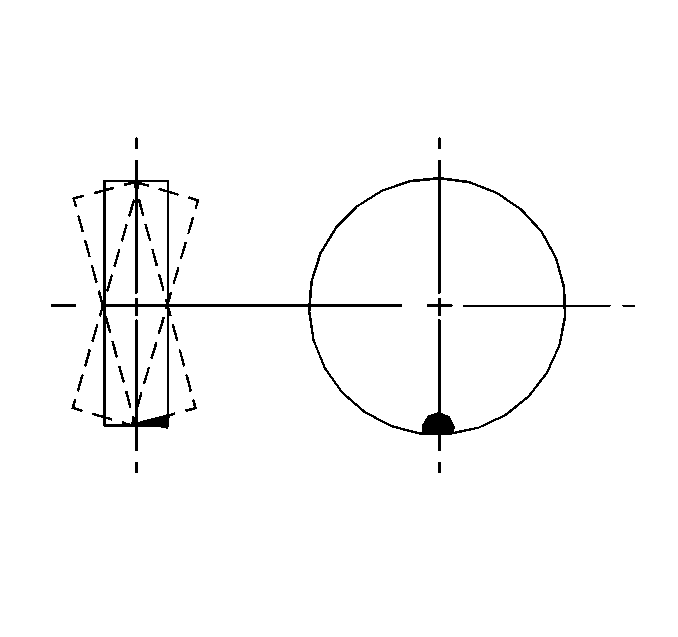
- Dynamic balance, or two-place balance, affects the distribution
of weight on each side of the tire/wheel centerline.
- Most off-vehicle balancers can check both types of balance
simultaneously.
- As a general rule, most balancers are most sensitive to static
imbalance that to dynamic imbalance. As little as 0.50 - 0.75 oz
may induce a vibration in some vehicles. Vibration induced by static imbalance
will cause a vertical, or bouncing motion of the tire. Dynamic imbalance
results in a side-to-side motion of the tire, or shimmy.
- Balance all four tires/wheels
as close to ZERO as possible.
- Carefully follow the wheel balancer manufacturers instructions
for proper mounting techniques for different types of wheels.
- Aftermarket wheels, especially those incorporating universal lug
patterns, are potential sources of runout and mounting problems.
- Use the correct coated weights on aluminum wheels.
- Retest the tire and wheel for excessive runout after correction
and installation.
- Evaluate the vehicle at the complaint speed and note if the vibration
has been corrected.
- If the vibration is still present, or is reduced but still unacceptable,
consider these possibilities:
| • | Radial or lateral force variation |
Wheel Weight Usage (Aluminum Wheels)
- Locate the wheel weights
on the inboard rim flange. If during static balancing more than 28 grams
(1 ounce) is needed, split the weights as equally as possible between
the inboard and outboard flanges.
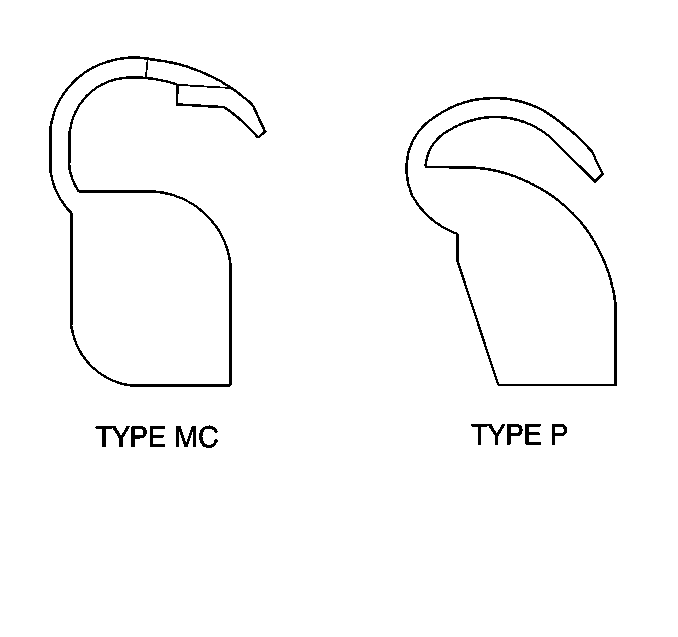
- Use special polyester-coated clip-on wheel weights
in order to balance factory aluminum wheels. These weights are designated
MC or P, and must be used on aluminum wheels having a wide 7.6 mm (19/64 in)
flange. Use a plastic tipped hammer in order to prevent damage to the weight's
coating during installation.
- Adhesive wheel weights are also available. Use the following procedure
in order to install adhesive wheel weights.
| 3.1. | Determine where the wheel weigh is to be located on the inboard
side of the wheel. |
| 3.2. | Clean that area by sanding to bare aluminum. Do NOT sand the outboard
side of the wheel as this will damage the clear coat finish. |
| 3.3. | Wipe the sanded area with a mixture of half ispopropyl alcohol
and half water. Use a clean cloth or paper towel. |
| 3.4. | Dry the area with hot air until the wheel surface is warm to the
touch. |
| 3.5. | Warm the adhesive backing on the wheel balance weight to room
temperature. |
| 3.6. | Remove the tape from the back of the weight. Do not touch the
adhesive tape. |
| 3.7. | Apply the wheel weight and press on with hand pressure. |
| 3.8. | Secure the wheel weight with a 70-110 N·m (16-25 lb ft)
force applied with a roller. |
