For 1990-2009 cars only
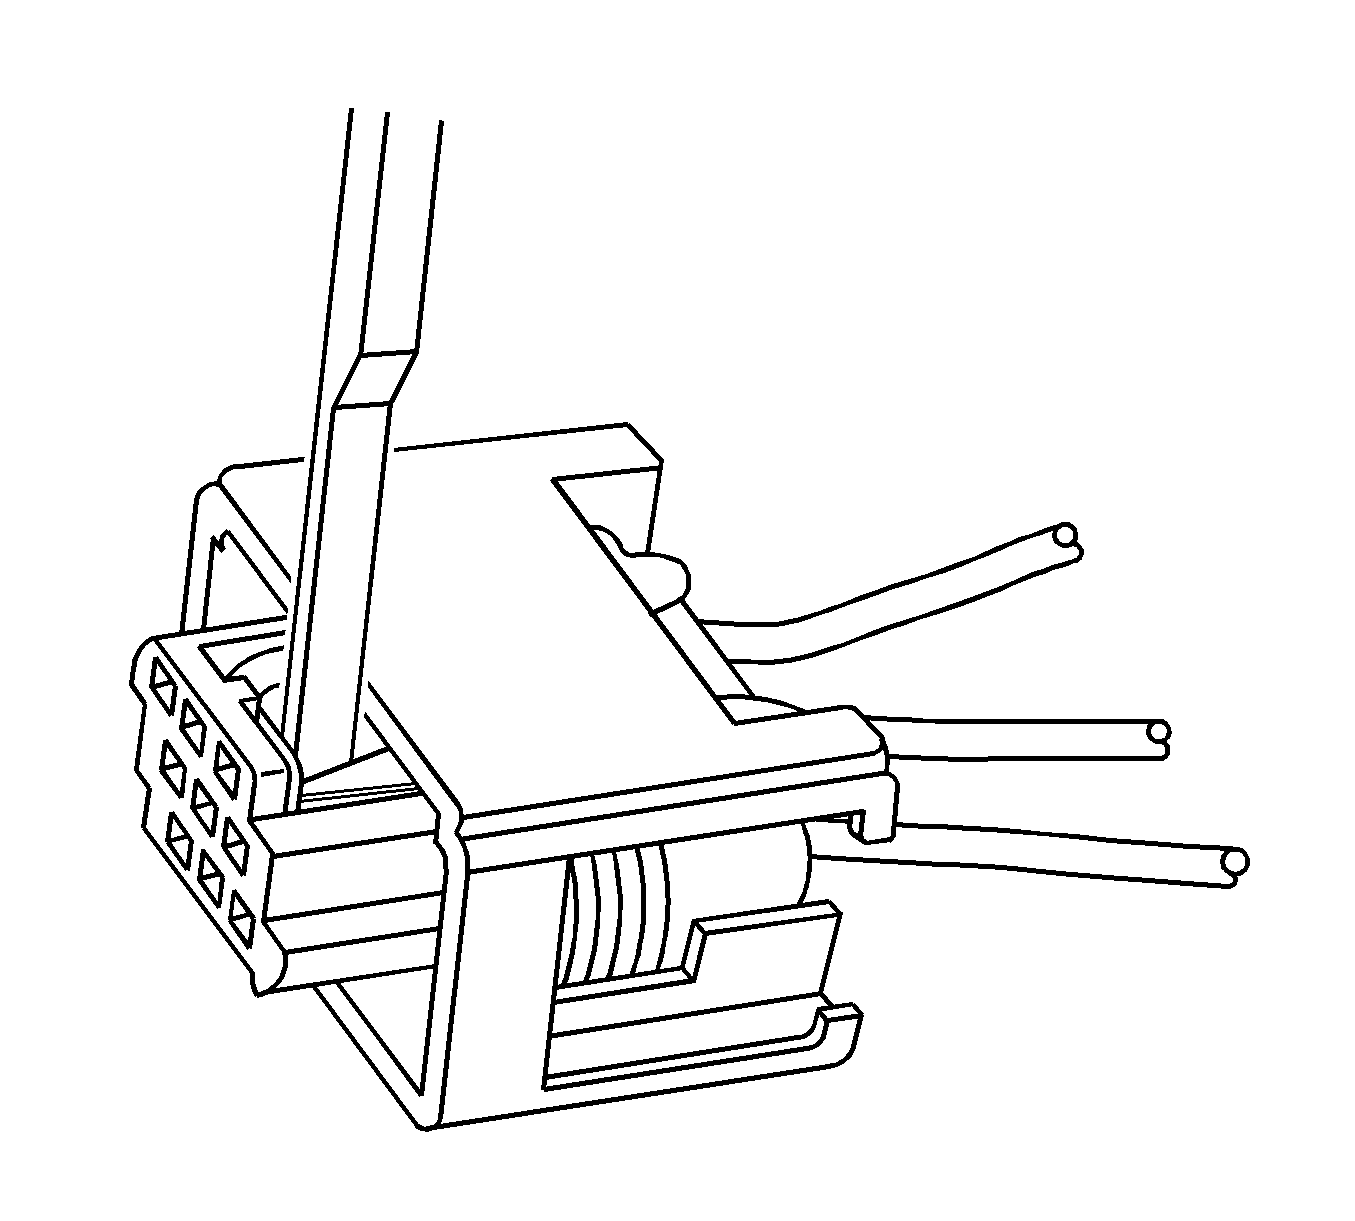
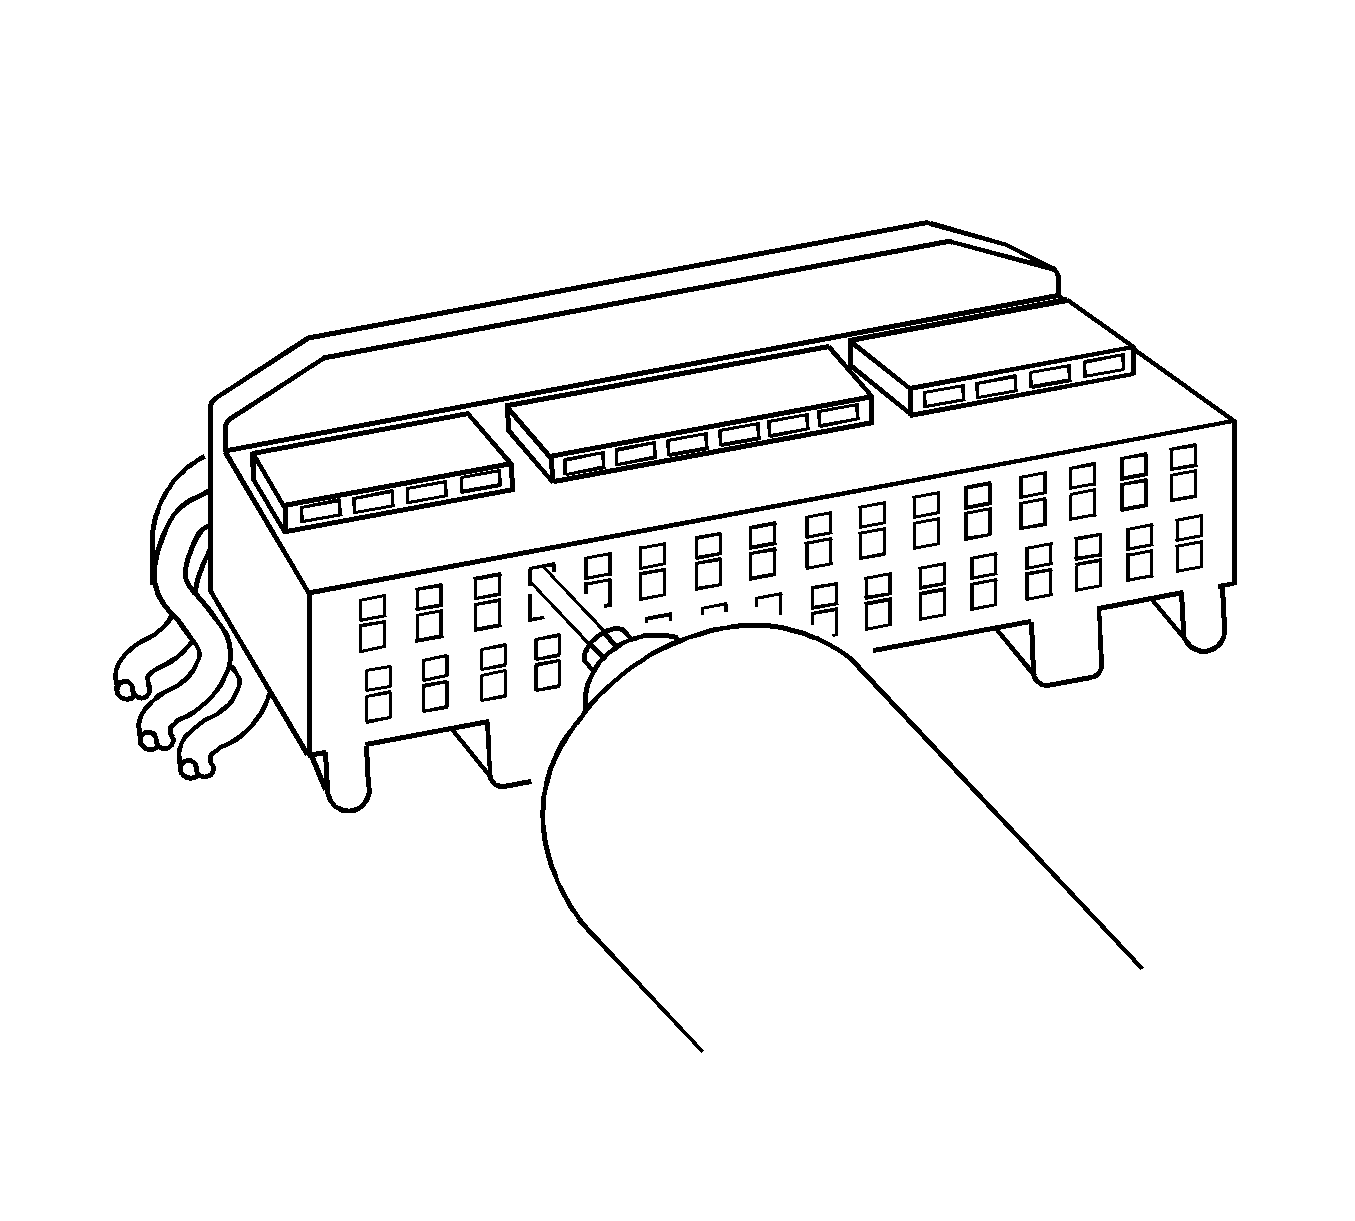
Tyco/AMP Connectors CM 42-Way
Special Tools
J-38125 Terminal Repair Kit
Removal Procedure
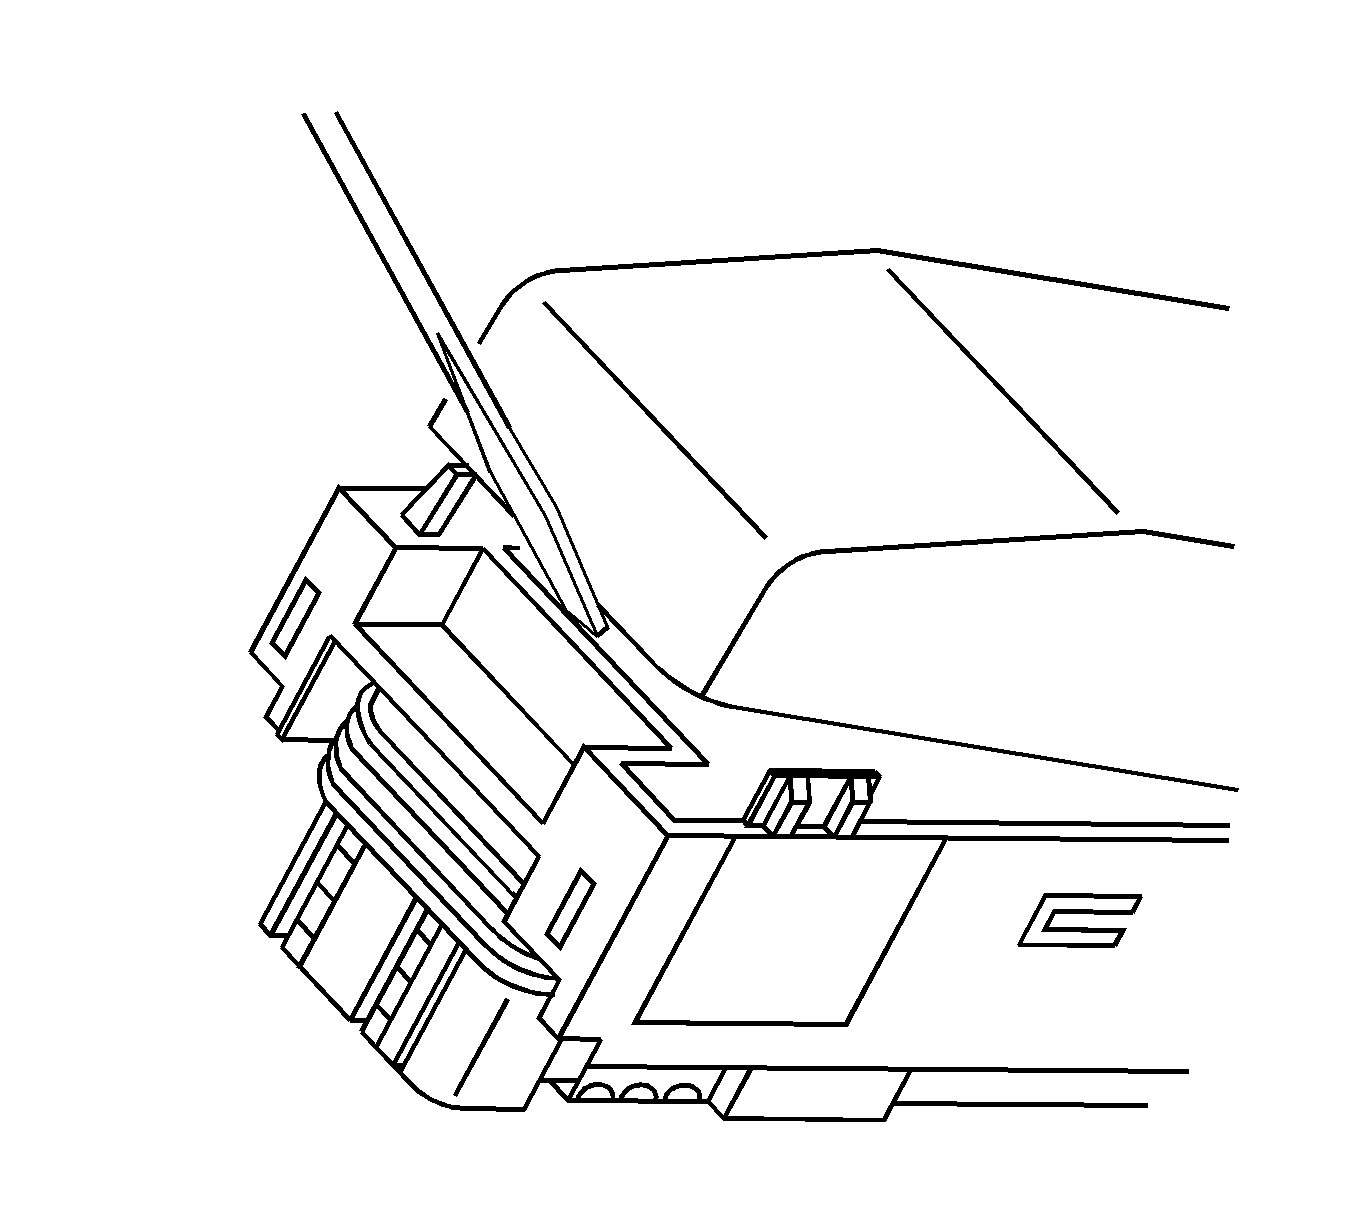
- Locate the connector position assurance (CPA) on the connector body and pull the CPA out. The CPA is on the wire harness side of connector.
- Disconnect the connector from the component.
- Use a small flat-bladed tool to gently pry off the dress cover by inserting the tool under the cover opposite the harness side and prying up.
- Remove the cover.
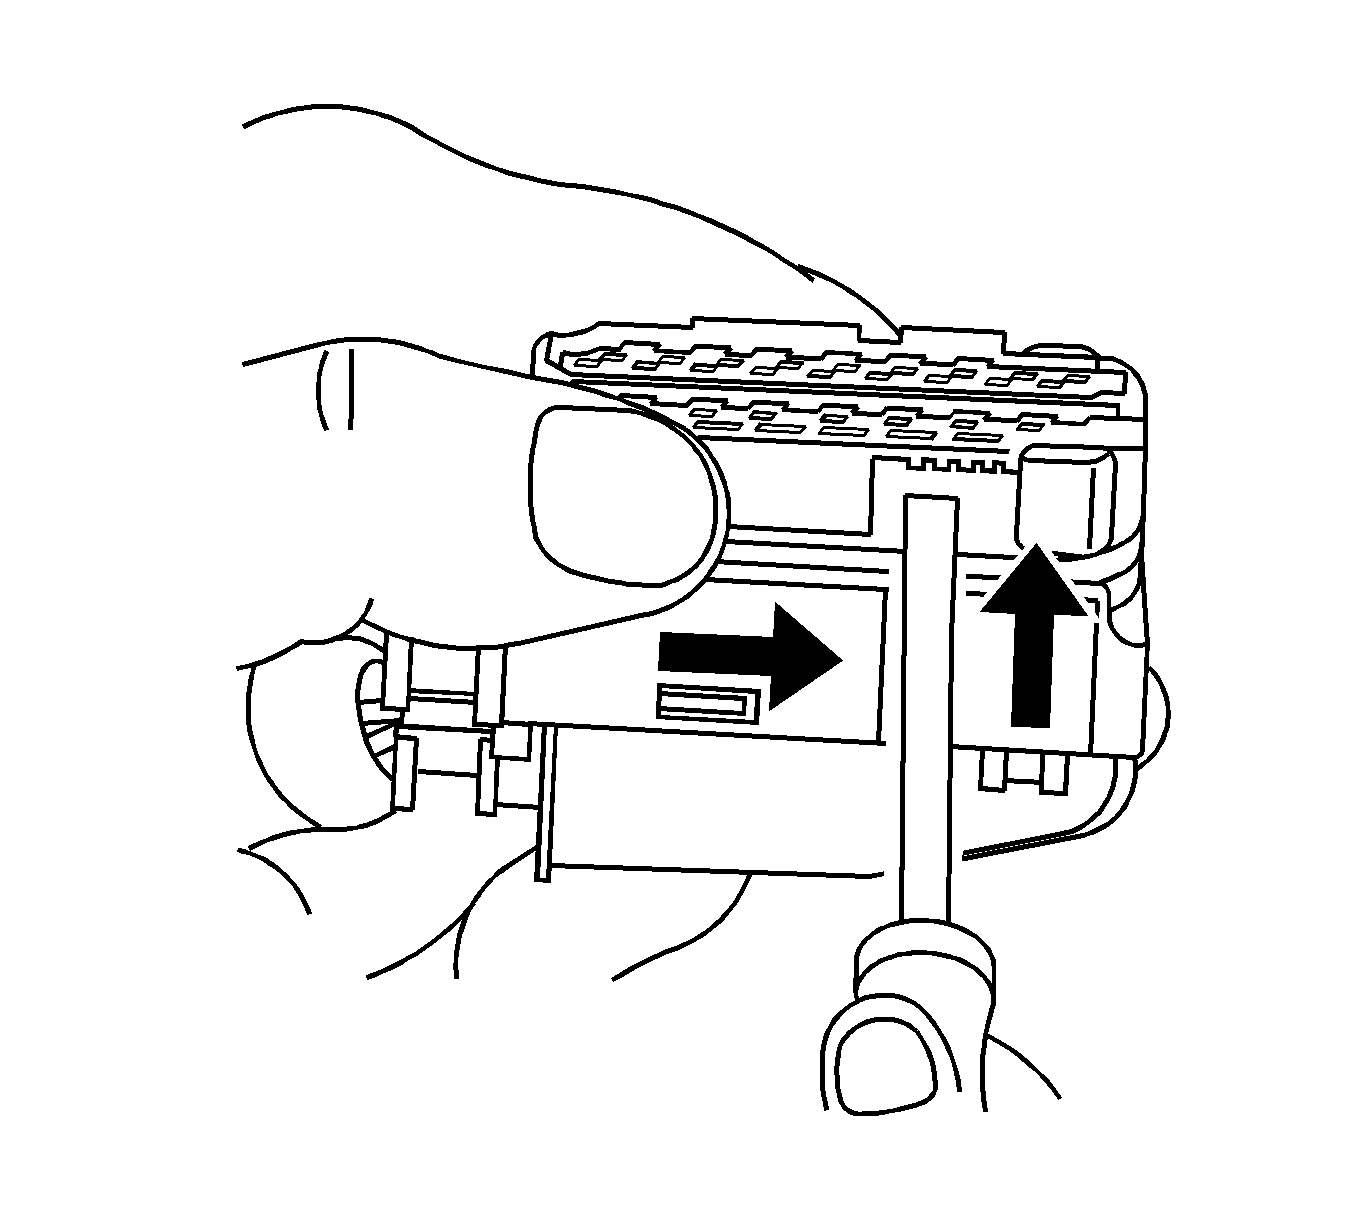
- Using a small flat-bladed tool, push on the side of the nose piece retainer while pushing the nose piece forward with your thumb. This will release the terminal position assurance (TPA).
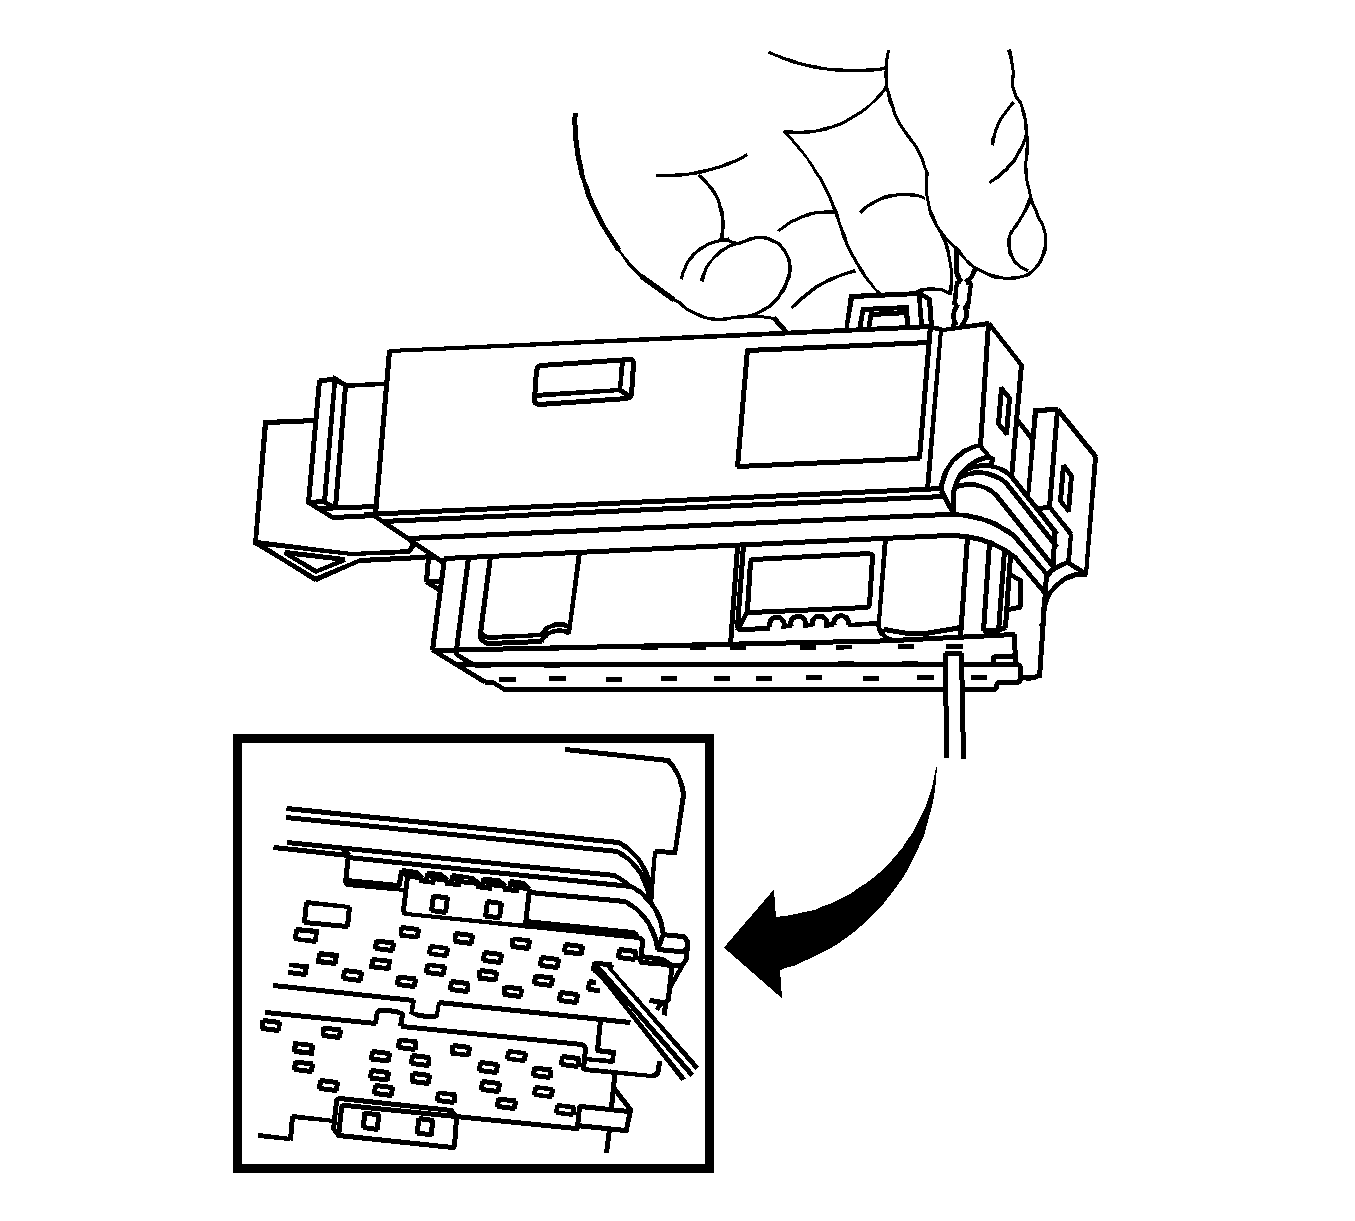
- Insert the J 38125-12A into the corresponding terminal release cavity. The release cavities are the 2 center rows of cavities on one half of the connector.
- Pressing the J 38125-12A tool in the release cavity of the terminal you are removing, gently pull the wire out of the back of the connector. Always remember never use force when pulling a terminal out of a connector. See the release tool cross reference in the Reference Guide of the J-38125 to ensure that the correct release tool is used.

Terminal Repair Procedure
Use the appropriate terminal and crimper in the J-38125 in order to replace the terminal.
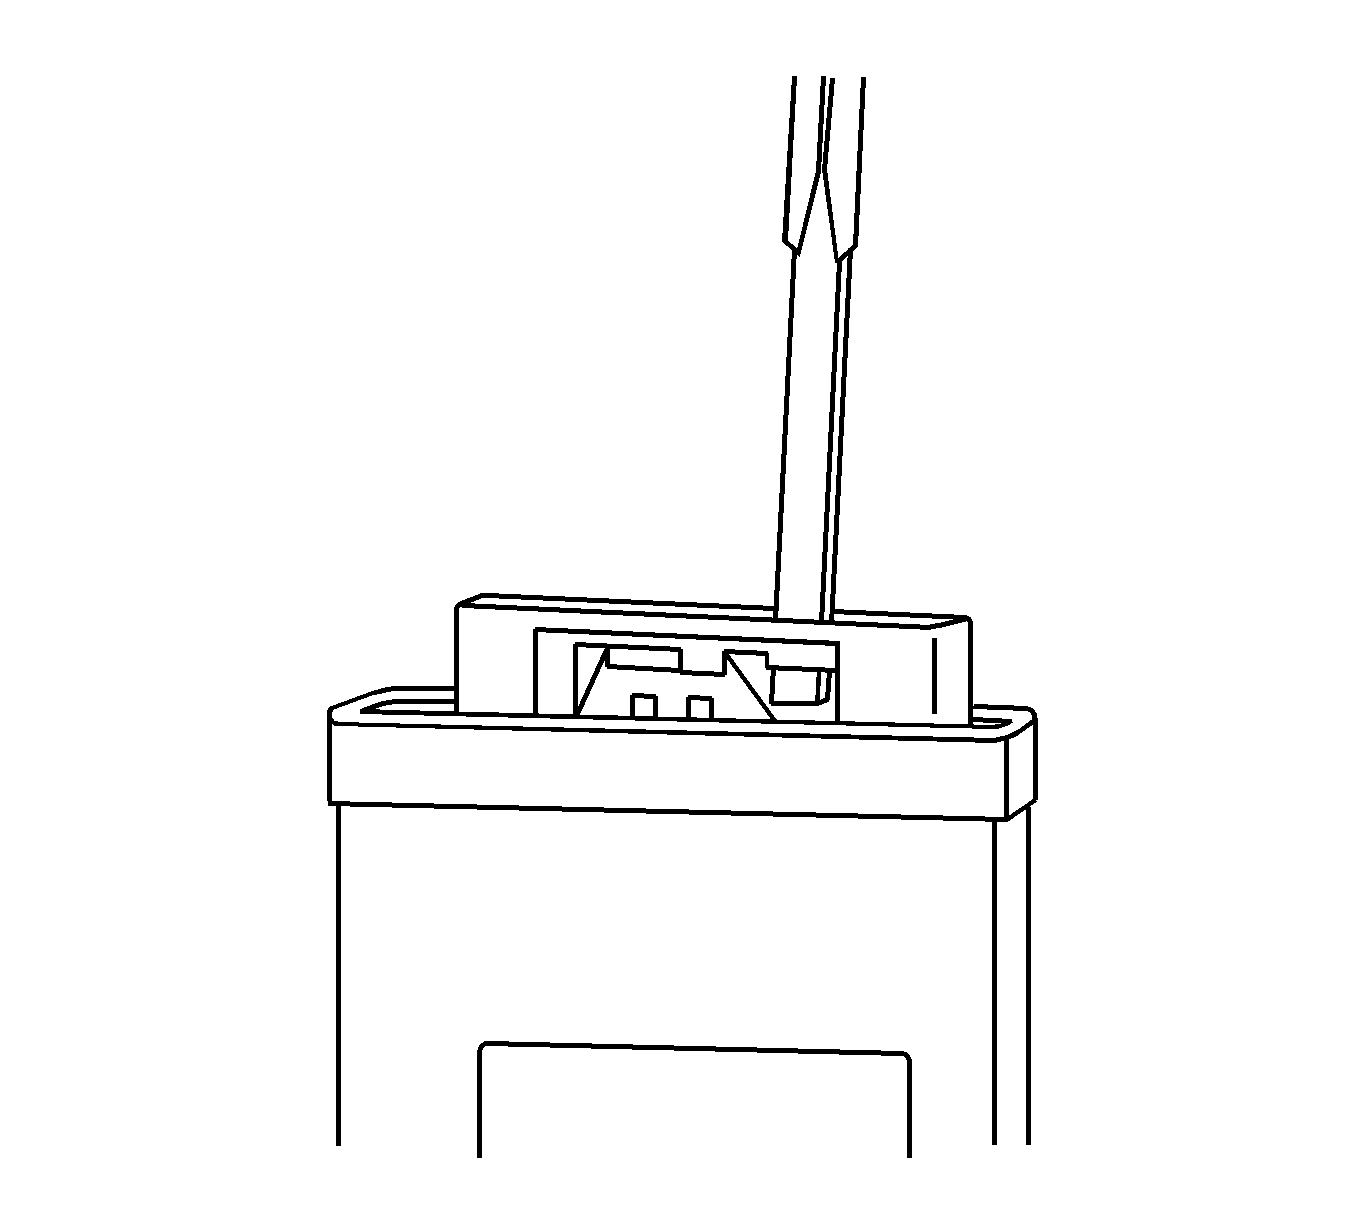
Tyco/AMP Connectors Sensor
Special Tools
J-38125 Terminal Repair Kit
Terminal Removal Procedure
- Disconnect the connector from the component.
- Insert the J 38125-11A tool into the cavity on the lower right hand face of the connector until the terminal release tang access panel slides over.
- Ensure that the terminal release tang access panel is in the correct location to access the terminals.
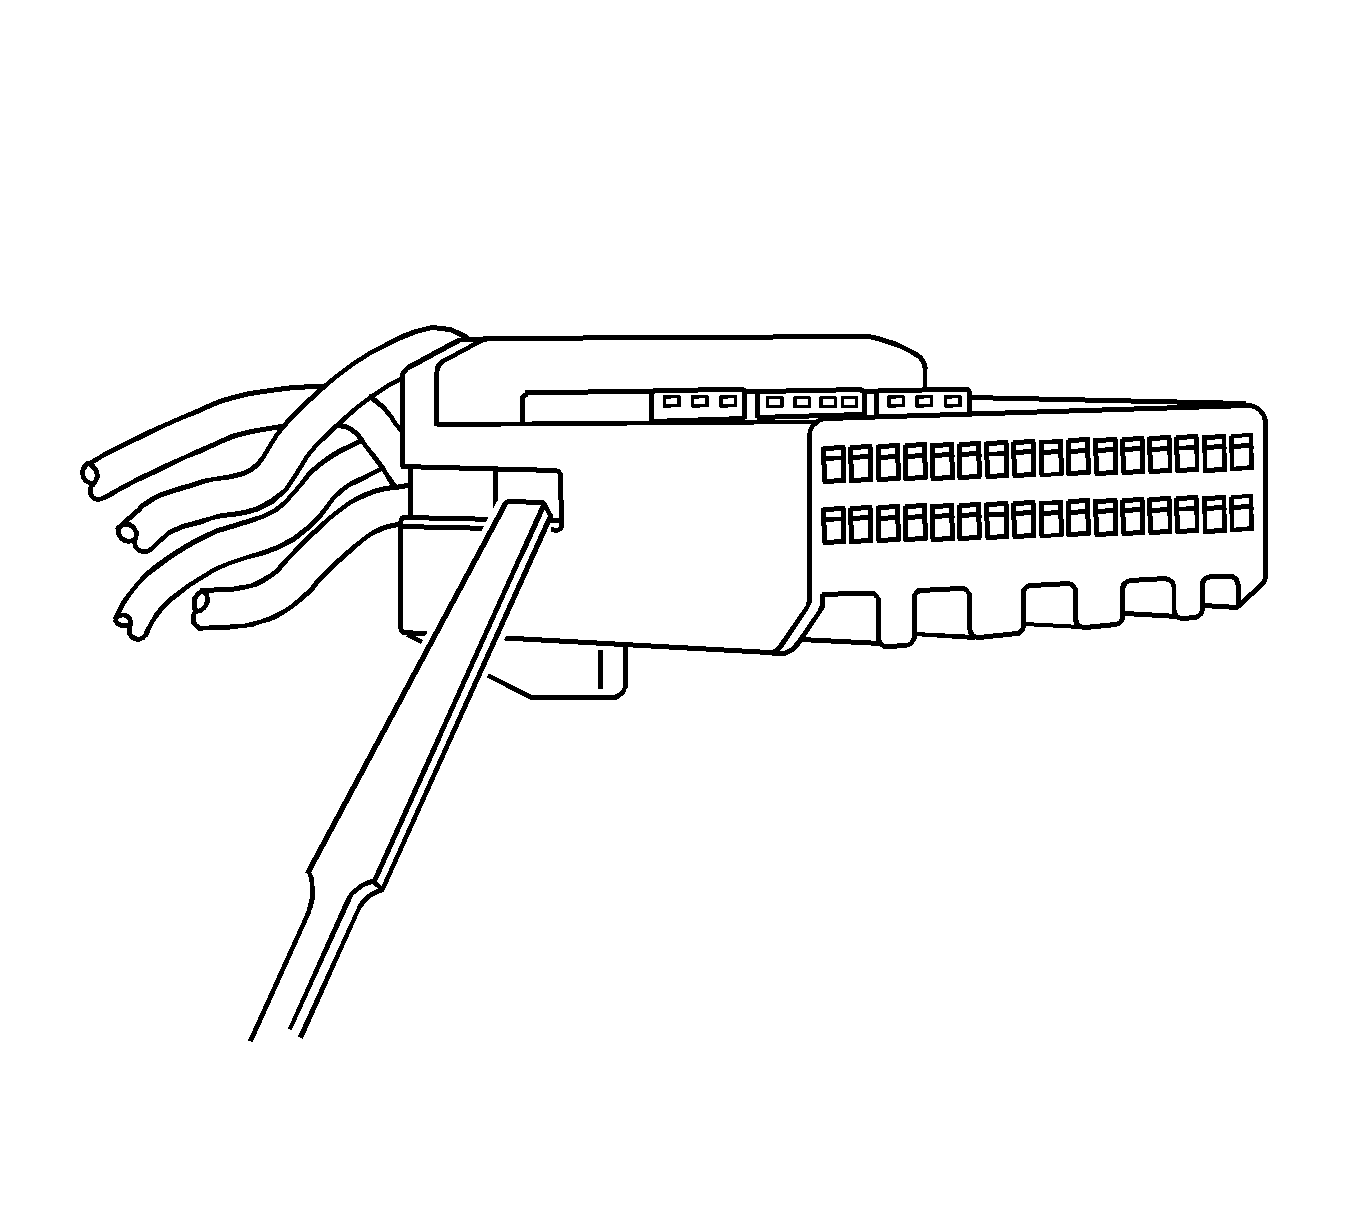
- Push the wire side of the terminal that is being removed toward the connector and hold it in position.
- Insert the J 38125-11A into the terminal release tang access slot located behind the access panel of the connector and press down on the terminal while carefully pulling the terminal out of the connector. Always remember never use force when pulling a terminal out of a connector. If the terminal is difficult to remove, repeat the entire procedure.
Terminal Repair Procedure
Use the appropriate terminal and follow the instructions in the J-38125 .
Tyco/AMP Connectors 0.25 Cap
Special Tools
J-38125 Terminal Repair Kit
Terminal Removal Procedure
- Disconnect the connector from the component by pressing down on the connector position assurance (CPA).
- Use a small flat-bladed tool to release the terminal position assurance (TPA) by inserting the tool in the small recess on the side of the connector and pushing up until the TPA releases from the connector body. The TPA should raise just slightly. Do not try to remove the TPA.
- Repeat the process for the other side of the connector.
- Ensure that the TPA is in the proper position to remove the terminals.
- While pushing the terminal forward, insert the J 38125-24 in the release cavity above the terminal you are removing, gently pull the wire out of the back of the connector. Always remember never use force when pulling a terminal out of a connector. See the release tool cross reference in the Reference Guide of the J-38125 to ensure that the correct release tool is used.
Note: The TPA on this connector cannot be removed unless the terminals are removed first. The TPA will come out of the connector body, but only slightly. When the TPA is slightly raised the terminals can be removed. Using excessive force to remove the TPA with the terminals still in the connector will damage the connector.
Terminal Repair Procedure
Use the appropriate terminal and follow the instructions in the J-38125 in order to replace the terminal.
