For 1990-2009 cars only
Parking Brake Adjustment Disc Brake
Tools Required
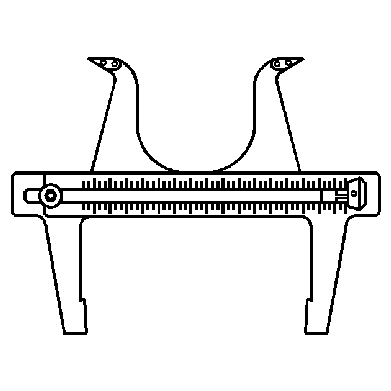
J 21177-A Drum-to-Brake Shoe Clearance Gage
- Apply and fully release the parking brake six times.
- Verify that the parking brake pedal releases completely.
- Raise and suitably support the vehicle. Refer to Lifting and Jacking the Vehicle .
- Remove the rear wheels and tires. Refer to Tire and Wheel Removal and Installation .
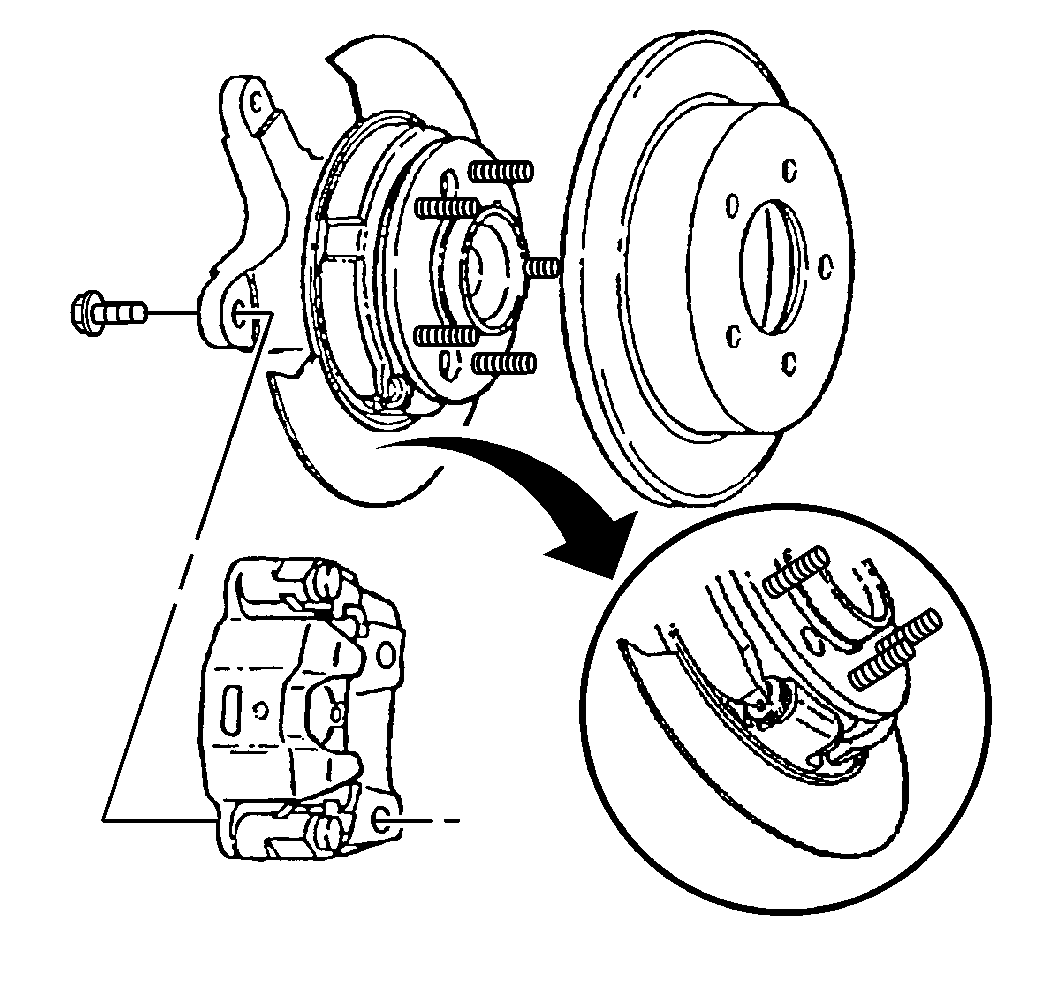
- Remove both rear caliper brackets. Refer to Rear Brake Caliper Bracket Replacement .
- Relieve tension on the park brake system at the park brake equalizer.
- Remove both rear brake rotors. Refer to Rear Brake Rotor Replacement .
- Set the J 21177-A inside of the park brake drum (1) at the widest point.
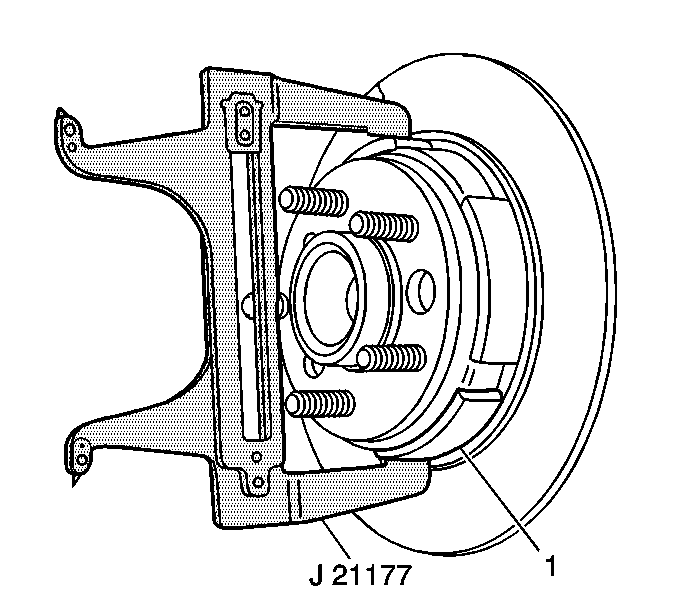
- Position the J 21177-A over the park brake shoe (1) at the widest point.
- Turn the adjuster on the actuator until the park brake shoe (1) just contacts the J 21177-A .
- Repeat steps eight through ten for the opposite side.
- Install both rear brake rotors. Refer to Rear Brake Rotor Replacement .
- Install both rear caliper brackets. Refer to Rear Brake Caliper Bracket Replacement .
- Install the rear wheels and tires. Refer to Tire and Wheel Removal and Installation .
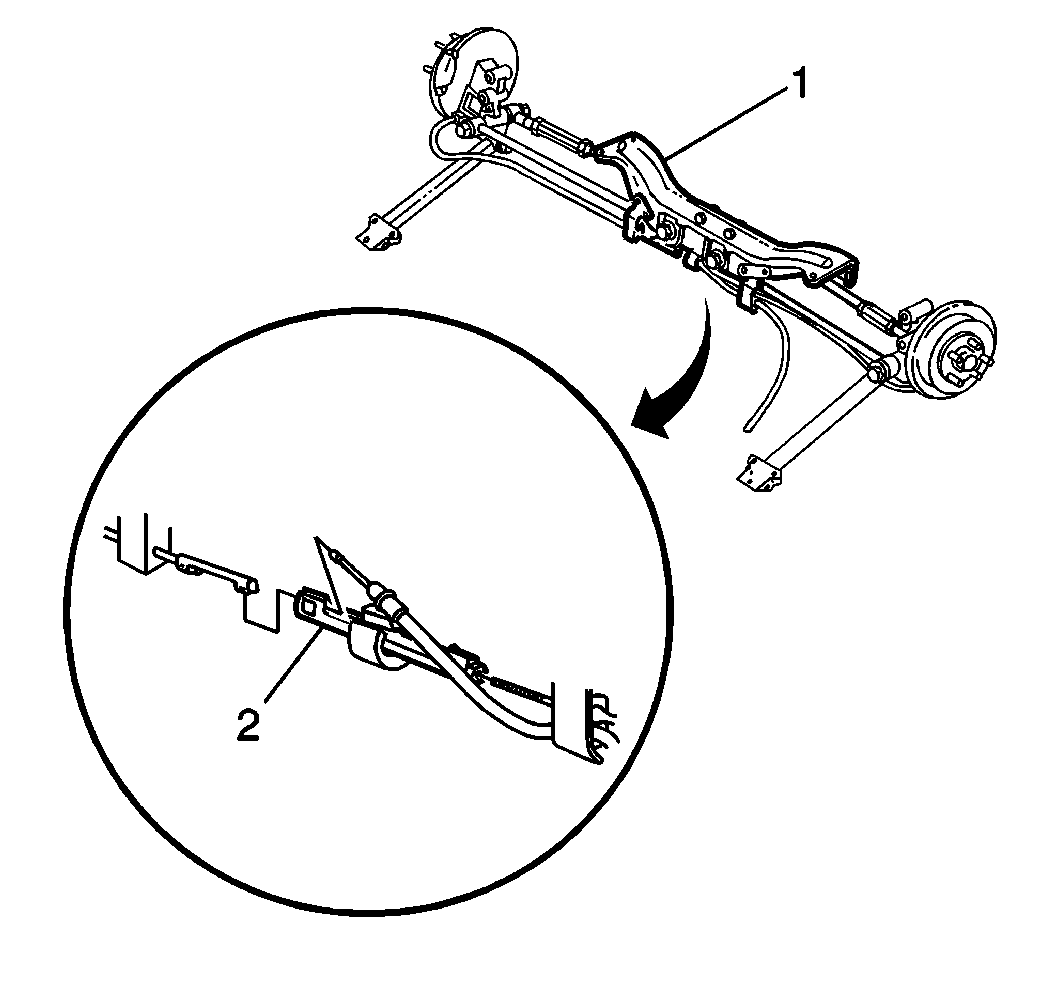
- Adjust the parking brake by turning the nut at the equalizer (2) while spinning both rear wheels. When either rear wheel starts to drag, back off the nut one full turn.
- Lower the vehicle to curb height.
- Apply the parking brake, then inspect for rotation of the rear wheels. If the rear wheels rotate during this inspection, readjust the parking brake shoes.
- Release the parking brake. Verify that the wheels rotate freely.
- Lower the vehicle.
| • | Turn ON the ignition. Verify that the BRAKE indicator lamp is off. |
| • | If the BRAKE indicator lamp is on, ensure that the parking brake pedal is in release mode and fully returned to stop. Remove the slack in the front parking brake cable by pulling downward on the cable. |
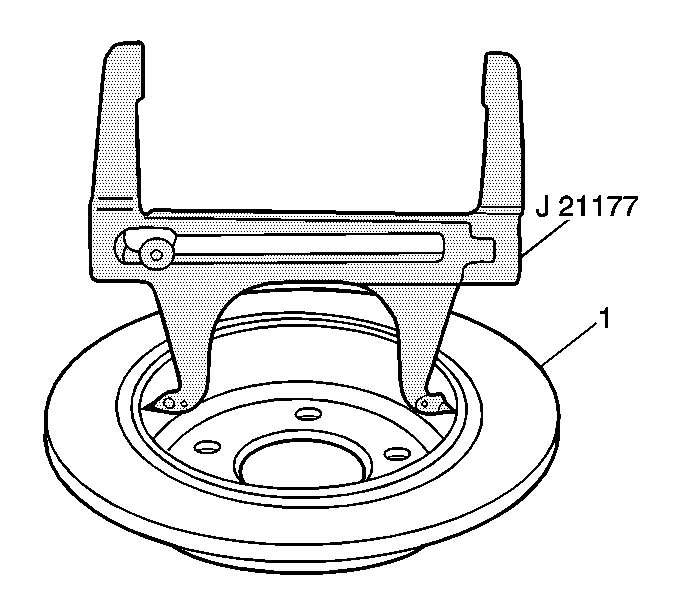
| • | Place the contacts on the tool to the widest point of the drum (1). |
| • | Tighten the set screw on the tool to ensure the proper measurement when removing the tool from the drum (1). |
Parking Brake Adjustment Drum Brake
- Apply and fully release the parking brake six times. Verify that the park brake pedal releases completely.
- Turn ON the ignition. Verify that the BRAKE indicator lamp is off.
- Raise and suitably support the vehicle. Refer to Lifting and Jacking the Vehicle in General Information.
- Remove the rear wheels and tires. Refer to Tire and Wheel Removal and Installation in Tires and Wheels.
- Adjust the drum brakes. Refer to Drum Brake Adjustment in Drum Brakes.
- Install the rear wheels and tires. Refer to Tire and Wheel Removal and Installation in Tires and Wheels.
- Adjust the park brake system by turning the nut at the equalizer (2) while spinning both rear wheels. When either rear wheel starts to drag, back off the nut one full turn.
- Lower the vehicle to curb height.
- Apply the parking brake five clicks and then check the forward rotation of the rear wheels. With five clicks applied it should very difficult to turn the wheels by hand ( should require 30 40 toque , measured with a torque wrench on a wheel stud) .With less than five clicks applied, wheels should turn easily by hand. Readjust the equalizer nut as needed to obtain this condition.
- Release the parking brake. Verify that the wheels rotate freely.
- Lower the vehicle.
If the BRAKE lamp is on, then check the following:
| • | Ensure that the parking brake is in release mode and fully returned to the stop. |
| • | Check the front park brake cable slack. Remove the slack in the front park brake cable by pulling downward on the cable. |
