Removal Procedure
Tools Required
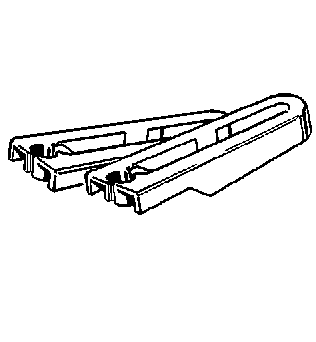
J 37088-A Fuel Line Quick-Connect Tools
Notice: Cap the fittings and plug the holes when servicing the fuel system in order to prevent dirt and other contaminants from entering the open pipes and passages.
Important: Always maintain cleanliness when servicing the fuel system components.
Important: There is no service interval for an in-line fuel filter replacement. Only replace the in-line fuel filter if the filter is restricted.
- Relieve the fuel system pressure. Refer to Fuel Pressure Relief .
- Raise the vehicle.
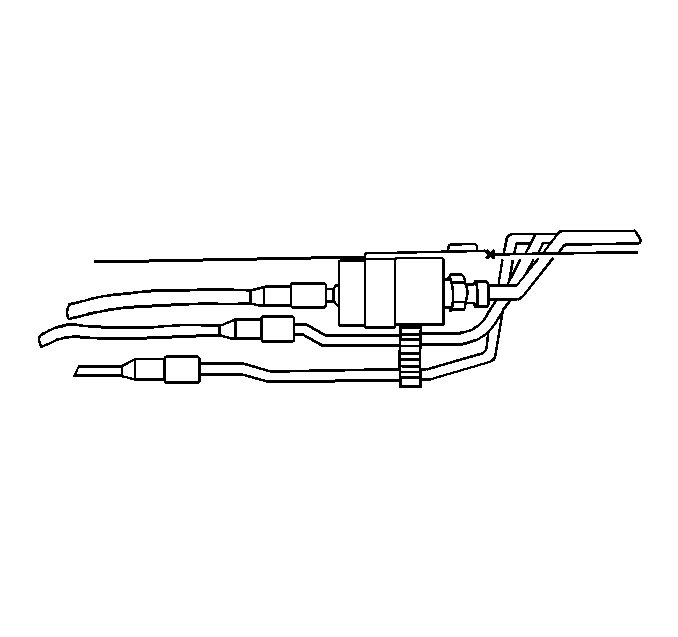
- Disconnect the quick-connect fitting at the inlet of the in-line fuel filter. Refer to Plastic Collar Quick Connect Fitting Service .
- Disconnect the threaded fitting at the outlet of the in-line fuel filter.
- Drain any remaining fuel into an approved gasoline container.
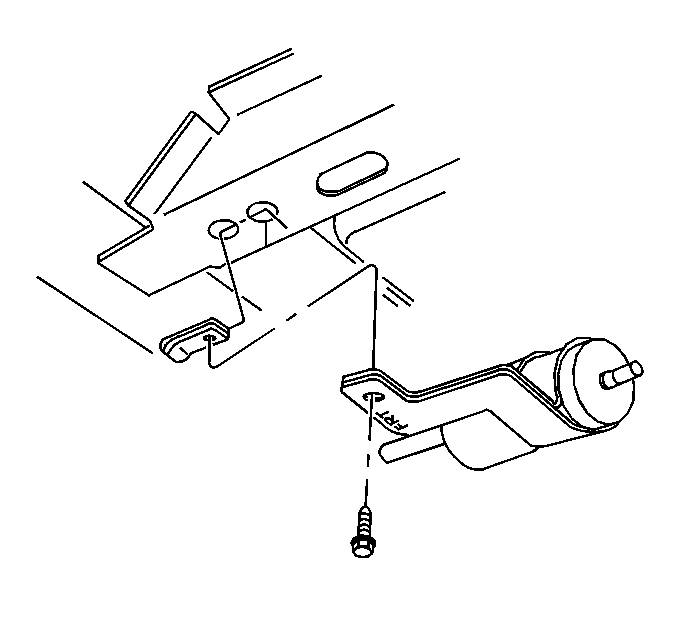
- Remove the in-line fuel filter assembly attaching bolt and remove the fuel filter assembly.
- Remove the in-line fuel filter from the mounting bracket.
Caution: Provide additional support when a vehicle is on a hoist:
• Before removing parts, support the opposite end. This helps prevent
the vehicle from slipping off. • Before removing major components, chain the vehicle frame to the
hoist pads at the same end as the removal. This helps avoid a tip-off.
Installation Procedure
Notice: Always re-attach the fuel lines and fuel filter with all original type fasteners and hardware.
Do not repair sections of fuel pipes.- Remove the protective caps from the new in-line fuel filter.
- Slide the in-line fuel filter into the mounting bracket.
- Install the in-line fuel filter and the mounting bracket.
- Install the bolt that retains the in-line fuel filter mounting bracket.
- Connect the quick-connect fitting at the inlet of the in-line fuel filter. Refer to Plastic Collar Quick Connect Fitting Service .
- Connect the threaded fitting at the outlet of the in-line fuel filter. Use a back-up wrench in order to prevent the in-line fuel filter from turning.
- Lower the vehicle.
- Perform the following procedure to inspect for leaks:
- Install the fuel injector sight shield. Refer to Fuel Injector Sight Shield Replacement in Engine Mechanical.
Notice: Use the correct fastener in the correct location. Replacement fasteners must be the correct part number for that application. Fasteners requiring replacement or fasteners requiring the use of thread locking compound or sealant are identified in the service procedure. Do not use paints, lubricants, or corrosion inhibitors on fasteners or fastener joint surfaces unless specified. These coatings affect fastener torque and joint clamping force and may damage the fastener. Use the correct tightening sequence and specifications when installing fasteners in order to avoid damage to parts and systems.
Tighten
Tighten the bolt to 20 N·m (15 lb ft)
Tighten
Tighten the nut to 30 N·m (22 lb ft).
| 8.1. | Inspect turn the ignition switch to the ON position for 2 seconds. |
| 8.2. | Turn the ignition switch to the OFF for 10 seconds. |
| 8.3. | Turn the ignition switch to the ON position again. |
| 8.4. | Visually inspect the fuel system for fuel leaks. |
