GM Service Manual Online
For 1990-2009 cars only

Torque Rod Adjustment

Tools Required

    • J 39384-3 Torque Rod Retaining Pin
    • J 39384-10 Torque Rod Adjustment Bar

    Object Number: 310009  Size: MH
  1. Support the rear compartment lid.
  2. Insert the J 39384-3  (3) into the hinge (1).
  3. Insert the J 39384-10  (4) over the end of the torque rod (2).
  4. Adjust the torque rod to 1 of 3 positions for desired tension. In order to decrease the amount of effort needed to raise the lid, reposition the end of the torque rod in a notch closer to the rear of the vehicle.

Fore/Aft Adjustment and Flushness


    Object Number: 310010  Size: SH

    Important: Verify that the rubber overslam bumpers are completely installed into the rear compartment lid. Do NOT use the overslam bumpers for adjustment.

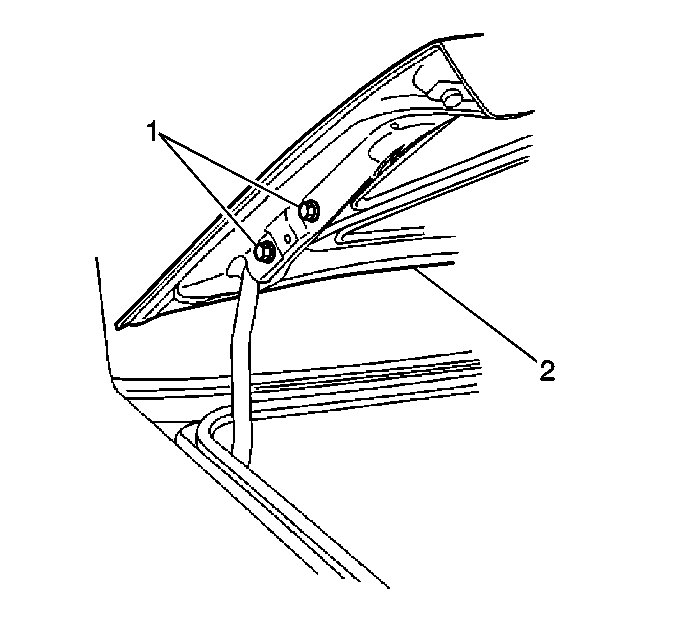
  1. With the lid (2) in the closed position, verify the fore/aft adjustment of the rear compartment lid at the rear corners of the lid. Verify the flushness of the lid to the quarters.
  2. If adjustment is necessary, loosen the bolts (1) that connect the rear compartment lid to the hinge. Adjust the lid.

    Notice: Use the correct fastener in the correct location. Replacement fasteners must be the correct part number for that application. Fasteners requiring replacement or fasteners requiring the use of thread locking compound or sealant are identified in the service procedure. Do not use paints, lubricants, or corrosion inhibitors on fasteners or fastener joint surfaces unless specified. These coatings affect fastener torque and joint clamping force and may damage the fastener. Use the correct tightening sequence and specifications when installing fasteners in order to avoid damage to parts and systems.

  3. Tighten the hinge bolts (1).
  4. Tighten
    Tighten the bolts to 25 N·m (18 lb ft).


    Object Number: 310019  Size: SH
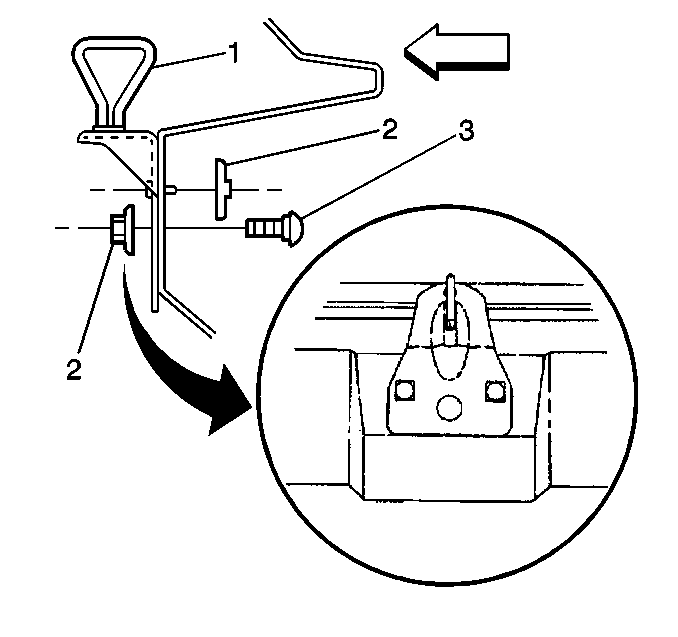
  5. If the rear compartment lid is not flush at the rear, loosen the inner latch striker mounting nut (2). Close the rear compartment lid.
  6. From beneath the rear bumper fascia, mark the vertical location of the outer latch striker mounting nuts (2).
  7. Loosen the outer latch striker mounting nuts.
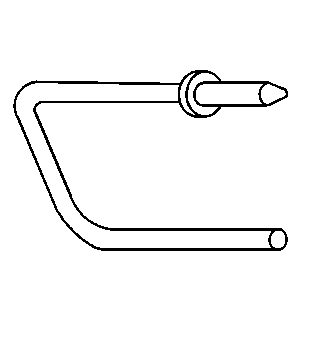
  8. 5.1. The latch striker (1) should move upward.
    5.2. If the latch striker does not move, the striker is probably at the top of its adjustment range. Make an adjustment to the latch assembly.
  9. Verify that the rear compartment lid remains flush to the quarter panels. Tighten the outer latch striker mounting nuts (2).
  10. Tighten
    Tighten the nuts to 9 N·m (80 lb in).

  11. Tighten the inner latch striker mounting nut.
  12. Tighten
    Tighten the nut to 9 N·m (80 lb in).

Lid to Quarter Gaps

  1. With the lid in the closed position, inspect the gaps between the rear compartment lid and the quarter panel. The gaps should be 3-4 mm (3/32-1/8 in), at the front and at the rear corners of the lid.
  2. • If the proper gaps are present, you may need to adjust the latch striker or the latch.
    • If the proper gaps are not present, complete the following steps in order to adjust the rear compartment lid.
        1. Remove the rear shelf speaker covers.
        2. Loosen the lid hinge to the rear shelf attachments.
        3. Position the rear compartment lid in the opening in order to obtain the proper gaps.
  3. Loosen the latch mounting bolts.
  4. With an assistant in the rear compartment, gently close the lid until the latch contacts the latch striker. While holding the lid down, have the assistant snug the latch mounting bolts.
  5. Raise the rear compartment lid.
  6. Tighten the latch mounting bolts.
  7. Tighten
    Tighten the bolts to 10.5 N·m (93 lb in).

  8. Tighten the bolts that connect the hinge to the shelf.
  9. Tighten
    Tighten the bolts to 18 N·m (13 lb ft).

  10. Verify the proper operation of the rear compartment lid.
  11. Verify the gaps between the rear compartment lid and the quarter panel.