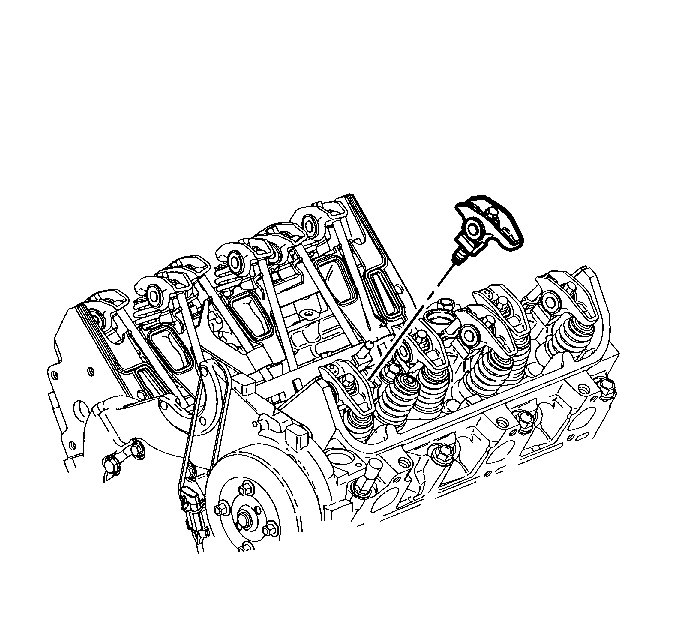
For 1990-2009 cars only
Removal Procedure
- Disconnect the negative battery cable.
- Remove the valve rocker covers. Refer to Valve Rocker Arm Cover Replacement.
- Remove the rocker arm bolts.
- Remove the rocker arms.
- Remove the pushrods.
Caution: Unless directed otherwise, the ignition and start switch must be in the OFF or LOCK position, and all electrical loads must be OFF before servicing any electrical component. Disconnect the negative battery cable to prevent an electrical spark should a tool or equipment come in contact with an exposed electrical terminal. Failure to follow these precautions may result in personal injury and/or damage to the vehicle or its components.

Important: Keep the components separated so they may be installed in the same location.
Important: Keep the pushrods in order so that they can be installed in the original position.
Installation Procedure
- Install the pushrods in their original location.
- Install the rocker arms.
- Install the rocker arm pivot balls.
- Install the rocker arm bolts.
- Install the valve rocker covers. Refer to Valve Rocker Arm Cover Replacement.
- Connect the negative battery cable.

| • | Coat the ends of the pushrods and bearing surfaces of the rocker arms with prelube. Use GM P/N 12345501 or GM P/N 88862586 (Canadian P/N 992704 or Canadian P/N 88862586) or equivalent. |
| • | The intake pushrods are marked with yellow stripes and are 5 3/4 inches long. |
| • | Exhaust pushrods are marked with green stripes and are 6 inches long. |
| • | Ensure that the pushrods seat in the lifter. |
Notice: Refer to Fastener Notice in the Preface section.
Tighten
Tighten the bolts to 19 N·m (14 lb ft).
