Tools Required

Notice: Clean the valve guides before reaming. Packing of chips or carbon may
result in the reamer jamming into the valve guide or broken reamer flutes.
- With the hole gauge, measure the valve guide ID with a micrometer,
measure the valve stem. Compare the valve guide ID and the valve stem measurements.
Refer to
Engine Mechanical Specifications
for allowable clearance.
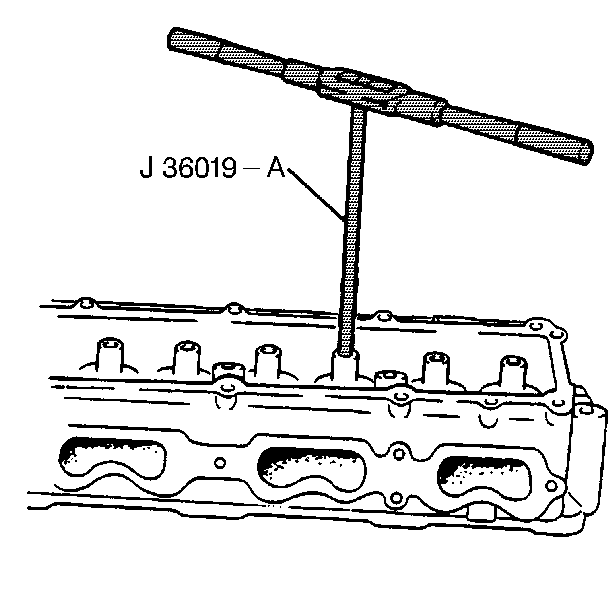
- Ream the valve guides for oversize valves using the J 36019-A
if the clearance exceeds the specifications.
Do not knurl the valve guides.
- Service valves are available in the standard and 1 mm oversize.
- Ream the valve guide bores for the oversize valves as necessary.
- Reconditioning the valve seats is very important.
Recondition the valve seat after reaming the valve guide bores.
Important: Because the valve guide serves to support and center the valve grinder,
it is essential that the valve guide is cleaned properly. If the valve guide
requires reaming, this must be done first.
- Inspect the valve seats for excessive wear and burned spots. Valve seats
may be reconditioned by grinding. If grinding results in the new seat being
too wide it may be narrowed by using a 20 degree or 70 degree
stone. The 20 degree stone will lower the seat and the 70 degree
stone will raise the seat.
| • | The valves must seat perfectly for the engine to deliver optimum
power and performance. |
| • | Cooling the valve heads is another important factor. Good contact
between each valve and its seat in the cylinder head is necessary to insure
that the heat in the valve head is properly carried away. |
| • | Regardless of what type of equipment is used, it is essential
that the valve guide bores are free from carbon or dirt in order to ensure
the proper centering of the pilot in the guide. |
| • | The valve seats should be concentric to within 0.05 mm (0.031 in)
total indicator reading. |
| • | Do not attempt to reface valves from the Twin Cam engine. |
| • | Replace any valve that is not in serviceable condition. |

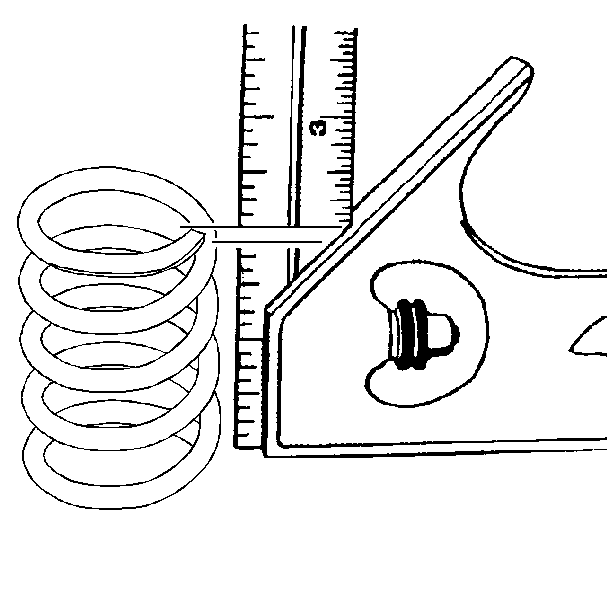
- Inspect the valve springs.
Refer to
Engine Mechanical Specifications
for the tolerances.
- Look for the following conditions when inspecting the valve springs:
| • | Spring tension, using the J 9666 |
- Inspect the valve spring seating surface of the valve rotators
and spring seats for wear or gouging. Replace as required.
- Assemble the valves.
- Use the following steps to measure valve runout:
| 11.1. | Apply a dab of Prussian blue on the entire valve face. Seat the
valve, but do not rotate the valve. The Prussian blue traces transferred to
the valve seat are an indication of concentricity of the valve
seat. |
| 11.2. | Clean all traces of Prussian blue. |
| 11.3. | Apply a dab of Prussian blue on the valve seat and repeat the
check. The traces of Prussian blue transferred to the valve face indicates
valve face concentricity. |
| 11.4. | Recondition the valve seat or replace the valves, if required. |


