For 1990-2009 cars only
Removal Procedure
- Remove the rear compartment sill trim plate. Refer to Rear Compartment Sill Trim Plate Replacement .
- Remove the rear compartment spare tire cover.
- Remove the cargo net. Refer to Cargo Net Replacement .
- Remove the rear seat cushion. Refer to Rear Seat Cushion Replacement in Seats.
- Remove the rear seat back. Refer to Rear Seat Back Replacement in Seats.
- Remove the rear window shelf trim panel. Refer to Rear Window Shelf Trim Panel Replacement in Interior Trim.
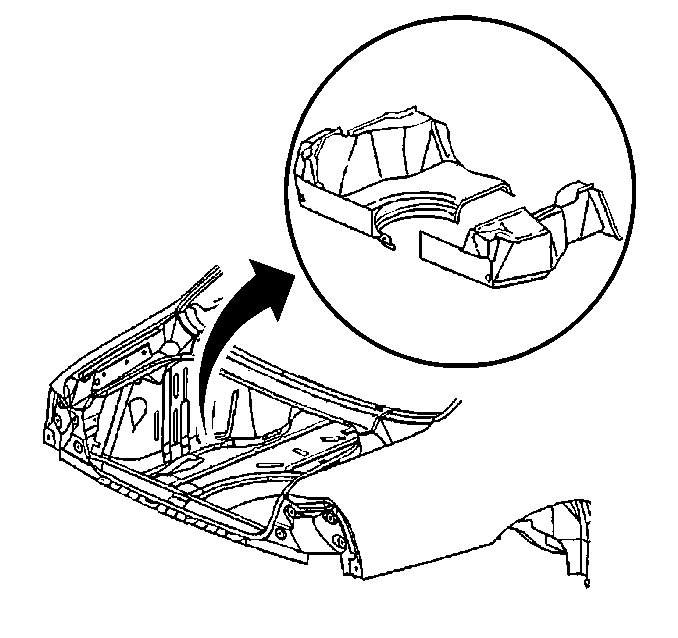
- Fold the right section of the rear compartment trim panel toward the center of the compartment.
- Fold the left section of the rear compartment trim panel toward the center of the compartment.
- Remove the trim panels from the rear compartment.
Important: The rear compartment trim panel is a two-piece molded unit.
Installation Procedure
- Position the folded trim panels into the rear compartment, with the topmost panel on the left.
- Install the trim panels over the seat brackets and press the trim panels up under the quarter panels.
- Install the rear window shelf trim panel. Refer to Rear Window Shelf Trim Panel Replacement in Interior Trim.
- Install the rear seat back. Refer to Rear Seat Back Replacement in Seats.
- Install the rear seat cushion. Refer to Rear Seat Cushion Replacement in Seats.
- Install the cargo net. Refer to Cargo Net Replacement .
- Install the rear compartment spare tire cover.
- Install the rear compartment sill trim plate. Refer to Rear Compartment Sill Trim Plate Replacement .
