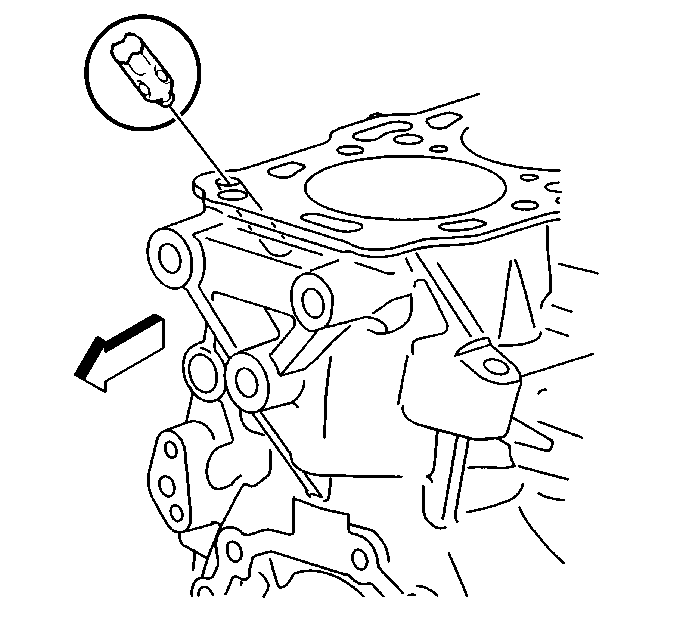
- Apply gasket paste GM P/N United States 12346004, GM P/N Canada 10953480 to the plug.
- Install the engine block coolant drain plug.
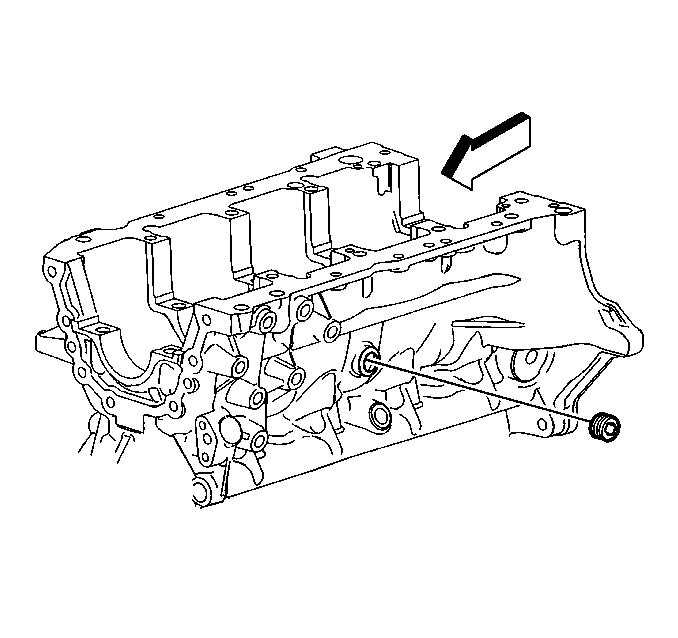
- Install the coolant jacket plug.
- Apply gasket paste GM P/N United States 12346004, GM P/N Canada 10953480 to the plug.
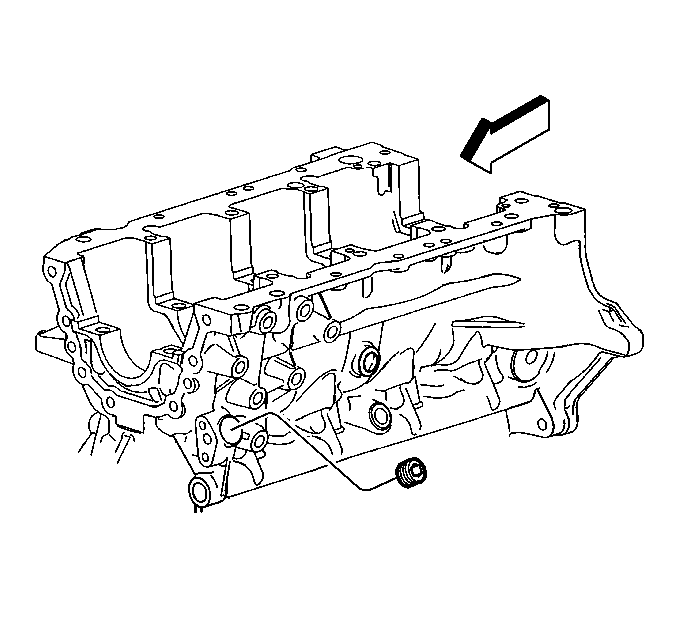
- Install the timing chain tensioner gallery oil passage plug.
- Apply gasket paste GM P/N United States 12346004, GM P/N Canada 10953480 to the plug.
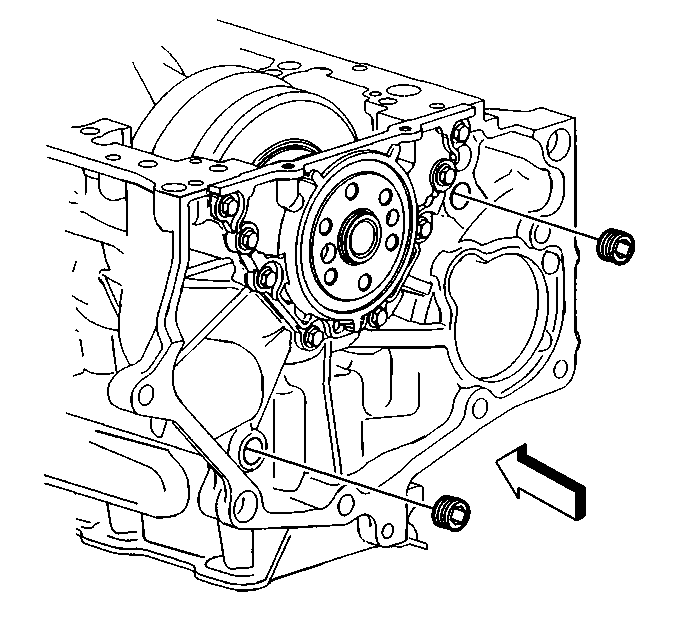
- Install the rear oil passage plug.
- Apply gasket paste GM P/N United States 12346004, GM P/N Canada 10953480 to the plug.
- Install the front oil passage plug.
- Apply gasket paste GM P/N United States 12346004, GM P/N Canada 10953480 to the plug.
- Install the rignt side oil passage plug.
- Install a new oil flow check valve in the oil passage for the cylinder head.
- Drive the check valve in until the valve is flush with the cylinder block headgasket surface.
Notice: Use the correct fastener in the correct location. Replacement fasteners must be the correct part number for that application. Fasteners requiring replacement or fasteners requiring the use of thread locking compound or sealant are identified in the service procedure. Do not use paints, lubricants, or corrosion inhibitors on fasteners or fastener joint surfaces unless specified. These coatings affect fastener torque and joint clamping force and may damage the fastener. Use the correct tightening sequence and specifications when installing fasteners in order to avoid damage to parts and systems.
Tighten
Tighten the coolant jacket plug to 30 N·m (22 lb ft).
Tighten
Tighten the oil passage plug to 20 N·m (15 lb ft).
Tighten
Tighten the oil passage plug to 10 N·m (89 lb in).
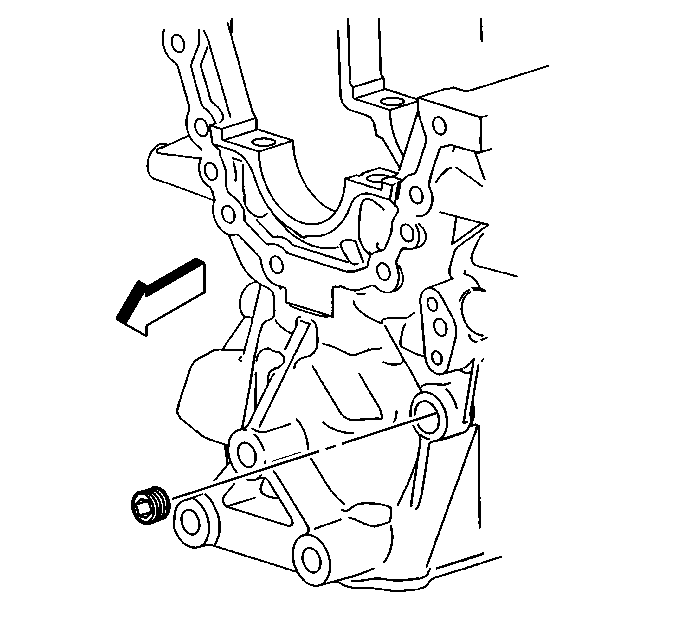
Tighten
Tighten the oil passage plug to 30 N·m (22 lb ft).
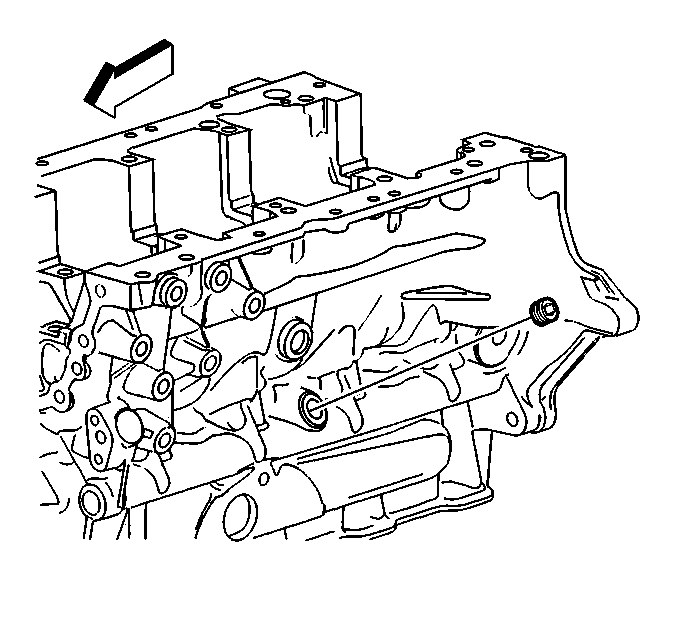
Tighten
Tighten the oil passage plug to 20 N·m (15 lb ft).
