For 1990-2009 cars only
Instrument Panel Accessory Trim Plate Replacement Pontiac
Removal Procedure
- Apply the park brake.
- Adjust the shift lever to LOW.
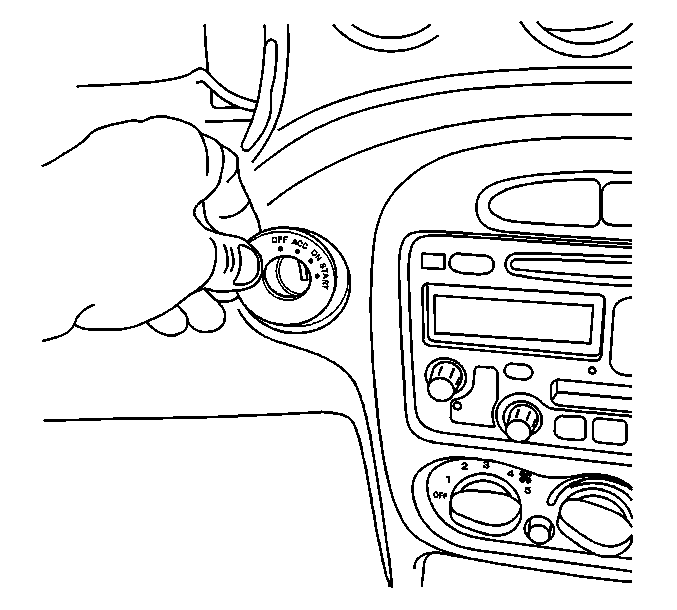
- Using a small flat-bladed tool, remove the ignition switch bezel.
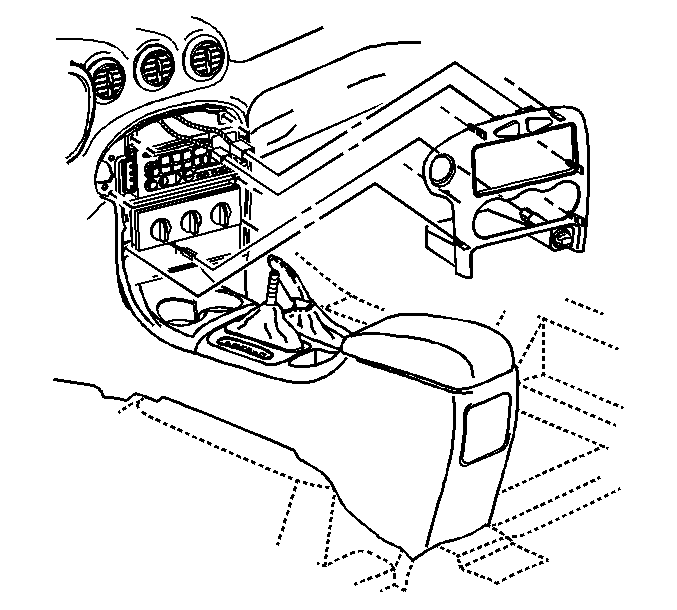
- Using a flat-bladed tool, disengage the accessory trim plate from the I/P.
- Disconnect the electrical connectors.
- Remove the cigar lighter from the accessory trim plate. Refer to Cigar Lighter Housing Replacement - Instrument Panel .
- Remove the I/P accessory switch mounting plate bracket bolts and bracket.
- Remove the accessory trim plate.
Installation Procedure
- Install the I/P accessory switch mounting plate bracket and bolts.
- Install the cigar lighter to the I/P accessory trim plate. Refer to Cigar Lighter Housing Replacement - Instrument Panel .
- Connect the electrical connectors.
- Install the I/P accessory trim plate by pressing the plate into place until fully seated.
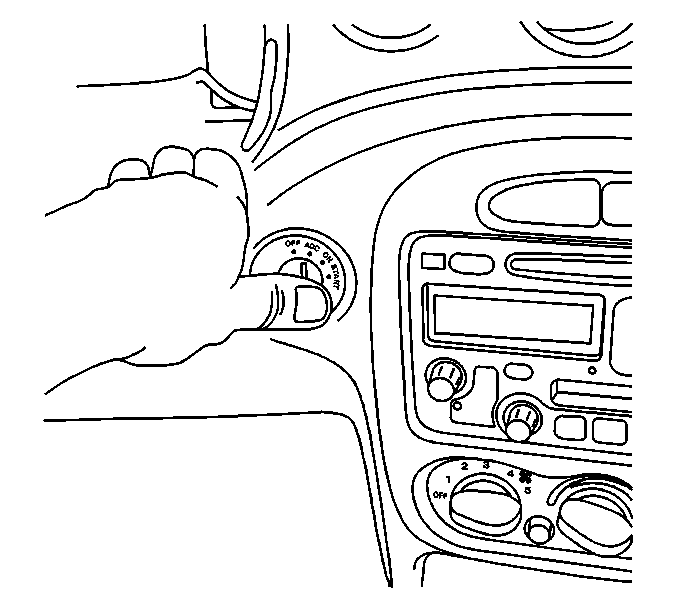
- Install the ignition switch bezel. Press the bezel into place until fully seated.
- Adjust the shift lever to PARK.
- Release the park brake.

Tighten
Tighten the I/P accessory switch mounting plate bracket bolts to 3 N·m (27 lb in).
Instrument Panel Accessory Trim Plate Replacement Oldsmobile
Removal Procedure
- Remove the front floor console trim plate. Refer to Front Floor Console Trim Plate Replacement
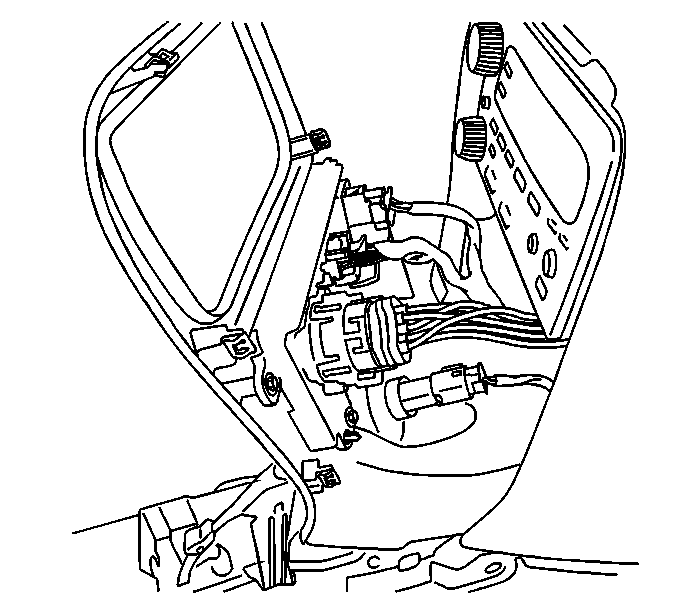
- Gently pull rearward on the bottom of the instrument panel (IP) accessory trim plate to disengage the retainers.
- Disconnect the vacuum hoses and the electrical connectors from the HVAC controls.
- Disconnect the electrical connector from the 12-volt power supply.
- Remove the 12-volt power supply from the IP accessory trim plate, if required. Refer to 12-Volt Accessory Power Receptacle Replacement
- Remove the HVAC controls from the IP accessory trim plate. Refer to Heater and Air Conditioning Control Replacement
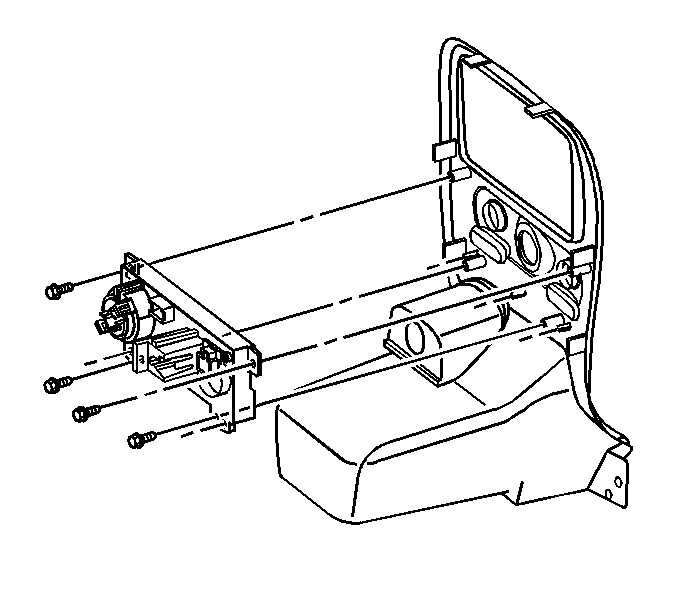
Installation Procedure
- Install the HVAC controls to the IP accessory trim plate. Refer to Heater and Air Conditioning Control Replacement
- Install the 12-volt power supply to the IP accessory trim plate, if required. Refer to 12-Volt Accessory Power Receptacle Replacement
- Connect the electrical connector to the 12-volt power supply.
- Connect the vacuum hoses and the electrical connectors to the HVAC controls.
- Install the IP accessory trim plate, pressing the plate into place until fully seated.
- Install the front floor console trim plate. Refer to Front Floor Console Trim Plate Replacement


