Caution: Refer to Gasoline/Gasoline Vapors Caution in the Preface section.
Removal Procedure
Important: There are several types of Plastic Collar Fuel and Evaporative Emission Quick Connect Fittings used on this vehicle. The following instructions apply to all types of Plastic Collar Quick Connect Fittings except where indicated.
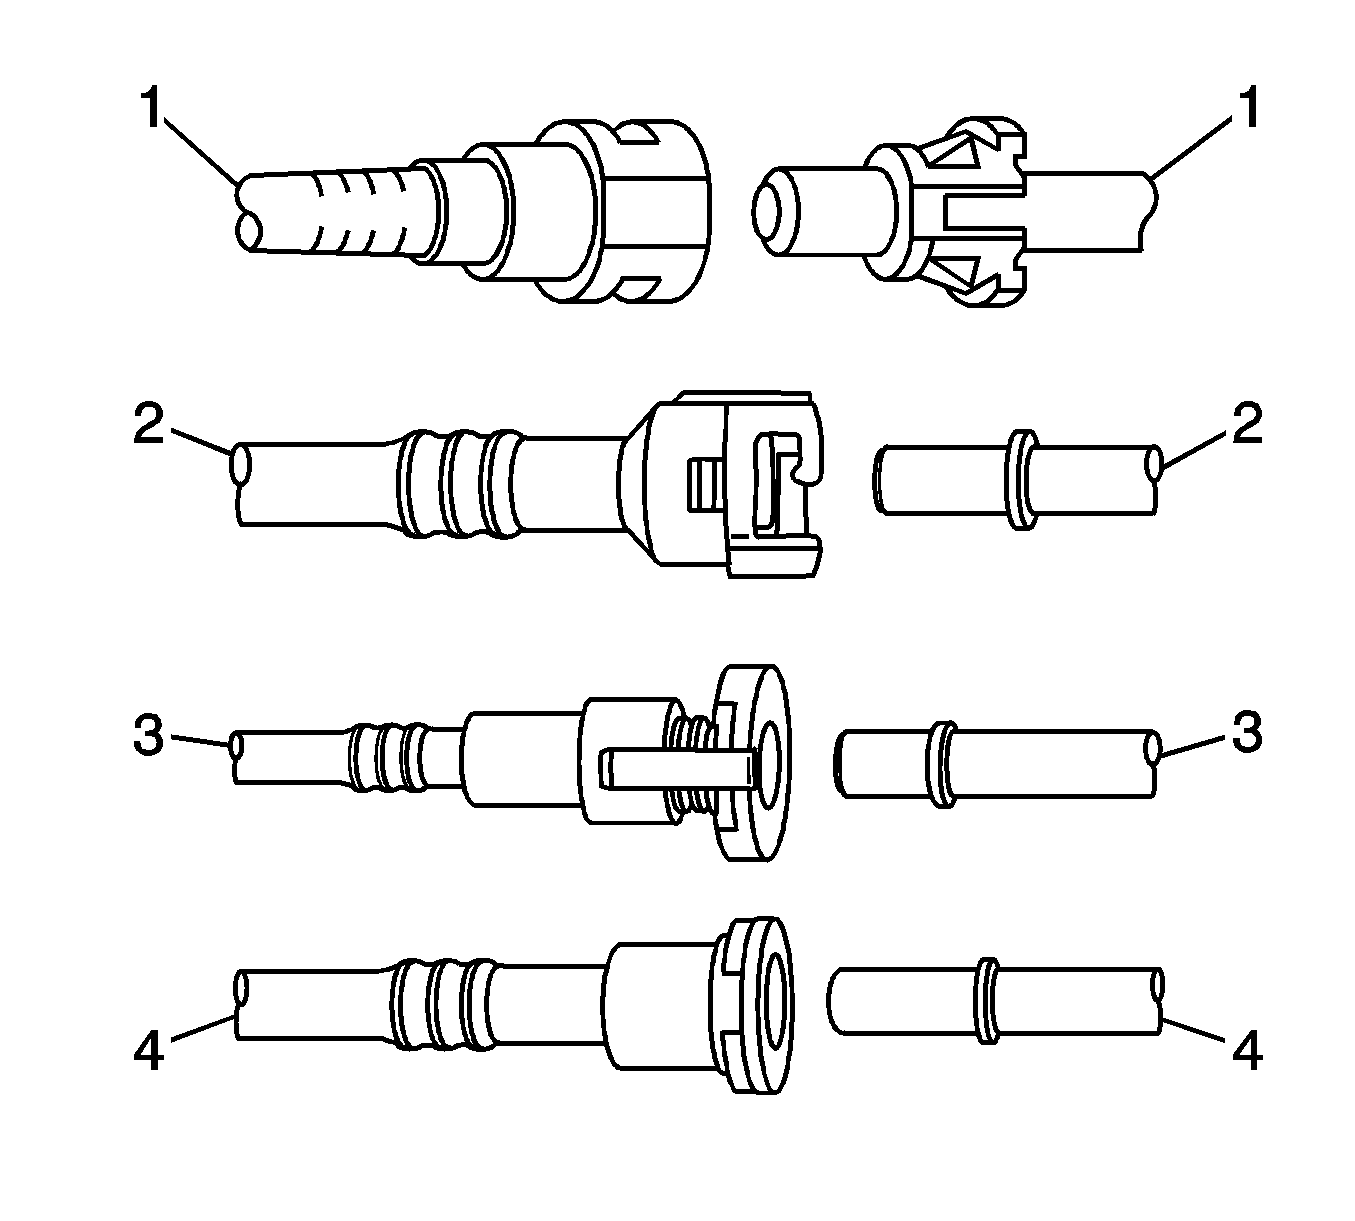
Important: There are several types of Plastic Collar Fuel and Evaporative Emission Quick Connect Fittings used on this vehicle.
• Bartholomew (1) • Q Release (2) • Squeeze to Release (3) • Sliding Retainer (4)
- Relieve the fuel system pressure before servicing any fuel system connection. Refer to the Fuel Pressure Relief .
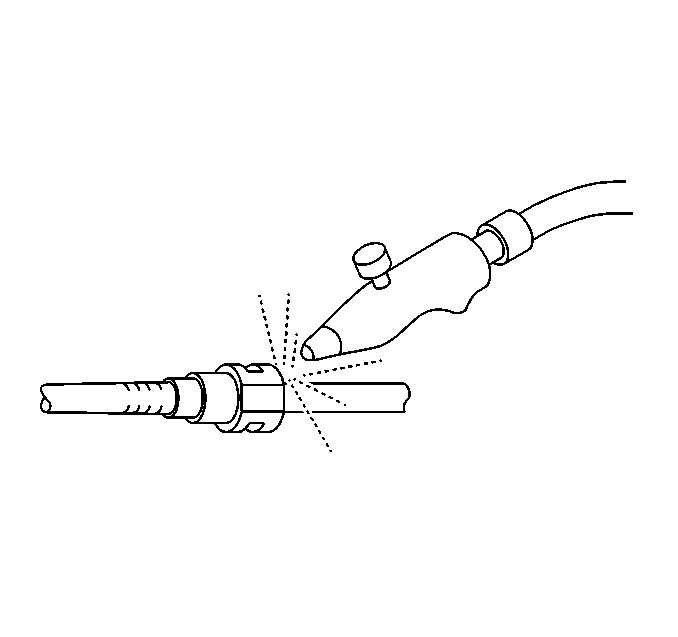
- Using compressed air, blow any dirt out of the quick-connect fitting.
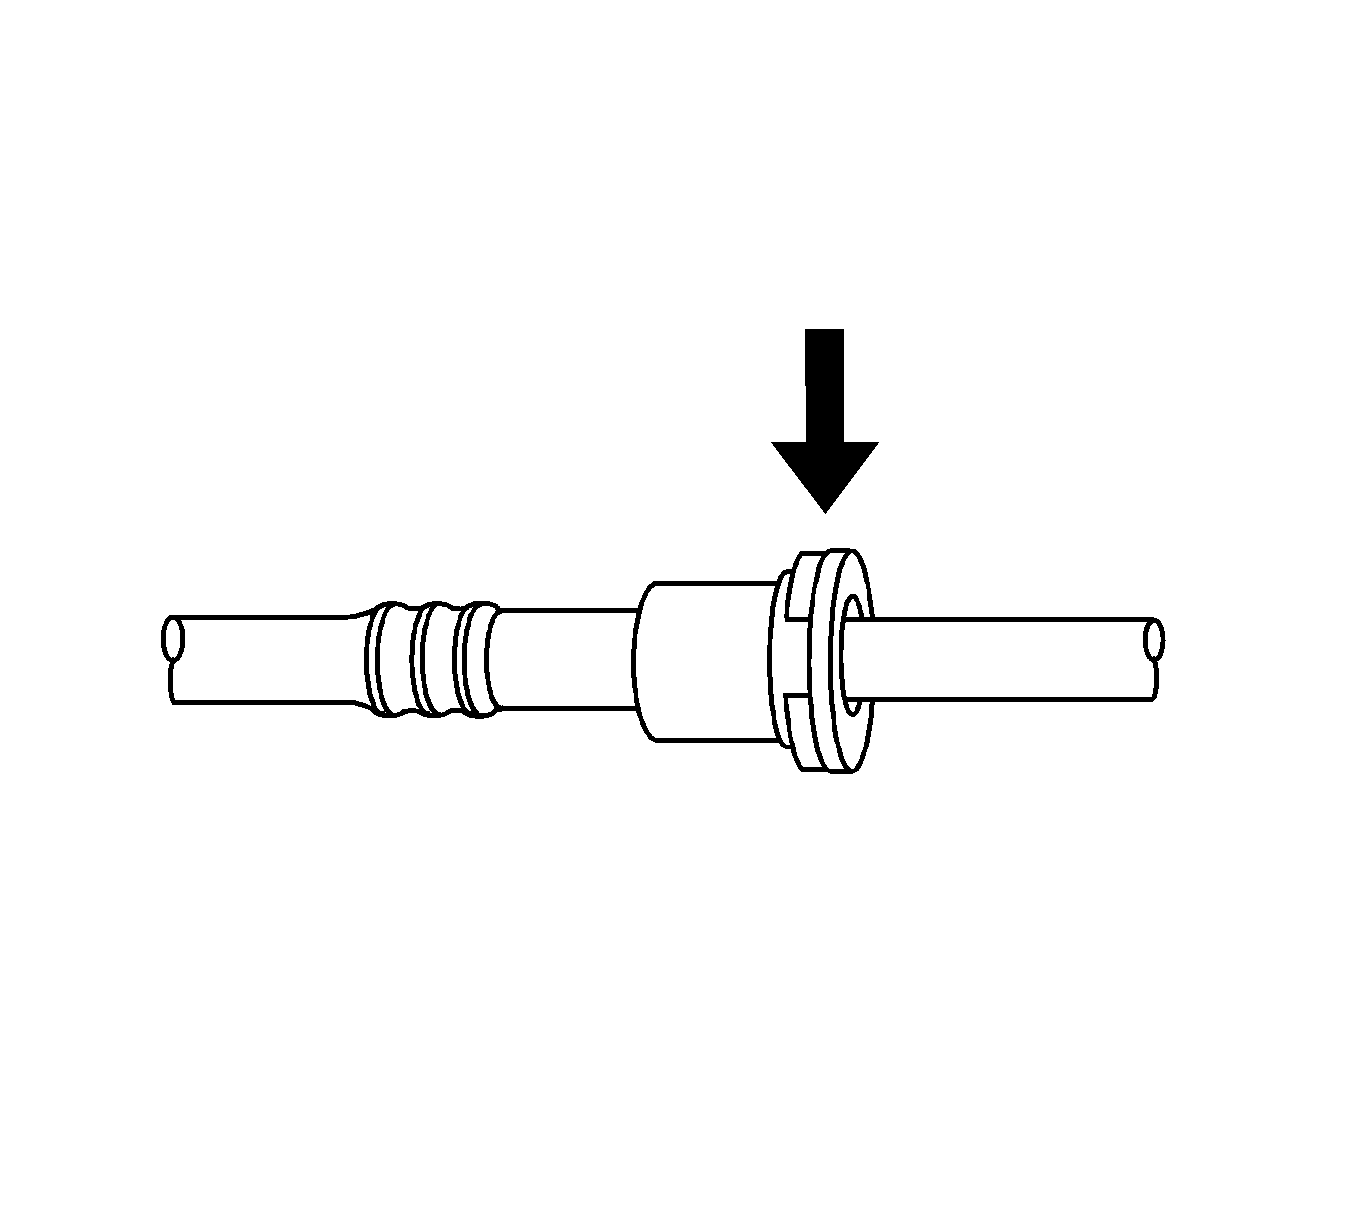
- This step applies to Bartholomew style connectors ONLY. Squeeze the plastic quick-connect fitting release tabs.
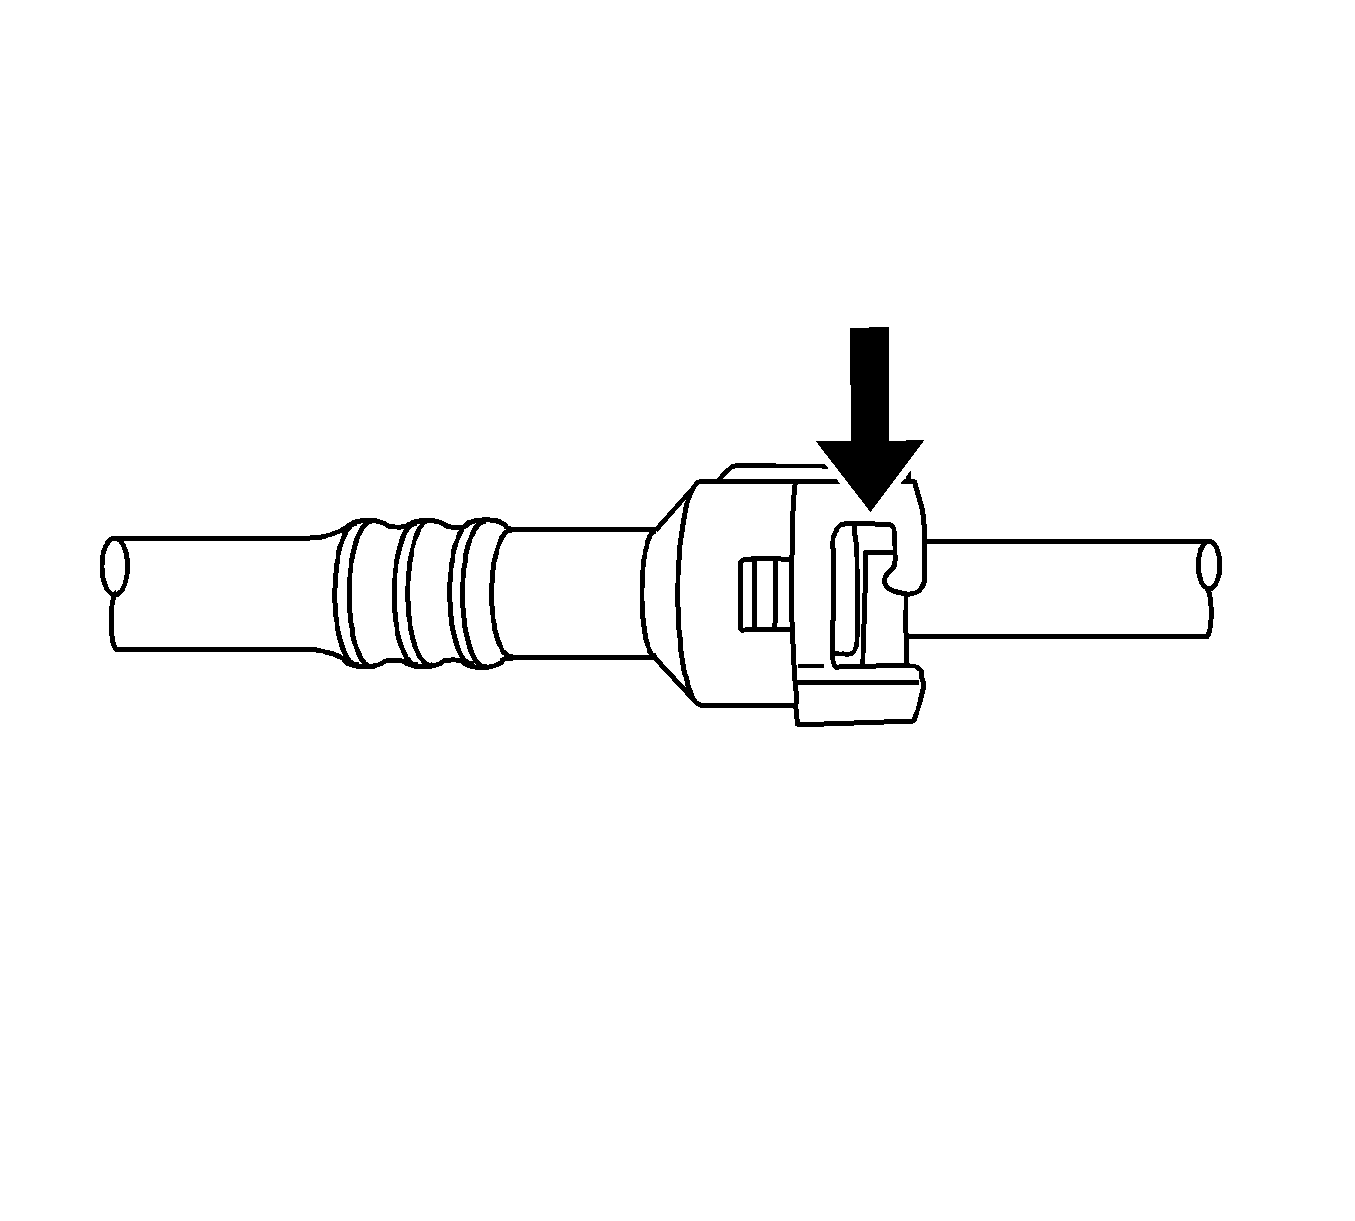
- This step applies to Q Release style connectors ONLY. Release the fitting by Pushing the tab toward the other side of the slot in the fitting.
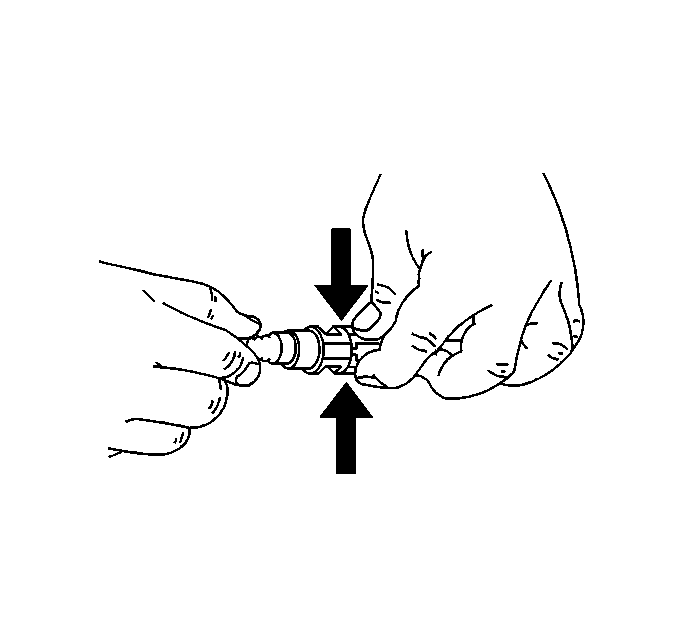
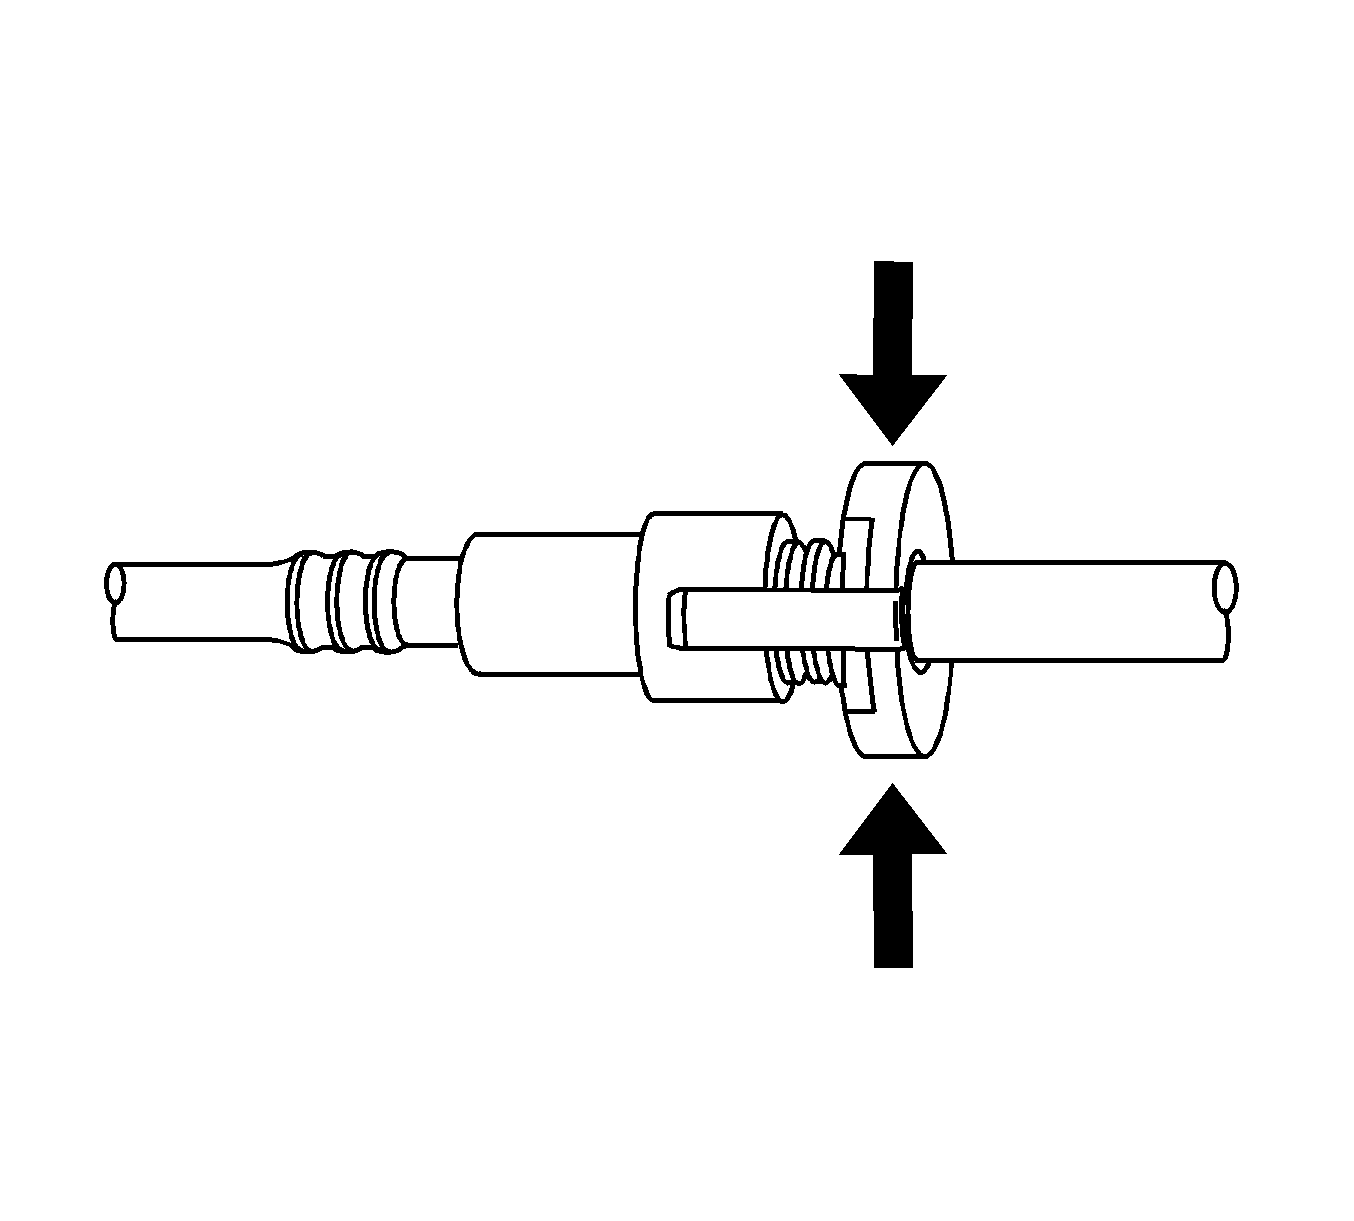
- This step applies to Squeeze to Release style connectors ONLY. Squeeze where indicated by arrows on both sides of the plastic ring surrounding the quick-connect fitting.
- This step applies to Sliding Retainer style connectors ONLY. Release the fitting by pressing on one side of the release tab causing it to push in slightly. If the tab doesn't move try pressing the tab in from the opposite side. The tab will only move in one direction.
- Pull the connection apart.
- Using a clean shop towel, wipe off the male pipe end.
- Inspect both ends of the fitting for dirt and burrs.
Caution: Refer to Safety Glasses and Compressed Air Caution in the Preface section.
Notice: Refer to Fuel and Evaporative Emission Hose/Pipe Connection Cleaning Notice in the Preface section.
Caution: Refer to Relieving Fuel Pressure Caution in the Preface section.
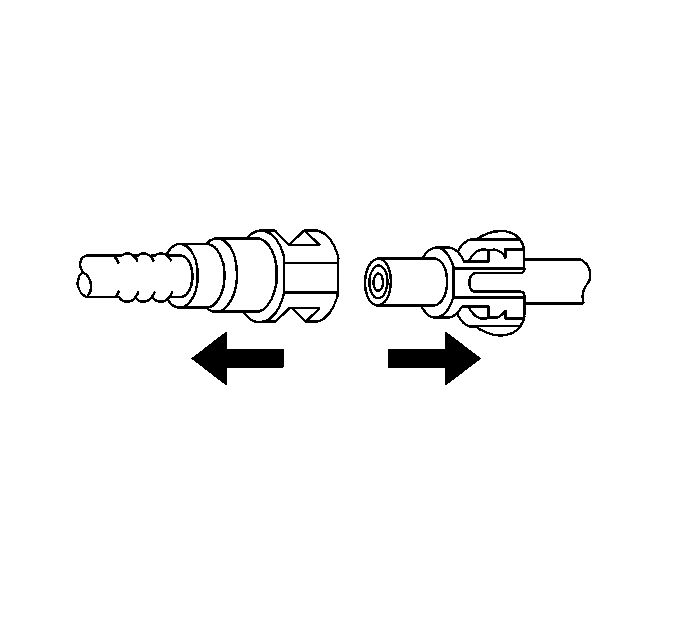
Clean or replace the components as required.
Installation Procedure
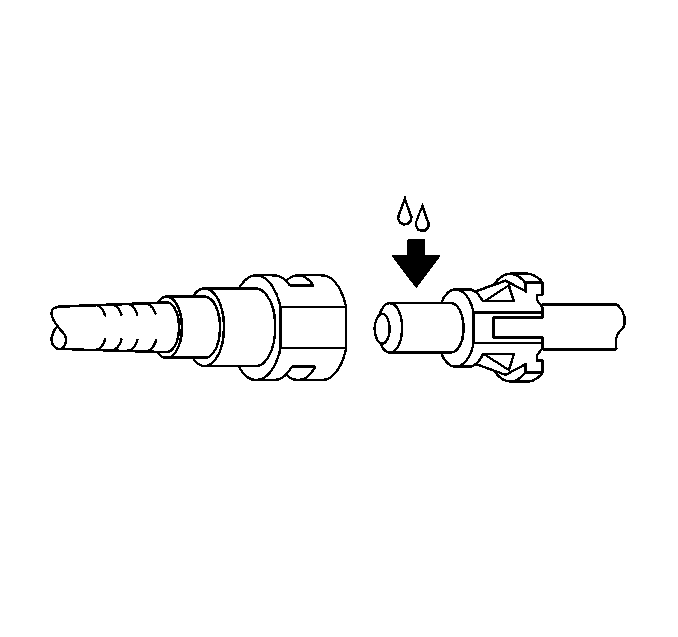
- Apply a few drops of clean engine oil to the male pipe end.
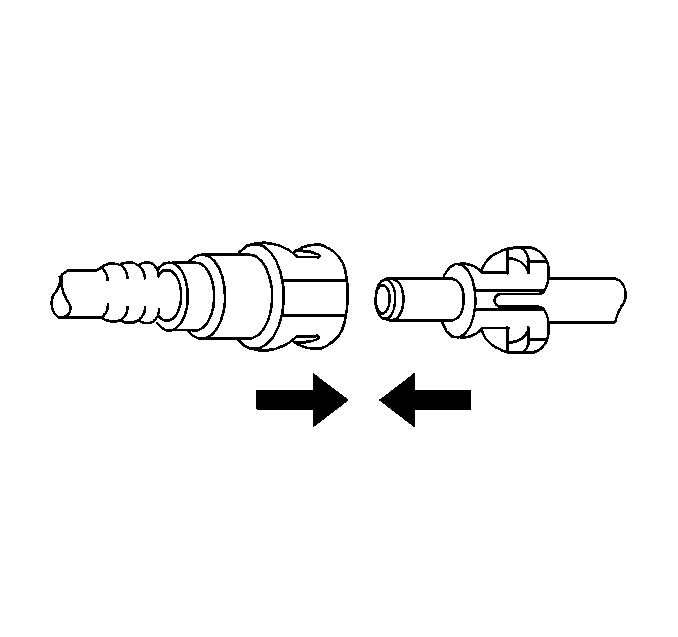
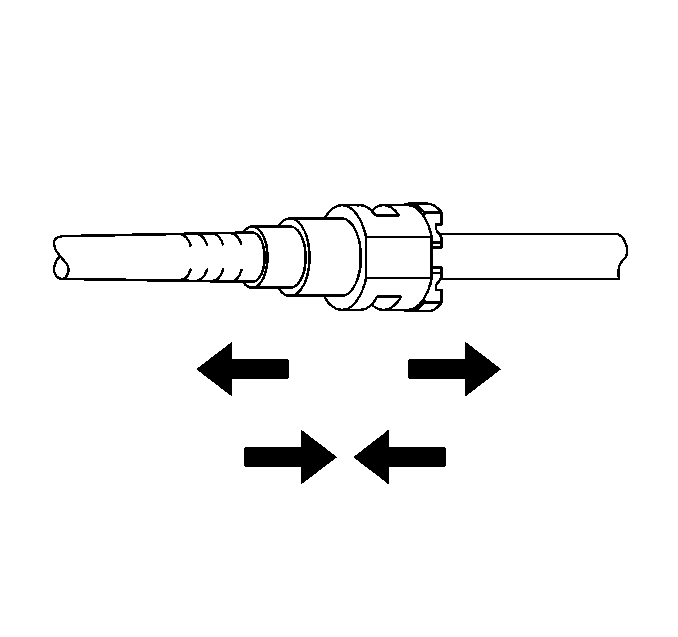
- Push both sides of the quick-connect fitting together in order to cause the retaining feature to snap into place.
- Pull on both sides of the quick-connect fitting to make sure the connection is secure.
- Inspect for leaks using the following procedure:
Caution: Refer to Fuel Pipe Fitting Caution in the Preface section.
| 4.1. | Turn the ignition ON, with the engine OFF for 2 seconds. |
| 4.2. | Turn the ignition OFF, for 10 seconds. |
| 4.3. | Turn the ignition ON, with the engine OFF for 2 seconds. |
| 4.4. | Turn the ignition OFF. |
| 4.5. | Inspect for leaks. |
