For 1990-2009 cars only
Caution: Refer to Brake Dust Caution in the Preface section.
Removal Procedure
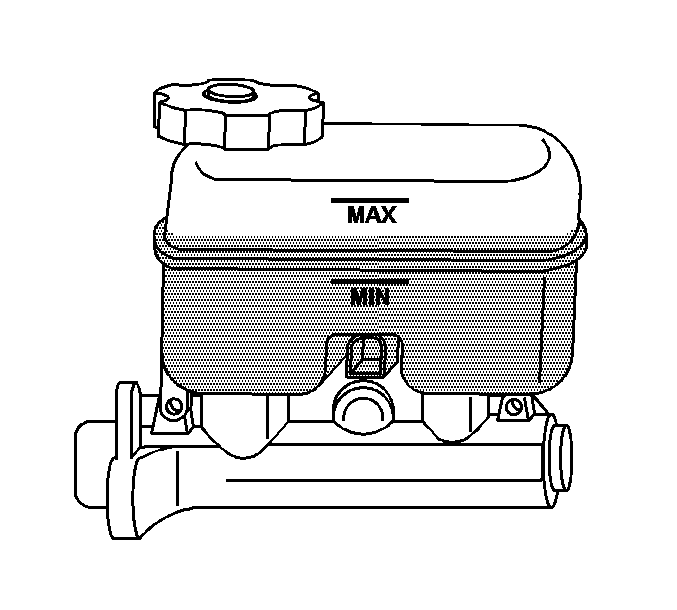
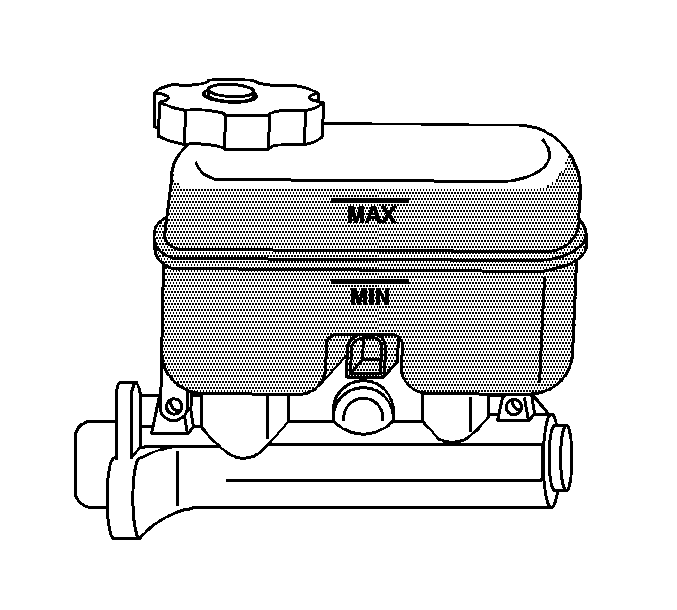
- Inspect the brake fluid level in the brake master cylinder reservoir.
- If the brake fluid is midway between the maximum-full point and the minimum allowable level, no brake fluid needs to be removed from the reservoir before proceeding.
- If the brake fluid level is higher than midway between the maximum-full point and the minimum allowable level, remove the brake fluid with appropriate tool to the midway point before proceeding.
- Raise and support the vehicle. Refer to Lifting and Jacking the Vehicle .
- Remove the tire and wheel assembly. Refer to Tire and Wheel Removal and Installation .
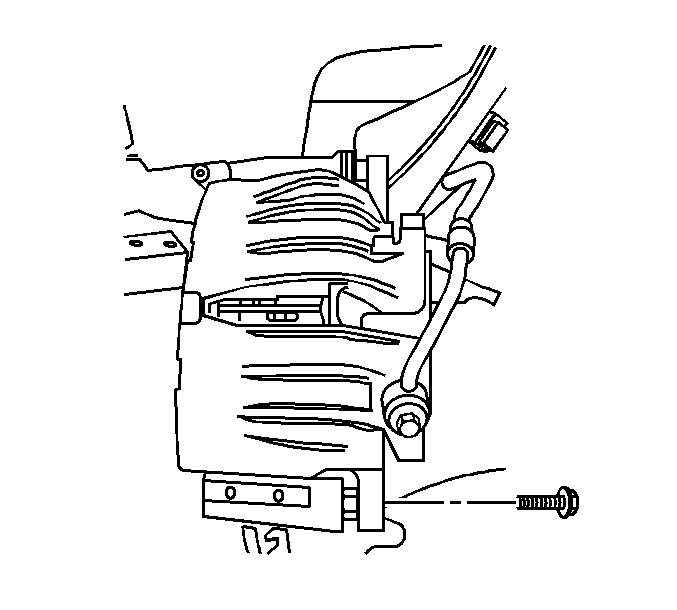
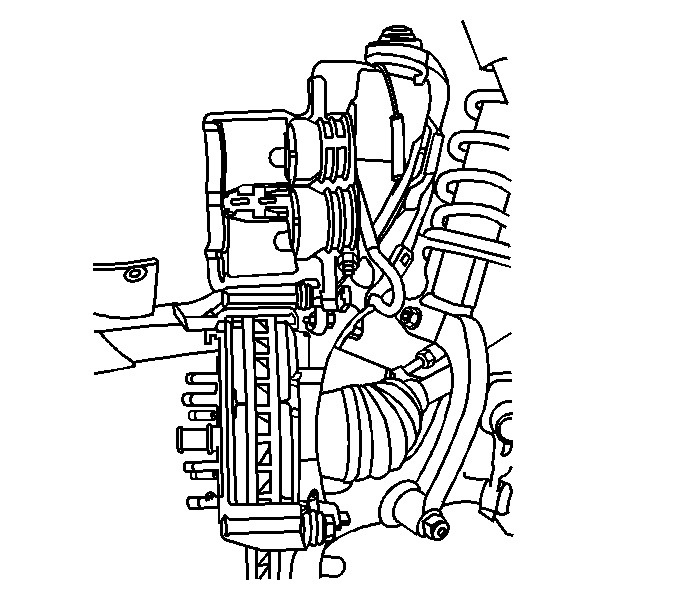
- Compress the front brake caliper pistons.
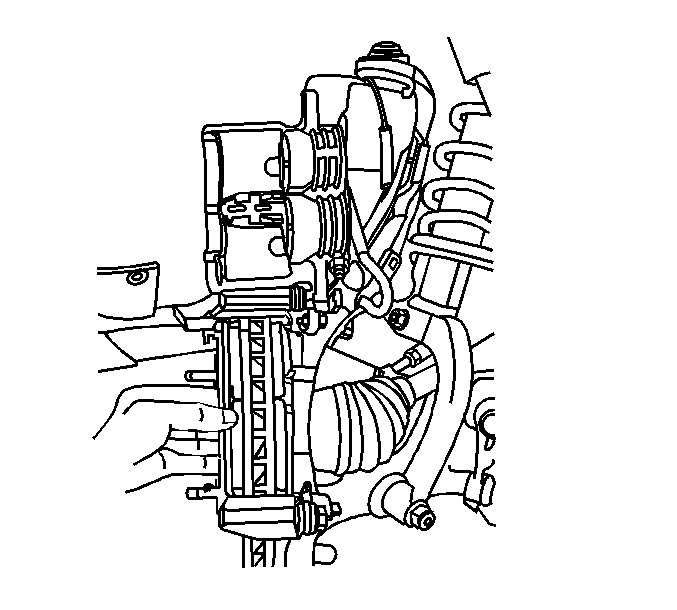
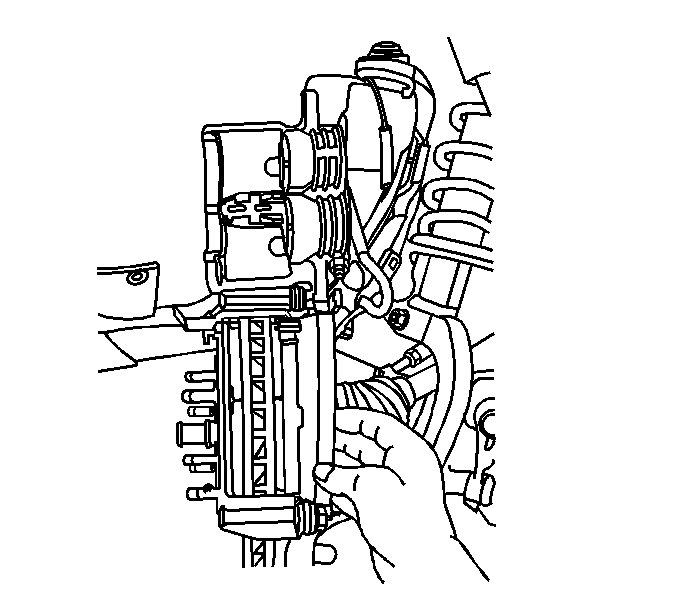
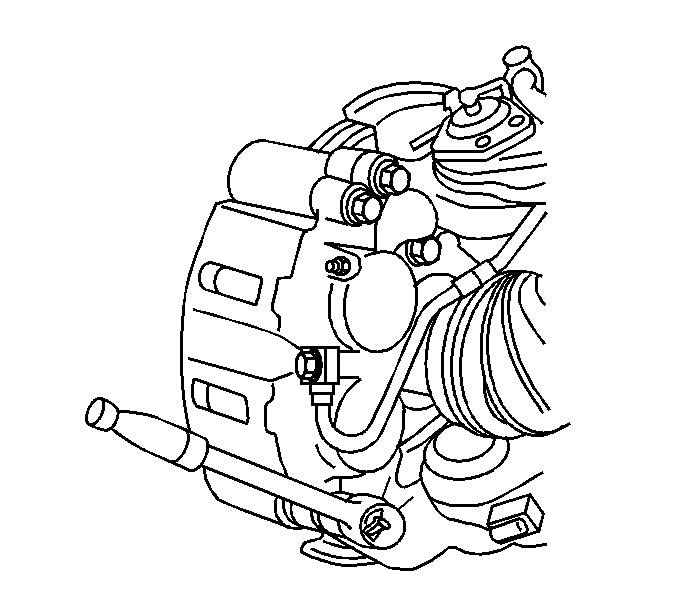
- Remove the lower mounting bolt from the guide pin.
- Rotate the brake caliper upward until it stops.
- Remove the outboard brake pad.
- Remove the inboard brake pad.
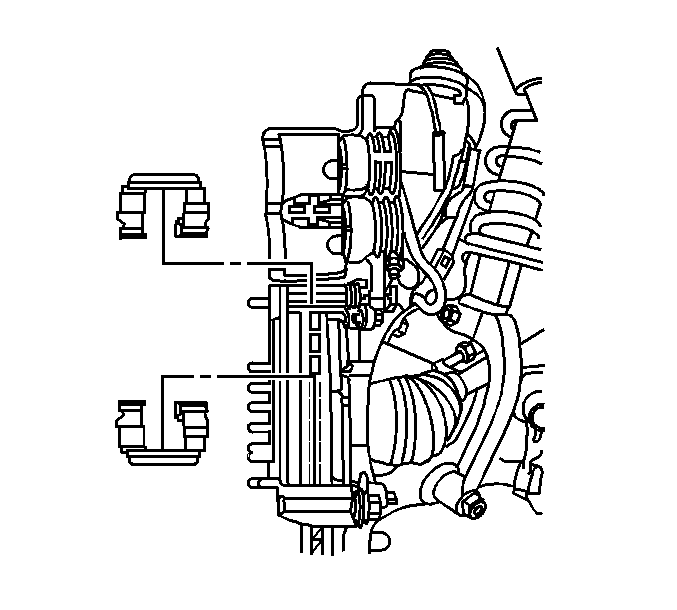
- Remove the brake pad retaining clips from the brake caliper mounting bracket and discard.
- Remove all foreign material from the brake caliper using denatured alcohol.

| 6.1. | Install a large C-clamp over the top of the brake caliper housing and against the back of the outboard brake pad. |
| 6.2. | Slowly tighten the C-clamp until the pistons push into the brake caliper enough to slide the brake caliper off the rotor. |
| 6.3. | Remove the C-clamp from the brake caliper. |
Installation Procedure
- Install the brake pad retaining clips to the brake caliper mounting bracket.
- Install the inboard brake pad.
- Install the outboard brake pad.
- Rotate the brake caliper down into position.
- Install the lower brake caliper guide pin bolt.
- Install the tire and wheel assembly. Refer to Tire and Wheel Removal and Installation .
- Lower the vehicle. Refer to Lifting and Jacking the Vehicle .
- Fill the brake master cylinder reservoir. Refer to Master Cylinder Reservoir Filling .
- Pump the brake pedal slowly and firmly to seat the brake pads.
- Burnish the brake pads and rotors. Refer to Brake Pad and Rotor Burnishing .
Important: When installing new brake pads, DO NOT reuse the old retaining clips for the brake pad. Use only NEW brake pad retaining clips.
Important: Use care when installing the pad so the spreader springs are not excessively deformed.
Important: Use care when installing the pad so the spreader springs are not excessively deformed.
Notice: Refer to Fastener Notice in the Preface section.
Tighten
Tighten the brake caliper guide pin bolt to 42 N·m (31 lb ft).
Caution: Do not move the vehicle until a firm brake pedal is obtained. Failure to obtain a firm pedal before moving vehicle may result in personal injury.
